FIX: Client Server Runtime Process High CPU Usage
5 min. read
Updated on
Read our disclosure page to find out how can you help Windows Report sustain the editorial team. Read more
Key notes
- One of the rare ones that can occasionally take hold of your CPU in Windows 10 is Client Server Runtime Process better known as csrss.exe. It usually takes minimal resources, but if it starts taking up at least 80% of the processing power, this means trouble.
- There various possible reasons why csrss.exe starts hogging on your resources, especially CPU, but usually it's due to a malware infection of some kind. So clearly, the first step is to scan your computer.
- If suddenly, your computer gets very slow it might be the case for a process using too much CPU processing power. If that happens, go straight to our high CPU usage section for a solution.
- Nobody is safe from Windows errors but if they occur, be sure that you will find a solution in our Windows 10 errors hub.

If you’re a longtime Windows user, you’ve probably bumped into one or more system processes that tilt CPU to sky limits.
Some are less common, some are almost automatically implemented with the system (Windows Update process in Windows 7).
One of the rare ones that can occasionally take hold of your CPU in Windows 10 is Client Server Runtime Process better known as csrss.exe.
This process is an essential piece of the Windows platform and it usually takes minimal resources. Well, not in this scenario.
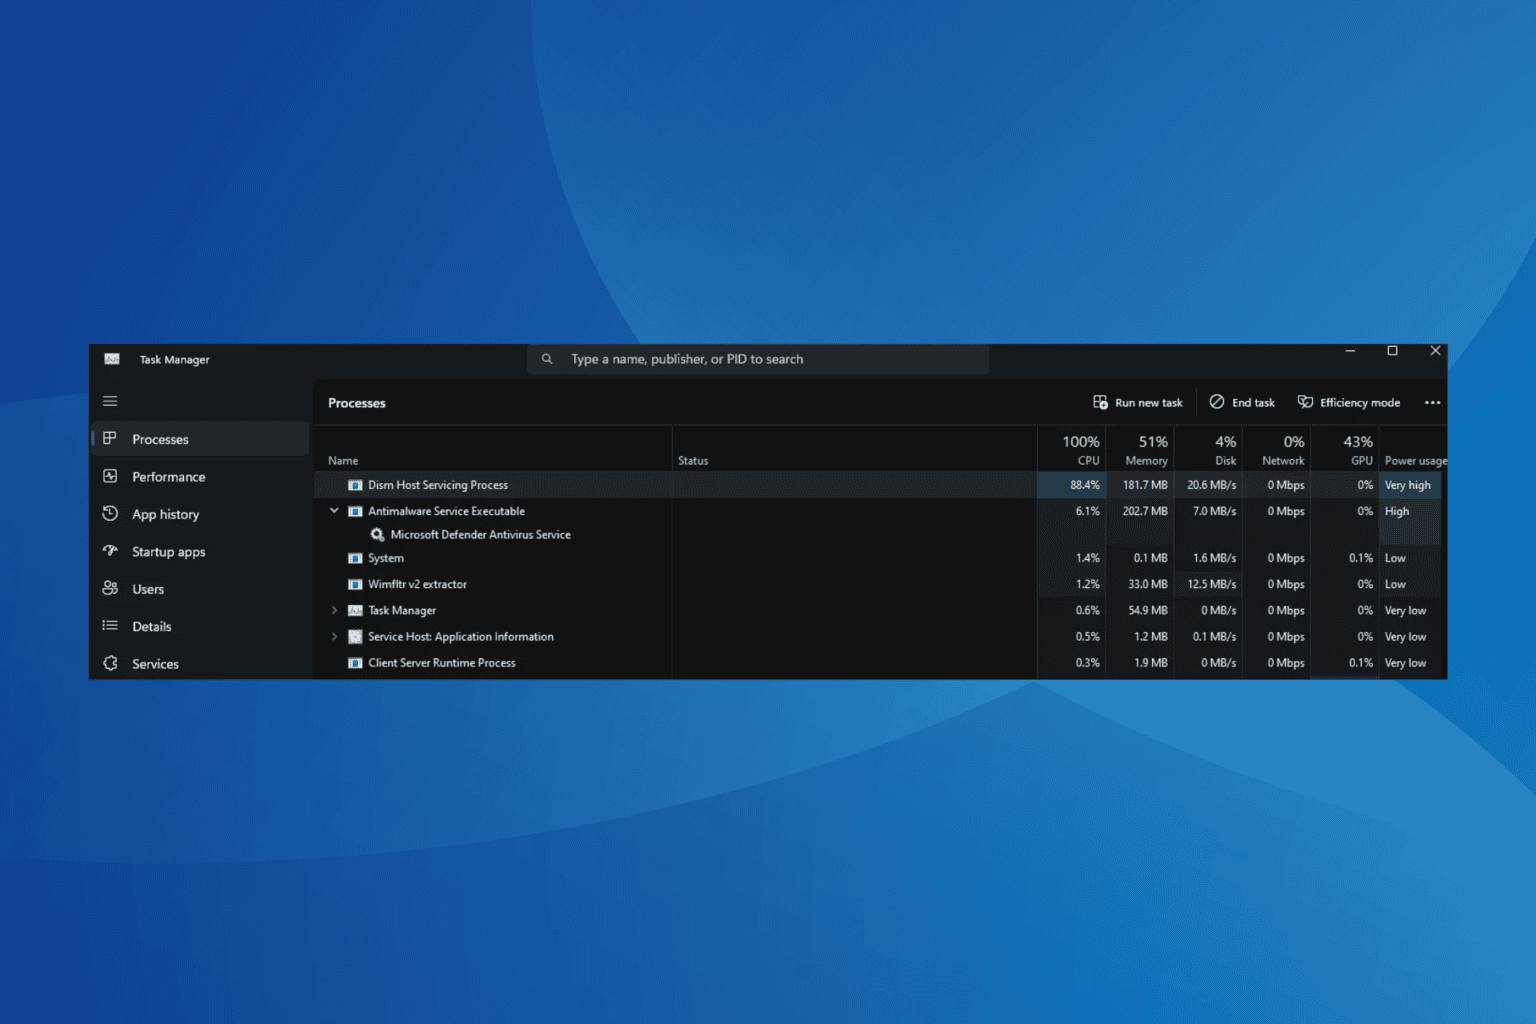
Users reported that, upon inspection in Task Manager, they bump into a strange process that takes 80 – 100 % of CPU usage.
It’s fair to say that this is a grave issue, so you’ll need to address it as soon as possible. The solutions we provided below should be helpful, so make sure to check them out.
How can I resolve high CPU activity of csrss.exe in Windows 10?
1. Scan for viruses
Let’s start by addressing the sporadic cause of this inconvenience. It’s fairly rare for system processes to start misbehaving in this manner.
There are indeed various possible reasons why one of the essential Windows services starts hogging on your resources, especially CPU, but most of the time it’s due to an external factor. Or, to be exact, a malware infection of some kind.
With that said, we advise you to use either Windows Defender or any give third-party antivirus tool and scan your system for virus intruders.
Since the scanning procedure differs, taking into consideration all available software, we made sure to explain how to scan your system with Windows Defender.
It’s always there, even if you don’t want it to be, so make sure to check the steps below:
- Open Windows Defender from the Notification area.
- Click on Virus & threat protection.
- Click on the Advanced Scan.
- Select Windows Defender Offline scan.
- Click Scan now.
We also strongly recommend using professional antivirus software in order to be sure that any virus threat will be scanned, found, and deleted from your PC.
2. Delete current user profile
A lot of users resolved the problem by simply deleting their user account and creating a new one. Due to corruption of dedicated files that are responsible for configuring the user profile.
Since Client Server Runtime Process is partially related to a user profile, CPU spikes are nothing uncommon.
Now, the reasons for this unwelcome occurrence are to be found in a malware infection, which tends to corrupt system files or even clones them.
So, even though your PC isn’t infected at the moment, the damage might be already done.
That should be a good enough reason to delete your user profile and try a new one.
Yes, you’ll need to backup your data and reconfigure some minor things, but the problem should be resolved. Here’s how to do it in a few simple steps:
- In the Windows Search bar, type Control and open Control Panel.
- Open User Accounts.
- Choose User Accounts.
- Click on Manage another account.
- Click on Add a new user in PC settings.
- Choose to Add someone else to this PC.
- Enter credentials for an alternative user profile and get back to Change an Account.
- Open the newly created account and click Change the account type.
- Grant it administrative role.
- Now, get back and select your current profile. We advise you to backup files from Documents and Desktop.
- Click on Delete account and then Delete files.
- Log out and log in to the new user account.
- In the Windows Search bar, type Advanced settings, and choose View advanced system settings.
- Select the Advanced tab.
- Under the User Profiles section, click Settings.
- Delete your default account and save changes.
- Restart your PC, login with the new user profile, and navigate to Task Manager to check on csrss.exe CPU usage.
3. Reset this PC
As the final getaway, we only can advise you to turn to recovery options. Or the Reset this PC option, to be more precise. This option is similar to a factory reset we usually have on smartphones.
It completely restores Windows 10 to its initial values, while preserving your data in the process.
However, for the sake of this exact issue and its complexity, we advise you to clear everything.
Of course, you should back up everything from the system partition to an alternative partition, cloud storage, or external storage.
Here’s how to do it and hopefully resolve the issue at hand:
- Press Windows key + I to summon the Settings app.
- Open the Update & Security section.
- Choose Recovery.
- Under Reset this PC, click Get started.
- Choose to delete all files and the restoring procedure will commence.
That should complete it. Don’t forget to share your experience with csrss.exe high CPU usage in the comments below.


User forum
0 messages