Desktop.ini File in Windows 10: Everything You Need to Know
Everything you need to know about the dekstop.ini file
Key notes
- The desktop.ini files are automatically created by Windows and store the changes made to the layout or similar aspects in a folder.
- You can always hide the desktop.ini file without affecting the other system files stored on the PC.
Windows, though a user-friendly OS, often makes changes or throws errors beyond the understanding of regular users. One such is the mysterious appearance of the desktop.ini file in Windows 10.
Many are left wondering what the desktop.ini file in Windows is, whether it’s safe to keep or should be removed, and if there are any ways to hide it. So, let’s find out the answer to these questions.
What is the desktop.ini file in Windows 10?
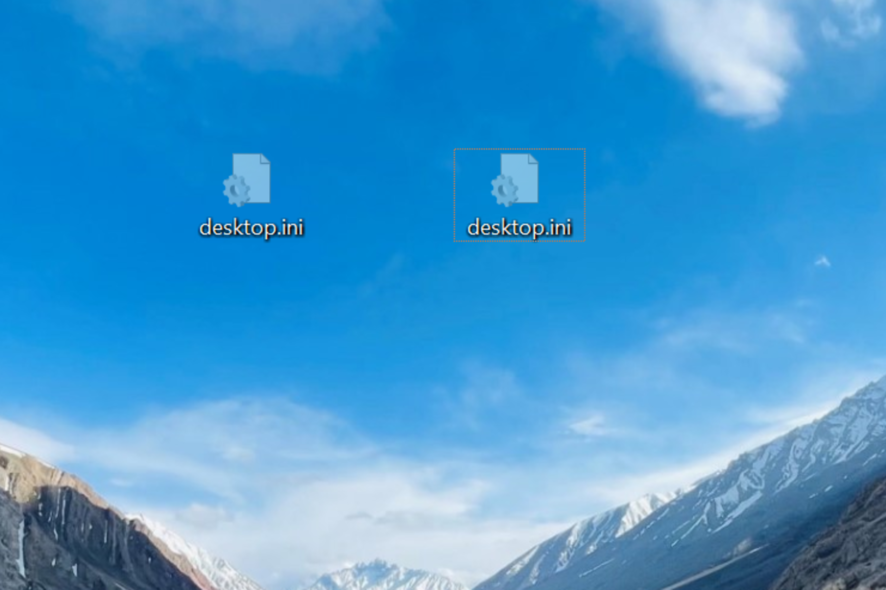
Windows creates the desktop.ini files to store the folder configuration and related data. Simply put, it stores information on how a folder is displayed in Windows. You will find one in every folder and two desktop.ini files on the desktop.
The contents of a desktop.ini file are usually as follows, though they differ based on the folder it’s stored in:
[.ShellClassInfo]
LocalizedResourceName=@%SystemRoot%\system32\shell32.dll,-21769
IconResource=%SystemRoot%\system32\imageres.dll,-183
[LocalizedFileNames]
chrome_UjPv0oPWiy.png=@chrome_UjPv0oPWiy.png,0
chrome_2DCPtGq71a.png=@chrome_2DCPtGq71a.png,0
Windows automatically creates these files when you modify the layout or a related setting for a folder to store the changes. Ideally, users shouldn’t be able to see the desktop.ini files since these are hidden by default.
But if you’re asking why you can see the desktop.ini file, you have probably changed the settings in the Folder Options and set the protected system files to be displayed.
In case you didn’t manually make the change, there’s a likelihood that a third-party app or a recent Windows update made the change, though in both these cases, it can be reverted to the default settings.
Regarding the deletion of desktop.ini files, you can delete the desktop.ini files without causing any significant damage to the computer, though it’s not recommended that you do so.
Any changes recently made and stored on the desktop.ini file will revert to the initial state. And in case you are only bothered by their presence, there’s a quick way to hide desktop.ini files in Windows.
How do I hide the desktop.ini file in Windows?
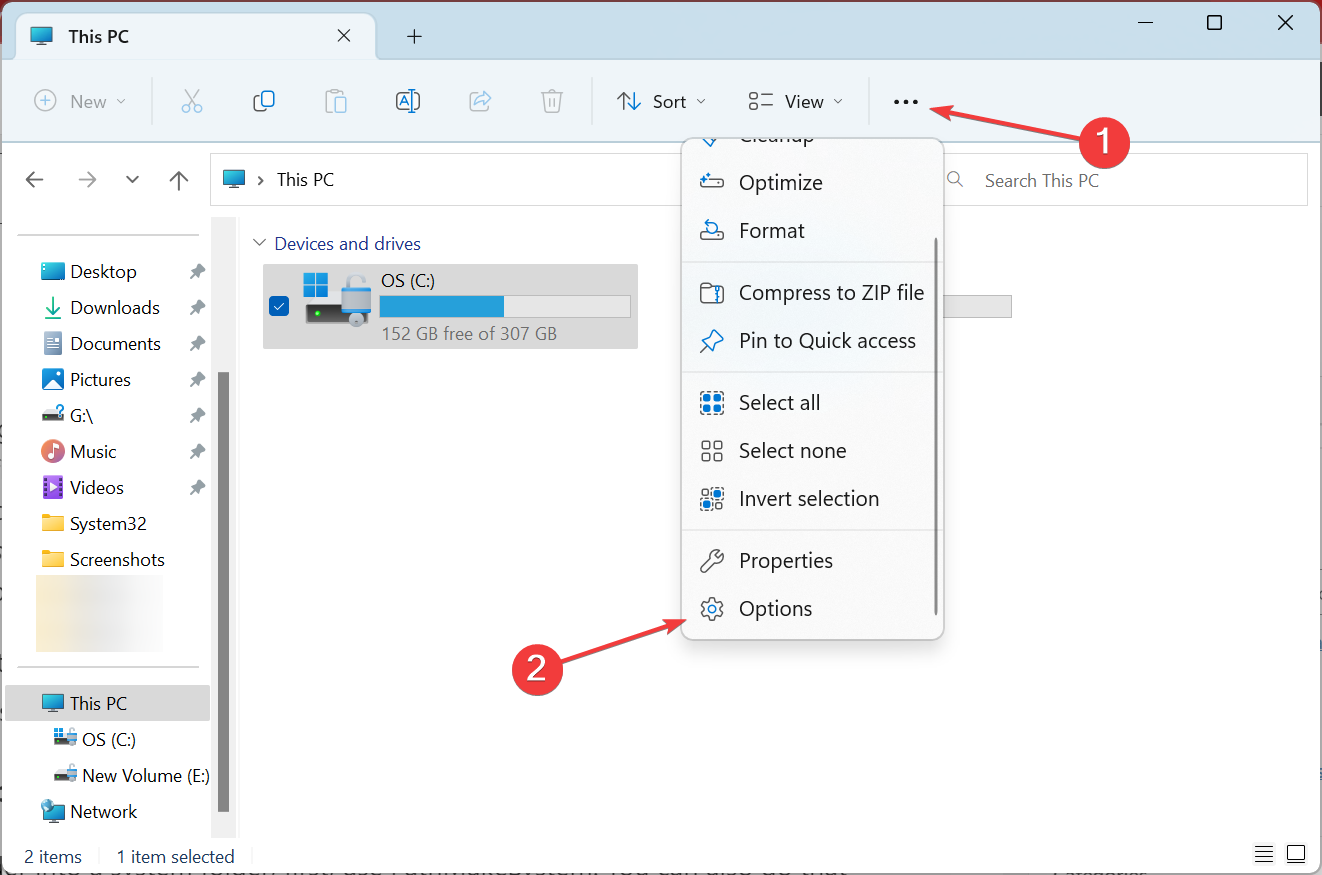
- Press Windows + E to open File Explorer, click on the ellipsis, and then select Options.
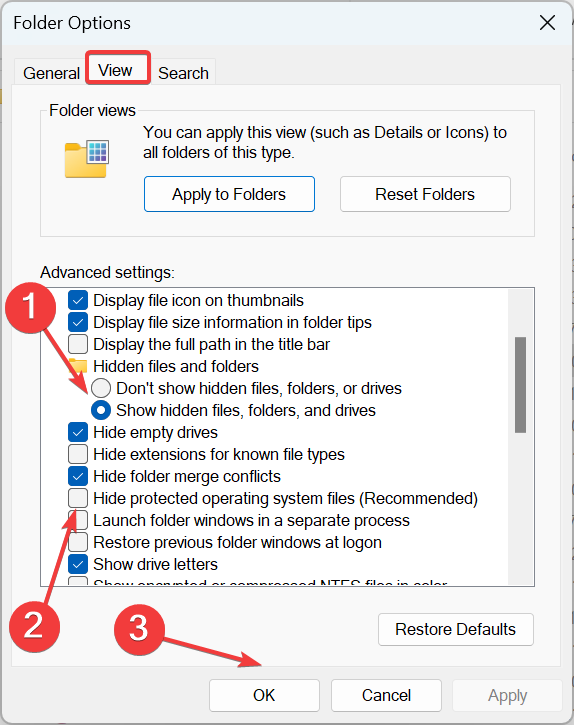
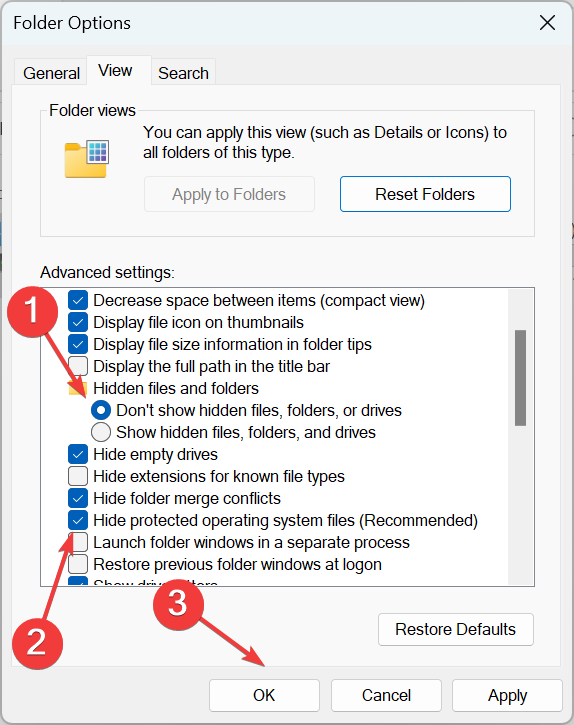
- Now, head to the View tab, select Don’t show hidden files, folders, or drives under Hidden files are folders, and then tick the checkbox for Hide protected operating system files (Recommended).

- Once done, click on OK to save the changes.
There you go! This will hide the dekstop.ini files in every iteration of the OS, be it Windows 10 or 11. But it also hides the other system files and protected folders. If you want them to be visible, try the workaround listed next.
How do I hide desktop.ini files without hiding the other system files?
 Tip
Tip
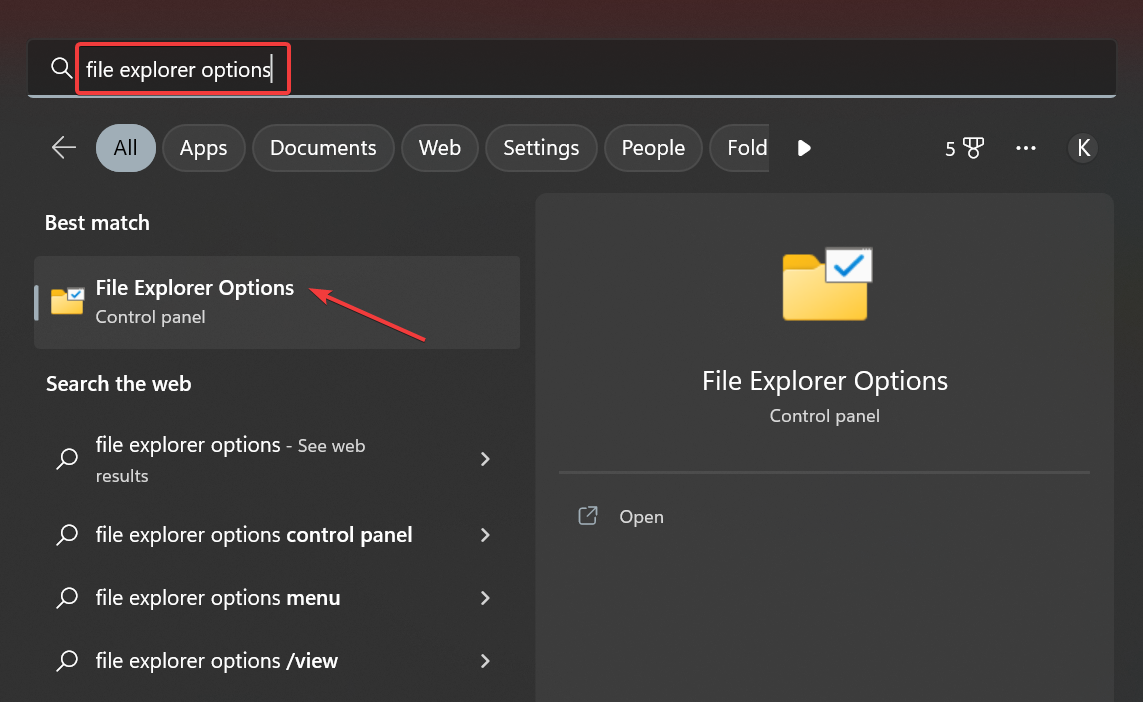
- Press Windows + S to open Search, type File Explorer Options, and click on the relevant search result.
- Now, navigate to the View tab, select Show hidden files, folders, or drives under Hidden files are folders, untick the checkbox for Hide protected operating system files (Recommended), and click OK to save the changes.
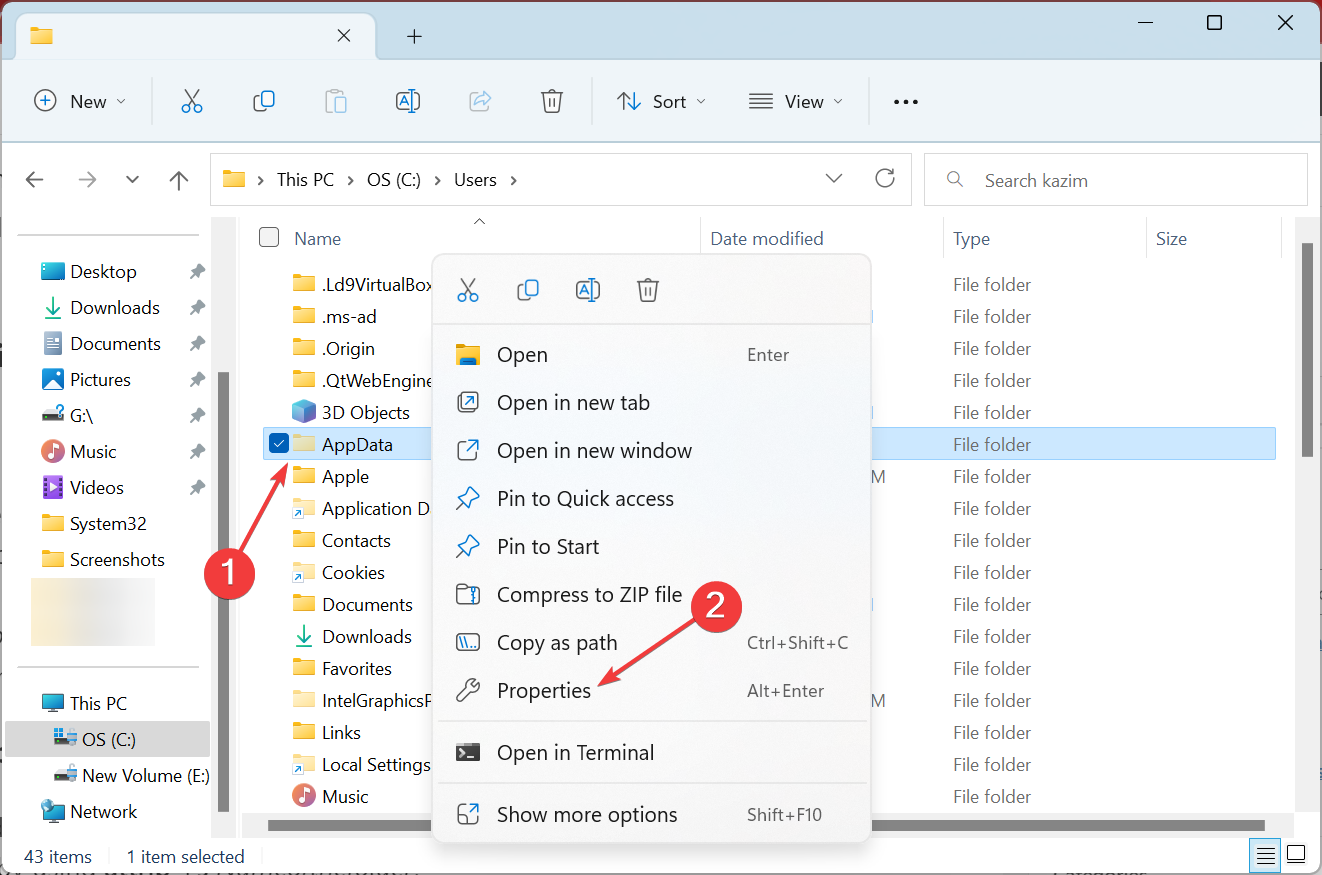
- Once the hidden desktop.ini and other system files are visible, right-click on the file/folder that you want to keep visible and choose Properties.
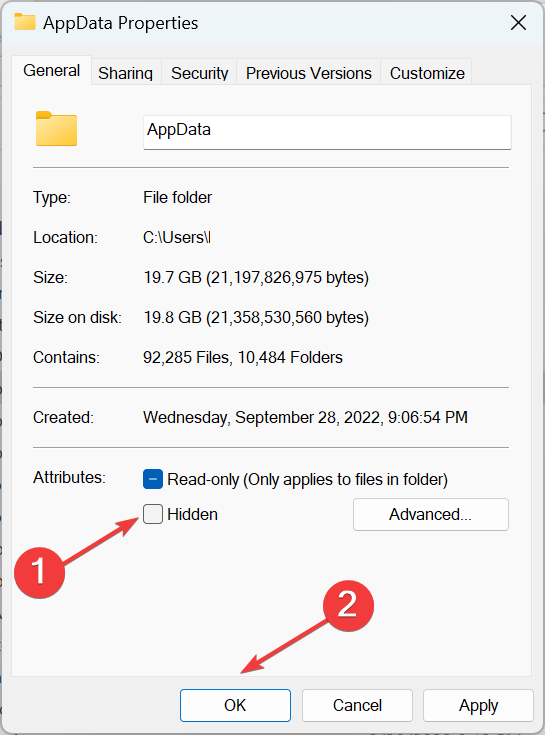
- Untick the checkbox for Hidden, and click on OK.
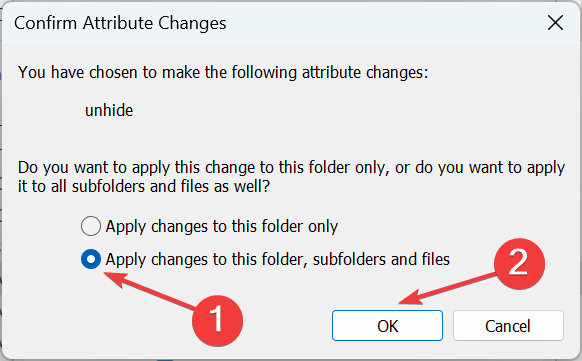
- Select Apply changes to this folder, subfolder, and files, and then click OK.
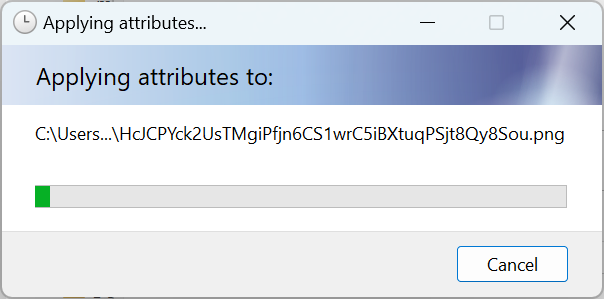
- Finally, wait for the changes to come into effect.
- Similarly, unhide all the files/folders that you want to keep visible.
- Once done, again open the View tab in Folder Options, select Don’t show hidden files, folders, or drives under Hidden files are folders, tick the checkbox for Hide protected operating system files (Recommended), and apply the changes.
That’s it! Now, while the desktop.ini file in Windows 10 will remain hidden, the chosen system files will be visible and available for access.
Why are there two desktop.ini files on the desktop?
This may surprise many, but the desktop is a folder, instead, a combination of two folders, the User-specific desktop and the Public desktop.
Each of these folders has its desktop.ini file to store the configuration data. As a result, you have two such files on the desktop.
You know everything about the desktop.ini file and the steps to hide it in Windows 10. Remember to proceed cautiously when dealing with such files since these are critical to Windows.
And while you are here, do not forget to check some easy tips to boost Windows’ performance.
If you have any comments, questions, or suggestions, just let us know in the comments below.
Read our disclosure page to find out how can you help Windows Report sustain the editorial team. Read more


Improve this guide


User forum
4 messages