Fix: The Digital Signature for This File Couldn't be Verified
Performing a system restore should fix this quickly
![]() 5 min. read
5 min. read
![]() Updated on
Updated on
Share this article

Improve this guide
Read our disclosure page to find out how can you help Windows Report sustain the editorial team Read more
Key notes
- The digital signature for this file couldn't be verified is a security error caused by the installation of some apps.
- When getting this error, you should attempt a system restore.
- Also, you should disable the digital signature temporarily.
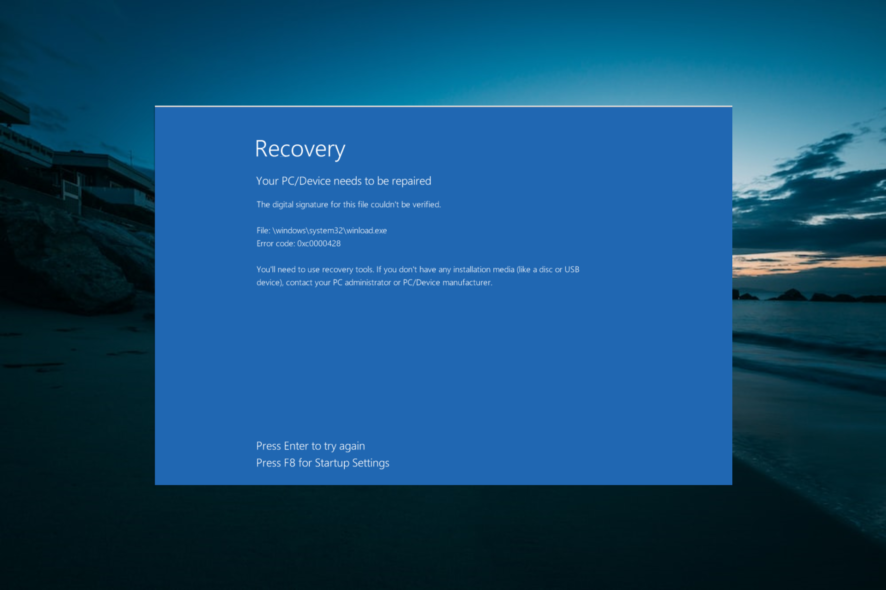
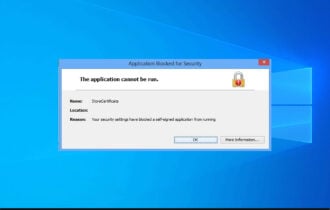
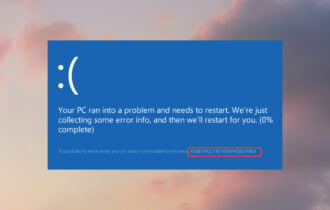
A digital signature is pretty much a permission. If Microsoft doesn’t recognize the permissions for the program, it will come up with a blue screen error saying The digital signature for this file could not be verified. This error is also known as Error Code 0xc0000428.
The digital signature is in place to secure software and prevent forgeries. This error usually occurs when third-party software is installed. namely, with newer software, it is possible that the digital signature has yet to be attained.
Why can’t I verify my digital signature?
If you are getting the Windows cannot verify the digital signature for this file error, it is likely due to a recent hardware or software change that might have installed a file that is signed incorrectly or damaged.
In some other cases, the file might be malicious software from an unknown source.
How can I fix the digital signature for this file couldn’t be verified error?
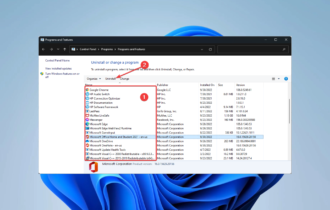
1. Perform a system restore
- Hard restart your computer and keep pressing F8 numerous times as the system is booting up.
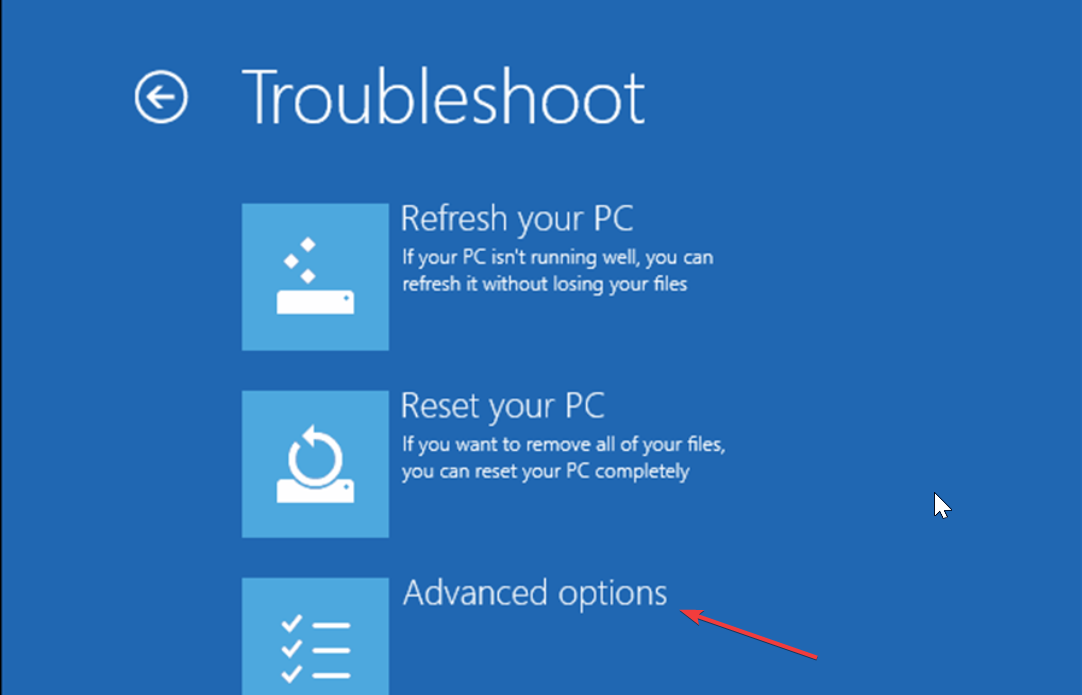
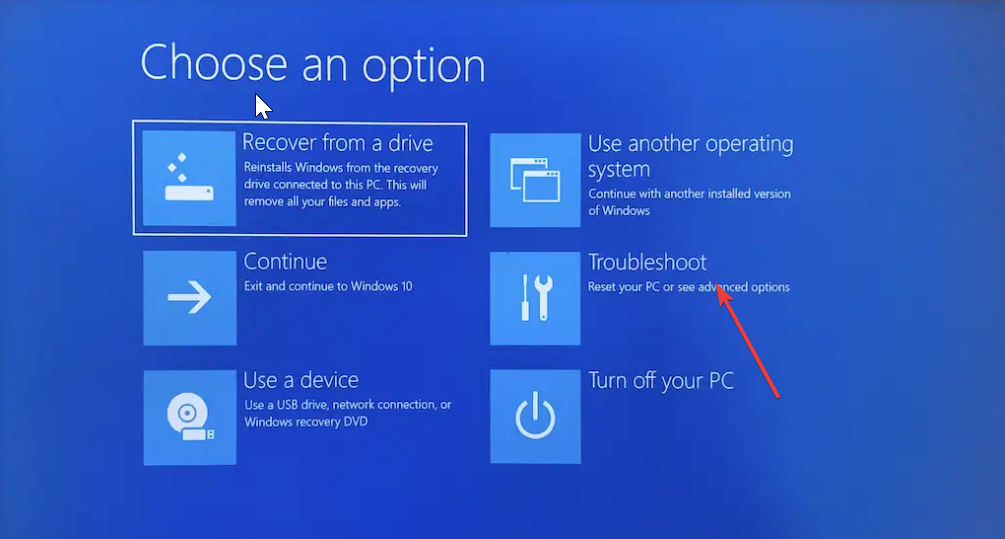
- Select the Troubleshoot option.

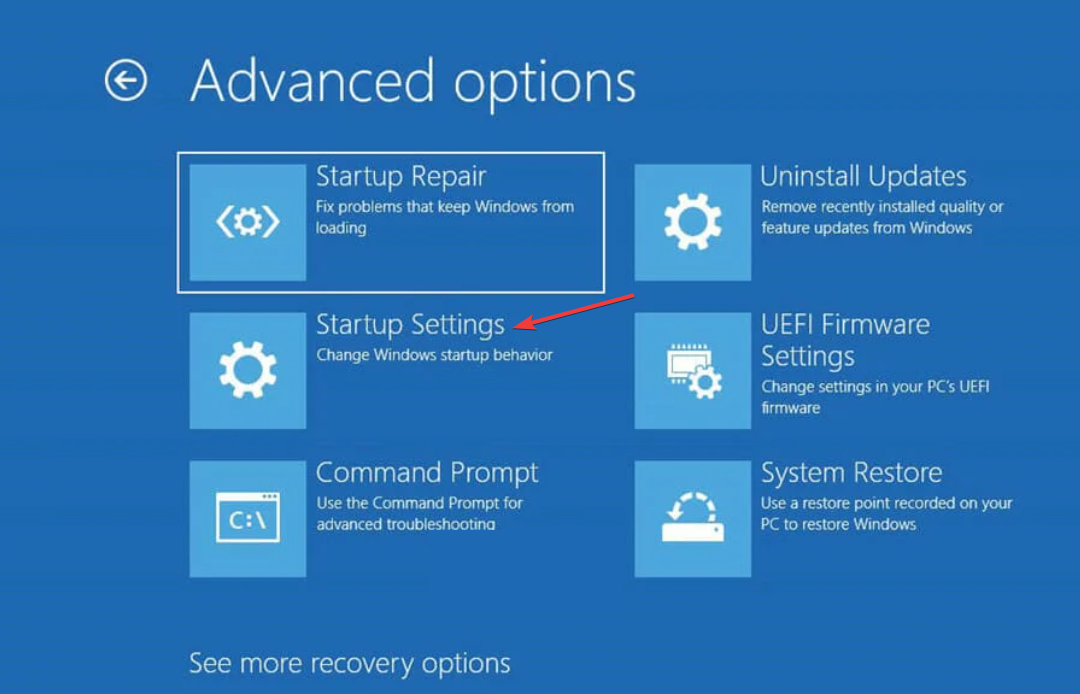
- Now, click the Advanced options.

- Choose Startup Settings and click the Restart button on the next page.

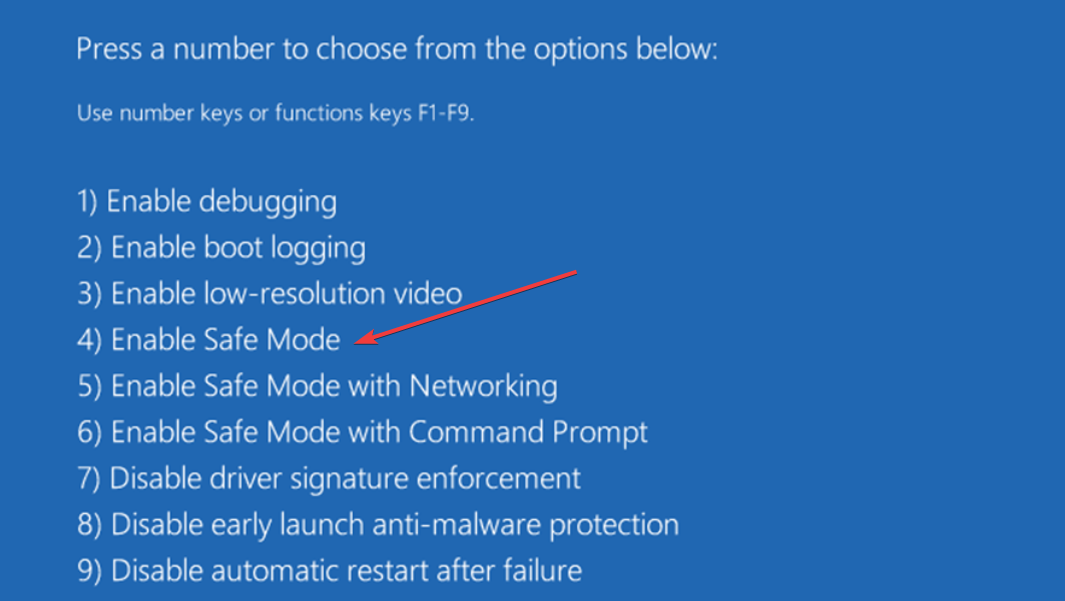
- When your PC restarts, press the corresponding key to Enable Safe Mode or Safe Mode with Networking.

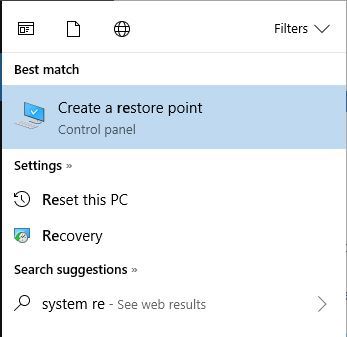
- Click in the Search panel on the System Menu and type system restore.
- Click on Create a Restore Point.

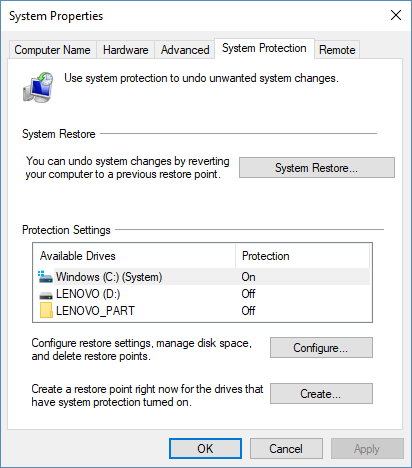
- Click the System Restore button.

- Now, click the Next button on the page that pops up
- Select your preferred restore point and click the Next button.
- Finally, click the Finish button and follow the onscreen instructions to complete the process.

This should eliminate whatever features were added with newer programs and make the system functional.
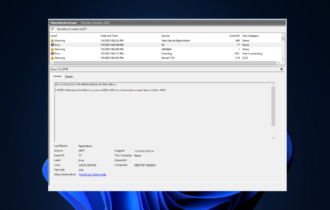
2. Repair boot manager
- Insert your Windows 10 disc into the disc drive and restart the computer.
- Press the F key that corresponds to your system recovery boot (if any).
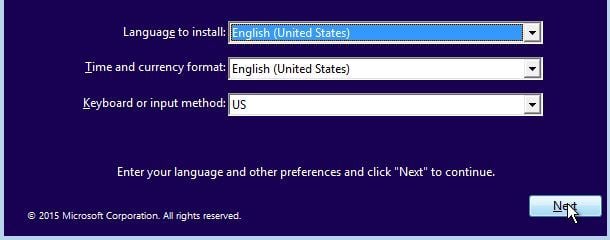
- Adjust the language and the there settings accordingly and click Next.

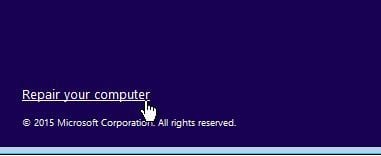
- Click on Repair Your Computer in the lower right corner of the screen.

- Click on Troubleshoot.
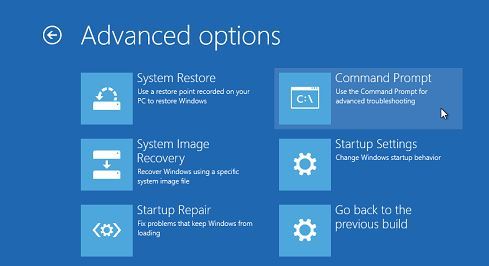
- Click on Advanced Options.
- Choose Command Prompt.

- Choose an Account to Continue (Administrator).
- Type the following commands and press Enter after each:
C:Cd Bootattrib bcd -s -h -rbootrec / rebuildbcd - Perform a Startup Repair by starting Windows.
- Navigate to the System Settings in the menu.
- Click on Update and Security.

- Click on Recovery.
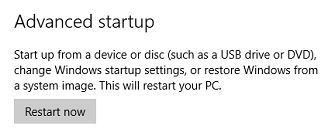
- Under Advanced Startup, click on Restart now.

- Click on Troubleshoot
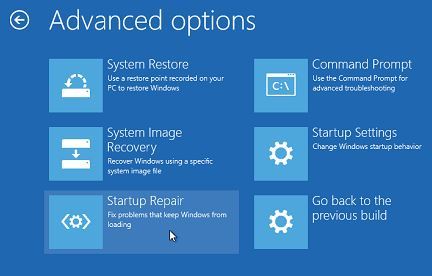
- Click on Advanced Options.
- Click on Startup Repair.

- Select the User Name.
- Enter the password for the account.

Once the repair is complete, the system will reboot, and the error should be cleared.
3. Temporarily disable digital signature
- Press the Windows key + S and select Update & Security.
- Select Recovery on the left pane.
- At the bottom of the page, you should see Advanced startup with a Restart now button below.
- Click the button and wait for the system to reboot.
- Once the PC reboots, select Troubleshoot option.
- Select Advanced options and click Startup Settings.

- Find the Disable driver signature enforcement option and click F7 to enable it.

We hope that at least one of these methods helped, and we would be glad to hear which one. If you are also dealing with other issues like memory_corruption BSOD, check our detailed guide to fix it.
Also, if you know other ways to fix the digital signature issue, tell us in the comments.