5 Quick Ways to Fix DirectX 12 Not Detected
Newer or older drivers. Whichever works
![]() 4 min. read
4 min. read
![]() Published on
Published on
Share this article
Improve this guide
Read our disclosure page to find out how can you help Windows Report sustain the editorial team. Read more

When you attempt to launch a game that uses DirectX 12 but you get a message that it is not recognized, your graphic drivers are probably to blame.
Most older drivers may not augur well with DirectX 12 because of compatibility issues so you may have to check for an update. Similarly, if your OS is out of date, DirectX 12 may not be compatible with your version of Windows hence can’t be detected.
Keep in mind that some programs are resource-intensive so DirectX 12 may not be detected because it requires a powerful GPU that most integrated GPUs cannot handle.
What can I do if DirectX 12 is not detected on Windows?
1. Check if your PC supports DirectX 12
- Press Windows key + R and type dxdiag.

- Navigate to the Display tab.
- In the Drivers section look for Feature Levels. If it says 12_1, 12_0 it means that DirectX is supported.


It’s imperative to check whether your graphics card is DirectX 12 compatible or else you’ll keep getting the DirectX 12 is not supported on your system error.
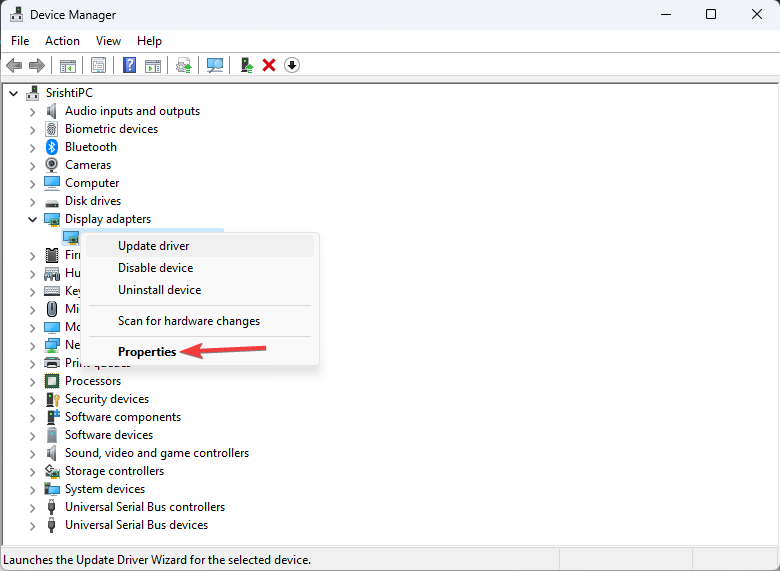
2. Update display drivers
- Click the Windows button, type Device Manager in the search bar, and click Open.

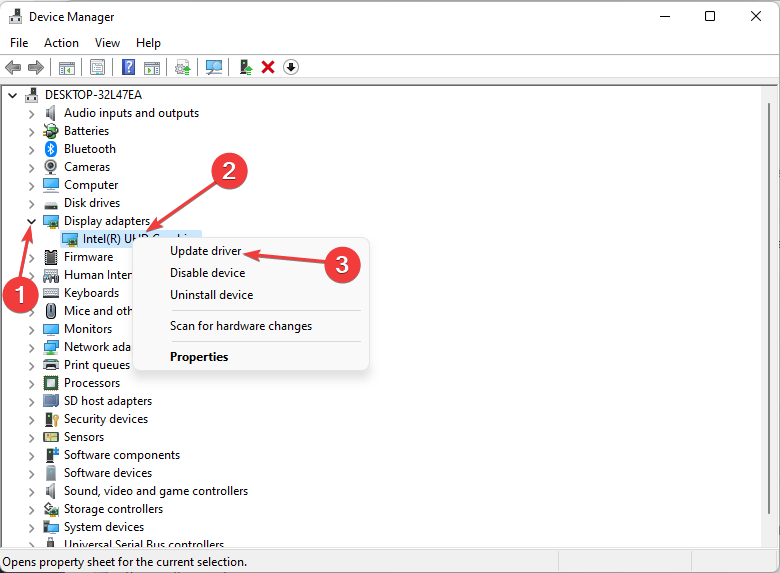
- Navigate to Display adapters to expand, right-click on your graphics card and select Update driver.

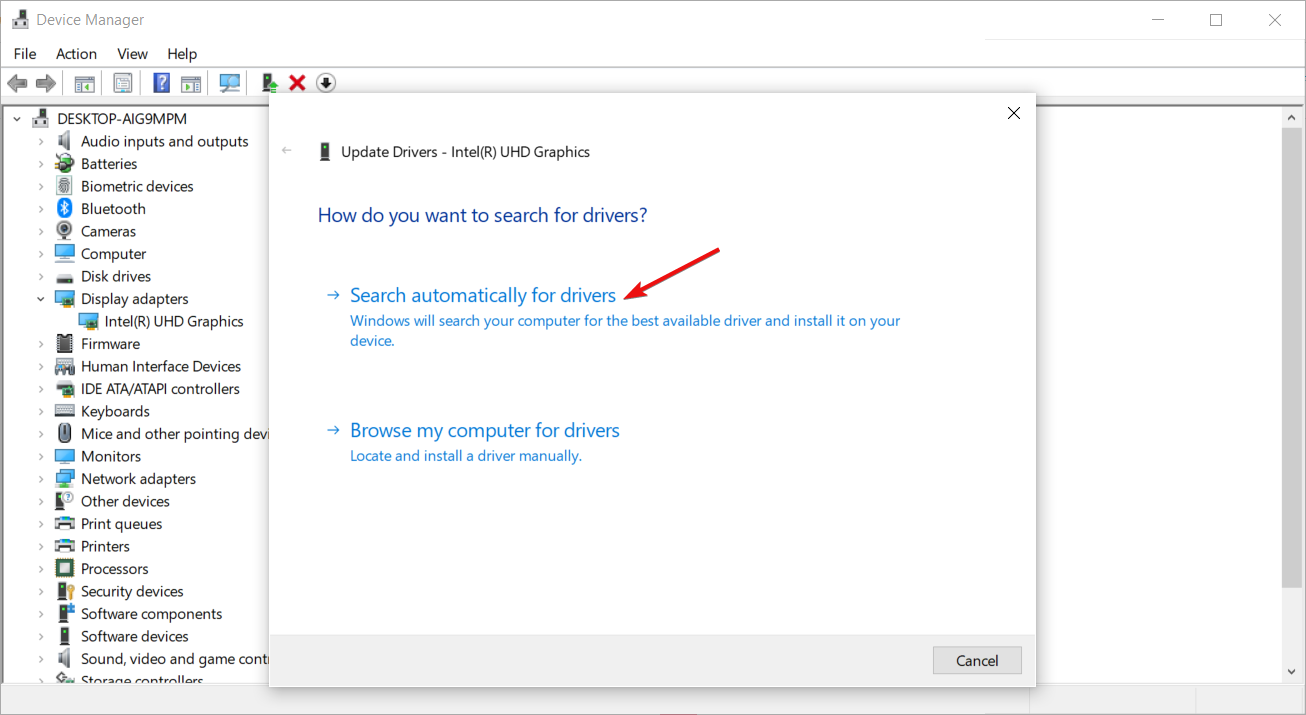
- Select Search automatically for drivers.

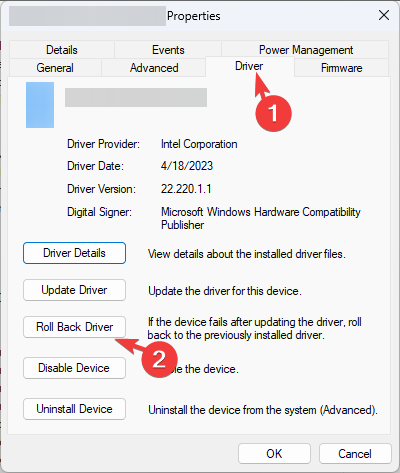
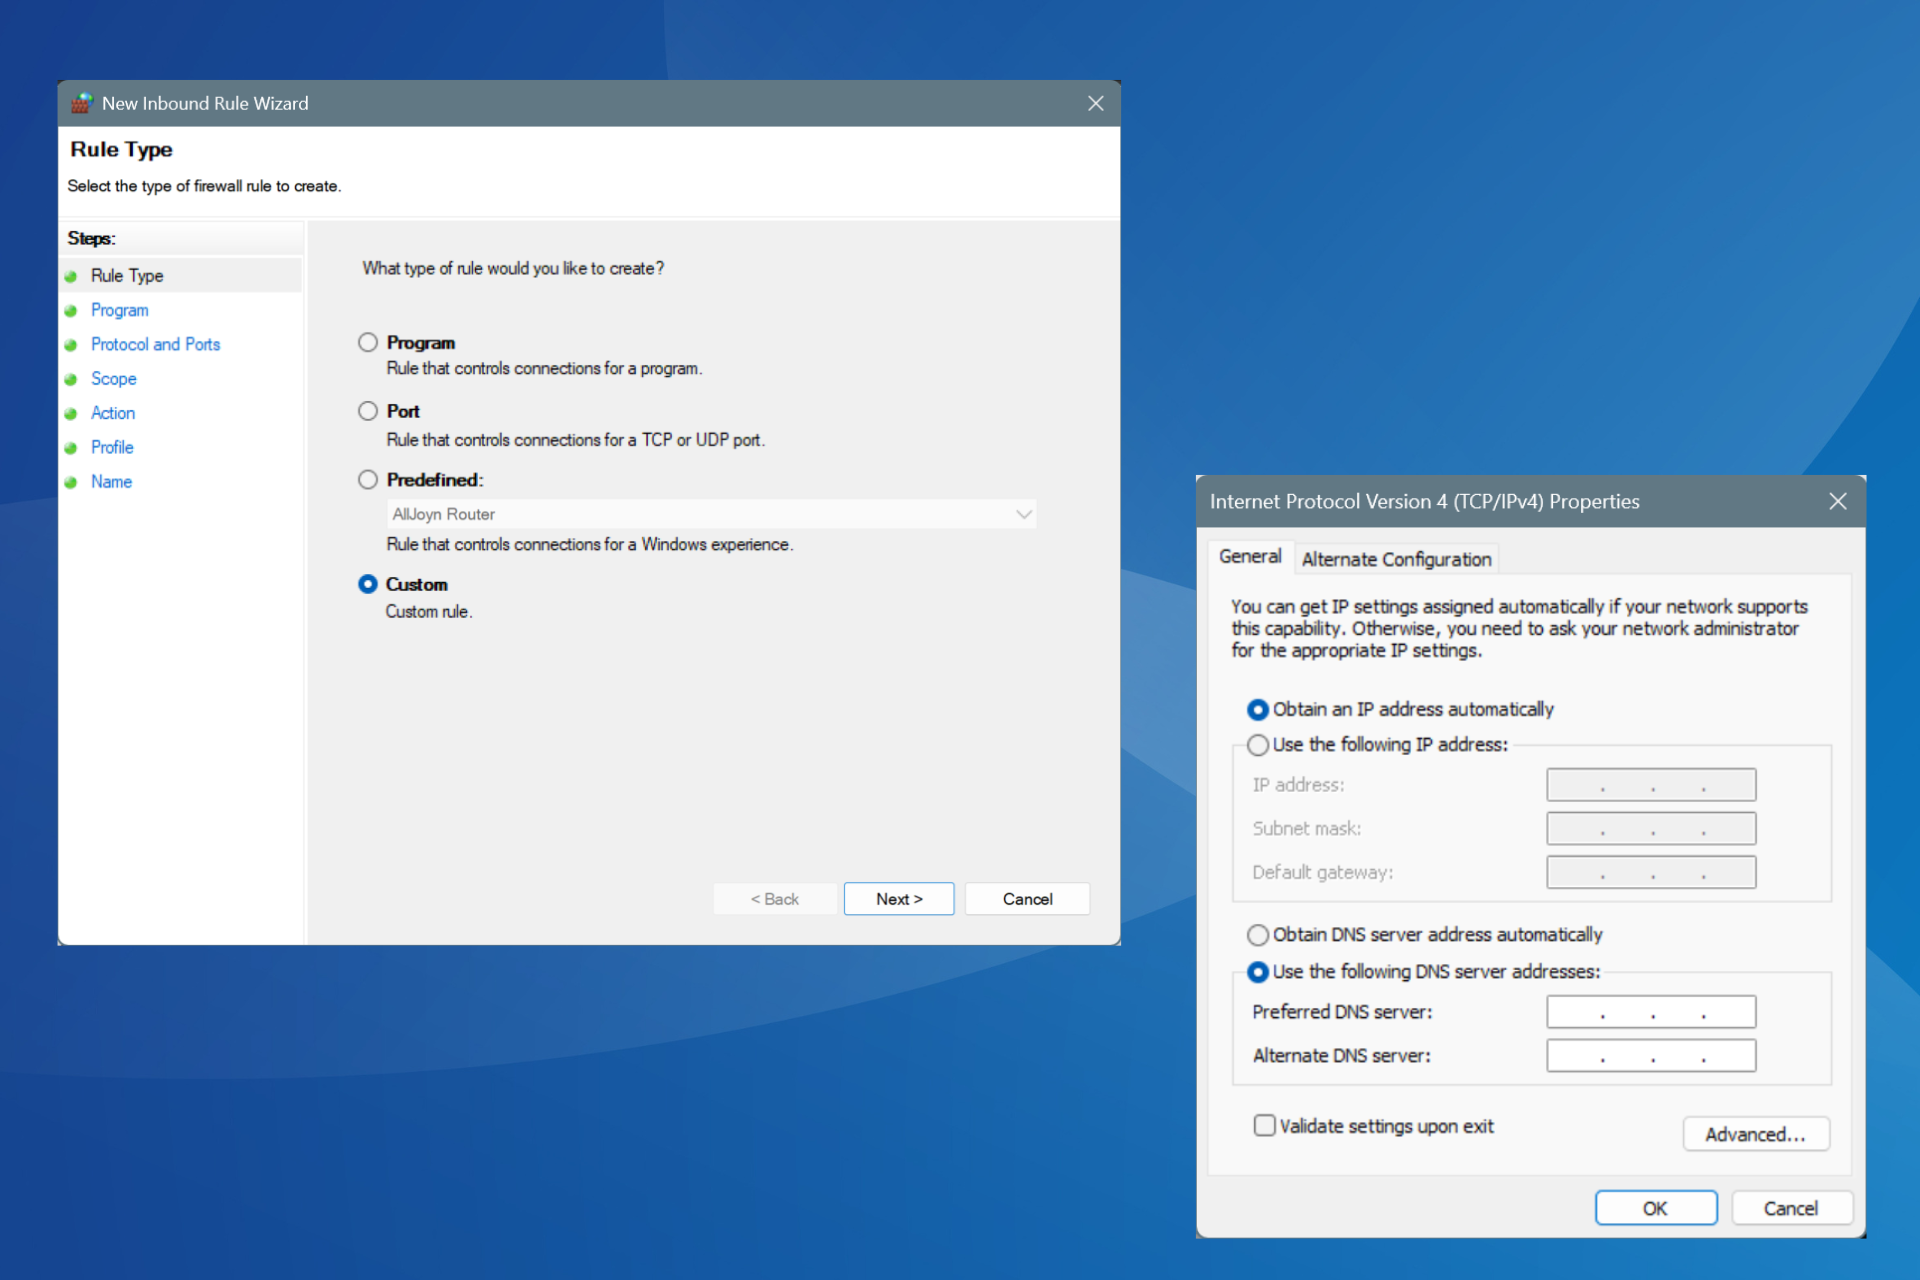
3. Roll back to an earlier driver version
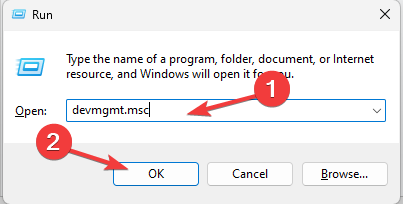
- Press Windows + R to open the Run dialog box.

- Type devmgmt.msc and click OK to open the Device Manager.
- Locate and click Display adapters to expand it.
- Right-click the NVIDIA driver and choose Properties.

- Go to the Driver tab, and select the Roll Back Driver option.

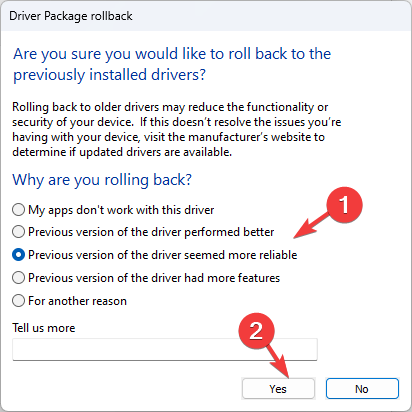
- On the Driver Package rollback page, select the reason for the rollback and click Yes.

- Restart your computer to complete the process.
4. Use the .NET Framework repair tool
- Download the .NET Framework repair tool.
- Launch the program on your PC.
- Accept the terms and agreement and click Next to begin the diagnosing process.

- It will give you the changes that are required for the .NET Framework to run properly.
- Click Next to apply the changes.


DirectX 12 relies on the .NET framework to function so running the repair tool can help point out whether there are any corrupt system files that are causing compatibility issues. If any, ensure you reinstall DirectX 12.
5. Perform a clean install
- Create a bootable USB drive.
- Connect the bootable installation media USB flash drive to your PC.
- Restart your PC and enter BIOS by pressing Del or F2 during the boot.
- Set your flash drive as the default boot device and save changes.
- Press any key to enter setup when asked and click Next.
- Click on Install now to proceed.
- Enter your product key or choose I don’t have a product key.
- Select the version that you want to install and click Next.

- Accept the terms of service and click Next.

- Select the Custom install option.

- Select the Primary drive and click Next. Double-check to make sure that you’ve selected the correct drive.

- Follow the on-screen prompts to complete the installation.


As a last resort, a clean install could reset your DirectX 12 corrupt files and recreate new one that were probably causing compatibility issues.
Keep in mind that DirectX 12 is a newer version with advanced features that requires powerful hardware. If your GPU is not up to the task, your may succeed in getting your device to recognize DirectX 12 but it will be lagging and keep stuttering.
Elsewhere, if you get a DirectX initialization has failed, don’t hesitate to check out our detailed guide for a quick fix.
That’s a wrap from us but do let us know if you have any other solutions up your sleeve.


User forum
0 messages