DLL not Found in Visual Studio: How to Fix
Adjusting your settings in Visual Studio can fix various DLL issues
3 min. read
Updated on
Read our disclosure page to find out how can you help Windows Report sustain the editorial team Read more
Key notes
- If DLL is not found in Visual Studio, you might have to adjust your settings accordingly.
- Adjusting the environmental paths can also help fix this problem.
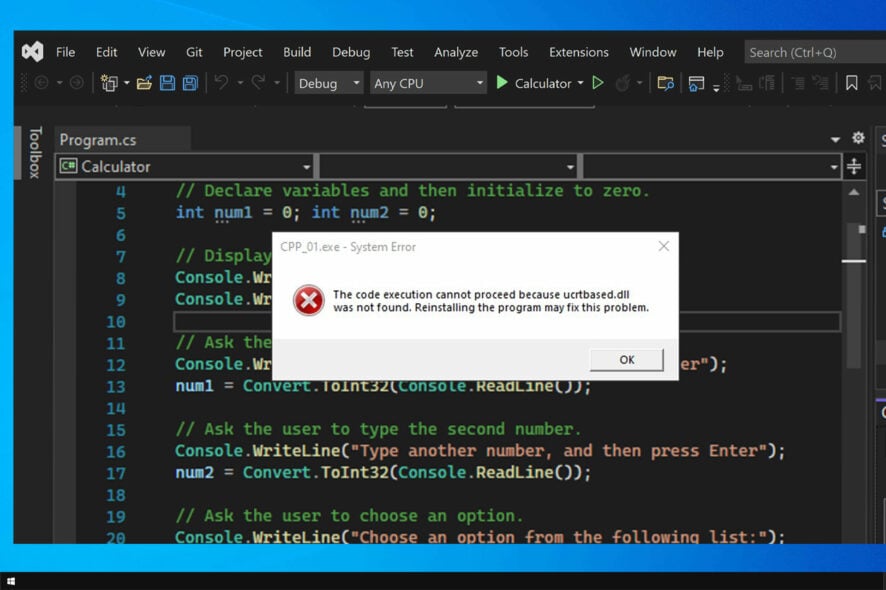
Visual Studio is one of the most used coding applications, but many reported that DLL not found in Visual Studio message while using it.
This can be a big problem, and if you’re having issues with missing DLLs, we suggest reading our guide on missing DLLs on Windows 10.
As for Visual Studio, fixing the missing DLLs is a relatively simple task, and in today’s guide, we will show you the best ways to do it.
Where is DLL in Visual Studio?
To view the DLLs that your app uses in Visual Studio, you need to use the Modules window. To open it, go to Debug and select Windows. Lastly, select Modules.
Alternatively, you can use Ctrl + Alt + U shortcut.
How do I fix missing DLL files in Visual Studio?
Before we start, there are a couple of potential workarounds that you may want to try:
- Moving the DLL files – Moving the DLL files to the same folder as the executable file is the quickest way to fix any problem with DLLs. You can automatize this process by creating a Post-Build Event.
- Use the DLLs from a different location – Depending on your project, using the DLLs from a different path can help fix various issues. The suggested path is
C:\Program Files (x86)\Microsoft Visual Studio 14.0\VC\redist\debug_nonredist\x64\Microsoft.VC140.DebugCRT - Check antivirus settings – Cylance Protect and other antivirus software can cause issues with DLLs. Adjust the antivirus whitelist to make sure that the DLL files aren’t blocked.
- Delete the suo file – Close Visual Studio and delete the .suo file. The file is located next to the .sln file. Start Visual Studio and save all files.
- Use the correct version of .NET – Ensure you’re targeting the correct version of .NET. Using the incorrect one can cause issues.
1. Use a dedicated DLL fixer
If DLL is not found in Visual Studio, you can always download the necessary files, but that can be a tedious process, especially if you need multiple files.
This is why many use DLL repair tools to quickly and easily restore missing files. After fixing the issue these apps also work great as long-term maintenance tools.
2. Set Environment Variables for Projects
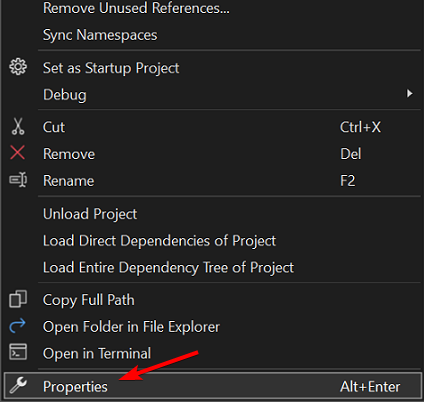
- In Visual Studio, go to Projects and select Properties.
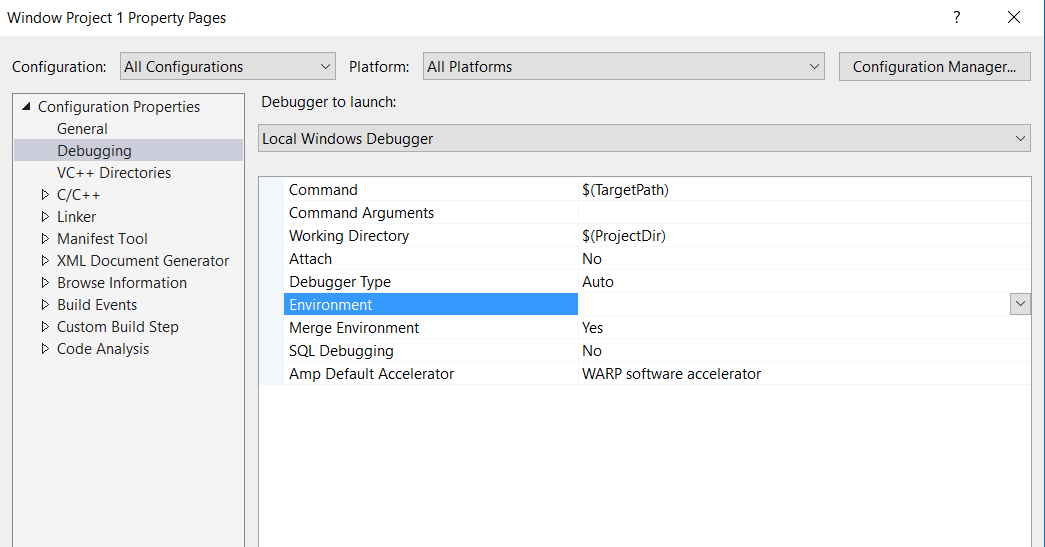
- Next, go to Configuration Properties and select Debugging Environment. Lastly, select Merge Environment.
- Now locate the PATH value and change it to:
PATH=%PATH%;$(TargetDir)\DLLS - Save changes.
A few users reported that using $(ExecutablePath) instead of $(TargetDir) worked for them, so try that as well.
3. Change build settings
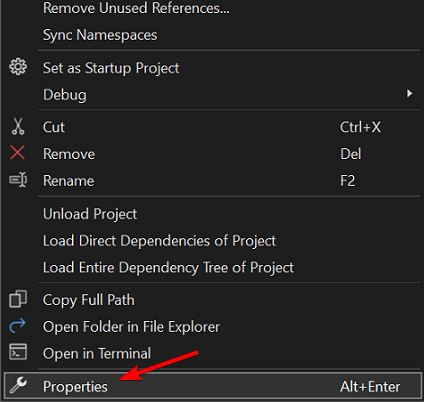
- In the right pane, right-click the Solution and choose Properties.
- Now click on Configuration.
- Check the Build boxes for the projects. If they are already checked, uncheck them, and save the changes. After that, check them again.
- Optional: Some users are suggesting restarting Visual Studio after unchecking the Build boxes.
- Optional: Repeat Step 3 for both Release and Debug modes.
As you can see, you can easily fix the DLL not found in Visual Studio error. All that you have to do is to configure your projects properly.
Missing files can be a problem, and we have a great guide on missing DLL files on Windows 11, so we encourage you to check it out.
What other solutions did you use to fix this problem? Let us know in the comments below.

