Fix: Epson Event Manager The Selected Device is Read Only
The Epson app doesn't have the right permissions to run as intended
![]() 6 min. read
6 min. read
![]() Updated on
Updated on
Share this article
Improve this guide
Read our disclosure page to find out how can you help Windows Report sustain the editorial team. Read more
Key notes
- Epson has a variety of scanners that users can scan their documents through the Wi-Fi channel.
- The selected device is read-only error is creating a problem while trying to scan any document using the Epson scanner.
- Updating the scanner's driver or running the Epson Event Manager app as an administrator might help in fixing it.
Epson Event Manager is a software released by the Seiko Epson Corporation. This software needs to be installed on the Windows system in order to manage all the scanning tasks performed by the Epson scanners.
The Epson scanners need to be connected to the Windows system for getting detected by the Epson Event Manager software. After this gets detected, users can scan as many documents using this software.
It also allows users to scan multiple pages into a single PDF file for better convenience.
These days many users who scan originals using the Epson scanner have noticed an unusual error while trying to connect to the selected device on the Epson Event Manager app.
The error says The Selected device is read-only and does not proceed from there.
Why am I getting the selected device is read only in Epson Event Manager?
When users try to connect to the scanner device using the Epson Event Manager app, it throws an error message we discussed above in this article.
Here are the reasons for this error message to occur on any Windows system while using the Epson scanner:
- Write permission security – The main reason is the disabled write permission security of the user profile on the Window system; try giving the write permissions to the user profile.
- Outdated scanner device’s driver – When the scanner device’s driver is not updated regularly, it throws errors like mentioned above; so, update the scanner device’s driver on the system.
- Event Manager app compatibility mode – If the Epson Event Manager app is not compatible with the Windows version and runs as an administrator, it might cause such problems.
- Windows Image Acquisition Service – When the Windows Image Acquisition service is stopped, this also might create issues like The selected device is read only.
Don’t worry if you are facing this kind of issue. This article guides you on how to resolve the error and continue scanning the documents without any problems.
How do I fix Epson Event Manager the selected device is read only error?
1. Check the Windows Image Acquisition service
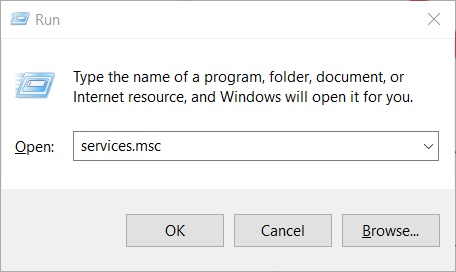
- Press the Windows and R keys together to open the Run box.
- Type services.msc in the textbox of Run and press the Enter key.

- This opens the Services app window on the system.
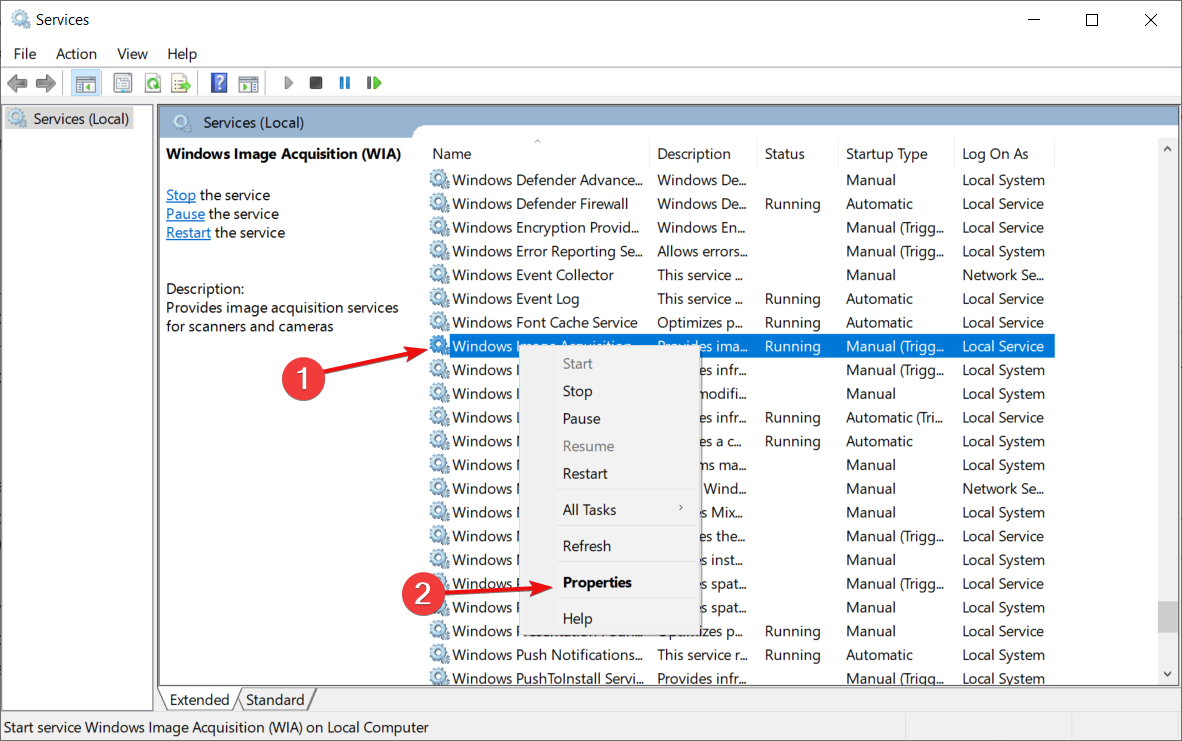
- Locate the service called Windows Image Acquisition by scrolling down the list of services to the bottom.

- Right-click on the Windows Image Acquisition service and click Properties from the menu.
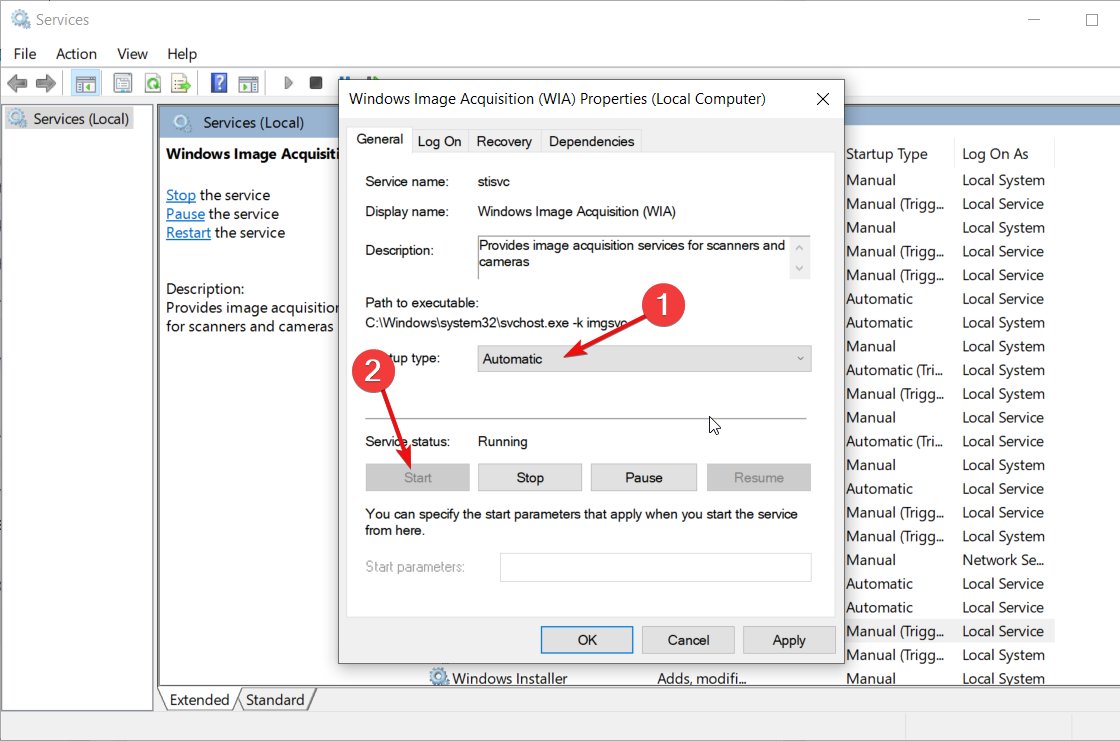
- Once the Properties window appears, ensure you are on the General tab.
- Select Automatic from the Startup type dropdown and, if the service has stopped, click Start.

- This will start the Windows Image Acquisition service on the system.
- Once done, click Apply and OK on the Properties window.
- Restart the system and check if this resolves the issue.
2. Update the scanner device’s driver
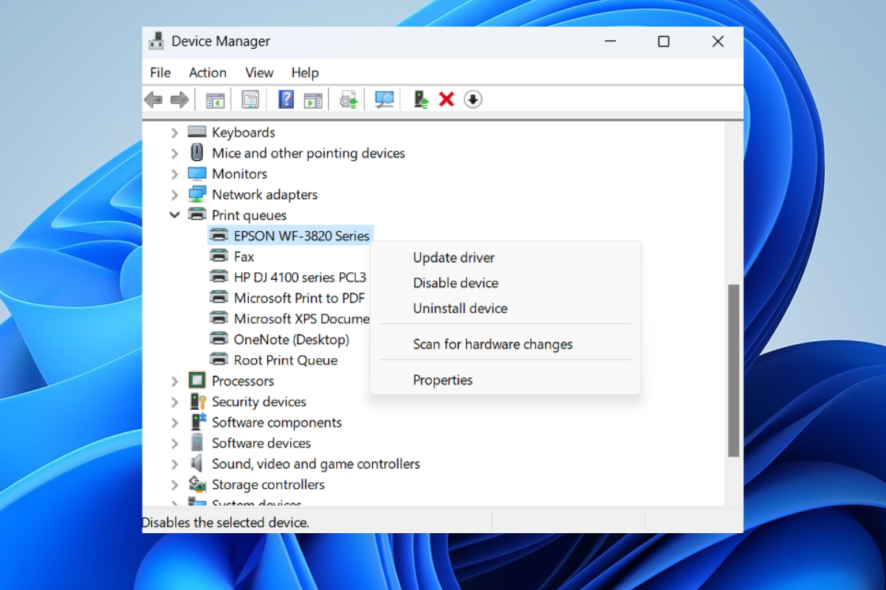
- Press the Windows and X keys together and then press the M key on the keyboard to open the Device Manager app on the system.
- Once the Device Manager window opens, locate the Print queues from the list of device categories.
- Double-click on the Print queues option to expand it.
- Then right-click on the Epson scanner device from the list and select Update driver.

- Click the Search automatically for drivers option to start updating the device’s driver.

- Follow the onscreen instructions and, once done updating, close the device manager app.


If the manual update didn’t work out, you can use a software that automatically finds updated drivers and update them. We recommend Outbyte Driver Updater for this.
Outbyte Driver Updater is a tool that scans your system and updates any out-of-date driver. It’s faster because it updates all of them simultaneously and it’s a lot safer because it uses its own database for driver files.

Outbyte Driver Updater
Update all your drivers automatically faster and safer with this amazing tool.3. Run the Epson Event Manager app as an administrator
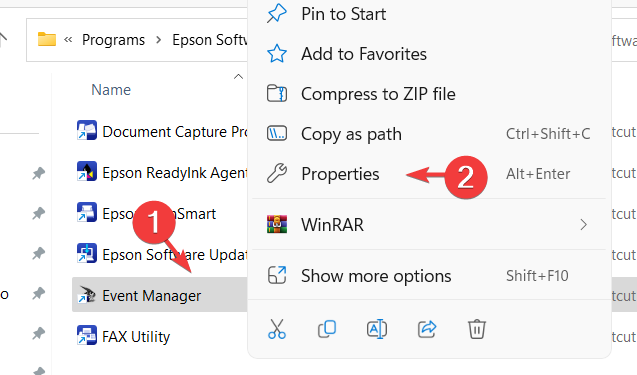
- Press the Windows key and type event manager.
- Then right-click on the Event Manager app from the search results and select Open file location from the context menu.

- This opens the Event Manager app folder on the system.
- Right-click on the Event Manager shortcut icon in the folder and select Properties.

- In the Properties window, go to the Compatibility tab.
- Under the Compatibility tab, check the Run this program in compatibility mode for under the Compatible mode section.
- Then select Windows 8 from the dropdown list.
- Under the Settings section at the bottom, check the Run this program as an administrator option by clicking on it.
- At last, click Apply and OK.
- Restart the system and see if this worked.

4. Give the write permissions to the user profile
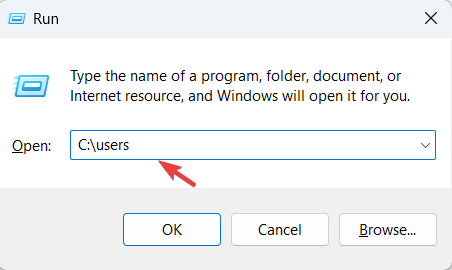
- Press the Windows and R keys together and type C:\users in the run box that appears on the screen and then press the Enter key.

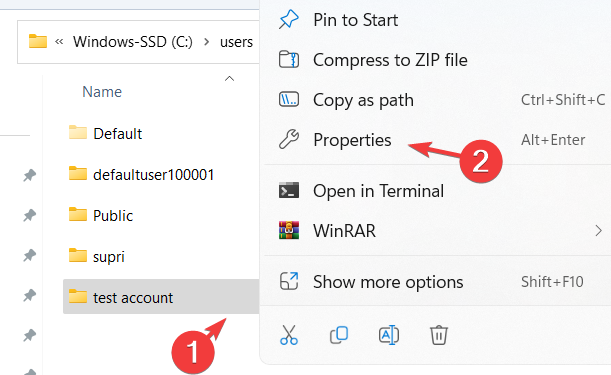
- Locate your user profile folder, right-click on it, then click Properties from the context menu.

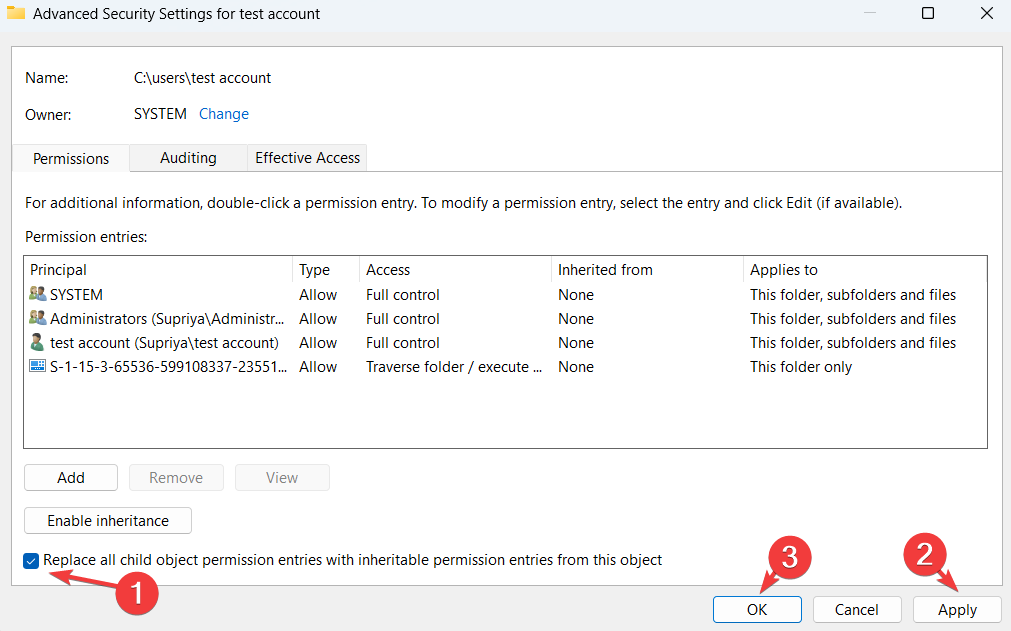
- In the Properties window, click the Security tab and then click Advanced at the bottom.
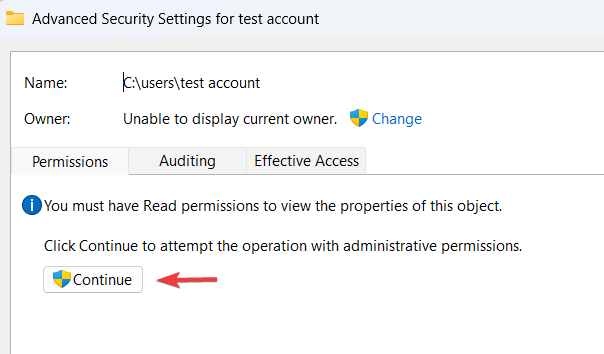
- This opens the Advanced Security Settings window.
- Click the Permissions tab, and under this tab, click Continue.

- At the bottom, check the Replace all child object permission entries with inheritable permission entries from this object checkbox by clicking on it.
- After that, click Apply and OK.

- Now you can close the Properties window of the user profile folder also.
Why won’t my Epson printer scan to my computer wirelessly?
Many Windows users have reported that they were unable to scan any documents wirelessly. There may be many factors responsible for this issue.
One of the reasons could be that the computer system itself is rejecting the network channel which receives the instruction from the scanner.
Another reason is that the scanner device is not able to communicate with the system’s network interface when there are many other wireless network interfaces present.
Some users also had issues where the scanner was not being detected on their Windows 11 system.
Hope you managed to resolve the issue using the fixes explained in this article. Please let us know in the comments section below!


User forum
0 messages