Failed to Play Test Tone: How to Fix the Error
Check expert-approved solutions for the problem
Key notes
- The Failed to play test tone error message can appear if there is a hardware issue or your audio drivers are outdated.
- To fix things, update the audio driver, check the connections, and ensure the critical services are running.
- Many also managed to get rid of the error in Dell and Lenovo devices by reconfiguring the Registry.
The Windows OS, though getting refined over the years, still throws a few errors every now and then. One of these is Failed to play test tone error when troubleshooting issues with an audio device.
The error can be faced with a range of devices and could point to a wide array of underlying causes triggering the message, which makes it difficult to troubleshoot things.
But don’t worry! We have covered every aspect of the Failed to play test tone error and the most effective solutions for it in the following sections.
Why does it say Failed to play test tone?
There could be several reasons behind the error, and here are the common ones:
- Outdated, incompatible, or corrupt audio drivers
- Misconfigured sound settings
- Critical services not running
- Corrupt system files
- A bug in the current version of the OS
In addition to this error, users reported the following problems as well:
- USB audio Failed to play test tone – If you’re getting this error, it might be because you’re using a USB sound card or USB headphones; according to users, the problem occurs more often with USB audio devices.
- Failed to play test tone Lenovo – Audio problems like this can occur on almost any PC, including Lenovo.
- Laptop no sound, failed to play test tone – This issue affects both desktop and laptop PCs alike; in fact, the issue is more common on certain laptops than on desktop PCs.
- Failed to play test tone Acer Nitro 5 – Many using the Acer Nitro 5 laptop reported the problem, and our solutions cover it as well.
- Failed to play sound, sound disabled – In some cases, you won’t be able to play any sounds on your PC. According to users, the sound gets disabled on their PC due to this problem.
Let’s now head to the solutions.
How do I fix error Failed to play test tone?
Before you head to the solutions that require reconfiguring the settings or making other advanced changes, here are a few things you can try:
- If you’re using a 5.1 speaker system, go to your speaker settings and change them from Quadraphonic to 5.1.
- If you have the Xbox 360 controller connected to the PC, remove it. Many reported that the controller conflicted with the audio and triggered the error.
- If you are using a docking station or a USB hub to connect the audio device, remove it and directly connect the audio device to the PC.
In case these don’t work, head to the solutions listed below:
1. Update the drivers
1.1 Update drivers manually
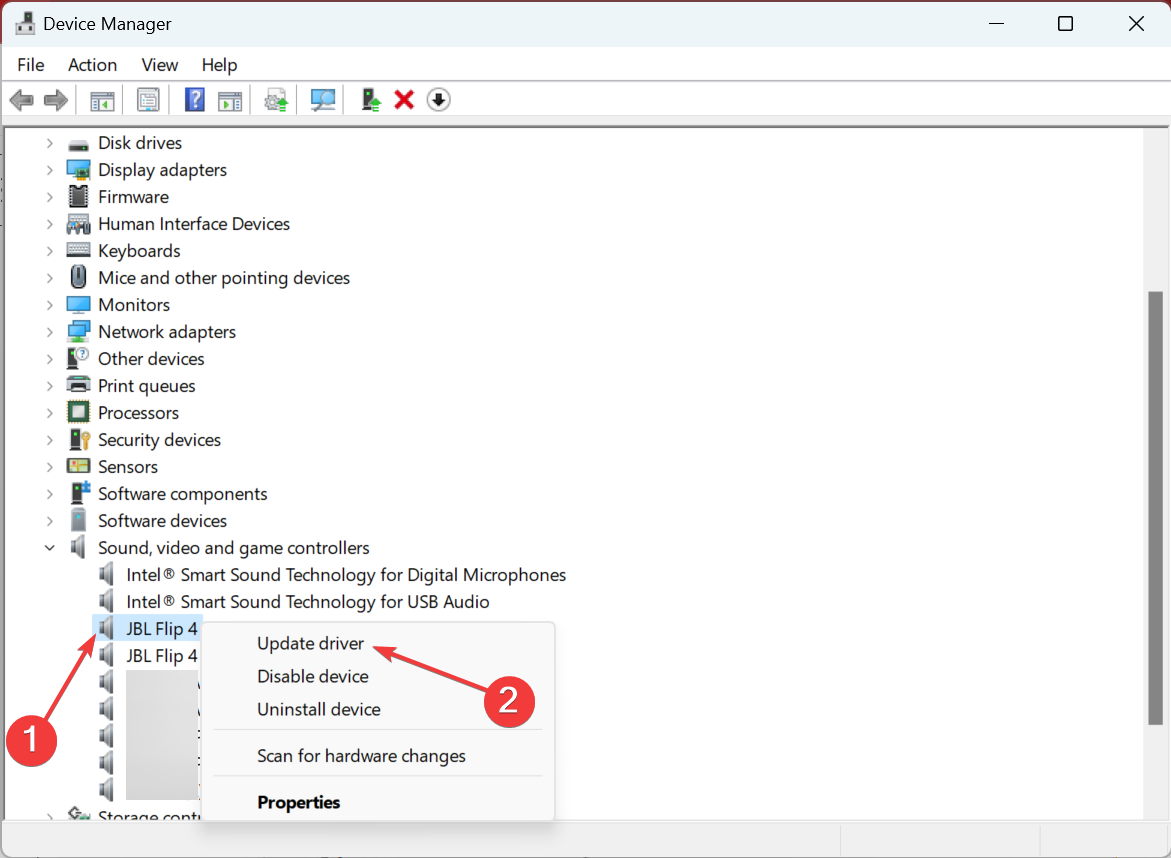
- Type Device Manager in the Search bar, and click on the relevant search result.

- Locate the problematic device, right-click on it, and select Update driver.
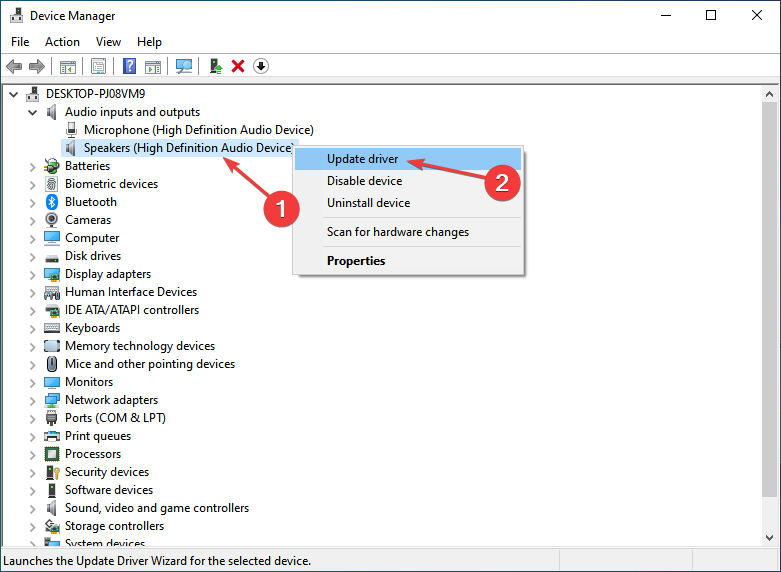
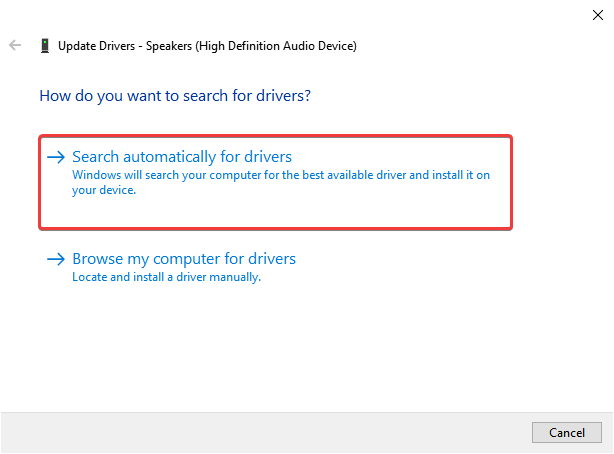
- Now, select Search automatically drivers.
If Windows doesn’t find the updates, go to the manufacturer’s official site and manually download the latest driver version. However, the manual method isn’t always effective and may introduce instability if the incorrect drivers are installed.
1.2 Use professional software
Windows 10 usually installs all the necessary drivers, and it does a good job of finding and recognizing your devices. But, sometimes, it does not, and you have to manually install or update them.
The easiest solution is to have a tool that automatically installs all the drivers you need.
- Download and install the Outbyte Driver Updater app.
- Launch the software and wait for the app to detect all incompatible drivers.
- Now, it will show you a list of all outdated drivers to select the ones to Update or Ignore.

- Click on Update & Apply Selected to download and install the latest versions.
- Restart your PC to ensure the applied changes.

Outbyte Driver Updater
Maintain your device healthy by letting OutByte Driver Updater find the latest driver options.2. Install the High Definition Audio Device driver
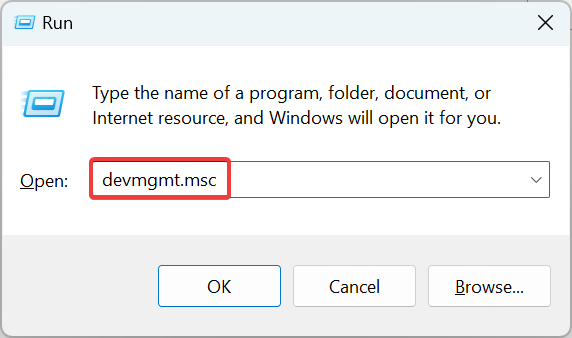
1. Press Windows + R to open Run.
2. In the text box, type devmgmt.msc, and hit Enter.
3. Go to the Sound, video and game controllers section.
4. Right-click on the problematic device and select Update driver.
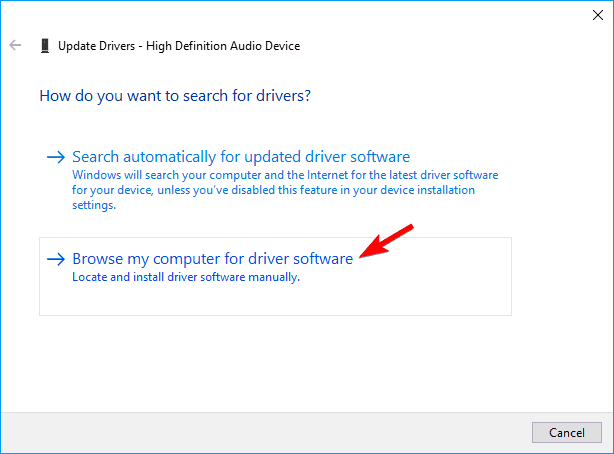
5. Choose the Browse my computer for driver software option.
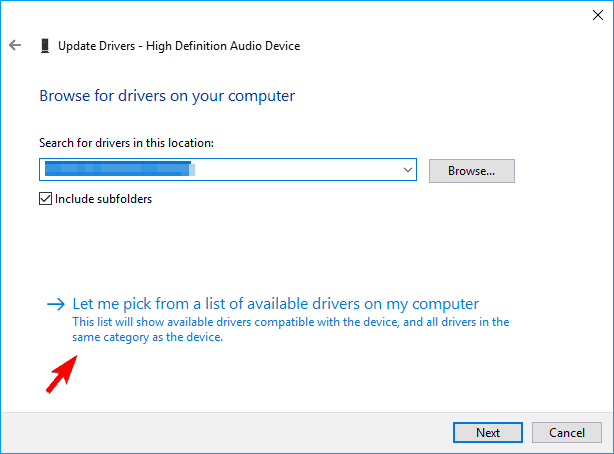
6. Now choose Let me pick from a list of device drivers on my computer.
7. From the list of drivers, choose High Definition Audio Device, and click Next.
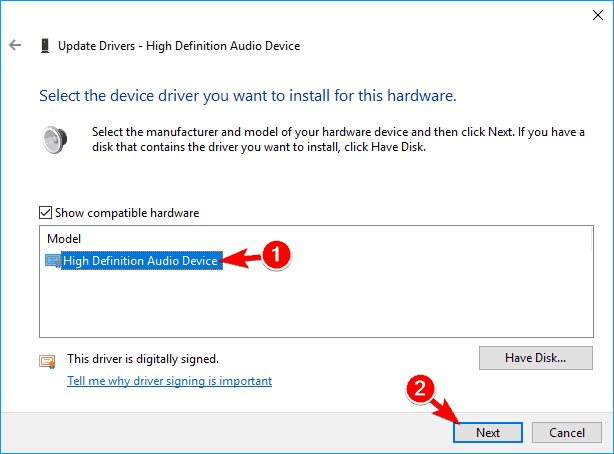
8. Click Yes on the warning box.

If updating the driver didn’t work, you can install the High Definition Audio Device driver to fix things in case of the Failed to play test tone error.
This can be done via Device Manager, and you need to browse your PC for the driver you want to install.
3. Restart the Windows Audio service
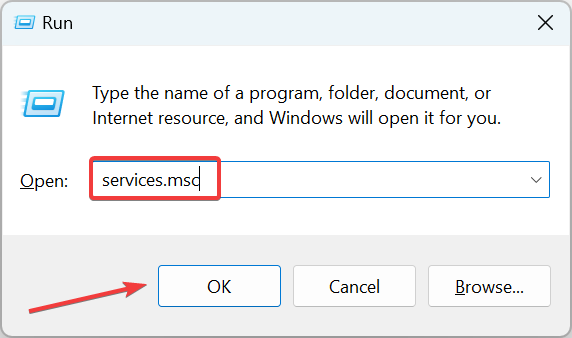
- Press Windows + R to open Run, enter services.msc in the text field, and click OK.
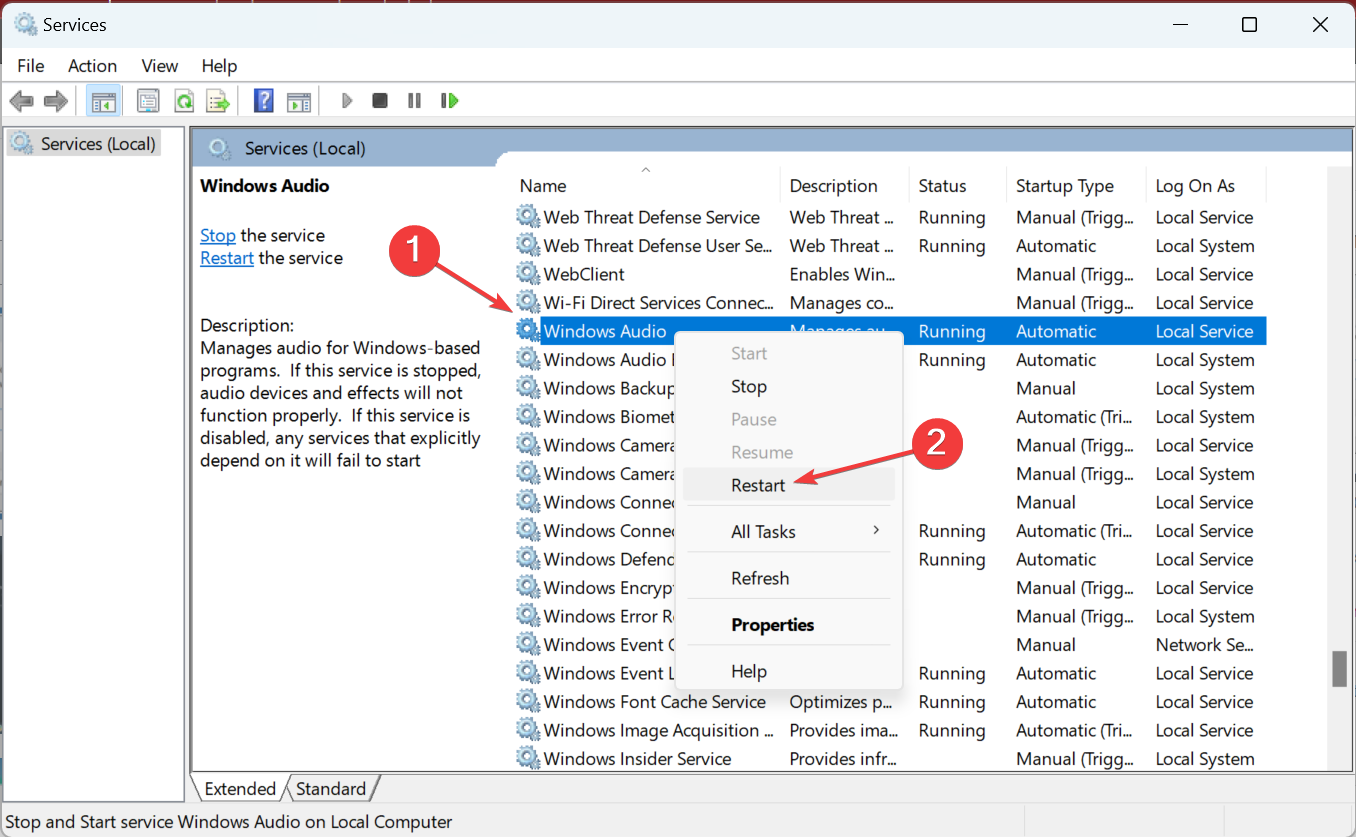
- Now, locate the Windows Audio service, right-click on it, and select Restart.
- If the service is not presently running, choose Start from the context menu.
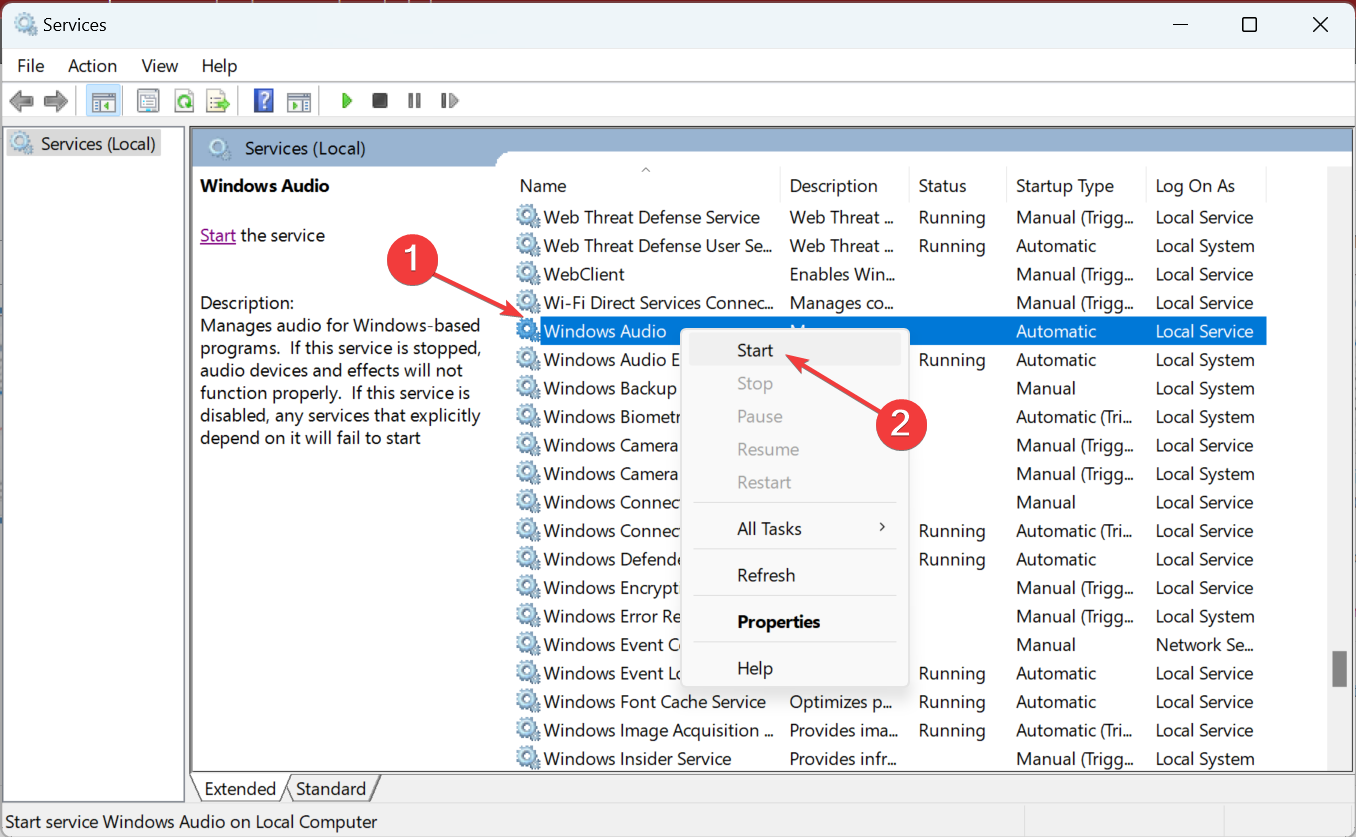
If your speaker failed to play the test tone in Windows 11, starting the Windows Audio service should help.
4. Disable all audio enhancements
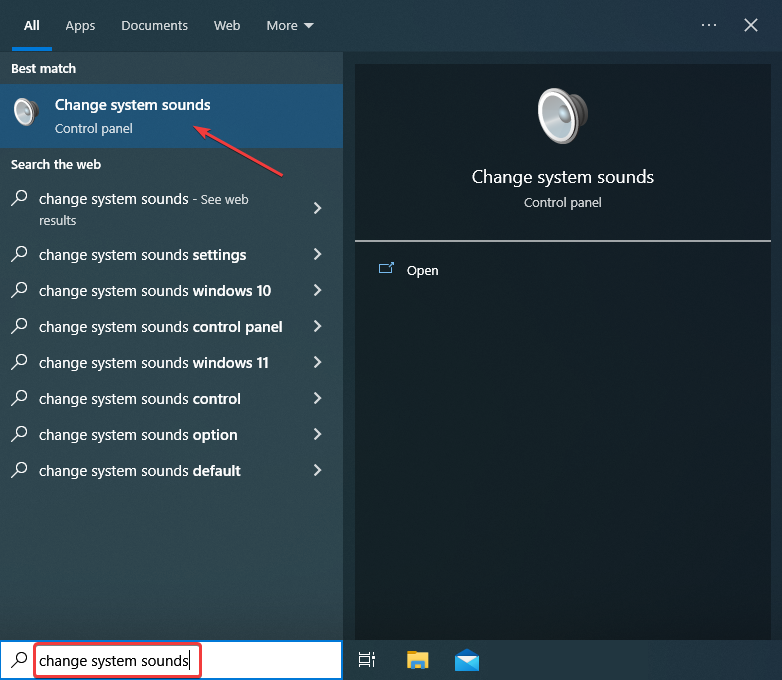
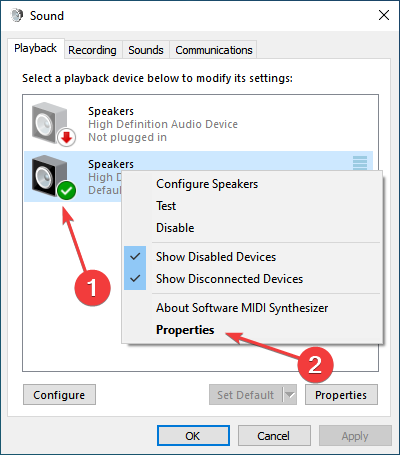
- Type Change system sounds in the Search bar, and then click on the relevant search result.
- Navigate to the Playback tab, right-click on the problematic device, and select Properties.
- Navigate to the Enhancements tab, check the Disable all enhancements option, and then click on OK to save the changes.
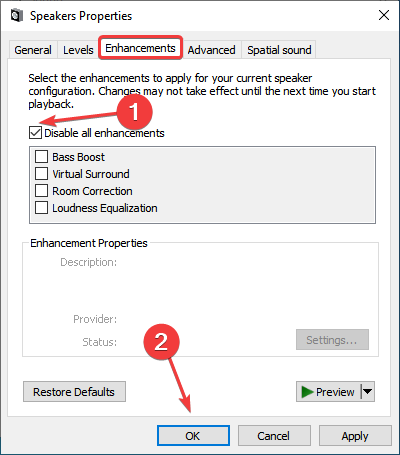
Sometimes, the Failed to play test tone error can appear if you’re using certain audio enhancements, and disabling all of them should work.
5. Remove recently installed updates
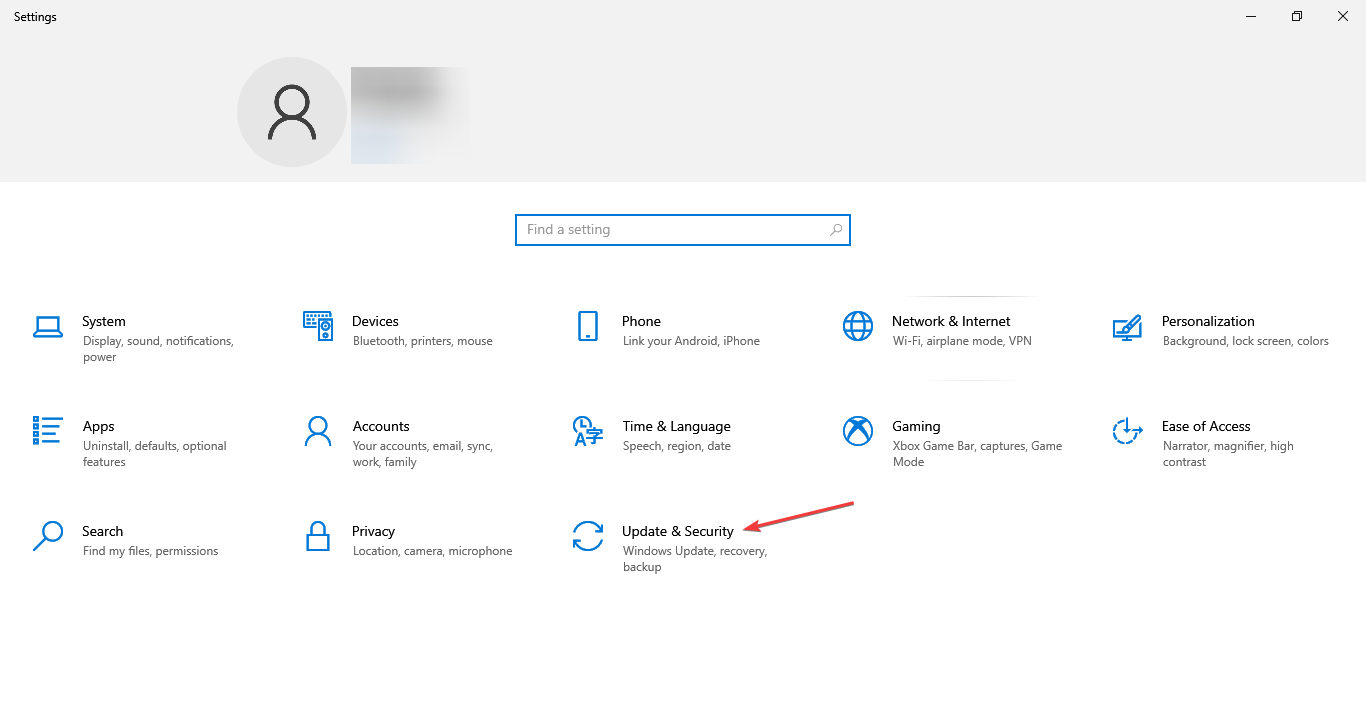
- Press Windows + I to open the Settings app and select Updates & Security.
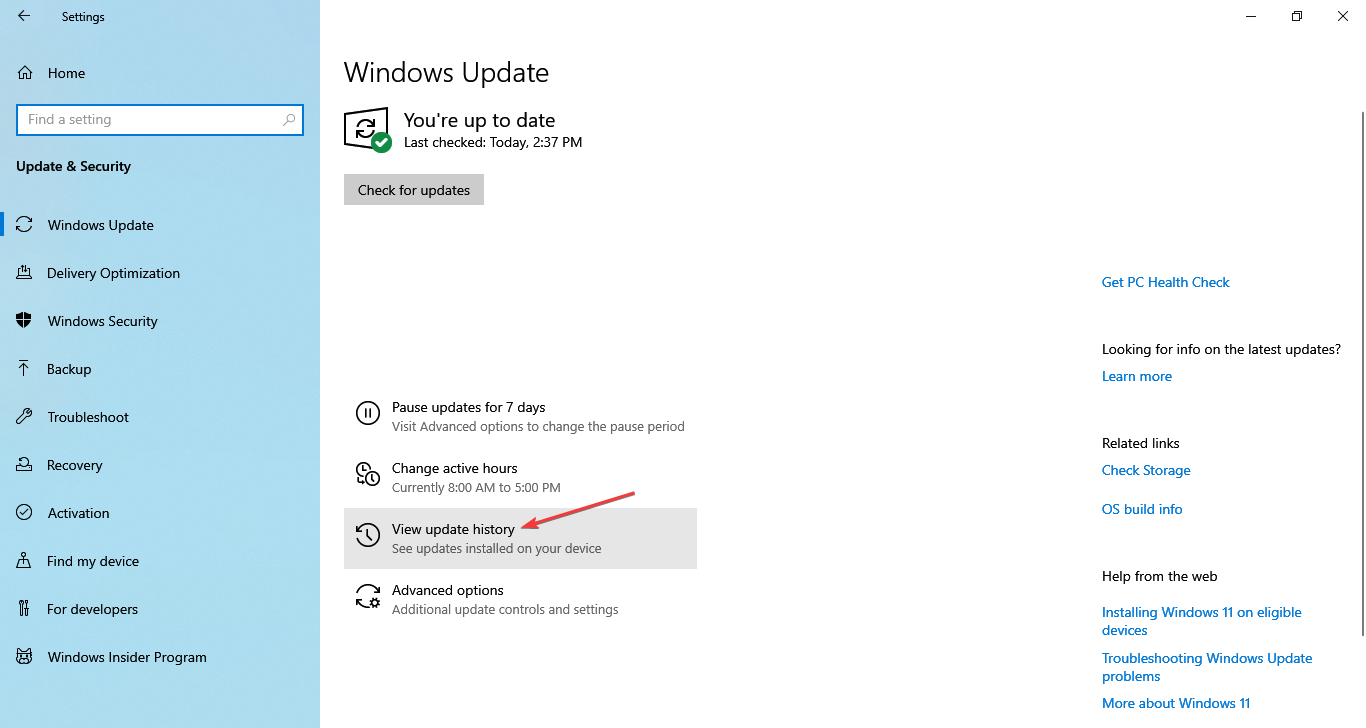
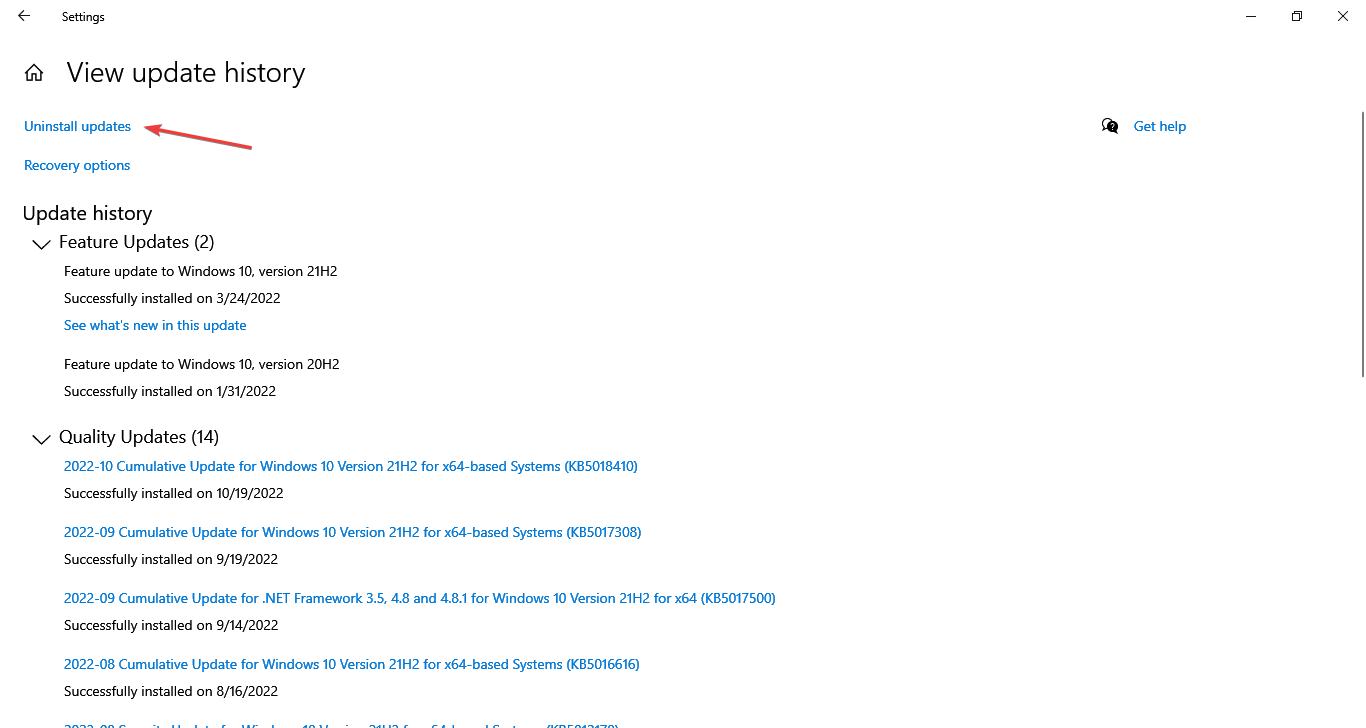
- Click on View update history.
- Now, click on Uninstall updates.
- Double-click the update that you want to remove.
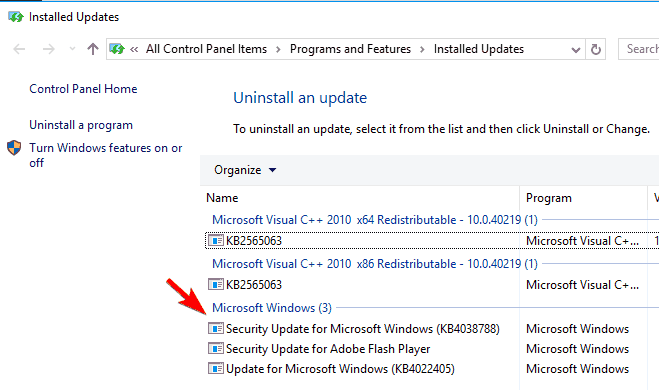
- Click Yes in the confirmation prompt.

Many users received the Failed to play test tone after Windows 10 update due to bugs in the recently installed version.
If the problem is fixed after uninstalling it, disable automatic updates in Windows, and wait for a newer version to release before you re-enable it.
6. Change the security permissions in the registry
 NOTE
NOTE
- Press Windows + R, type regedit in the text field, and click OK.

- Click Yes in the UAC prompt.
- In the left pane, navigate to:
HKEY_LOCAL_MACHINE\SOFTWARE\Microsoft\Windows\CurrentVersion\MMDevices\Audio - Right-click the Audio key and choose Permissions from the menu.

- Repeat the same steps on a working PC. Now compare the list of entries in Group or user names sections on a working PC and on your PC.
- Check permissions for each entry on the list. If certain entries or permissions are missing from your PC, you’ll need to readjust them.
- After all entries and permissions are the same on both PCs, click Advanced.

- Check the Principal section on both PCs. If the owner section is different on the affected PC, be sure to change it accordingly.

If you’re getting this error frequently, you might be able to fix it by changing the security permissions. You’ll need to find another Windows 10 PC and compare the security permissions between the two.
7. Reset Windows
If nothing so far has worked, we suggest you factory reset Windows 10. Also, if possible, make sure to delete everything, including the files stored on the PC.
Once done, the computer will be as good as new and the Failed to play test tone error fixed.
In case this, too, doesn’t work, the problem likely lies with the hardware, and you will have to get it checked by a professional, or if it’s still under warranty, take it to the dedicated repair center.
Also, if the speaker Failed to play test tone in Windows 11, the same set of solutions would apply
Besides, check the best sound enhancement software for Windows 10.
If you have any suggestions, comments, or questions, just write them down in the comments below.
Read our disclosure page to find out how can you help Windows Report sustain the editorial team. Read more


Improve this guide


User forum
4 messages