No Boot Screen on Windows 10/11? Here's how to Fix it
Updating your driver should fix this quickly
3 min. read
Updated on
Read our disclosure page to find out how can you help Windows Report sustain the editorial team. Read more

Experiencing boot problems in Windows 10 is a common situation that can be addressed by using certain troubleshooting solutions. In this article, we will see how you can fix these boot issues and repair your Windows 10 system.
How can I fix the no boot screen issue on Windows 10?
Before proceeding to the solutions in this section, try the following troubleshooting steps:
- Force restart your PC
- Remove all peripheral devices
- Check your video connection
- Wake up display
If these do not work, explore the fixes below:
1. Reinstall/update the video driver
- Press the Windows key + X and select Device Manager.
- Double-click the Display adapters option to expand it.
- Now, right-click your display device and select Update driver.
- Click Search automatically for drivers and install any available updates. your video driver and choose to update it.
- Finally, if that isn’t fixing the problem, return to Device Manager and, remove the driver, then reinstall it manually.
The no boot screen issue in Windows 10 might happen if your video driver is outdated or if it must be reinstalled:
If your computer has two graphic processors (integrated and dedicated video graphics), you might experience a conflict between these two processors. Try switching the video connection to the integrated graphics, as it could be a problem with the discrete card.
2. Turn off fast startup
- Press the Windows key + R, type control, and click OK.
- From Control Panel, click on System and Security.
- Select Power options.
- From the left panel, pick Choose what the power button does.
- From the next window, click on the link that says Change settings that are currently unavailable.
- Uncheck the Turn on fast startup(recommended) feature.
- Save your changes and restart your Windows 10 system.
3. Disable high contrast feature
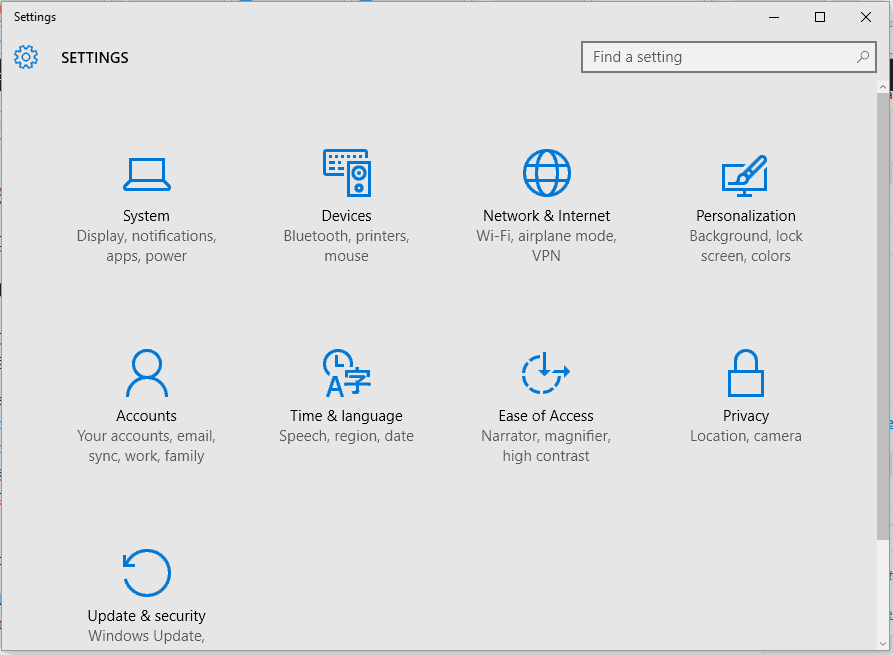
- Press the Windows + I hotkeys and click Ease of Access.
- From the left pane, click on High contrast.
- Under Choose them dropdown select None.
- Restart your computer when that’s done.
4. Create a new Microsoft account
- Press the Windows + I hotkeys and select Accounts.
- Scroll down and click on Add a Microsoft account.
- Follow on-screen prompts in order to create a new account.
- Make sure you ensure administrator rights.
- Restart your Windows 10 system through the newly created account.
5. Repair in Advanced startup
- Insert your Windows 10 installation CD.
- Start your PC and when the blue screen appears, press and hold the Power key.
- Repeat this process three times.
- The Advanced Options menu should be displayed.
- From there, select Troubleshoot.
- Now, select Advanced options.
- Just follow the on-screen prompts for applying a system reset or a system repair.
If, after completing the guidelines from above, you are still experiencing the no boot screen malfunction, you can also try to repair/restore your Windows 10 system. You can do it by using your Windows 10 installation CD.
If you can access your Windows 10 system, you can also run an SFC scan in an elevated Command Prompt.
Hopefully, the boot screen is now available on your PC. If the issue persists, try to describe your particular situation in detail using the comments field below or our contact form.
Other users reported that their PC is stuck on boot screen, but we tackled that in a separate guide. If you would like to customize your boot screen, we have a whole article on how to change the boot logo on Windows 11, so don’t miss it.
Based on the info you provide us with, we can try to find the right troubleshooting solution. Also, stay close for further Windows 10 tips and tricks.


User forum
2 messages