Fix: Fltlib.dll is Either Not Designed For Windows
Corrupted system files could be the reason
![]() 4 min. read
4 min. read
![]() Updated on
Updated on
Share this article

Improve this guide
Read our disclosure page to find out how can you help Windows Report sustain the editorial team Read more
Key notes
- The reason behind this DLL error could be corrupted system files, malware infection, or pending Windows updates.
- This guide will discuss the solutions to fix the missing dll file issue.

If you have encountered fltlib.dll is either not designed for Windows error when the DLL file is not compatible with Windows installed on your PC. In this guide, we will discuss expert-tested ways to fix the error.
What causes the fltlib.dll is either not designed for Windows issue?
There could be various reasons why you see this error; some of the common reasons are:
- Malware infection – When your computer is infected with viruses or malware, it could cause the DLL to get corrupted. To remove the infection from your computer, you need to run a malware scan using a reliable antivirus tool.
- Deleted accidentally – If you have uninstalled a program that used the dll file, it is possible that the file got deleted. Hence the error.
- Bad sector on the hard drive – Bad sectors on the hard drive cause many issues; one such issue could be the DLL file missing.
- The DLL file got corrupted – If the DLL file got corrupted or damaged, you might not be able to use the file. So, when you try to launch an app or game that uses the DLL file, you may get the error.
What can I do to fix the fltlib.dll is either not designed for Windows issue?
1. Run SFC and DISM command
- Press the Windows key, type CMD, and click Run as administrator.

- Type the following command to repair system files and press Enter:
sfc/scannow - Then, copy and paste the following commands one by one and press Enter after every command:
DISM /Online /Cleanup-Image /CheckHealthDISM /Online /Cleanup-Image /ScanHealthDISM /Online /Cleanup-Image /RestoreHealth
- Once the command is executed successfully, restart your computer.


If the manual method mentioned above seems tedious, we recommend you try specialized software to perform this job. These tools can scan your device for corrupt or broken OS components and automatically search for healthy files from their online database as replacements.
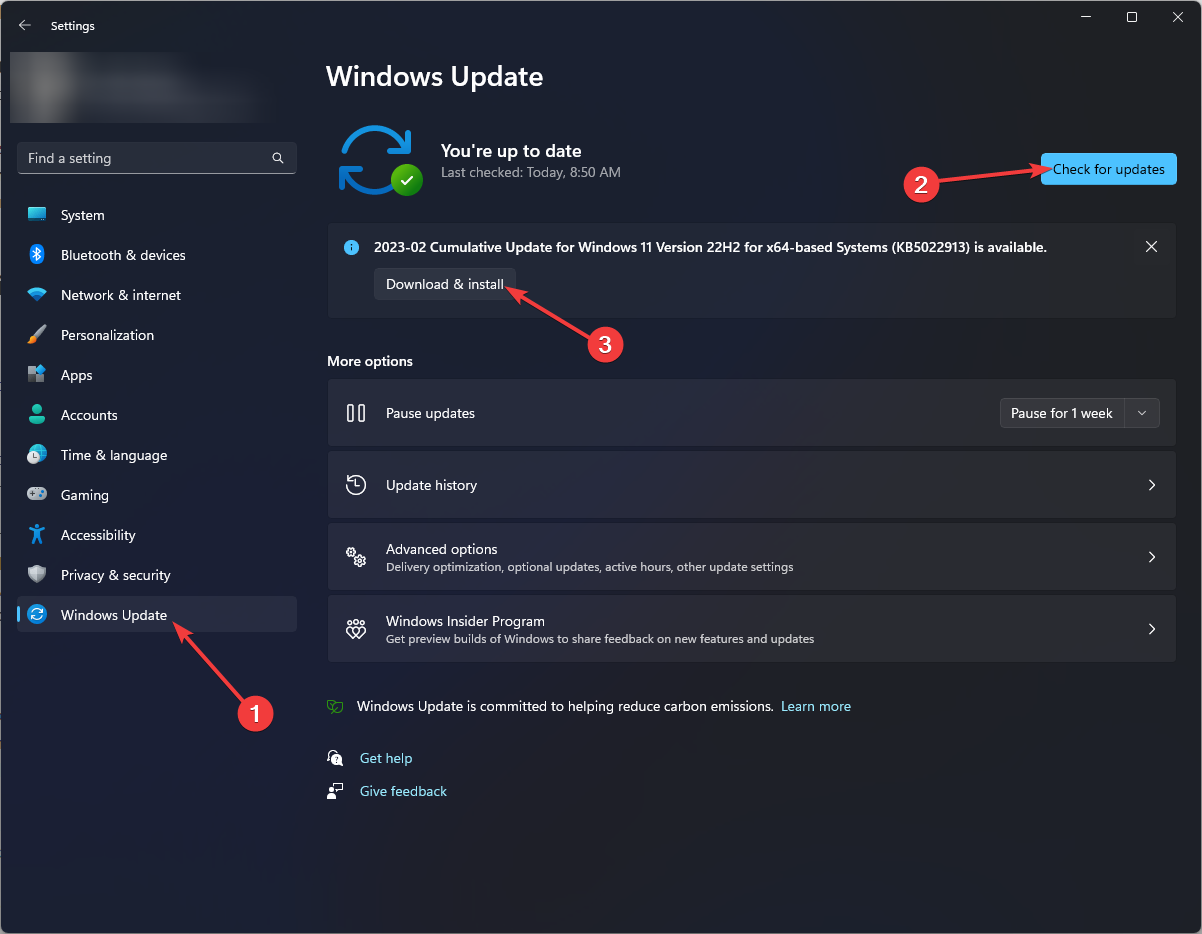
2. Install Windows updates if pending
- Press Windows + I to open the Settings app.
- Go to Windows Update and click Check for updates.
- If available, click Download and install.

- The update will be downloaded and installed in a few minutes.
- You need to restart when prompted to complete the process.
3. Run a malware scan
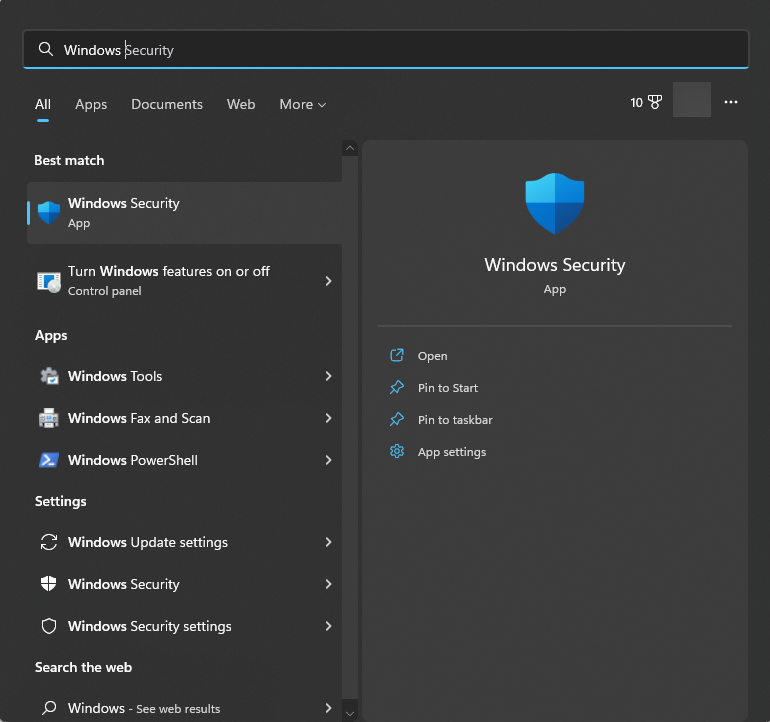
- Press the Windows key, type Windows Security, and click Open.

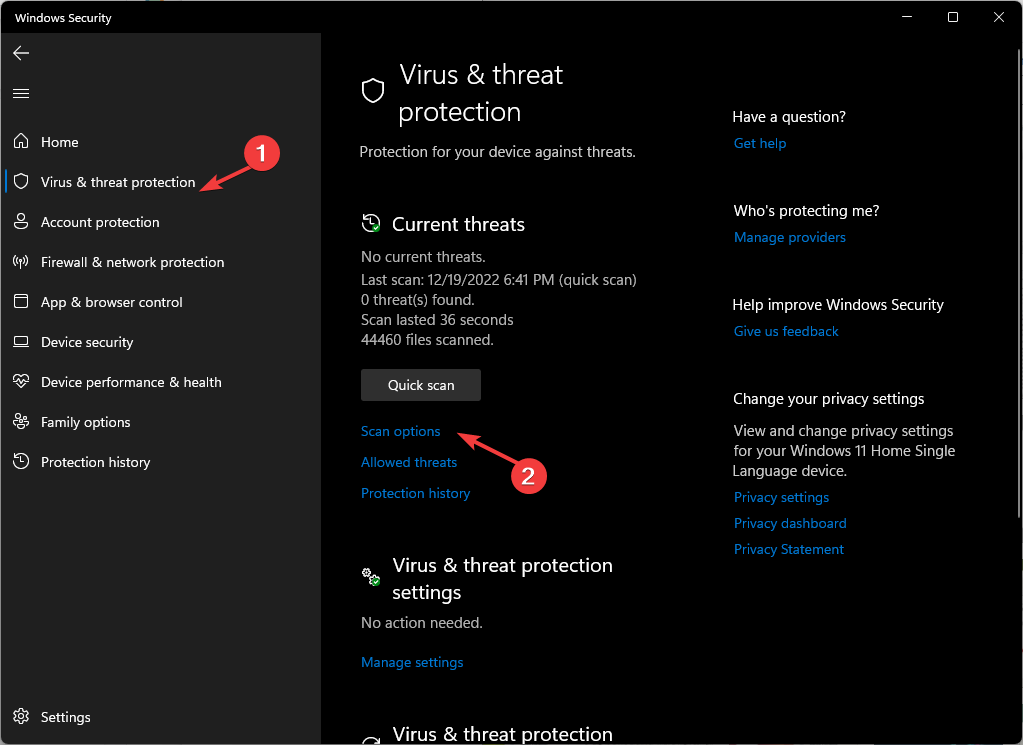
- Go to Virus & threat protection, and click Scan options.

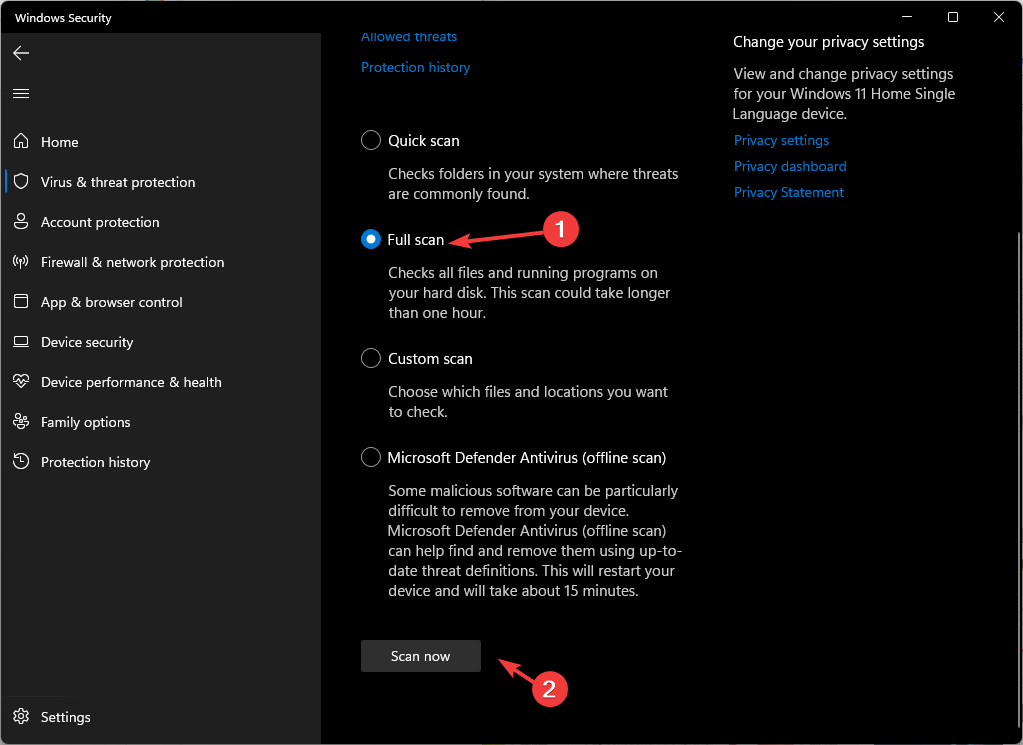
- Select Full scan and click Scan now.
- Once the scan is complete, you need to remove the malicious files if found.
4. Run the computer in a clean boot environment
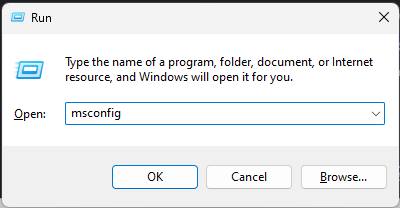
- Press Windows + R to open the Run console.

- Type msconfig and click OK to open System Configuration.
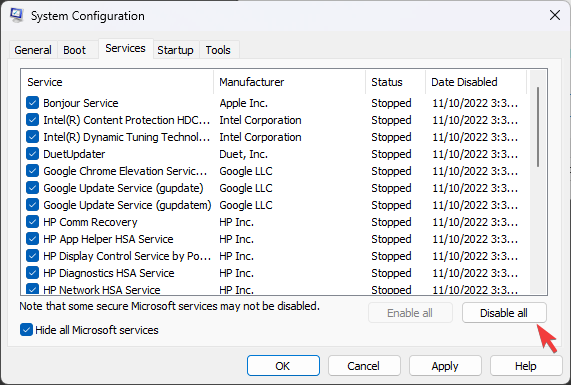
- Go to the Services tab, place a checkmark next to Hide all Microsoft services, and click Disable all.

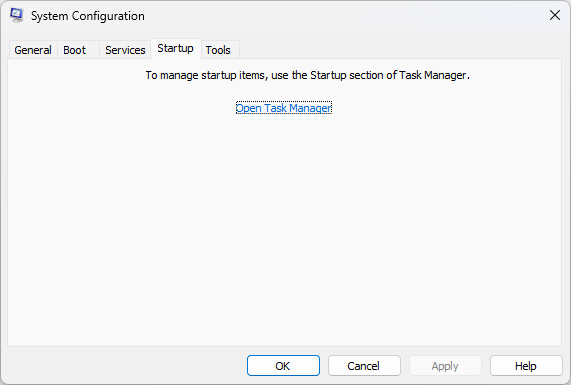
- Next, switch to the Startup tab, and click Open Task Manager.
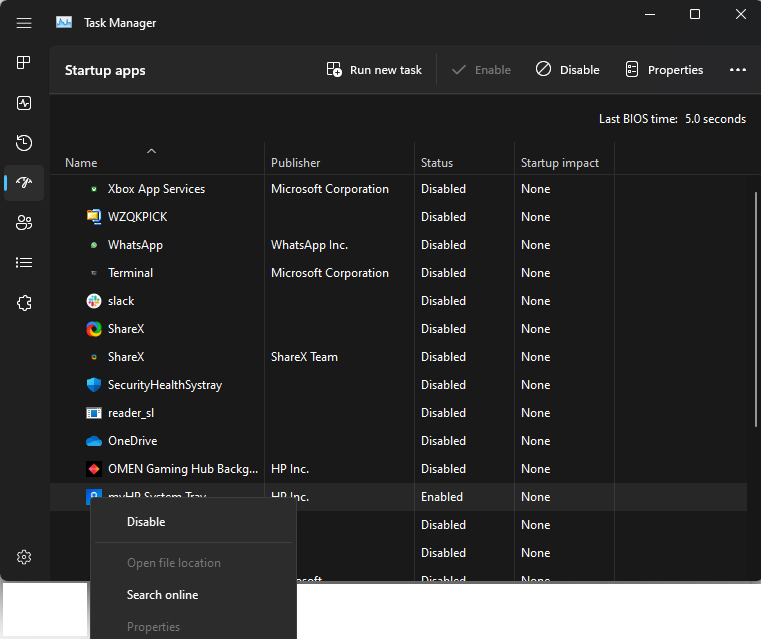
- Select all the Enabled items one by one and right-click Disable.

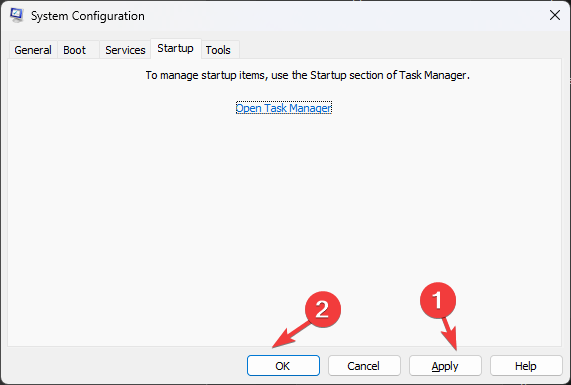
- Click Apply and OK to save the changes.
5. Perform System Restore
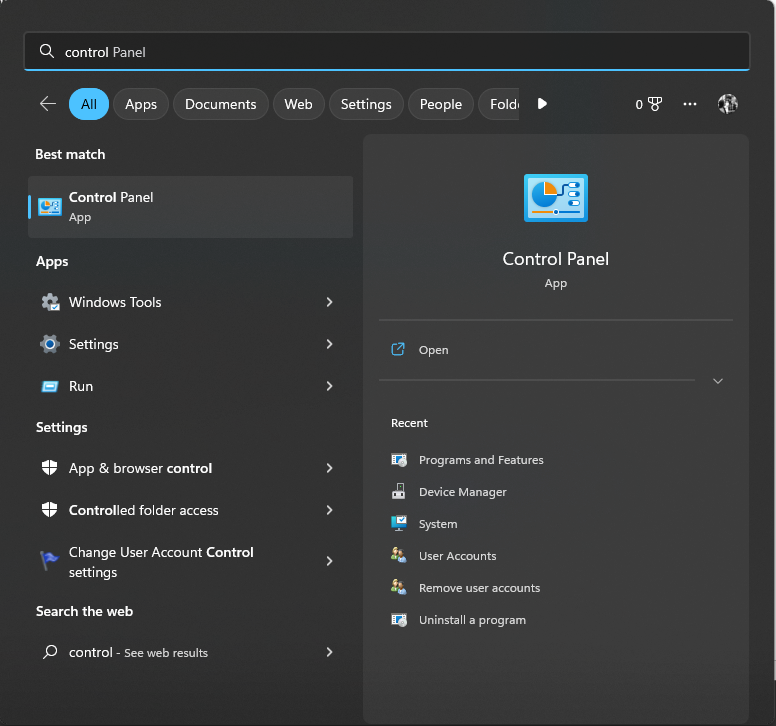
- Press the Windows key, type Control Panel, and click Run as administrator.

- Select Category as View by and click Recovery.

- Click Open System Restore.
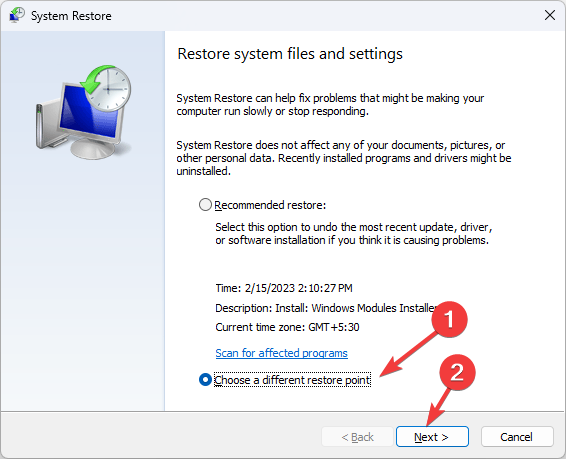
- On the next window, select Choose a different restore point and click Next.

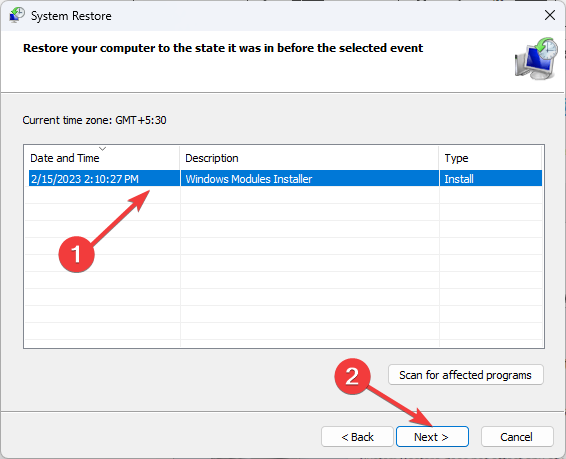
- Select the restore point and click Next.
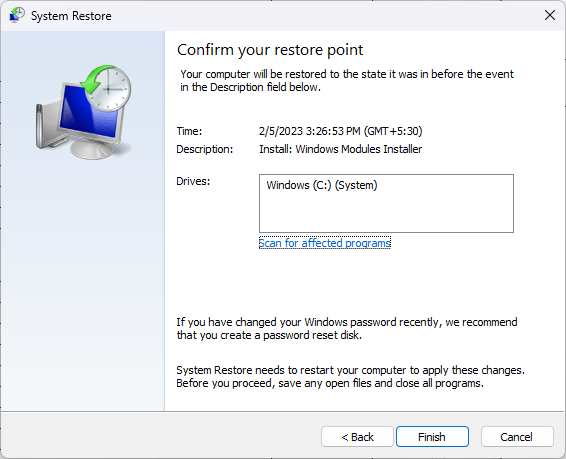
- Click Finish to initiate the process of restoring it to the previous version.


6. Reinstall Windows on your computer
6.1 Create a bootable drive
- Go to the Microsoft Software Download website.
- Then, under Windows 11 Installation Media option, click Download Now.

- Double-click the mediacreationtool.exe to open the Windows 11 Setup wizard.
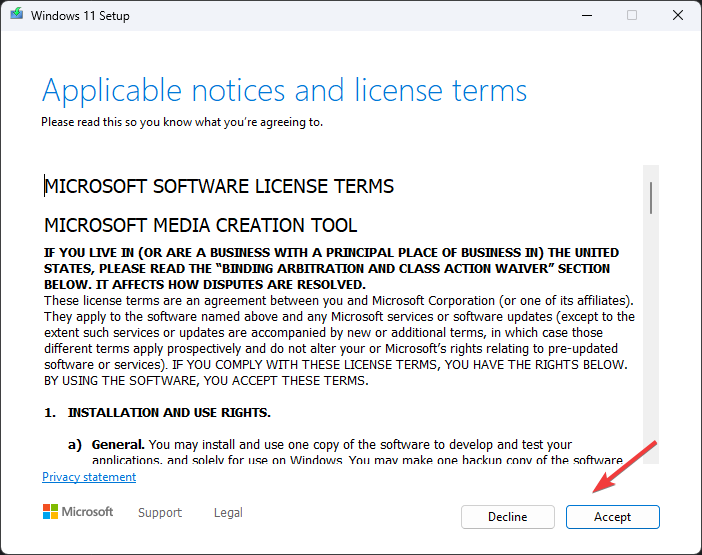
- Click Accept.

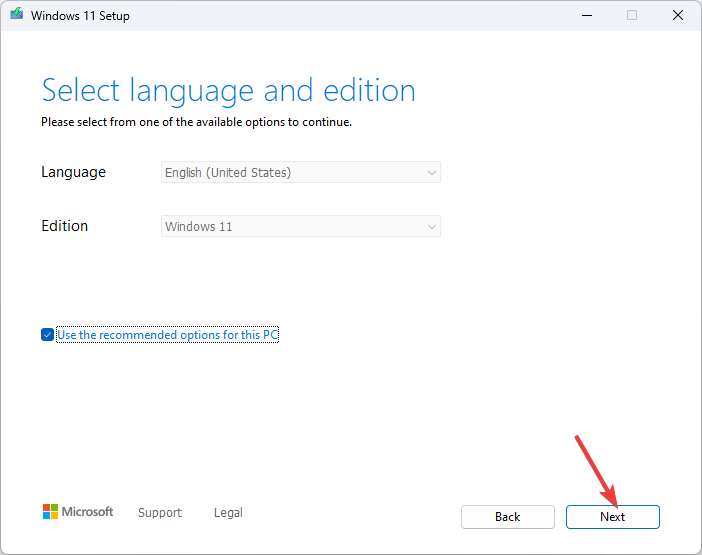
- On the Select language and edition page and click Next.
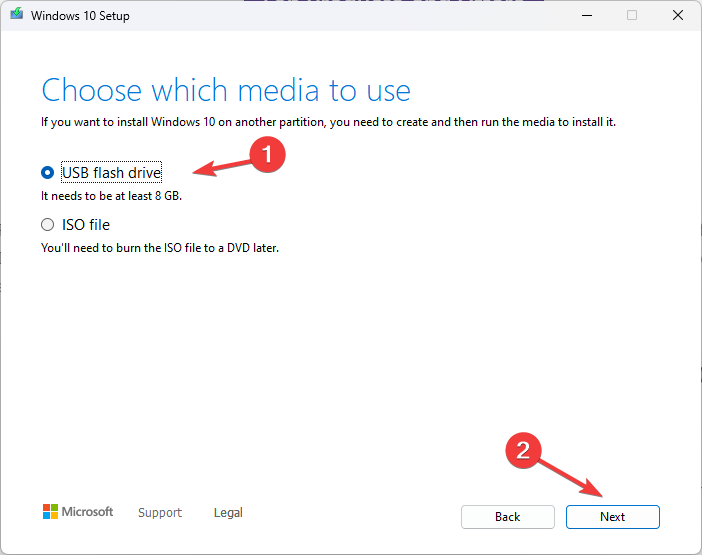
- Choose which media to use and click Next.
- On the Select a USB flash drive window, click Next.
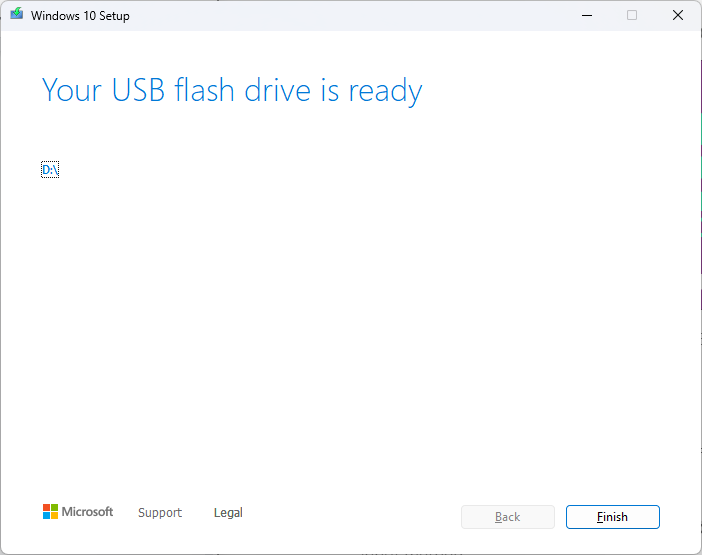
- Then click Finish.

6.2 Install Windows
- Restart your computer. When your PC boots up, press F2, F10, or the designated key, depending on your device manufacturer.
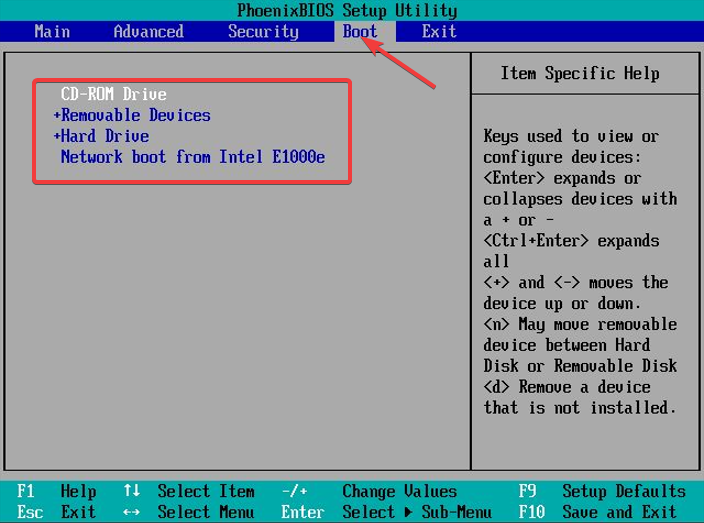
- In the BIOS, go to the Boot menu and Change the boot order. Select USB flash drive.

- When prompted, press any key to continue booting.
- Select the language to install and other details on the setup window, then click Next.
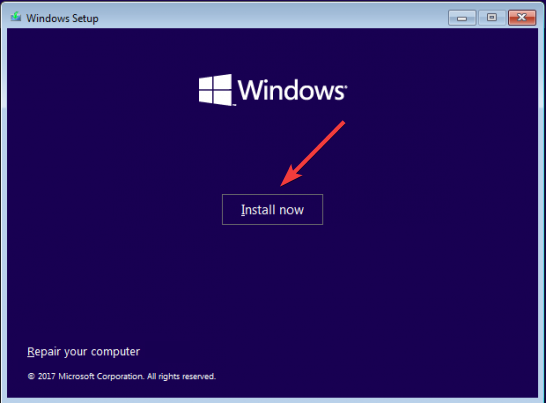
- Click Install Now to start.

- The following window will ask you to enter the product key. Please enter the product key, or you can click; I don’t have a product key option.
- On the next page, click Accept. Click Next.
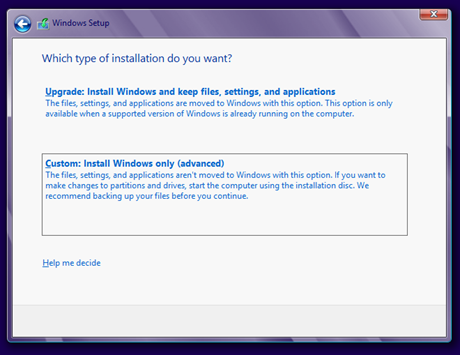
- Now choose Custom: Install Windows only(advanced) for a clean installation.

- Choose the unallocated space and click Next.
- The setup tool will install Windows OS. This might take several minutes; you must wait for the process to finish.
So, these are the methods to fix the fltlib.dll is not designed for Windows issue. But try them and let us know what worked for you in the comments section below.