Fsulgk.sys BSoD: 5 Ways to Fix It on Windows 10 & 11
Run an SFC scan to fix the blue screen error
![]() 5 min. read
5 min. read
![]() Updated on
Updated on
Share this article
Improve this guide
Read our disclosure page to find out how can you help Windows Report sustain the editorial team Read more
Key notes
- The BSoD error is caused due to outdated driver, corrupted system files, or malware infection.
- To fix it, you can run SFC & DISM scan, update graphics driver, or reset Windows.
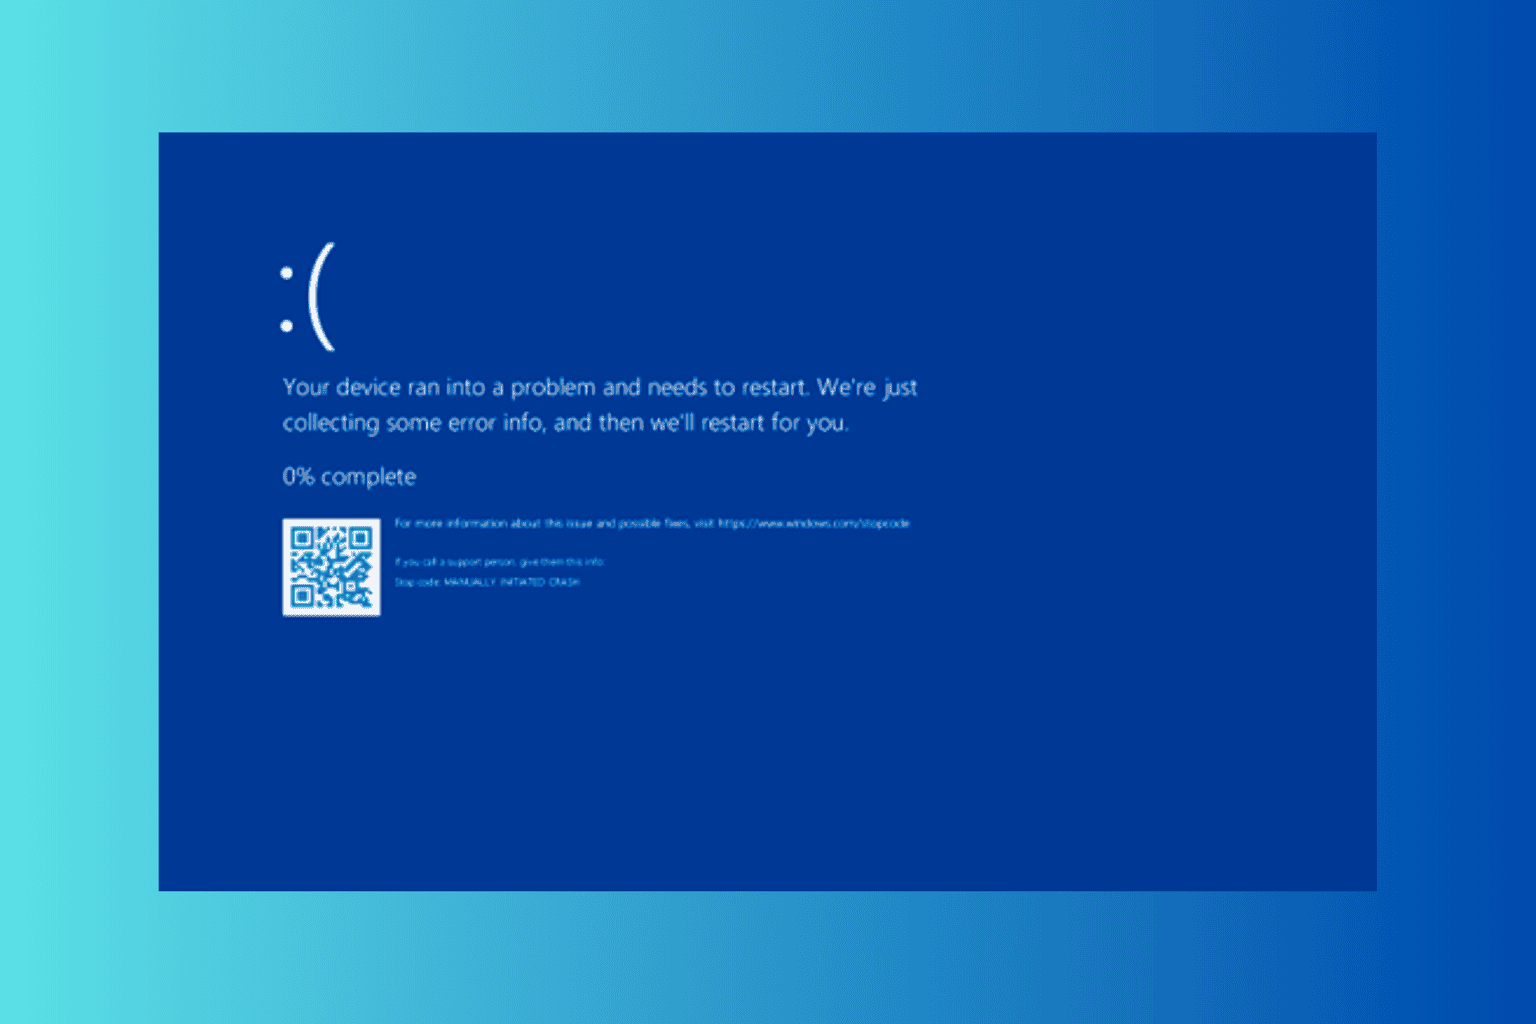
If you have encountered the fsulgk.sys BSoD error on your Windows computer, then this guide can help! Fsulgk.sys is a driver and an important part of F-Secure software. We will discuss some of the expert-recommended methods to get rid of this Blue Screen of Death error.
What causes the fsulgk.sys BSoD error on Windows 10 & 11?
There are several reasons for which this blue screen error appears; some of the common ones are listed here:
- Obsolete driver – If the driver itself is old or outdated, it could cause this BSoD error. You need to update the driver to fix the problem.
- Corrupted system files – If the system files on your computer are corrupted or missing, it could cause this BSoD error. Run a system repair scan and fix this issue.
- Outdated software – When you are running the older version of F-Secure software, you might see this blue screen error. Try reinstalling the app to get rid of this error.
- Pending Windows updates – It is important to keep your Windows updated, as the pending updates could cause this issue. Check for Windows updates and install them if available.
- Malware infection – If your computer is infected with viruses, it can damage your system files on your computer. Run a malware scan to remove the corrupted files.
Now you know the causes of the blue screen error; let’s check out the solutions to resolve the problem.
How can I fix the fsulgk.sys BSoD error on Windows 10 & 11?
Before engaging in advanced troubleshooting steps, you should consider performing the following checks:
- Restart your computer.
- Run a deep scan using an antivirus tool.
If these things didn’t fix the issue for you, move to the detailed steps mentioned below.
1. Reinstall F-Secure software
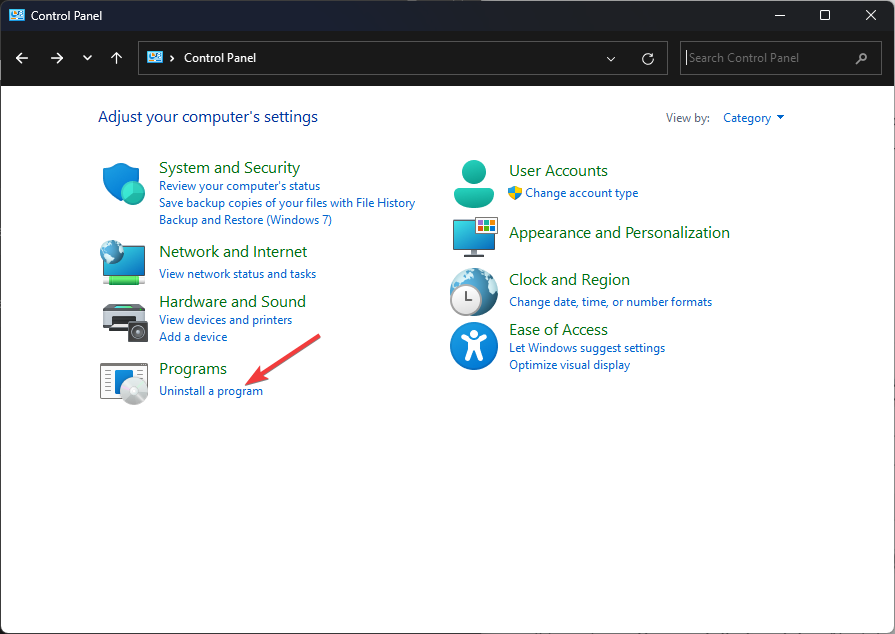
- Press the Windows key, type control panel, and click Open.

- Select Category as View by and click Uninstall a program.

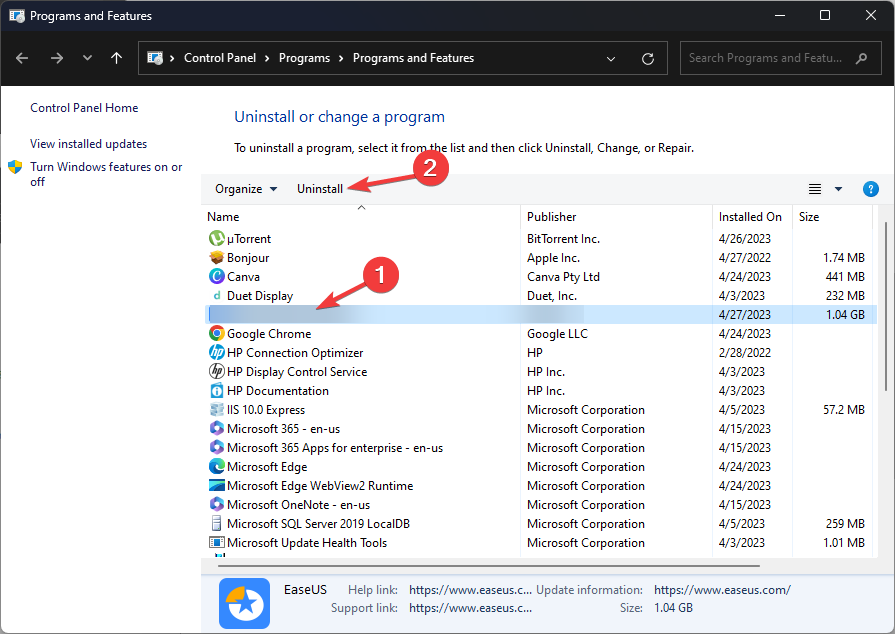
- From the list of installed software, locate & select the F-Secure program and click Uninstall.
- Follow the on-screen instructions to complete the uninstallation.
- Now, go to the F-Secure website and select the tool and click Download.

- Double-click the Setup file and follow the on-screen instructions to complete the installation.


2. Run SFC & DISM scans
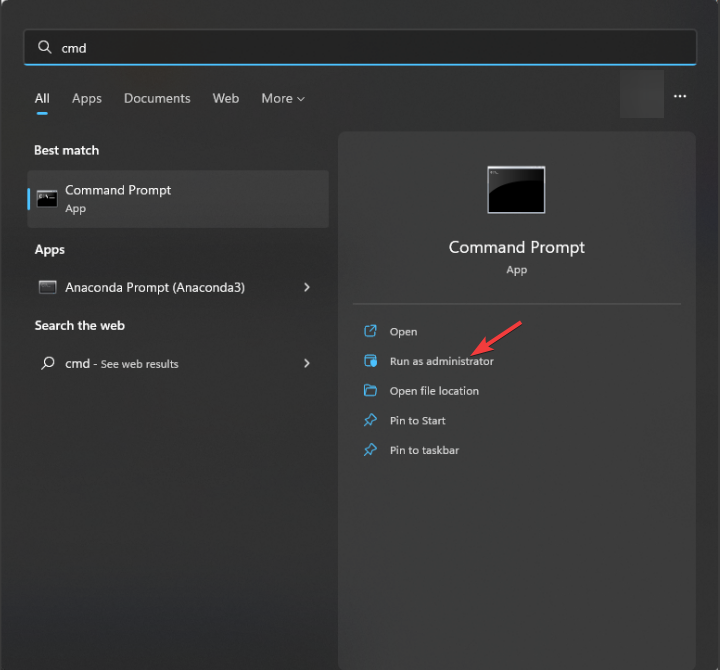
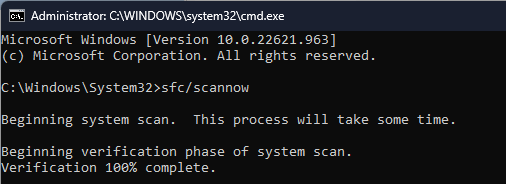
- Press the Windows key, type cmd, and click Run as administrator.

- Type the following command to repair system files and press Enter:
sfc/scannow
- Wait for the scan to complete, copy & paste the following command to repair the Windows OS image, and hit Enter:
DISM /Online /Cleanup-Image /CheckHealthDISM /Online /Cleanup-Image /ScanHealthDISM /Online /Cleanup-Image /RestoreHealth - Restart your computer to let the changes take effect.
If this process seems too detailed or it simply didn’t help you, we advise you to go for a specialized repair tool to fix your Windows PC.
3. Update the graphics driver
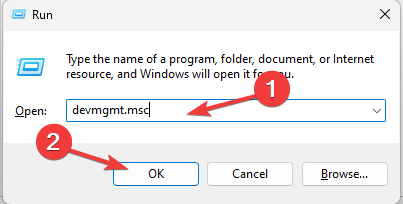
- Press Windows + R to open the Run dialog box.

- Type devmgmt.msc and click OK to open Device Manager.
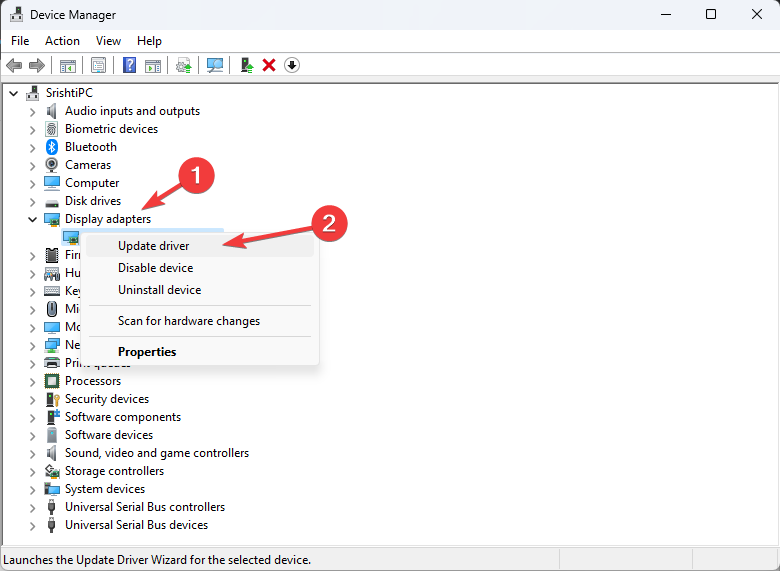
- Double-click Display adapters to expand it.
- Right-click the graphics driver and click Update driver.

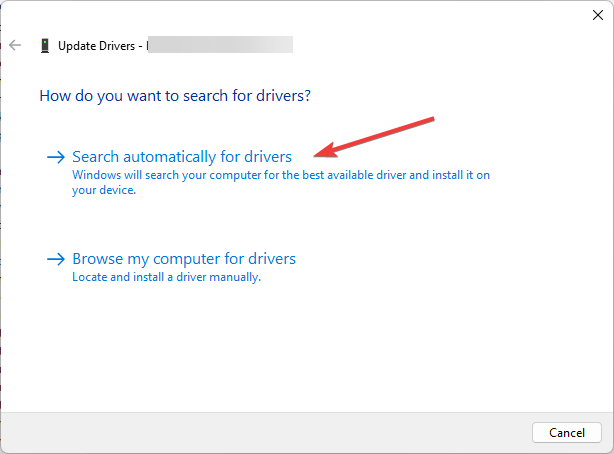
- Select Search automatically for drivers.

- Follow the on-screen instructions to complete the process.
Alongside the manual method, you could try dedicated support for any outdated drivers on your device.
This ideal solution can automatically find problematic drivers and update them from its vast database with official manufacturer drivers.
4. Perform a System Restore
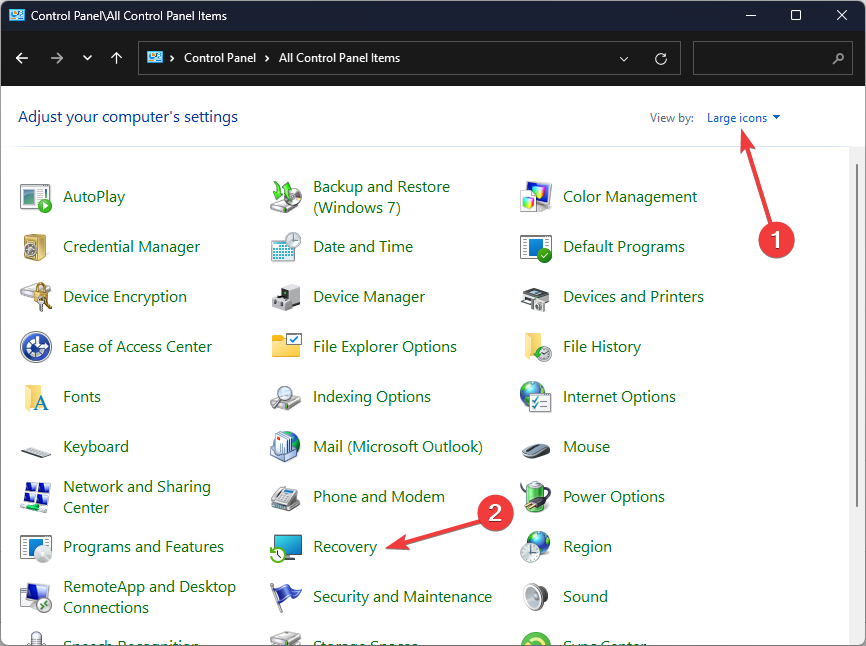
- Press the Windows key, type Control panel, and click Open.

- Select View by as Large icons and click Recovery.

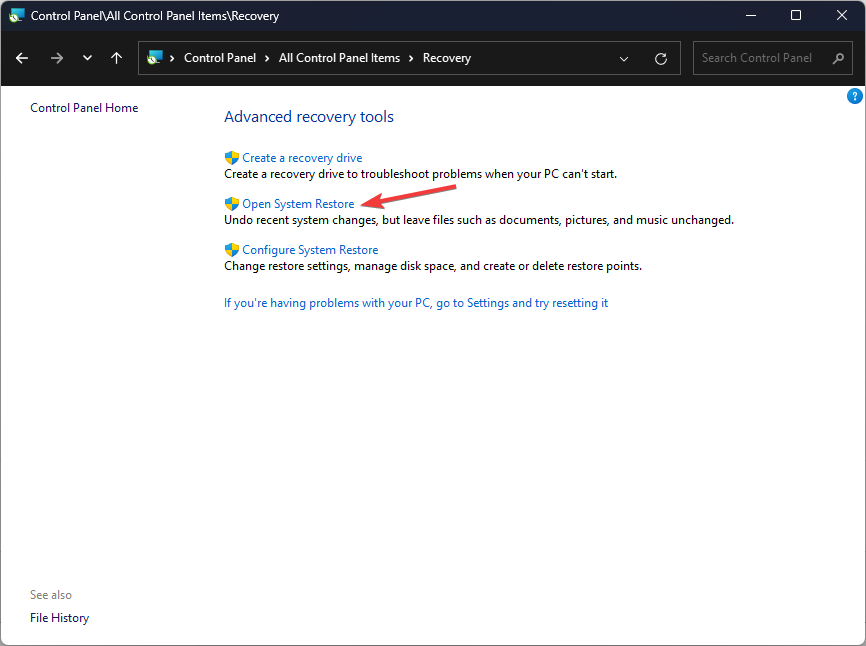
- Click Open System Restore.
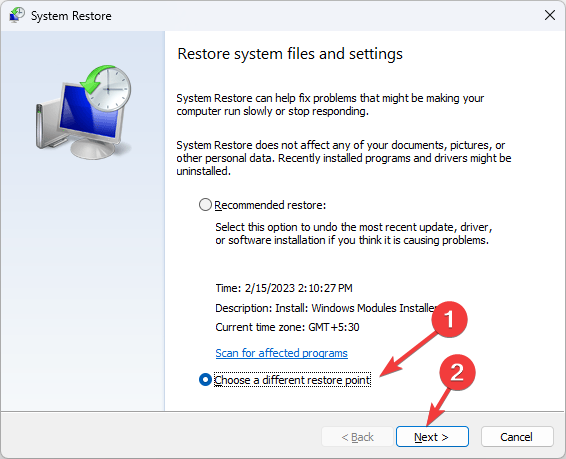
- On the System Restore window, select Choose a different restore point and click Next.

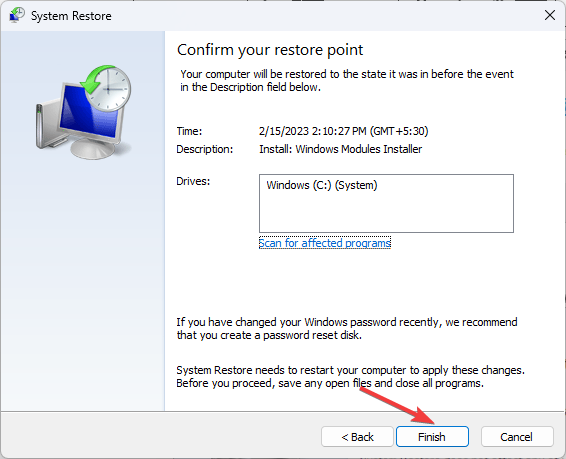
- Select the restore point and click Next.
- Click Finish to initiate the process.


Windows will restart and restore the previous version. If the System Restore is not working for you, we suggest you check out this informative guide.
5. Reset Windows
5.1 Windows 11
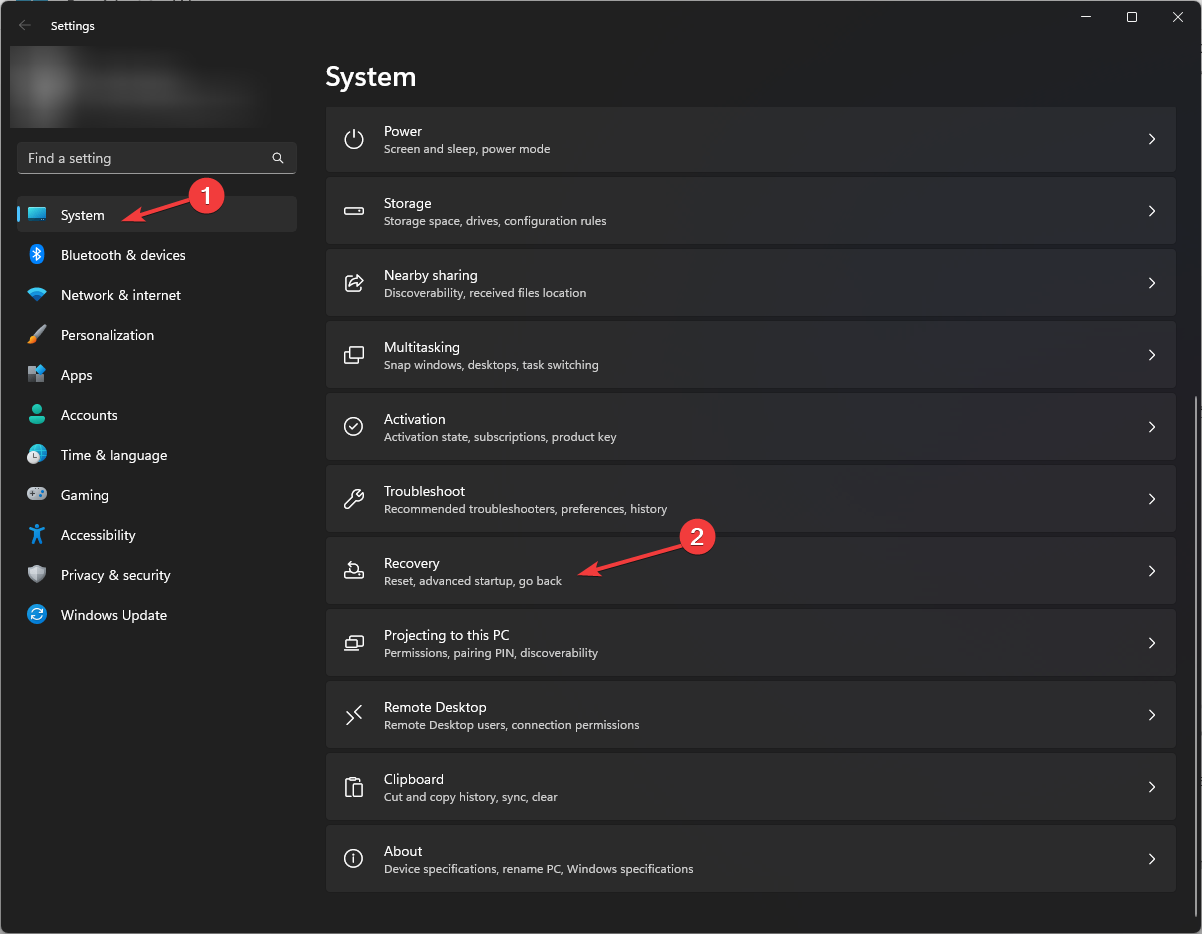
- Press Windows + I to open Settings.
- Go to System, then click Recovery.

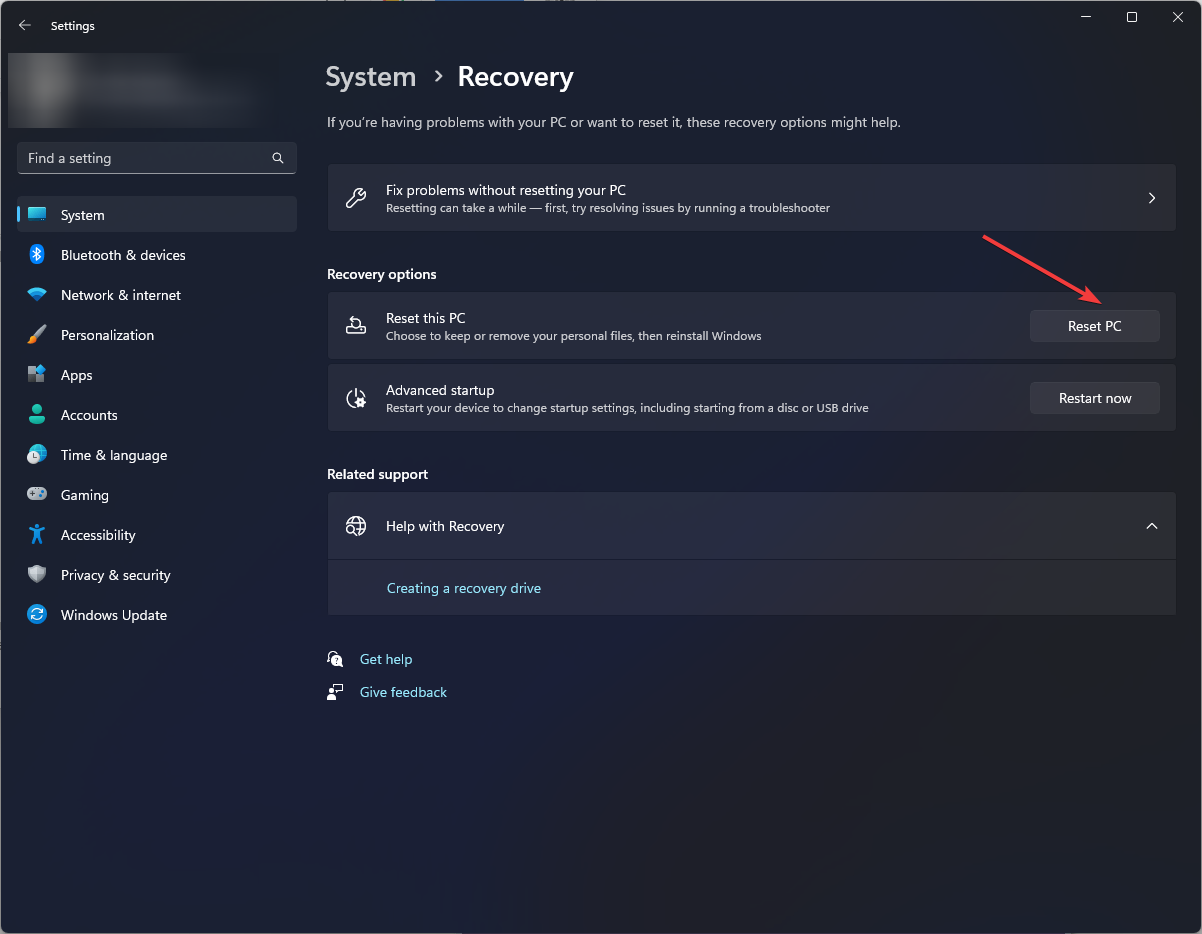
- Under Recovery options, locate Reset this PC, and click the Reset PC button.
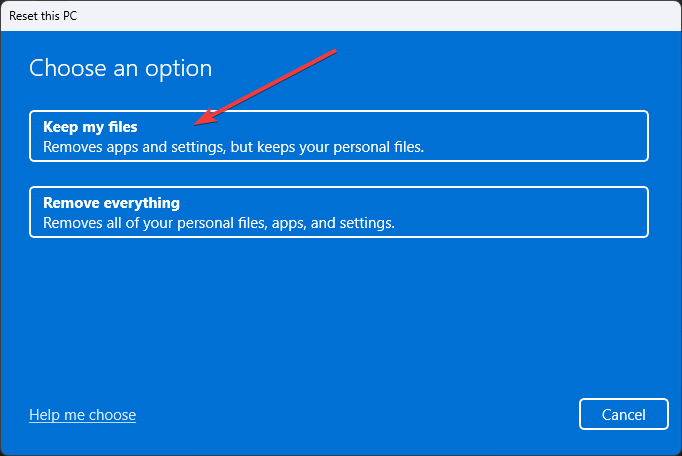
- For Choose an option window, click Keep my files.

- On How would you like to reinstall Windows page, click Cloud download.
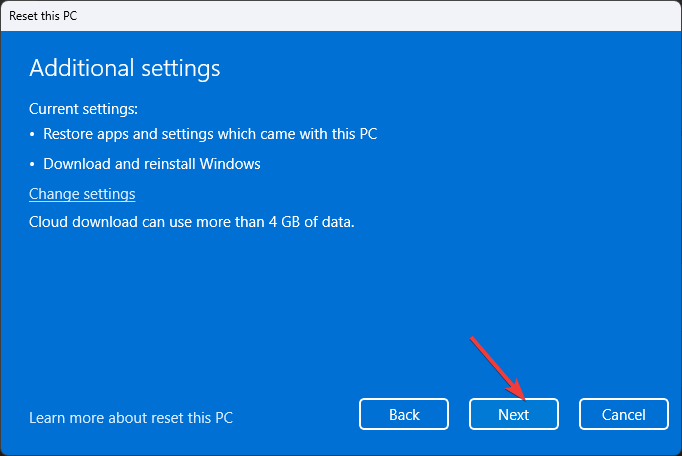
- Now on Additional Settings, click Next.
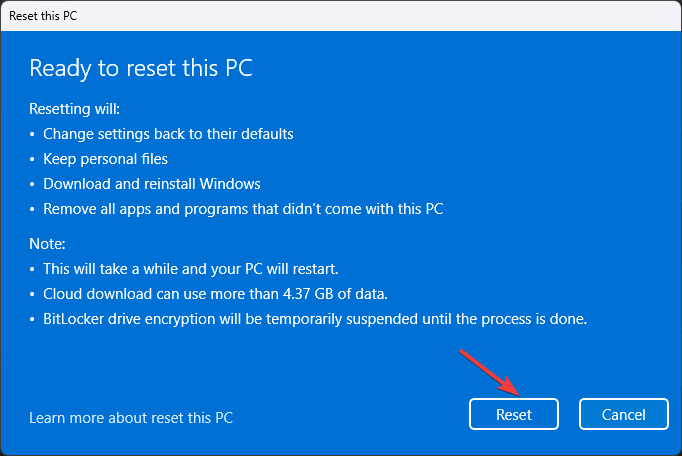
- On Reset this PC window, click Reset.

5.2 Windows 10
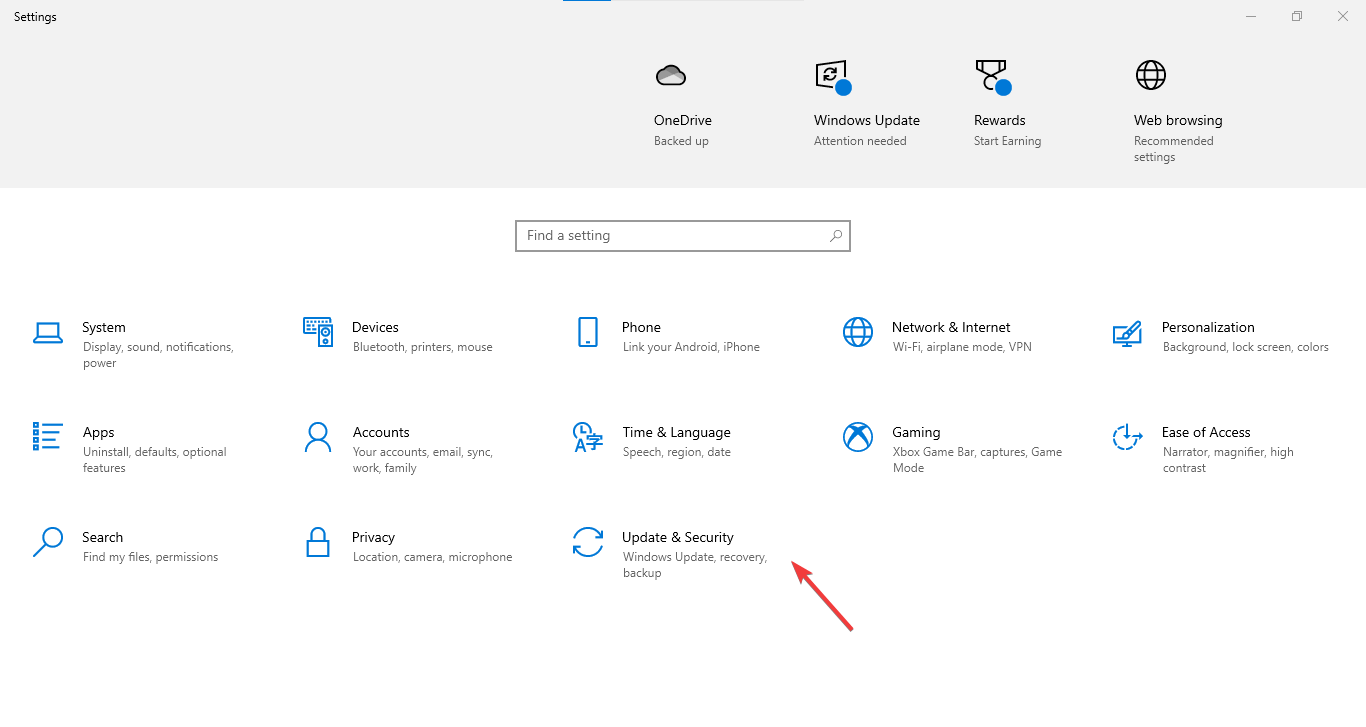
- Press Windows + I to open the Settings app.
- Click Update & Security.

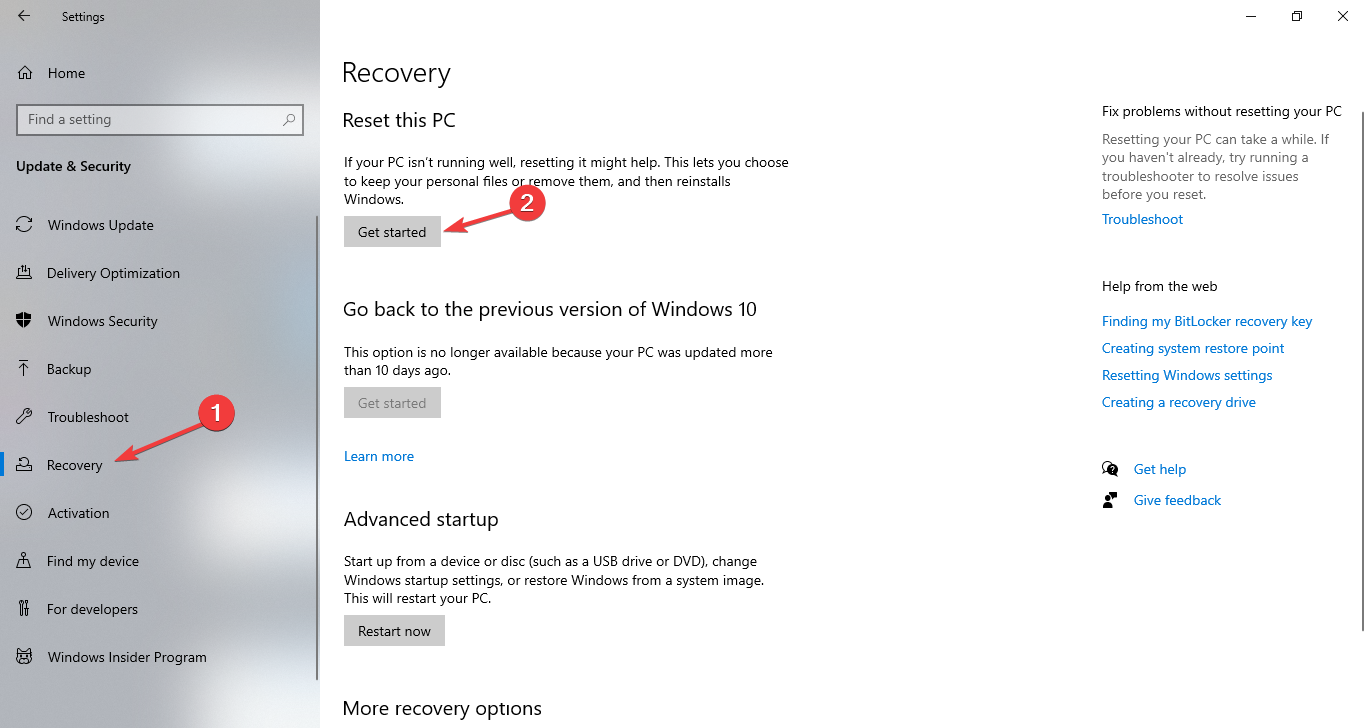
- Now from the left pane, select Recovery, then locate Reset this PC, then click Get started.

- Select the Keep my files option from the next page.
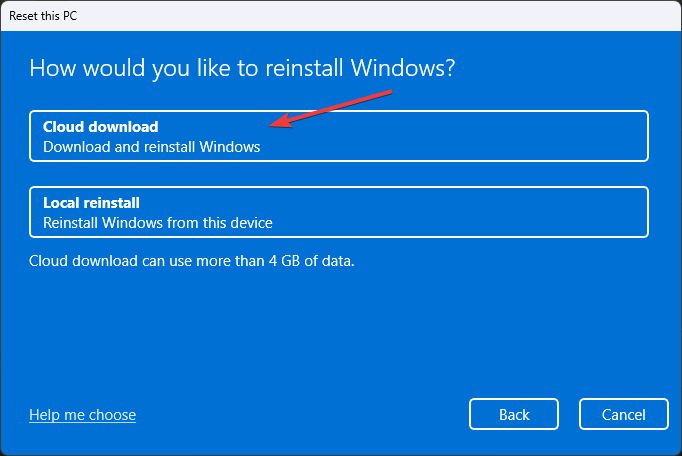
- Now choose Cloud download to reinstall Windows from the cloud.
- On the Additional settings window, make the changes you want and click Next.
- Click Reset to initiate the process.


This will change the settings of your PC to default and download & reinstall Windows.
So, these are methods to follow to fix the fsulgk.sys BSoD error on your Windows 10/11 computer. If you have any questions or suggestions, feel free to mention them in the comments section below.

User forum
0 messages