Here’s how Microsoft Photos Companion on iOS made my life easier
4 min. read
Published on
Read our disclosure page to find out how can you help Windows Report sustain the editorial team. Read more

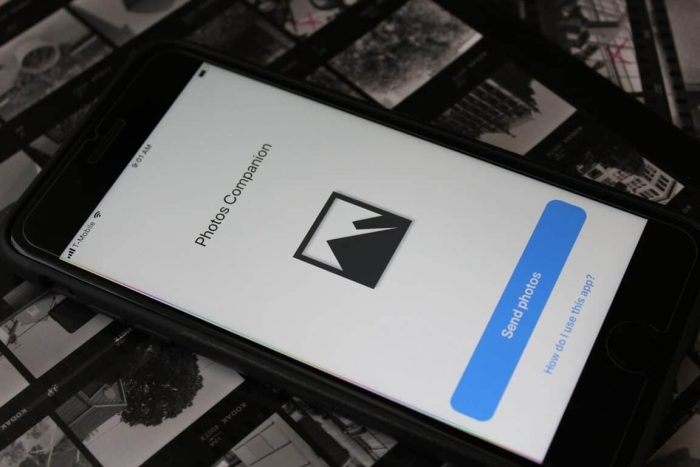
When you’re a blogger like me, you’re likely working with multiple devices and constantly taking photos to go with posts. Even with services such as OneDrive, this means there is still a lot of photo syncing that needs to happen across platforms. Things can sometimes get messy, so enter Microsoft Photos Companion on iOS, the app that made my blogging life much easier.
Local Storage— You’re in control:
My favorite part of the Microsoft Photos Companion on iOS is the level of control. With most cloud services, my entire photo library gets uploaded whenever Wi-Fi is available. For instance, with Microsoft OneDrive, all of my photos can automatically be backed up to the cloud and streamed to all my devices or my PC. This is great for (god forbid) that one day I may one day lose my phone, but sometimes it just gets in the way of my privacy.
I don’t want that embarrassing photo I took of my friend to show up when I open up the OneDrive app on my devices— or even in the Windows 10 Photo app. I also don’t want to take up space on my OneDrive with the hundreds of unnecessary screenshots I take with my phone. That’s where Microsoft Photos Companion saves the day.
With Microsoft Photos Companion, I can scan the QR code on my Windows 10 PC and easily transfer just the photos I want to a secure location on any PC I own. The most recent photos also show right in front on my phone, and I can scroll through the list and select a specific photo I want to move to my PC.
This proved to help me a lot when I had to transfer app screenshots over to my PC. It is something I do more than you think, and the Photos Companion app really helps since it cuts out my usual OneDrive app upload and OneDrive download routine.

It is relatively easy:
Yes, cloud backups from OneDrive or Google Photos are automatic and more convenient, but the Photos Companion app proved easier and much more instantaneous once I got used to it. The transfer process does not take much, and I didn’t need to visit the web, click on folders, or wait for OneDrive to fetch just that one Photo I wanted on my PC.
To transfer a photo with Photos Companion, you simply need to have your phone and PC on the same network, enable transfer via Wi-Fi in the Photo app settings, press import from mobile over WiFi, and scan the code with the app on your phone. The app works its photo transfer magic (even if your PC is connected via Ethernet!) and then creates an “Imported from Photos Companion” folder on your PC for convenience. It also shows up directly in the Photos app, for viewing pleasure.
Since I have OneDrive Files on Demand disabled on my PC (as do some people for storage reasons), the Photos Companion app eliminated my usual visits to OneDrive.com. I now just launch the transfer process, check my PC, and the photos I wanted to be transferred are right there. It’s just like manually plugging in my phone and dragging and dropping pictures! No USB Cables or cloud necessary— just Wi-Fi.

At the end of the day, the Photos Companion app saved me some time. It helps me transfer select photos from my phone to my PC, without the need for a USB cable. But as great as it is, it is still a bit flawed. The app needs Wi-Fi to function, and it won’t work on your phone’s cell service. It also is not available on Windows 10 Mobile, as OneDrive already uploads the camera roll on a Windows phone. Anyway, this feature seems very similar to Apple’s Airdrop, and I hope Photos Companion stays around for a long time.


User forum
0 messages