How to Demote A Domain Controller on Windows Server?
You can remove the domain controller using the Server Manager
Key notes
- To demote a domain controller, it is essential to end all the services running on the server before shutting down the server.
- Here we have mentioned two ways with step-by-step instructions to get the work done.
The domain controller is a server that manages the authentication and authorization of users and computers on a Windows server. If you are looking for a way to demote a domain controller to remove it from the domain or modify its role in the network, look no further.
To demote a domain controller, you need to remove Active Directory Domain Services role and return it to the member server.
Here, in this blog, we will discuss two scenarios and step-by-step instructions to complete the work. Let’s get started!
How can I demote a domain controller on Windows Server?
Before moving to the methods to demote a domain controller, make sure you perform these checks:
- If you have Windows Server 2003 or earlier, clean up the metadata using the ntdsutil command.
- Close all the services running on the server before shutting down the server.
Once done, follow any of these methods to demote the domain controller on Windows Server 2008, 2016, and 2018
1. Use the Server Manager
- Go to the search bar and click the Server Manager.
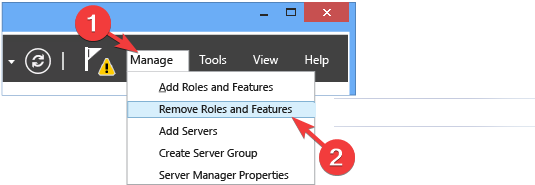
- Select Manage and then click Remove Roles and features.
- On the navigation pane, select AD DS or All Servers. Then, go to the Roles and Features section.
- Now, select and right-click the Active Directory Domain Services from the list and choose the Remove Role or Feature option.

- On the Before you begin page, click Next.
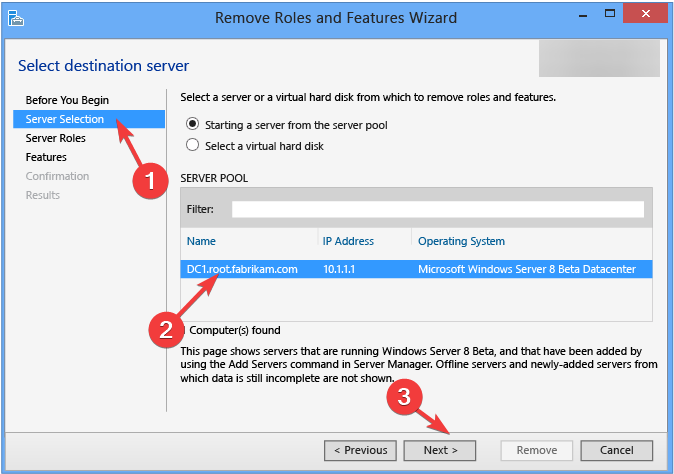
- Now on the Server Selection page, choose the server you want to demote and click Next.
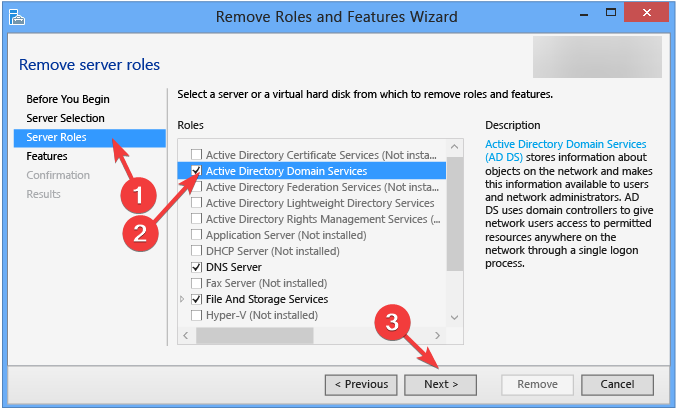
- Remove the checkmark next to Active Directory Domain Services on the Server Roles page.
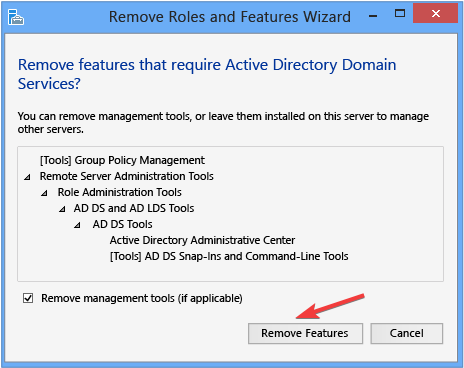
- On the Remove features that require Active Directory Domain Services page, click Remove features.
- Click on Demote this domain controller and then OK.
- On the next screen, remove the checkmark beside Force the removal of this domain controller. Click Next.
- You can change the Credentials on the next screen and click Next.
- On the Warnings screen, place a checkmark beside Proceed with removal and click Next.
- Now on the Removal Options page, select Remove DNS delegation if you have DNS delegation. Click Next.
- On the New Administrator Password window, put in the password for Password and Confirm Password fields and click Next.
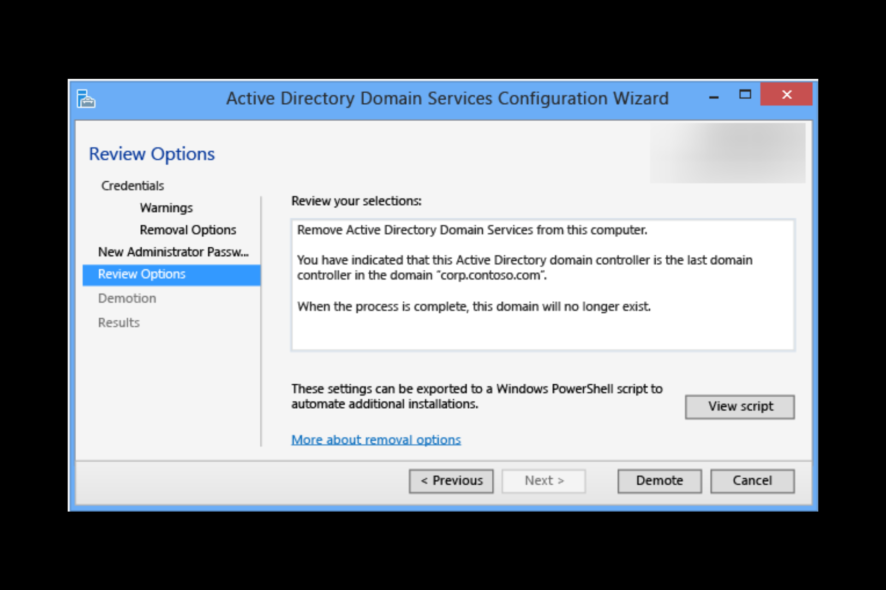
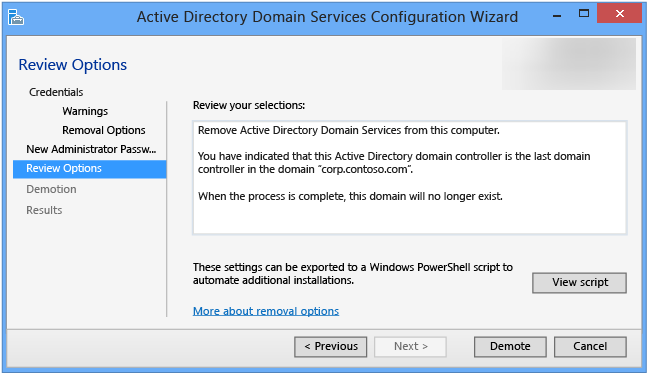
- Now on the Review Options page, click Demote.
 Tip
Tip
2. Use the manual method: If the server is dead or out of reach
2.1 Removing domain controller
- Press Windows + R to open the Run window.
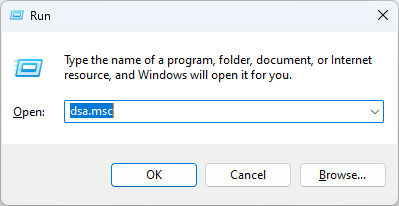
- Type dsa.msc and press Enter to open Active Directory Users and Computers.
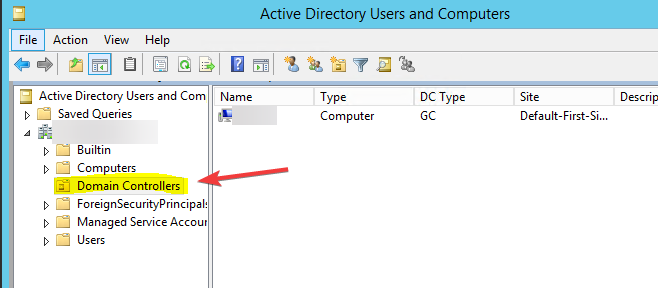
- Locate the Domain Controllers folder. Then, right-click the domain controller you want to remove and click Delete.
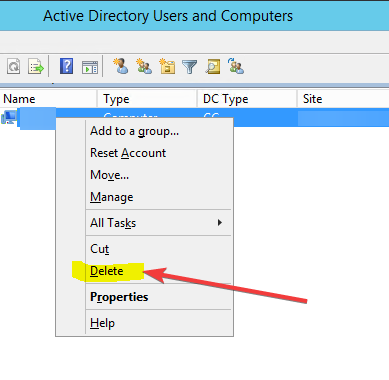
- Click Yes on the following prompt.

- On the Deleting Domain Controller page, place a checkmark next to Delete this Domain Controller anyway. It is permanently offline and can no longer be removed using the removal wizard. Click Delete.
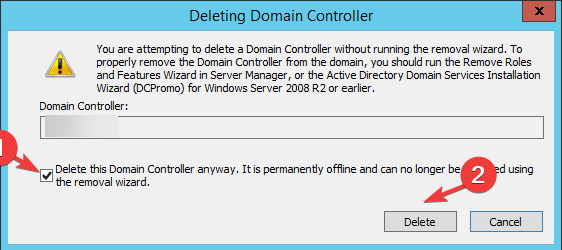
- Click Yes.
2.2 Remove the DC server instance
- Go to Server Manager, then click Tools.
- Select Active Directory Sites and Services.
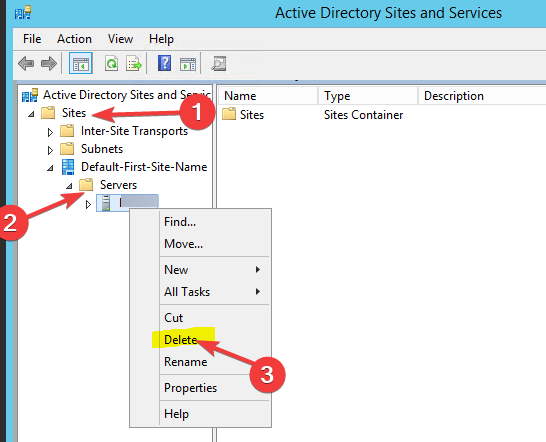
- Expand the Sites, right-click the server you want to remove, and select Delete.
- Click Yes to confirm the action.
2.3 Remove metadata using Command Prompt
- Press Start and locate Command Prompt (Admin).
- Type the following command and press Enter:
ntdsutil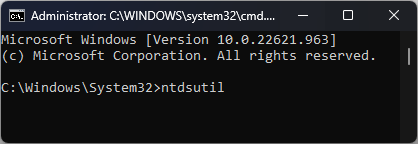
- You will get a metadata cleanup prompt. Type the following command and replace servername with the name of the targeted domain controller and press Enter:
remove selected server <servername> - Click Yes to proceed.
How long does it take to demote a domain controller?
Usually, it takes a couple of minutes to demote a domain controller. However, the exact time can’t be stipulated as it depends upon various things, including the number of domain controllers, the size of Active Directory, and available network bandwidth.
So, these are two methods that you can use to demote the domain controllers you want. Try any of them and let us know which way worked for you in the comments section below.
Read our disclosure page to find out how can you help Windows Report sustain the editorial team. Read more


Improve this guide


User forum
0 messages