How to Disable the Unsafe WiFi Network Popup on Bitdefender
Key notes
- Are you annoyed with the constant Unsafe Wi-Fi network notifications from BitDefender in Windows, as are most of us?
- Find out how you can disable it from the Vulnerability settings in the app.
- Also, learn how to set the connected network as a Home/Office network in BitDefender.

Security and privacy over the network are of prime concern. And, that’s why we rely on a good third-party antivirus. But, the BitDefender incessantly spams users with an Unsafe Wi-Fi network notification even on home networks and most are looking for ways to disable it.
Though the notification means no harm and is actually there to help protect the system from malware attacks and ensure security over the network, encountering it over home networks seems to annoy many.
Also, since the notification further promotes their VPN as a way to solve the problem, it further adds to the exasperation.
In the following sections, we will tell you why the notification pops up and will walk you through the steps to disable the Unsafe Wi-Fi network notification in Windows 11.
Why do I see the unsafe Wi-Fi network notification from BitDefender in Windows 11?
When BitDefender identifies a network with weak security, you will receive an Unsafe Wi-Fi network notification. Now, the question is which networks fall into the category and why is your network found to be unsafe?
Generally, it’s the password that’s the culprit. BitDefender categories passwords with both upper and lower case letters, and numbers as a strong password. This basically means that Hello1 is a safe password while alskdjfhg is not. Though it doesn’t make much sense, that’s how it works.
So, you have two options to disable the unsafe Wi-Fi network notifications. Either choose a password that matches the requirements of BitDefender or follow the steps listed below without the need to change your password.
How can I disable the unsafe Wi-Fi network notification in Windows 11?
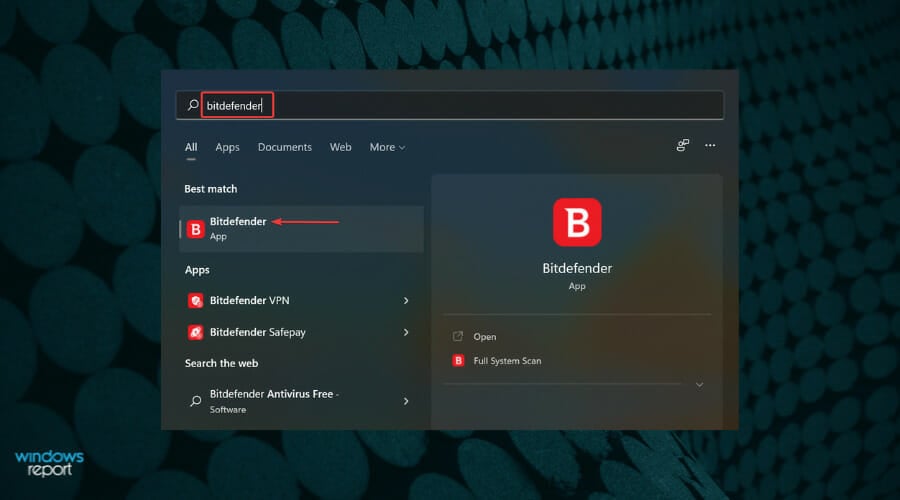
- Press Windows + S to launch the Search menu, enter BitDefender in the text field at the top, and click on the relevant search result that appears.

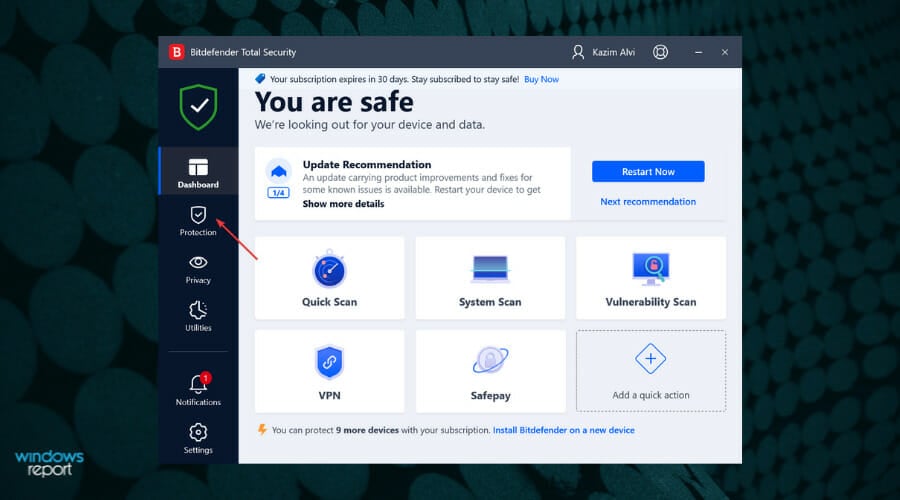
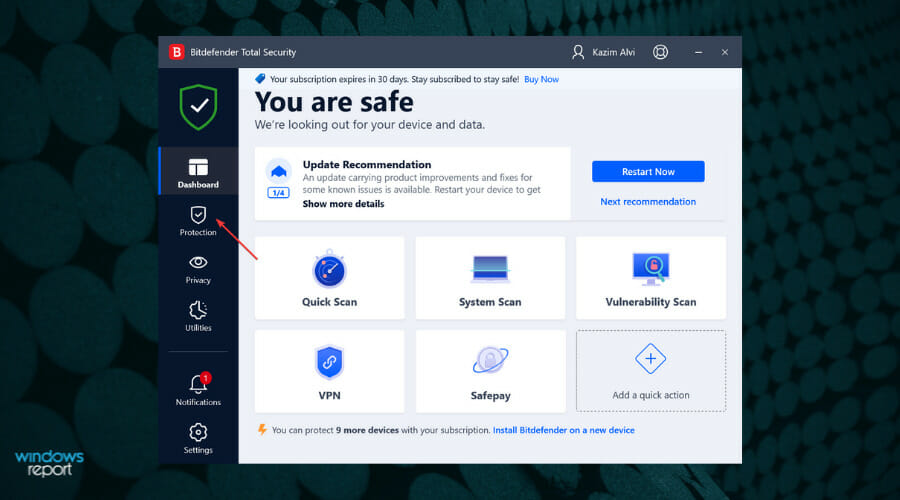
- Click on the Protection tab in the navigation pane on the left.

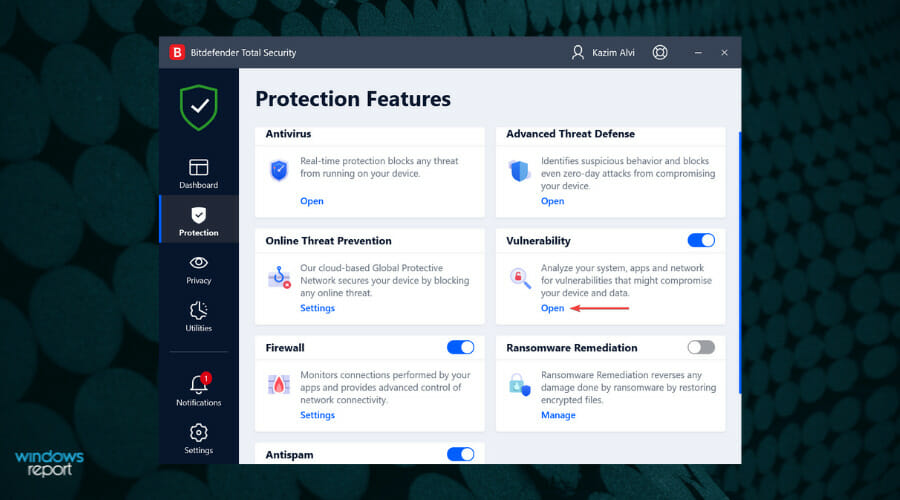
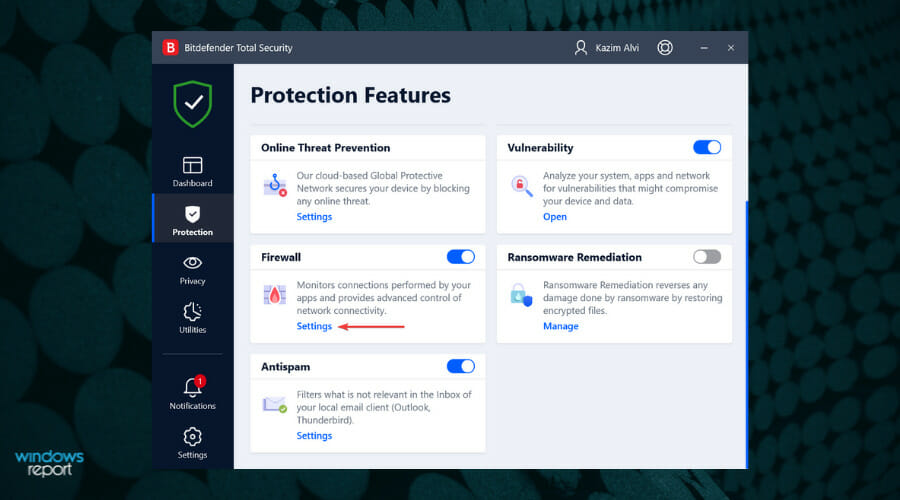
- Click on Open under the Vulnerability option.

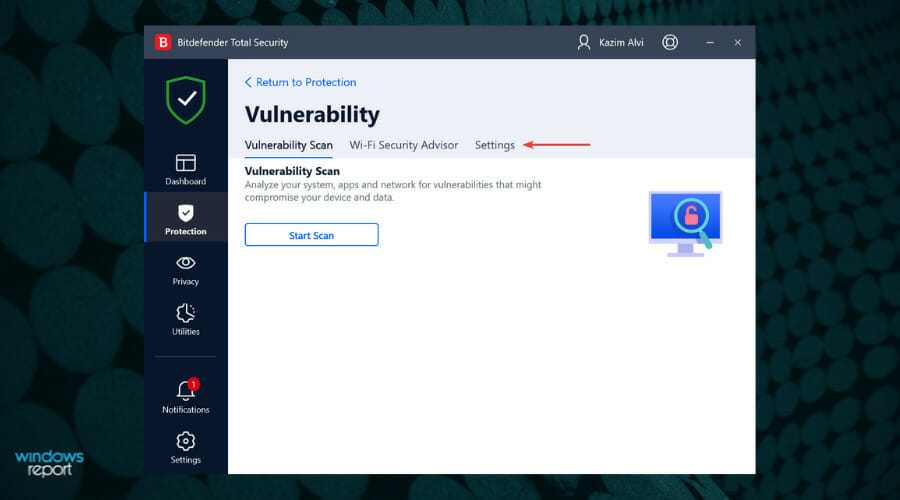
- Next, navigate to the Settings tab from the top.

- Disable the toggle for Wi-Fi Security Advisor.

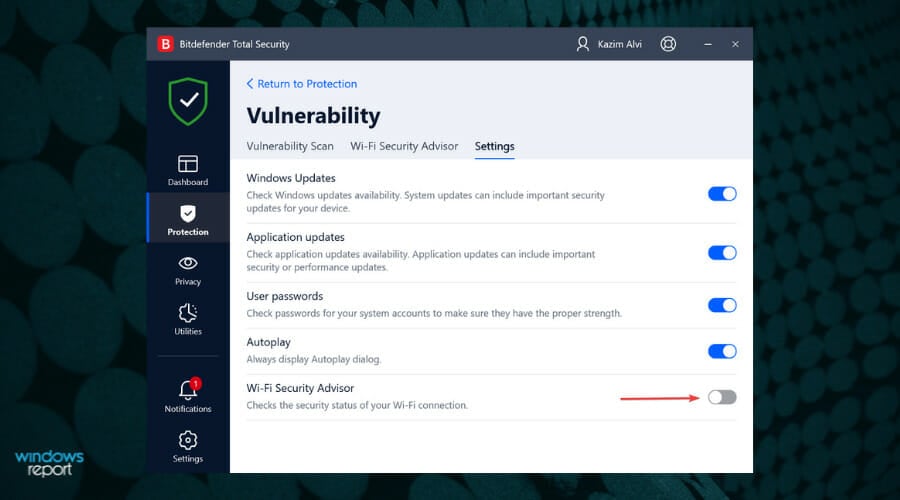
That’s it! The unsafe Wi-Fi network notification has now been disabled and you wouldn’t be receiving any from BitDefender from now on.
How can I set my Wi-Fi as Home/Office network in BitDefender?
- Launch the BitDefender app and select the Protection tab from the left.

- Click on Settings under the Firewall option.

- Navigate to the Network Adapters tab.

- Click on the Wi-Fi dropdown menu and select Home/Office from the list of options that appear.

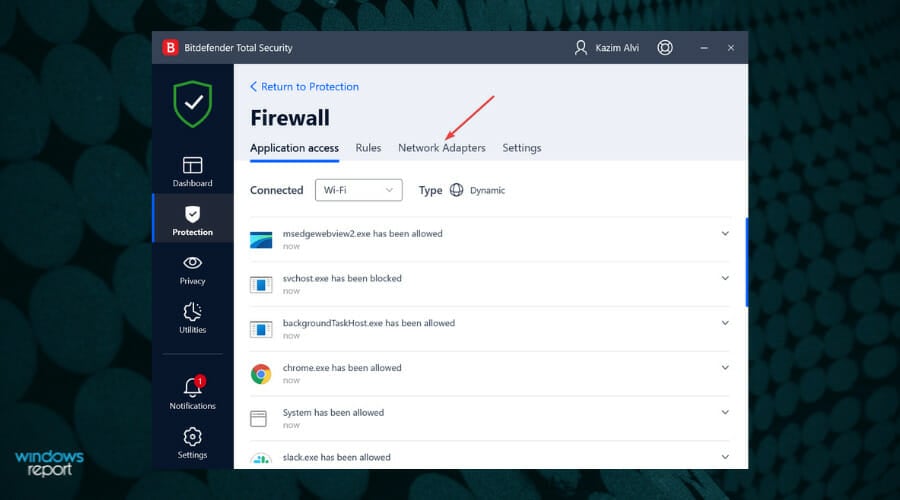
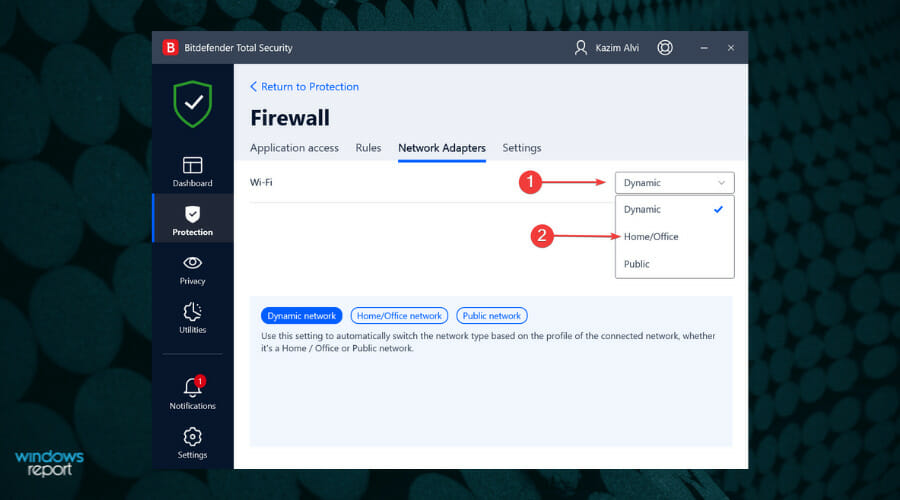
The connected Wi-Fi will now be configured as the Home/Office network. Changing the Wi-Fi type is also known to disable the Unsafe Wi-Fi network notifications in Windows. So, if the method listed in the previous section didn’t work, this one certainly would.
That’s all there is to disabling the Unsafe Wi-Fi network notification from BitDefender in Windows 11. Once done, you will no longer be receiving a notification for networks with passwords that don’t adhere to BitDefender’s requirements.
Just ensure the one you switch to is fast and stable as your Bitdefender product files may fail to download.
In case your Wi-Fi uses an older security standard, learn how you can change it. Though the article is for Windows 10, it works perfectly well on the latest iteration as well.
Tell us your experience of BitDefender in the comments section below.
Read our disclosure page to find out how can you help Windows Report sustain the editorial team. Read more


Improve this guide


User forum
0 messages