Viber Not Connecting on Windows PC: Fixed [7 Solutions]
Windows Defender might be blocking Viber from opening on PC

For some users, Viber is not opening on Windows 11. It goes like this: You attempt launching it and get an This app can’t open error.
That’s not an entirely unusual error for UWP apps, but you have to fix it. Here’s how:
How can I fix Viber if not opening in Windows 10?
1. Open the Windows Store App Troubleshooter
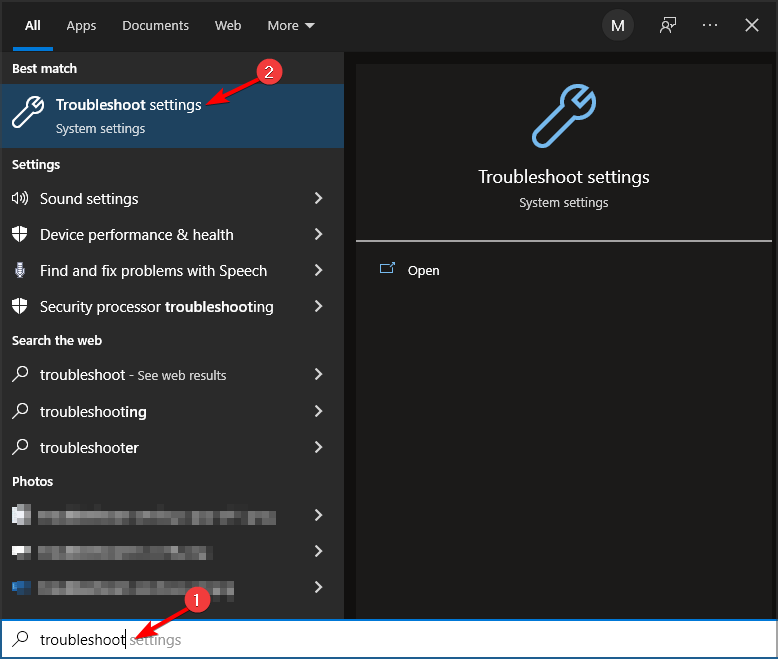
- Press Windows key + S.
- Input troubleshoot in the search box, and click Troubleshoot settings.
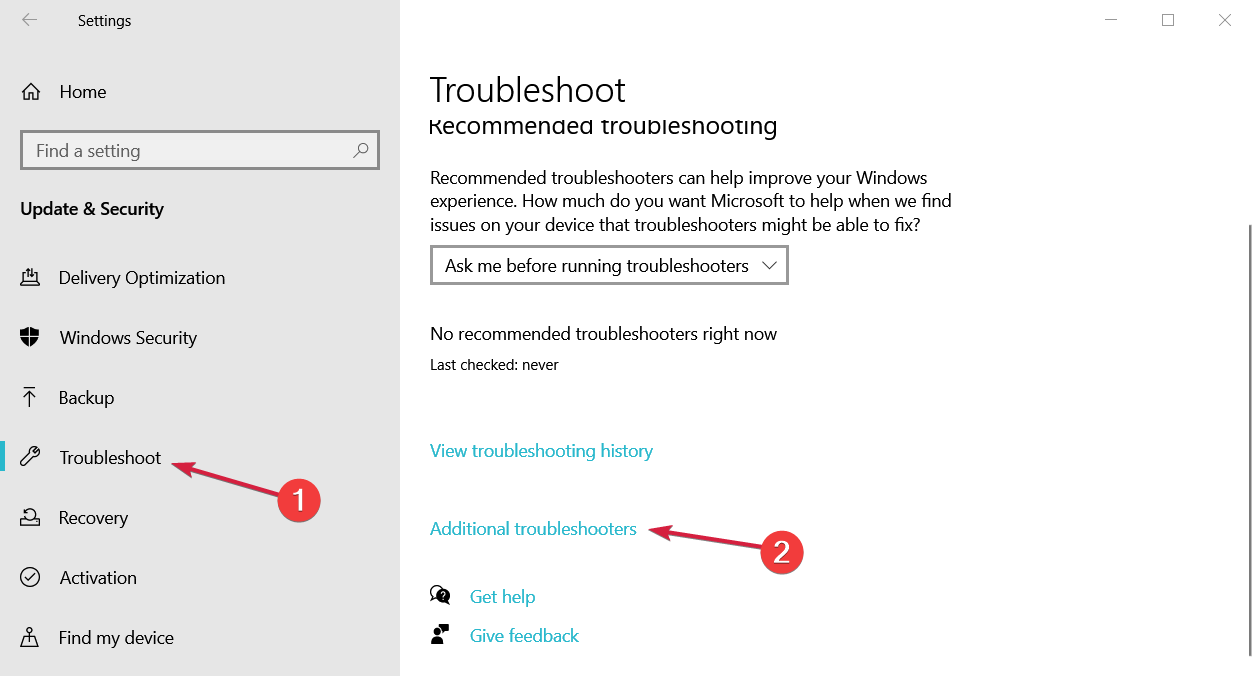
- Navigate to Additional troubleshooters.
- Select the Windows Store Apps troubleshooter listed and click the Run the troubleshooter button.
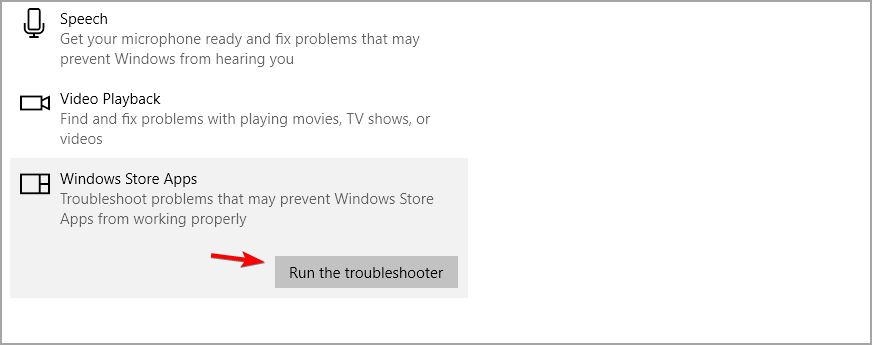
If Viber is running but not opening on your PC, you can run the troubleshooter to detect and fix the issues blocking it.
Alternatively, you can try software specialized in finding and solving issues like this. If you want to avoid incompatibilities and errors, you may use a simple and smart tool that scans your PC and repairs any damaged or corrupted registries and system files.
2. Run Viber as an Administrator
- Open the Start menu.

- Locate the Viber app.
- Right-click it and choose Run as administrator.
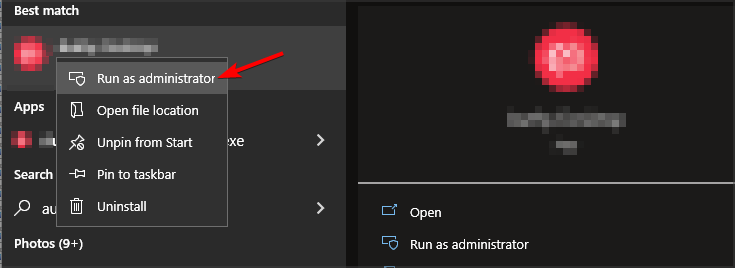
Sometimes, Viber keeps crashing on your PC because you don’t have administrative privileges. Running it as admin should fix the issue.
3. Reset Viber
- Press Windows key + X and select Apps & Features.

- Select Viber on the list and click on Advanced options.
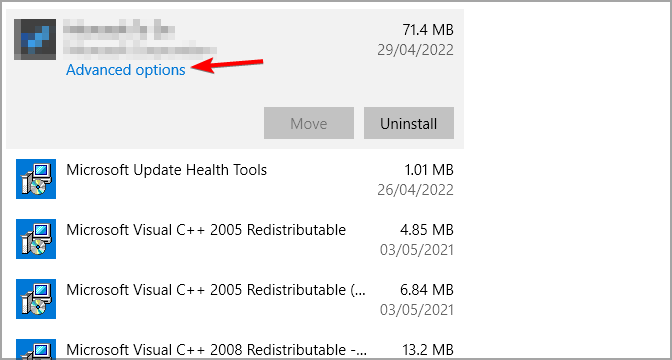
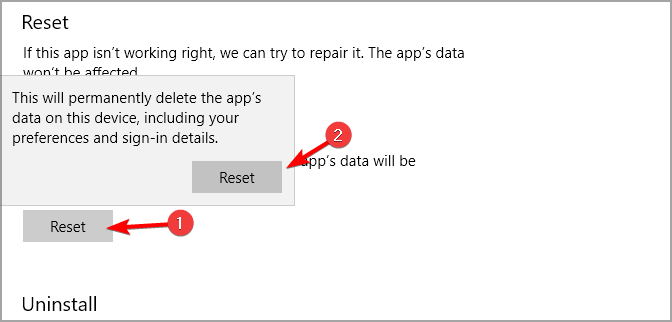
- Click the Reset button.
- Click Reset again to confirm further.
4. Reinstall Viber
- Press Windows key + X and select Apps and Features.
- Now select Viber and click on Uninstall.
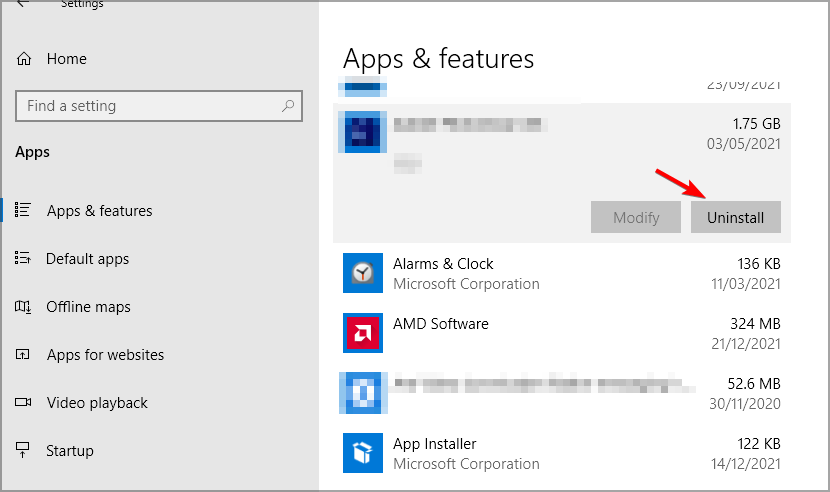
- Follow the instructions on the screen to complete the process.
- Once the application is removed, install it again.
5. Reset the MS Store Cache
- Press Windows key + R.
- Enter wsreset.

- Press Enter.
- A Command Prompt window will briefly open to reset the MS Store cache.
- After that, restart Windows.
6. Modify the hosts file
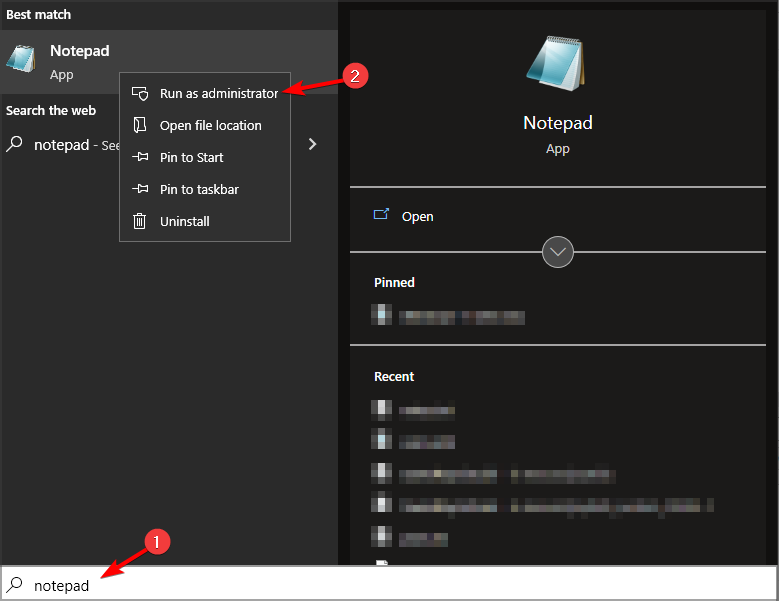
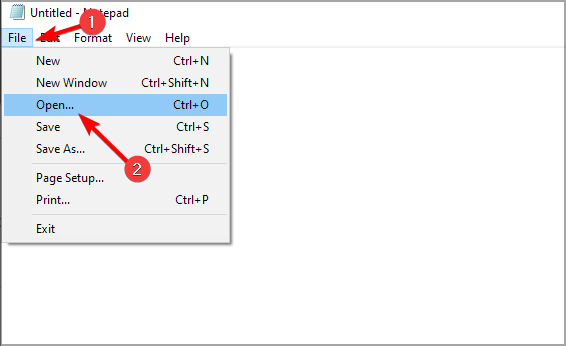
- Press Windows key + S and type notepad. Right-click Notepad and select Run as administrator to launch it.
- Click File and then Open.
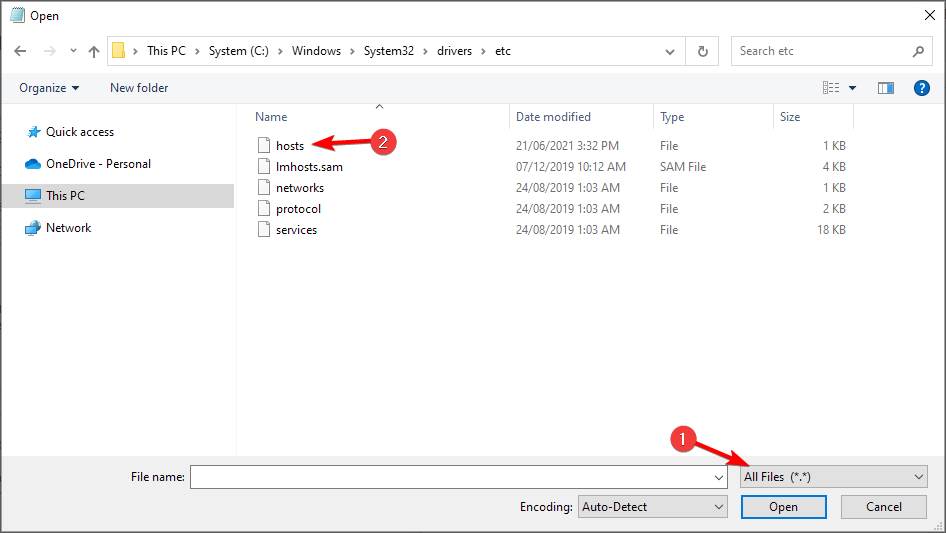
- Then navigate to the following directory:
C:\Windows\System32\Drivers\etc\ - Change Text Documents to All files and select hosts.
- Then add 127.0.0.1 ads.viber.com to the last line of the hosts file.
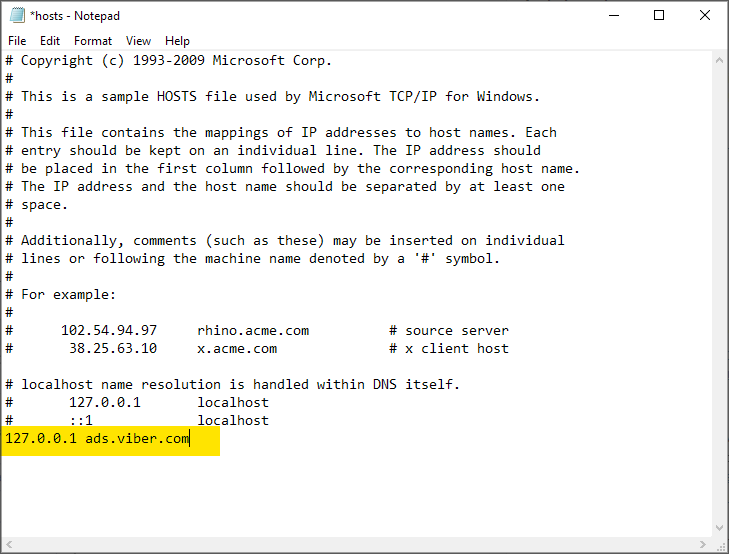
- Save changes.
7. Temporarily turn off Windows Defender Firewall
 NOTE
NOTE
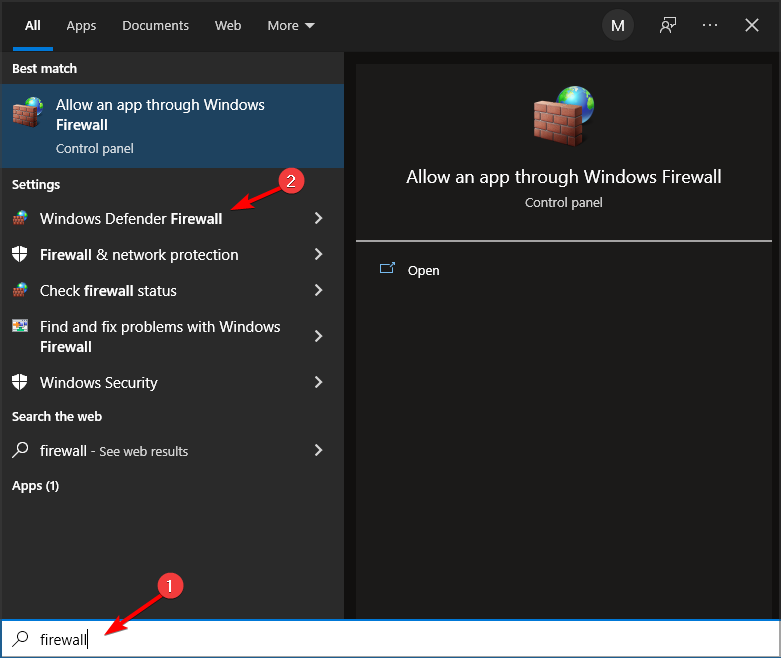
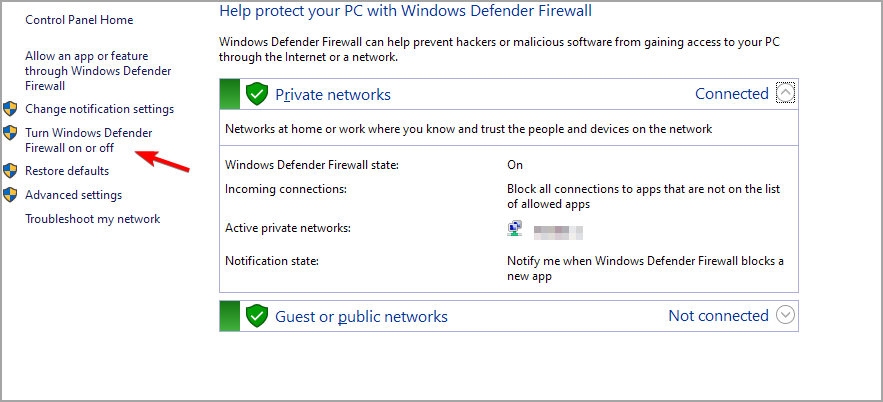
- Press Windows key + S and type firewall. Choose Windows Defender Firewall.
- Select Turn Windows Defender Firewall on or off.
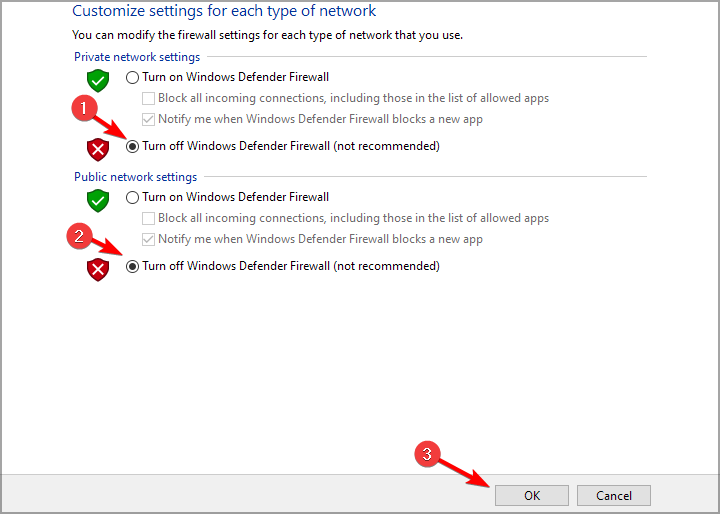
- Now select Turn off Windows Defender Firewall for both types of connections and click OK.
In addition, turn off any third-party antivirus utilities that might include firewalls. Right-click an antivirus utility’s system tray icon to select a disable or turn-off option on its context menu.
Some of the most common reasons why Viber is not opening on Windows are glitches within the software, cache problems, or interfering security apps. With the steps above, you’ll fix it.
Were you able to fix Viber not working on Windows? Let us know which solution worked for you and don’t hesitate to ask if you have any questions.
Read our disclosure page to find out how can you help Windows Report sustain the editorial team. Read more


Improve this guide


User forum
2 messages