How to recover Notepad documents in Windows 10
The AppData folder stores temporary files
Key notes
- Notepad files can sometimes get deleted from your PC by mistake or by third-party programs.
- Recovering these files is very easy and we will show you 5 methods to do it.
- You can recover lost Notepad files from the Recycle Bin or the AppData folder.
- There are also faster third-party alternatives to finding your files.

Recovering Notepad documents isn’t as complicated as people think, and in most cases, you just need to know where to search for your documents.
If you’re not familiar with document recovery, today we’ll show you how to easily recover Notepad documents on your PC.
Have you lost a previously saved Notepad (.txt) document? There are various circumstances in which a text file might get accidentally deleted, perhaps by yourself or third-party programs.
Nevertheless, there’s still a chance you can recover deleted .txt files. As such, here are a few tips for Notepad document recovery in Windows 10.
How do I recover an unsaved Notepad file?
- Check the Recycle Bin
- Don’t save anything new
- Restore lost text documents with Recovery Software
- Back up files with File History in Windows 10
- Check the AppData folder
1. Check the Recycle Bin
The Recycle Bin is the first place to check for deleted documents. If you haven’t configured Windows to automatically bypass the bin, you can probably recover deleted documents from there.
- First, click the Recycle Bin icon on your desktop to open the window below.

- Now have a look for more specific .txt files in there. If you find anything, select the document. Alternatively, you can select multiple items by holding the Ctrl key.
- Press the Restore the selected items button.
- Open the folder that originally included the text document. You’ll find it restored in that folder.
2. Don’t save anything new
The text document is effectively deleted if isn’t in the Recycle Bin. However, that doesn’t mean the file is entirely erased.
Deleting a document removes it from the file system database and sets the file to be overwritten.
There’s still a good chance of recovering the document so long as you haven’t saved lots of other files that might overwrite the original data.
Don’t save more files after the document’s deletion and you’ll have a better chance of restoring the document.
3. Restore lost text documents with the free edition of EaseUS Data Recovery
So long as you haven’t saved lots of files since the text document’s deletion, you can probably restore it with file recovery software.
One of them is the free edition of EaseUS Data Recovery.
- First, press the Free Download button to save the EaseUS Data Recovery Free Edition setup wizard to Windows. Open the setup wizard to add the software to Windows.
- Open the EaseUS window and select a location to scan for the text document. If you can recall either roughly or exactly where you saved the file, it’s better to select a more specific location to scan.

- Press the Scan button to search for the document. The software will run a quick and sector-by-sector scan.
- When the software presents the scan results to you, click Document to list text files only. Then, browse through the documents listed in the middle of the window to find the deleted .txt file.
- Select the text document to retrieve and press the Recover button.
- If you can, select to save the restored document to a USB drive or other external device.
- Now, open the restored text document in Notepad.
4. Back up files with File History in Windows 10
Backing up files isn’t going to help you recover text documents that are already deleted. However, keeping backups from now on will ensure you can restore documents if their originals are ever deleted.
This is how you can enable and back up files with File History in Windows 10.
- First, press the Cortana button and enter ‘back up’ in the search box. Select Backup Settings to open the window below.

- Insert a USB drive into the laptop or desktop and then select to back up to that drive by clicking Add a drive. An Automatically back up my files setting will then appear in the Settings window.
- Now select More options, and click Add a folder to select to back up folders where you would usually save text files.

- Windows will now back up files in the selected folders whenever you insert the USB drive. So, now you can easily open backup copies of any Notepad documents that mysteriously disappear.
If the File History is not working, we have an article with fixes for it.
5. Check the AppData folder
1. Press the Windows Key + R on your keyboard.
2. The Run dialog will now open.
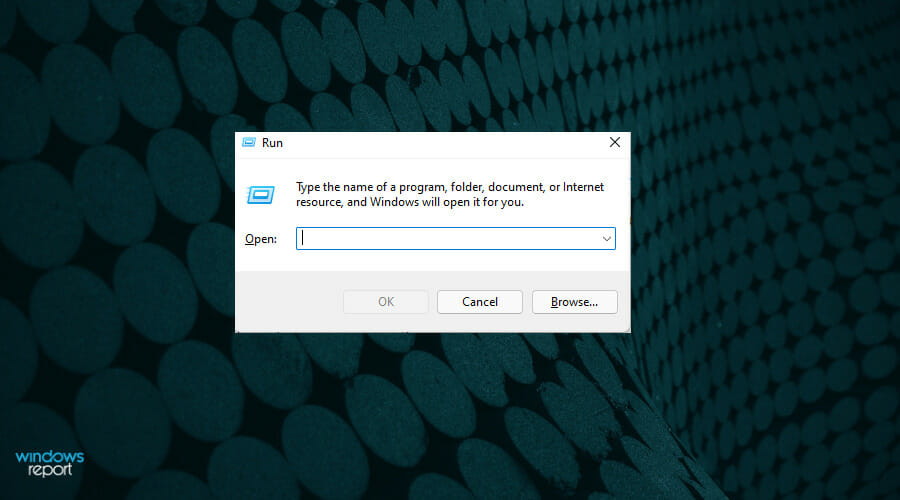
3. Type %appdata% in the box, then press Enter or click OK.
4. The AppData folder will open.
5. Now in the search bar in the top right corner, enter the name of the Notepad file you want to recover.
6. Check the list of results, and you should be able to see your file.
7. Select the file and copy it to your PC.
If you need to recover a Notepad document, you can do that from the AppData folder. This folder holds temporary files, and it’s possible that your file is stored in it.
If you regularly back up your Notepad documents, you’ll never need any file recovery software.
However, EaseUS is one of the numerous utilities you can restore deleted files with. Check this Windows Report guide for further details on some other great recovery software.
We hope that our solutions helped you recover your Notepad files. If you have any questions, write them in the comments section.
Read our disclosure page to find out how can you help Windows Report sustain the editorial team. Read more


Improve this guide


User forum
1 messages