HP Scanner Not Working on Windows 11? 4 Easy Tips to Try Out
Reinstalling the HP software and drivers is the quickest way to go

The HP scanner not working on Windows 11 is a common issue and is often encountered after a Windows 11 upgrade. A similar issue with scanners is also noticed in other brands like Canon, Epson, Panasonic, etc.
First of all, make sure that the scanner or the multifunctional printer like the HP Deskjet 3755 scanner is turned on. At least a light on the printer’s panel should be lit to let you know about its status.
Also, check if the cables are properly attached to the PC and the scanner. If the scanner is built into the printer, printing a test page could confirm that it’s functioning properly.
What can I do if the HP scanner is not detected in Windows 11?
1. Enable related Windows services
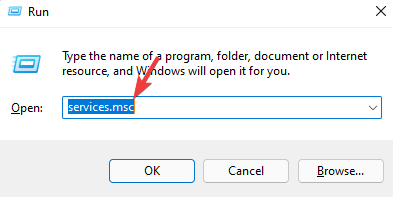
- Navigate to Start, right-click and select Run to launch Run Command.

- In the search field, type services.msc and press OK.
- In the Service Manager window, go to the right side, and under the Names column, look for the Windows Image Acquisition (WIA) service.

- Double-click on it to open its Properties window.
- In the Properties dialogues box, under the General tab, go to the Startup type field. Set it to Automatic.

- Now, check if the Service status is running. If not, click on Start.

- Press Apply and then OK to save changes and return to the Service Manager window.
- Repeat the above process for the DCOM Server Process Launcher service and, Shell Hardware Detection, Remote Procedure Call, and RPC Endpoint Mapper services as well.
Once done, close the Services window, restart your PC and check if the HP scanner is working now.
2. Run the hardware troubleshooter
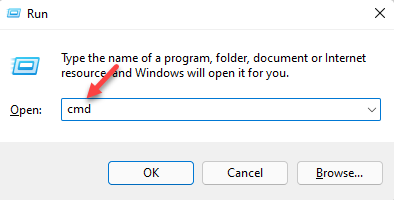
- To open Run Console, press the shortcut keys Win + R simultaneously.
- Write cmd and press the Ctrl + Shift + Enter hotkey to launch the elevated Command Prompt.
- Now, run the below command in the Command Prompt (admin) window to open the hardware troubleshooter:
msdt.exe -id DeviceDiagnostic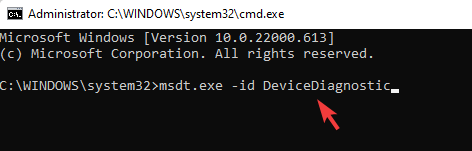
- As the Hardware and Devices pop up, click on Advanced.

- Check the box next to Apply repairs automatically and press Next.

- Now, wait till Windows detects any issues. If any issues are found, it will apply the fix automatically.
Once the process is over, reboot your PC. Check if your HP scanner not working issue is resolved now.
A troubleshooter may help pull up the issues if your scanner won’t run due to a glitch.
3. Update drivers
To manually update drivers follow these steps:
- Go to Settings from Start.
- Go to Windows Update, then select Advanced options.

- Select Optional updates.

- Expand the Driver updates section, then checkmark the scanner drivers.
- Reboot the computer.
If the scanner driver is outdated or corrupt, your HP scanner can stop working on Windows 11 hence, make sure to keep the drivers updated at all times.
To update the drivers, you may also visit the manufacturer’s website to download the latest driver and install it on your PC.
4. Enable compatibility mode
- Press the Win + R shortcut key to launch the Run console.
- Type control printers in the search bar and press Enter.

- In the Devices and Printers window, right-click on the HP scanner and select Properties.

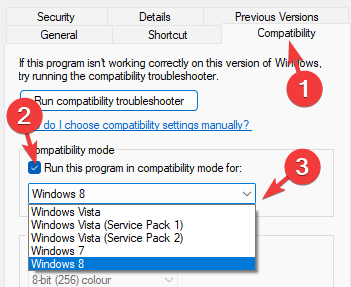
- In the Properties window, select the Compatibility tab. Now, go to Compatibility mode and enable the option – Run this program in compatibility mode for. Then, select any older Windows version from the drop-down.
- Press Apply and then OK to save changes and exit.
Now that you are done, check if the HP scanner is working fine.
4. Reinstall the HP Scanner
- Right-click on Start and select Device Manager.

- In the Device Manager window, expand Imaging devices or Print Queues. Here, right-click on the HP scanner device and select Uninstall device.
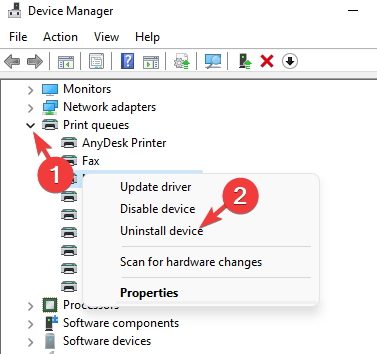
- As you see the Uninstall Device prompt, click on Uninstall to confirm.
- Once it’s completely uninstalled, reboot your PC.
- Now, visit the HP scanner’s official website, and download and install the latest scanner driver.
As the scanner driver is reinstalled, the HP scanner not working issue should be fixed now.
Alternatively, you can run the SFC and the DISM scan to find and fix any corrupt system files.
In case you have recently installed an update, uninstall the update and check if this helps fix the HP scanner not working issue on Windows 11.
If you’re also experiencing issues with the HP Smart app, our guide on how to resolve Windows 11 issues with the HP Smart app can offer additional troubleshooting methods.
For any other questions or advice, let us know all about them in the comments section below.
Read our disclosure page to find out how can you help Windows Report sustain the editorial team. Read more


Improve this guide


User forum
0 messages