IDrive Backup Not Working: Easy Ways to Fix it
Change your backup schedule for seamless backups
4 min. read
Published on
Read our disclosure page to find out how can you help Windows Report sustain the editorial team. Read more

IDrive backup not working could be some specific files or folders or just everything that won’t back up. When backing up files, a strong, fast and stable Internet connection is paramount.
Some common scenarios include the backup process terminating before it’s complete or simply not being successful. This could happen if you have scheduled backups or the app is glitching. A quick restart of the app and PC should fix it but if not, try the following.
What can I do if IDrive backup is not working?
1. Update the IDrive app
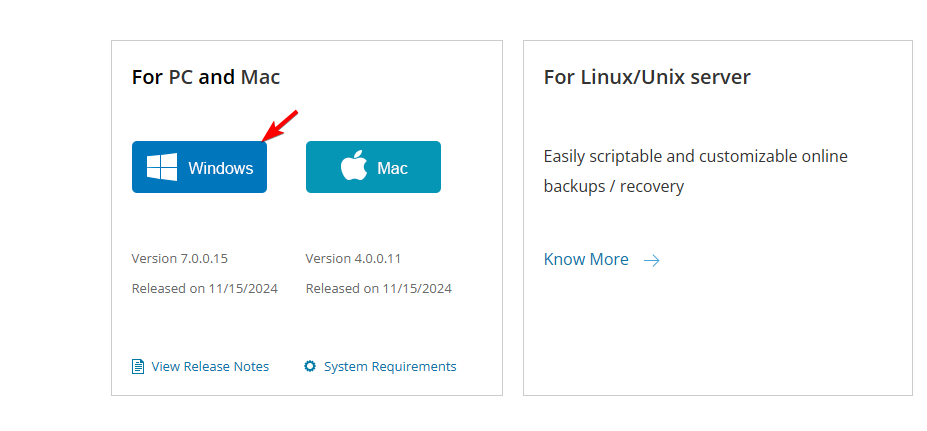
- Navigate to your browser and go to the IDrive download page.
- Click on the platform that you use. to download the file.
- Once the setup file is downloaded, run it.
- Follow the instructions on the screen to complete the process.
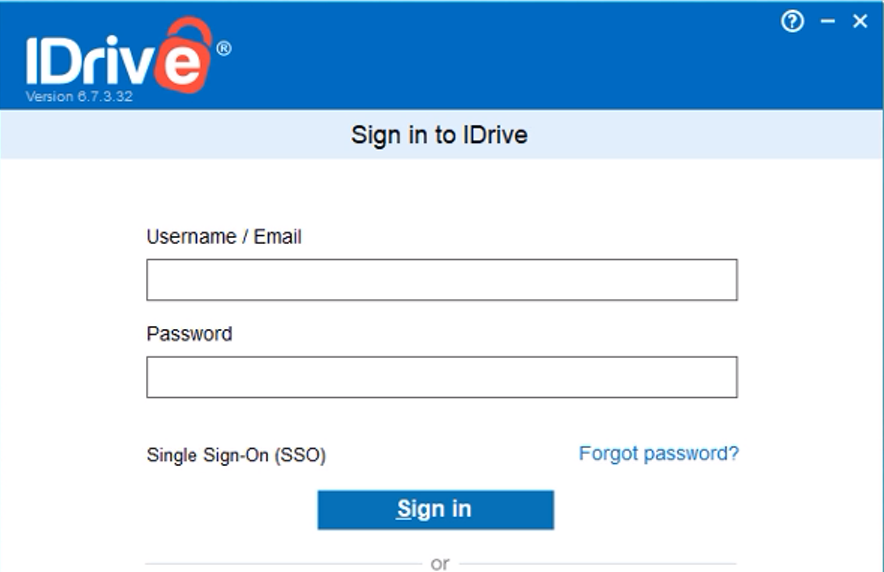
- Lastly, start the client and sign in with your IDrive account.
Most users were able to bypass the IDrive backup error after updating their app to the latest build. A new update usually addresses compatibility concerns and is packed with performance improvements.
2. Restart the IDrive service
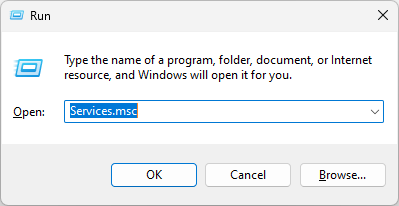
- Hit the Windows + R keys to open the Run command.
- Type services.msc and hit Enter.
- Locate the WLAN AutoConfig service, double-click on it, and select Properties.
- Navigate to the General tab. Under Startup type, select Automatic from the drop-down options and click on the Start button.
- Next, click Apply and then OK.
Restarting the IDrive service will refresh any connection requests that may have been interrupted and reinitialize the app for the backups to be successful.
3. Temporarily disable Windows Firewall
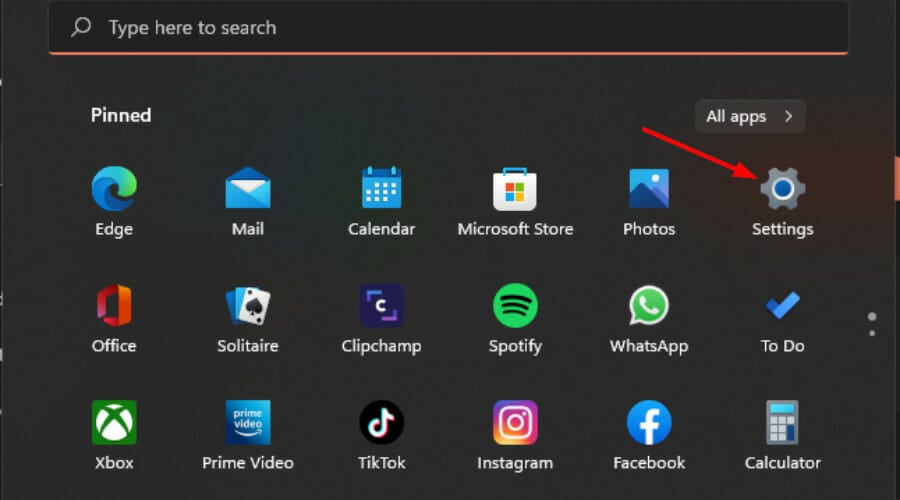
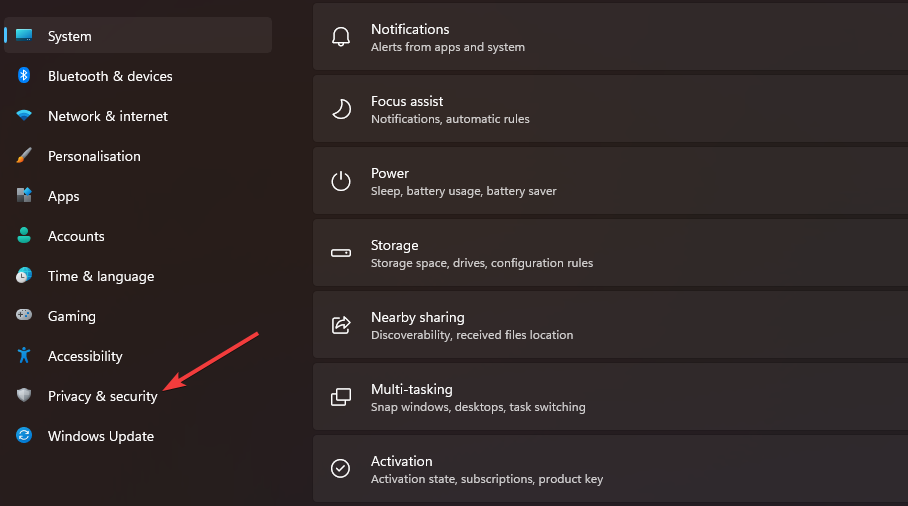
- Hit the Windows key and click on Settings.
- Select Privacy & security.
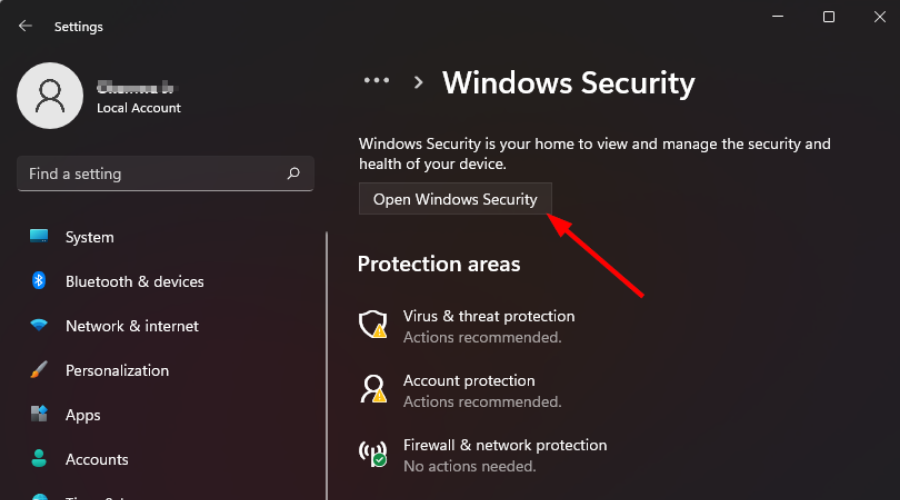
- Click on Open Windows Security.
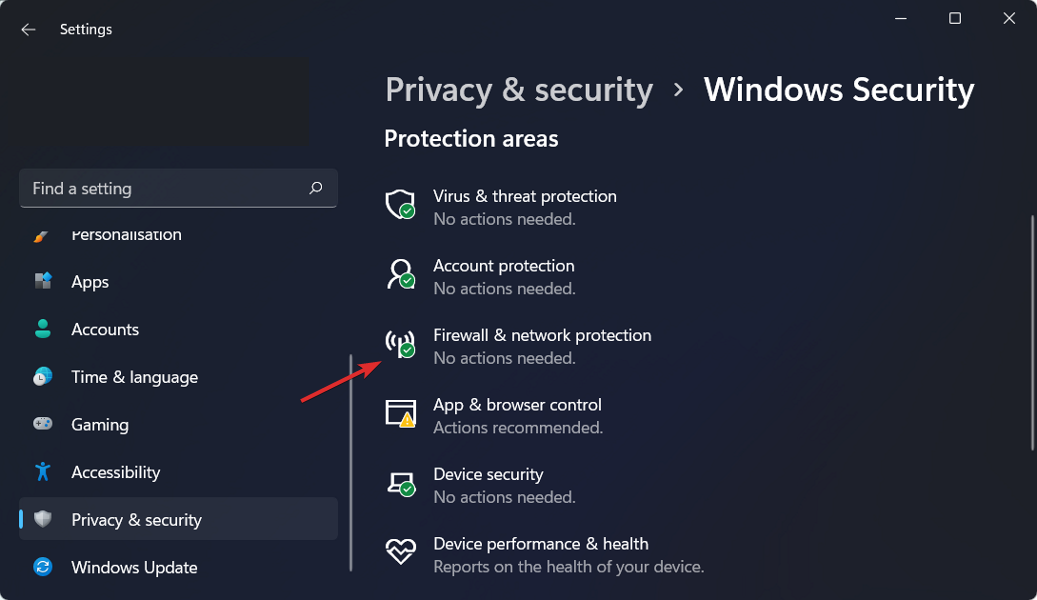
- Select Firewall & network protection.
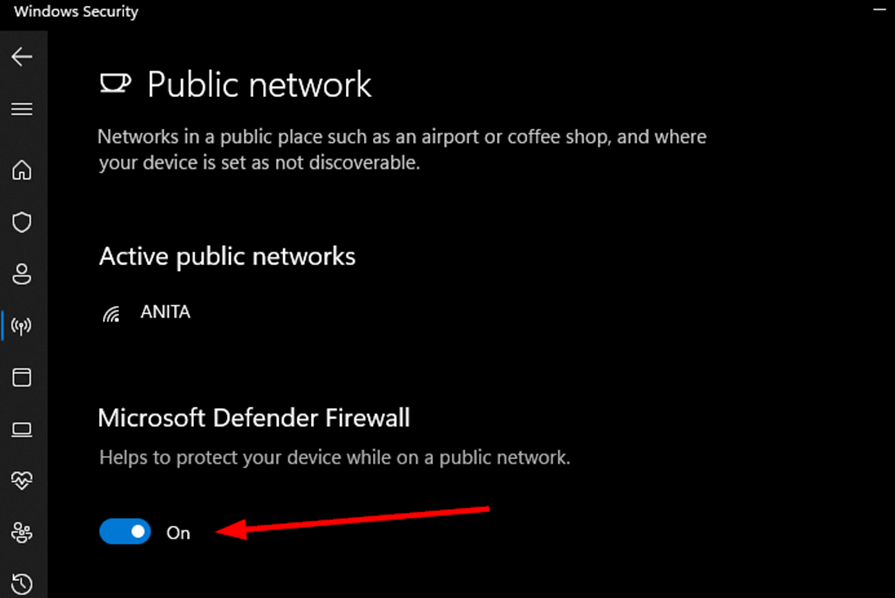
- Click on Public network.
- Next, toggle Microsoft Defender Firewall off.
- Try to back up the files again and see if it is successful.
If your ISP is blocking the connection between IDrive and its servers, your backup attempts will keep failing because the specific ports designed to transfer data have been blocked.
4. Take ownership of the file/folder
- To begin, start File Explorer using the Windows + E keyboard shortcut, navigate to the desired file or folder location and right-click on that file/folder to select Properties.
- Navigate to the Security tab, and then click on the Advanced button, which is located at the bottom of the screen.
- Then click on the Change button next to Owner, which will take you to a new window.
- Administrator should be entered in the Enter the object names to select form, and then the Check Names button should be clicked. Click OK to proceed. After that, you should observe the Owner property being changed from the initial name to your administrative account.
- Now, select the Replace owner on sub containers and objects option, which can be found directly below the Owner column, by checking the box.
- Finally, to save the changes, click Apply then OK on the toolbar. Windows will now start the process of transferring ownership to the new owner. Once you have completed the process, you will receive a notification, to close it, use the OK button.
- Now try to back up the files on IDrive and see if it still fails.
Taking ownership of the files and folders will solve IDrive’s failure to back up if it was a permission issue. However, if the files in the folders are corrupt or are too large and IDrive does not have sufficient storage space, it will not work.
5. Edit the backup list
- Launch the IDrive application and ensure that Continuous data protection is disabled.
- In the application, click the Modify button.
- Deselect all folders that you have selected for backup and click OK.
- Next, click on the Modify button again.
- Select the folders you want to back up and click OK.
- Backup the folders manually or schedule the backup.
Alternatively, you can back up the files in batches to narrow down the issue and see if it is a specific file/folder that has an issue. Once you’ve isolated the file, check for possible corruption.
Since IDrive’s backup may fail at any time, you can have a backup for your backup with the Windows 11 automatic backup feature.
Further, you can check out other cross-platform backup tools if IDrive fails to meet your needs. But before you shelf it, check out our comprehensive review of IDrive and see whether you still want to ditch it.
If it tickles your fancy, we have another article on how to download IDrive and enjoy its extensive feature list.
Is there any solution you think we’ve left out? If so, share it with us in the comment section below.




User forum
0 messages