Readers help support Windows Report. We may get a commission if you buy through our links.
Read our disclosure page to find out how can you help Windows Report sustain the editorial team. Read more
If you have encountered an error message mentioning the igfxCUIService.exe file and wondering what it does and how it can crash, this guide can help!
We’ll explore what the file does, its significance, and the steps you can take to fix it if it’s crashing on your computer.
What is igfxCUIService.exe?
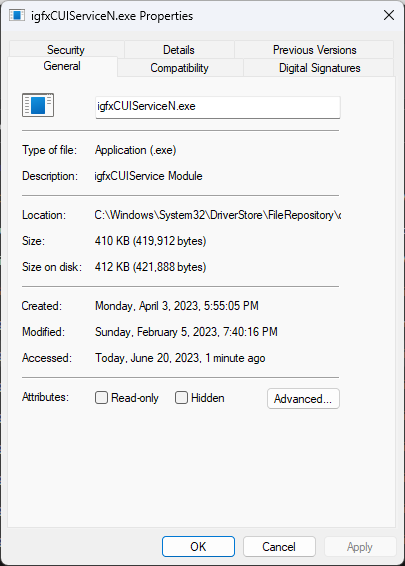
The igfxCUIService.exe file stands for Intel Graphics Common User Interface Service. It is a software component of Intel Common User Interface developed by Intel Corporation.
It is associated with Intel graphics drivers and is responsible for providing user interface services related to the Intel Graphics Control Panel.
The Intel Common User Interface allows users to access and configure various graphics settings, display options, and performance optimizations for Intel-integrated graphics.
If you are using an external graphics card along with this one, you may see error messages saying this executable file is missing or has crashed.
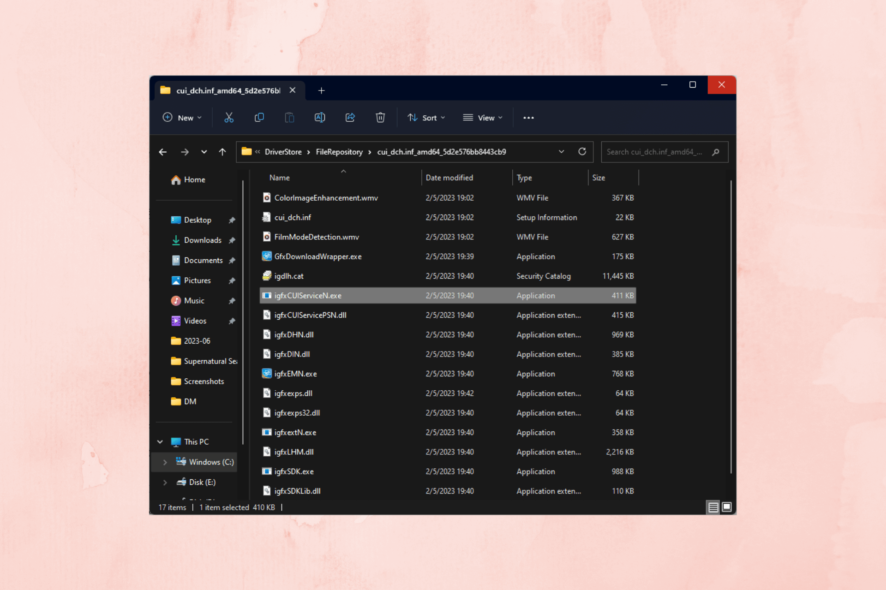
The file is located in C:\Windows\System32\DriverStore\FileRepository\igdlh64.inf_amd64_88119f5187d09975\. If it is found elsewhere, chances are the file is malicious. Try running an antivirus scan to be sure.
How can I fix errors related to igfxCUIService.exe?
Before engaging in advanced troubleshooting steps, you should consider performing the following checks:
Restart your computer.
Ensure your Windows is up to date.
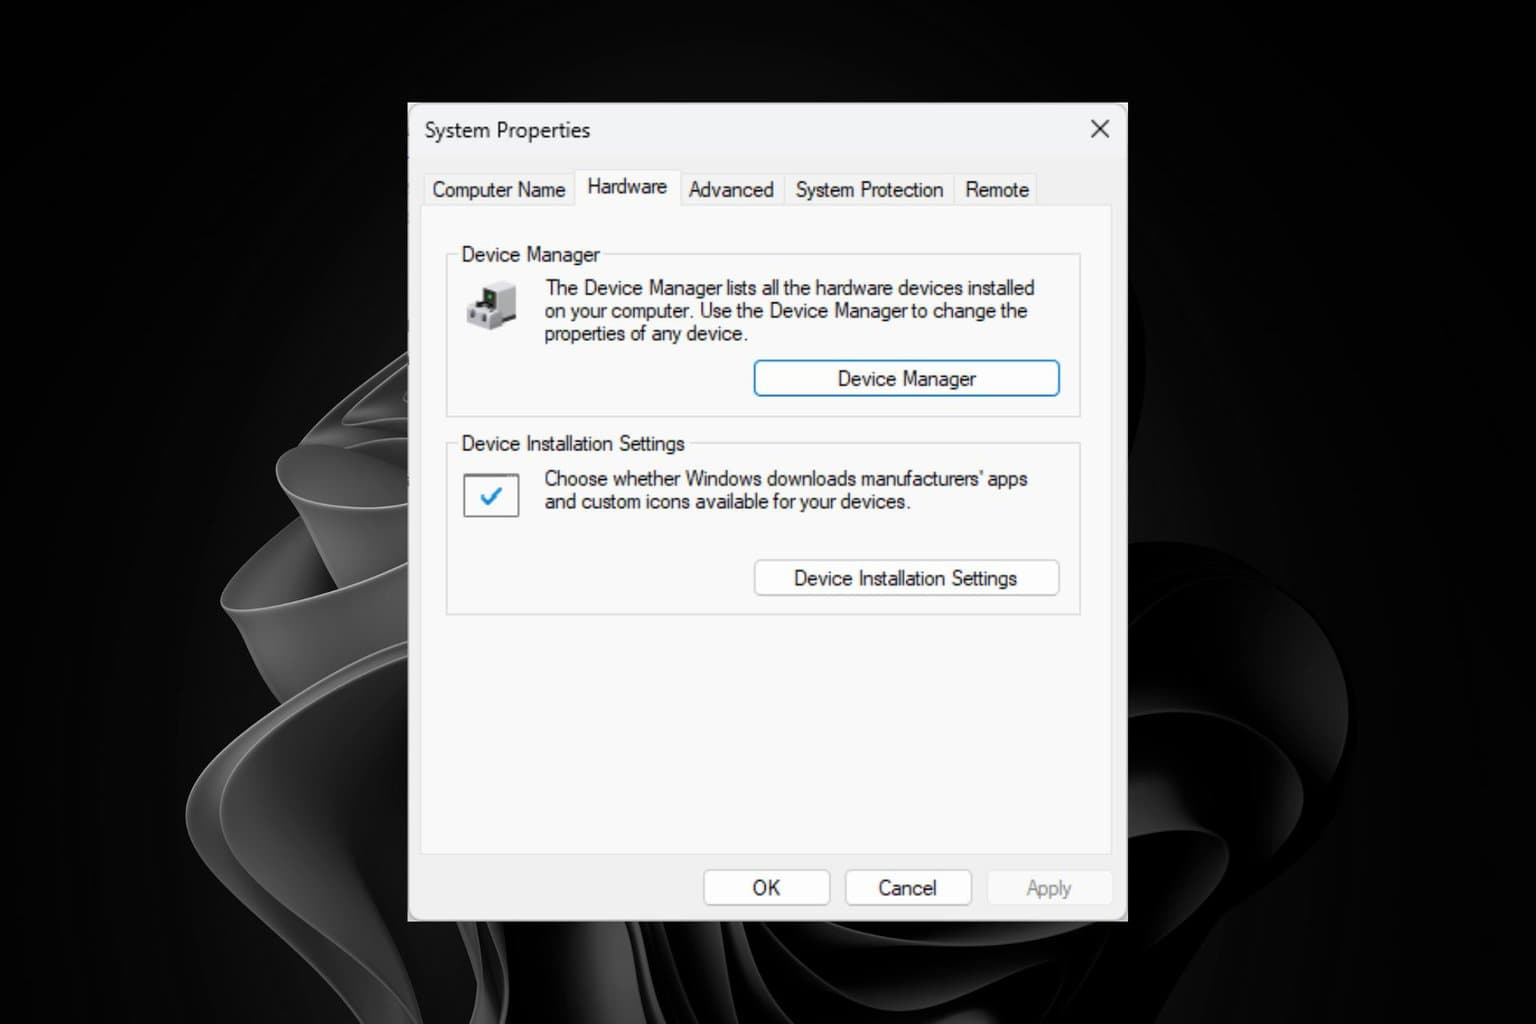
If you are using an external graphics card along with this, check its Properties.
Once done, move to the detailed methods mentioned below.
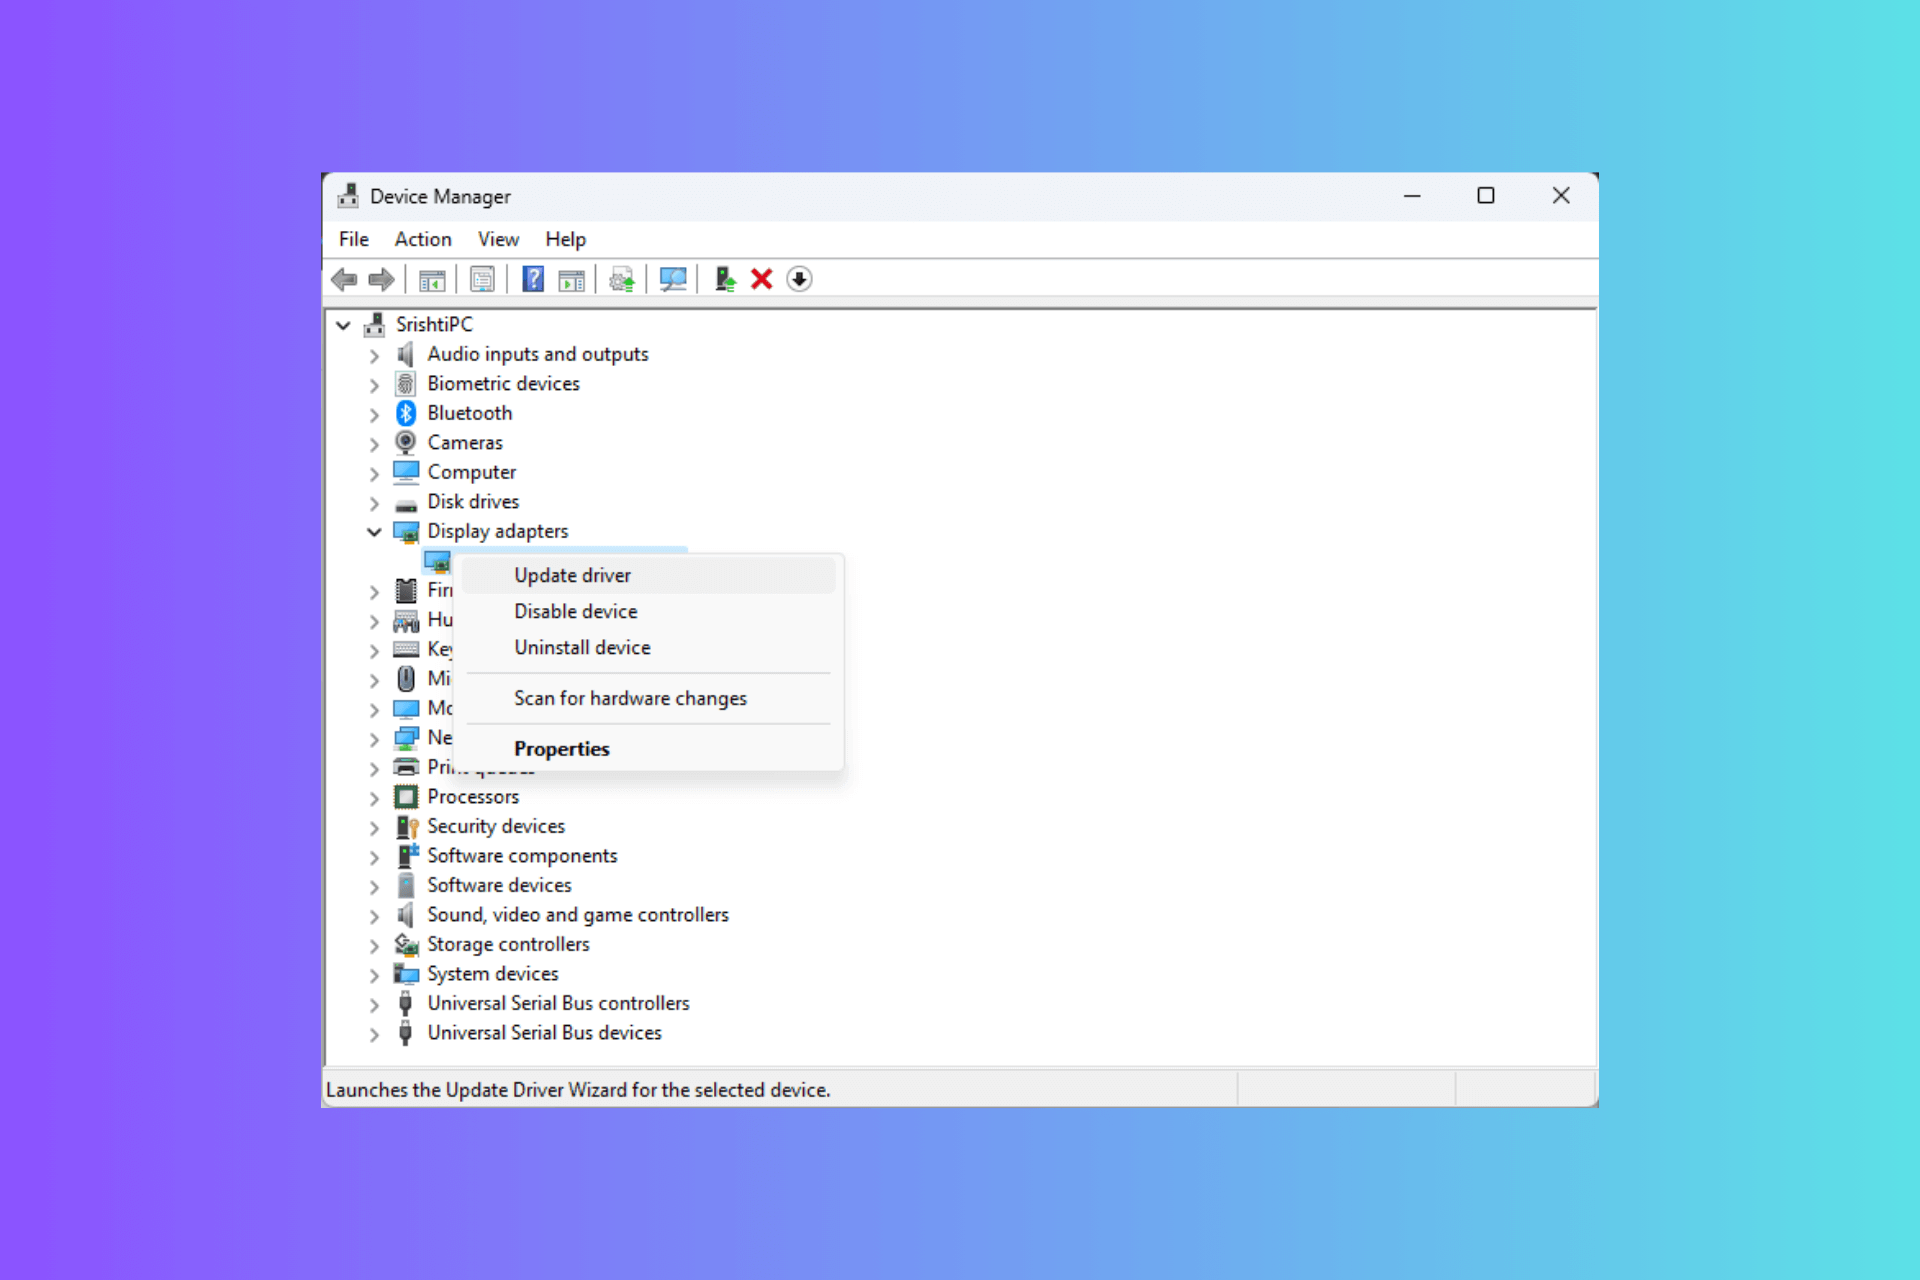
1. Run Hardware and devices troubleshooter
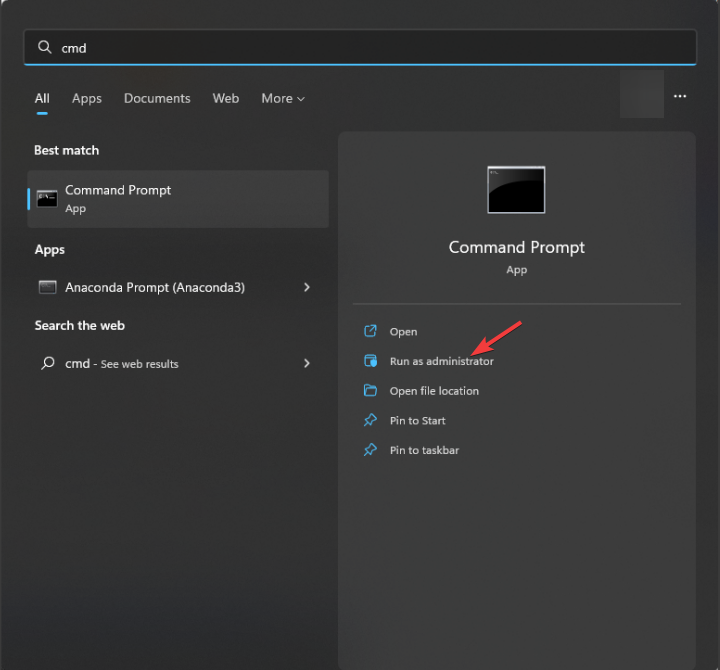
Press the Windows key, type cmd, and click Run as administrator.
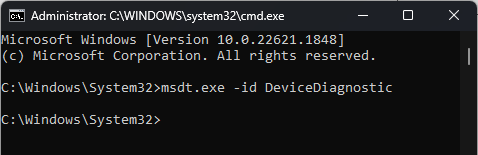
Type the following command to invoke Hardware and Devices troubleshooter and hit Enter: msdt.exe -id DeviceDiagnostic
On the Hardware and Devices window, click Advanced.
Select Apply repairs automatically and click Next.
Follow the onscreen instructions to complete the process.
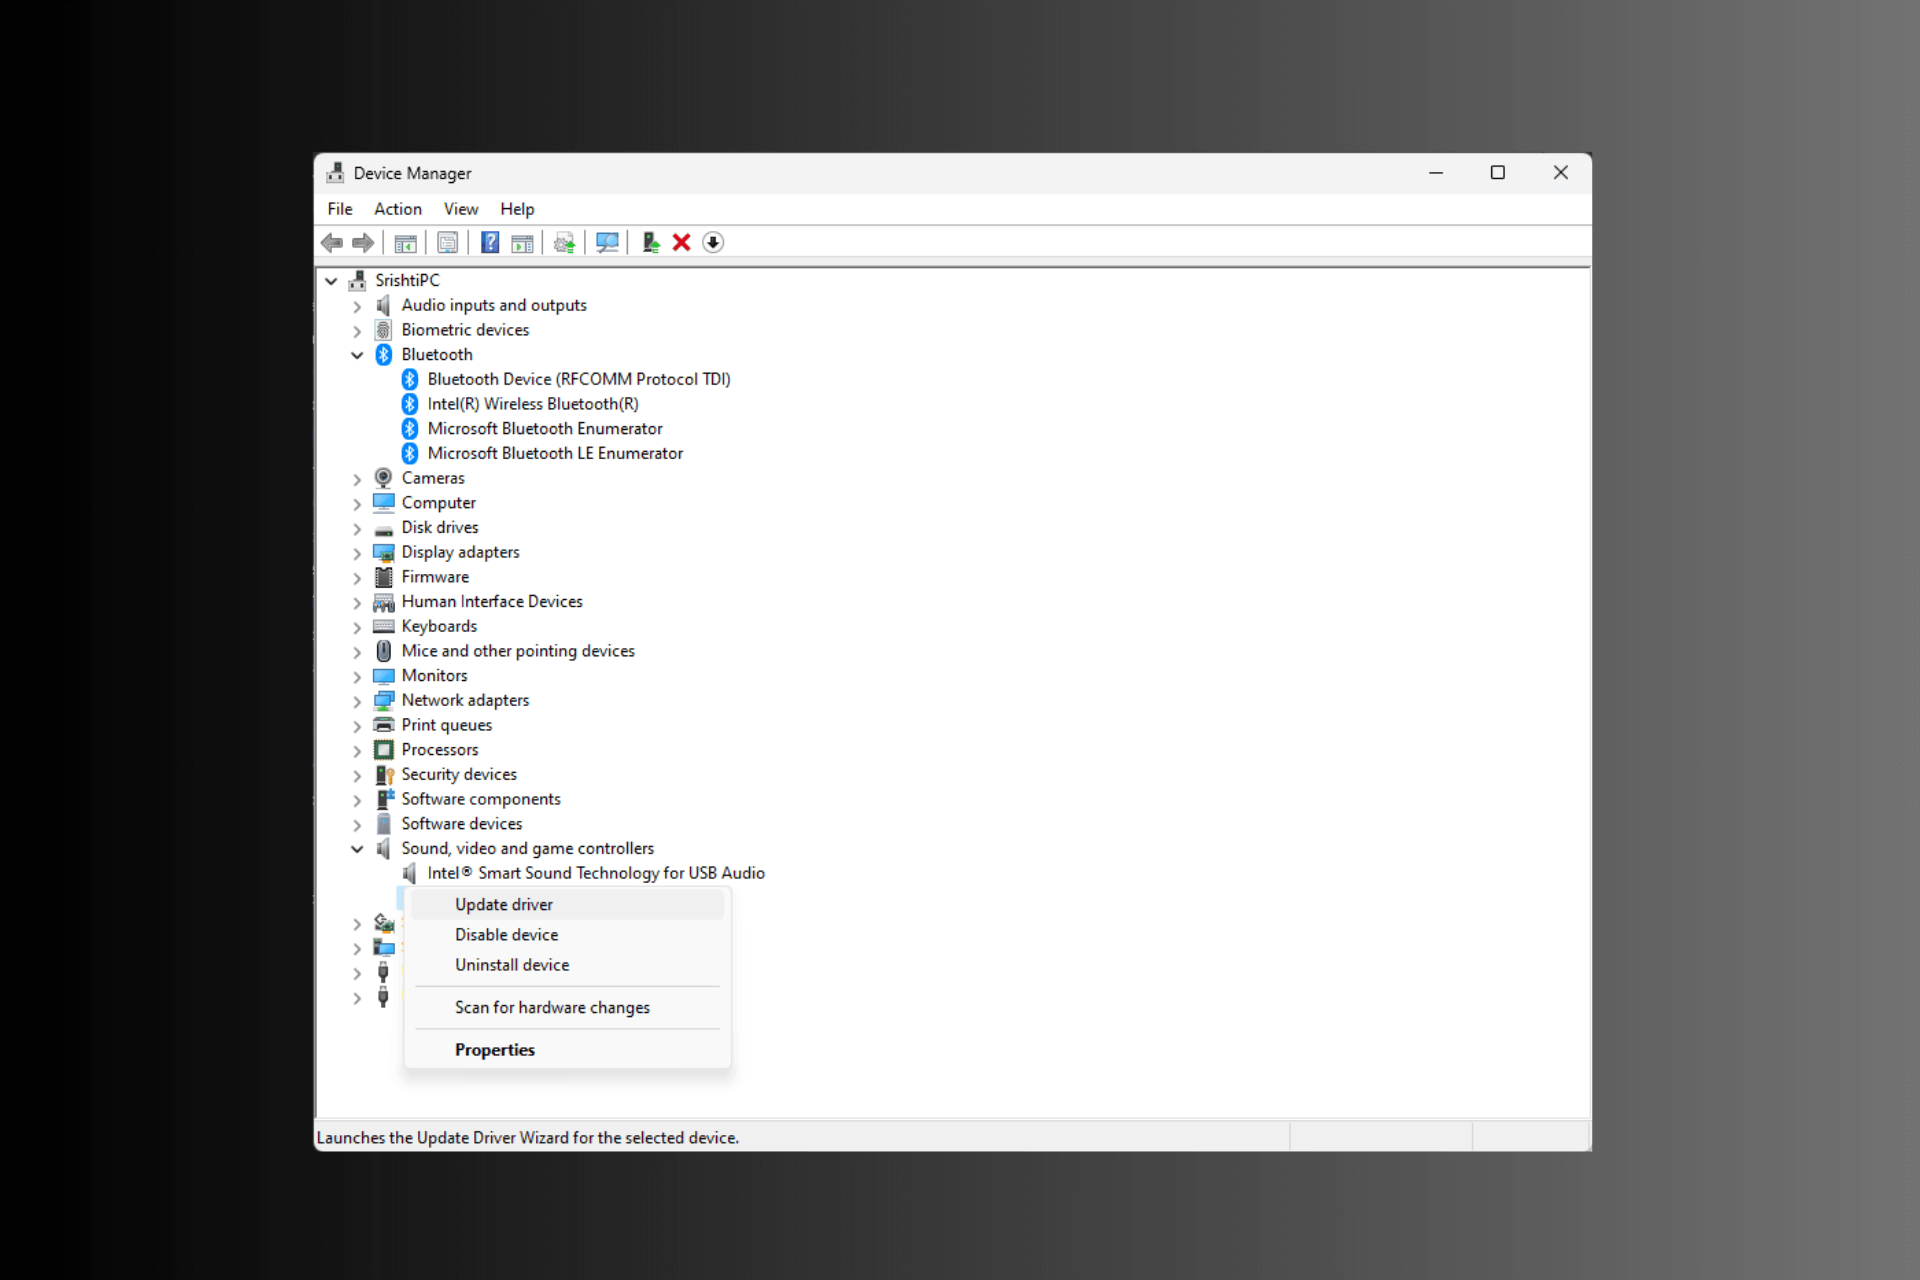
2. Disable startup for Intel(R) HD Graphics Control Panel Service
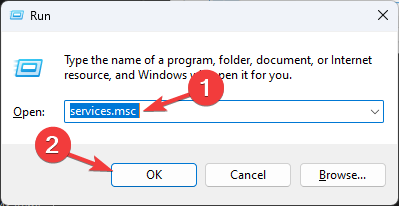
Press Windows + R to open the Run box.
Type services.msc and click OK to open the Services app.
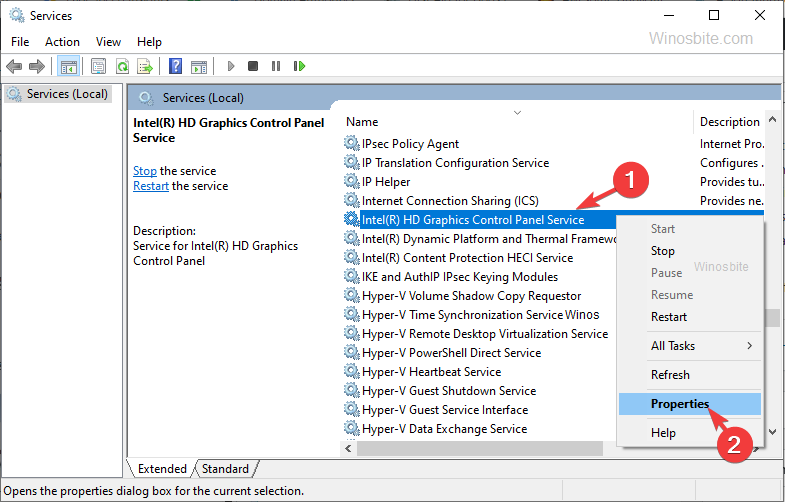
Locate and right-click Intel(R) HD Graphics Control Panel Service, then select Properties.
Under Services status, click Stop, and for Startup type, choose Disabled from the drop-down.
Click Apply, then OK to save the changes.
Restart your computer and check if the issue persists.
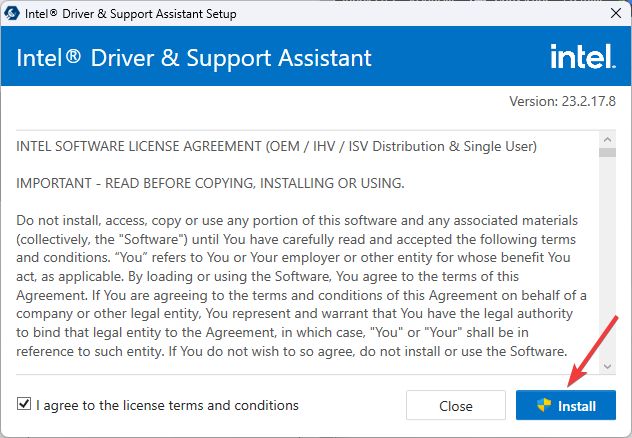
Double-click on the downloaded file, agree to the terms and click Install. To completer the installation, you might have to restart your computer.
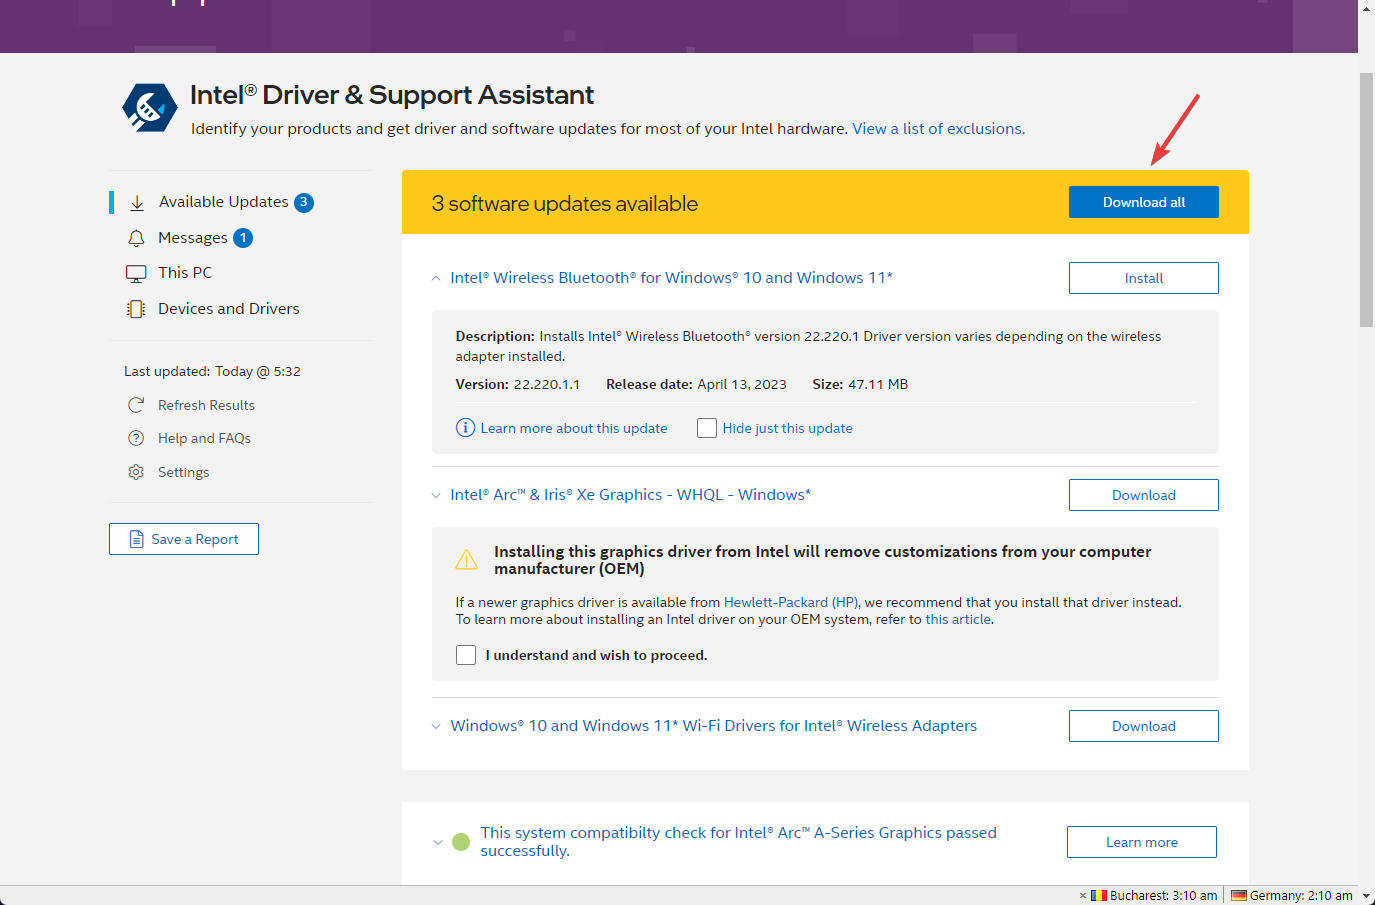
Once your computer is up, press the Windows key, type intel driver & support assistant, and click Open.
You will get a list of driver updates available; click Download or Download all.
Click Install to install the drivers. Follow the onscreen instructions to complete the process.
Most common Windows errors and bugs can result from faulty or incompatible drivers. An outdated system can lead to lags, system issues, or even BSoDs.
You can prevent these problems by using an automatic tool that will search and install the correct drivers on your computer with just a few clicks. That's why we recommend you use Outbyte Driver Updater.
Here's how to do it:
Disclaimer: You may need to upgrade the app from the free version to perform specific actions.
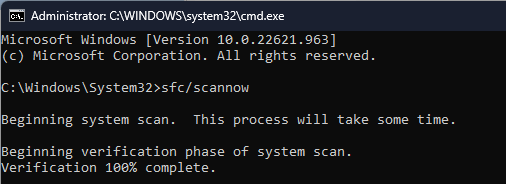
4. Run SFC & DISM scans
Press the Windows key, type cmd, and click Run as administrator.
Type the following command to repair system files and hit Enter: sfc/scannow
Wait for the scan to complete, copy & paste the following command to restore Windows OS image files, and press Enter: Dism /Online /Cleanup-Image /RestoreHealth
Once the command is successfully completed, restart your computer to save the changes.
5. Run your computer in a clean boot environment
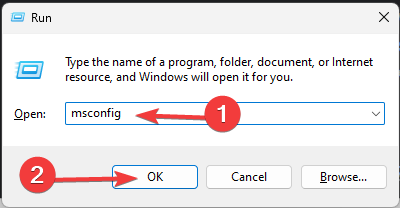
Press Windows + R to open the Run window.
Type msconfig and click OK to open the System Configuration window.
Go to the Services tab, place a checkmark next to Hide all Microsoft services, and click Disable all.
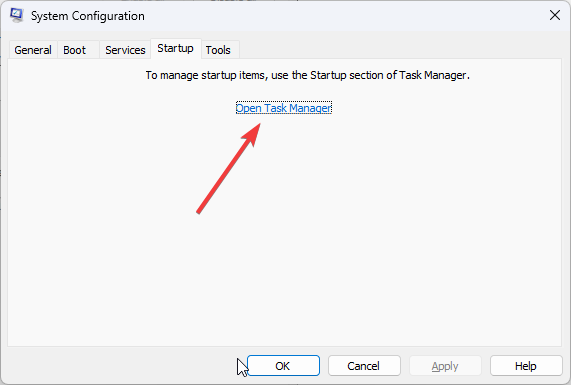
Switch to the Startup tab and click Open Task Manager.
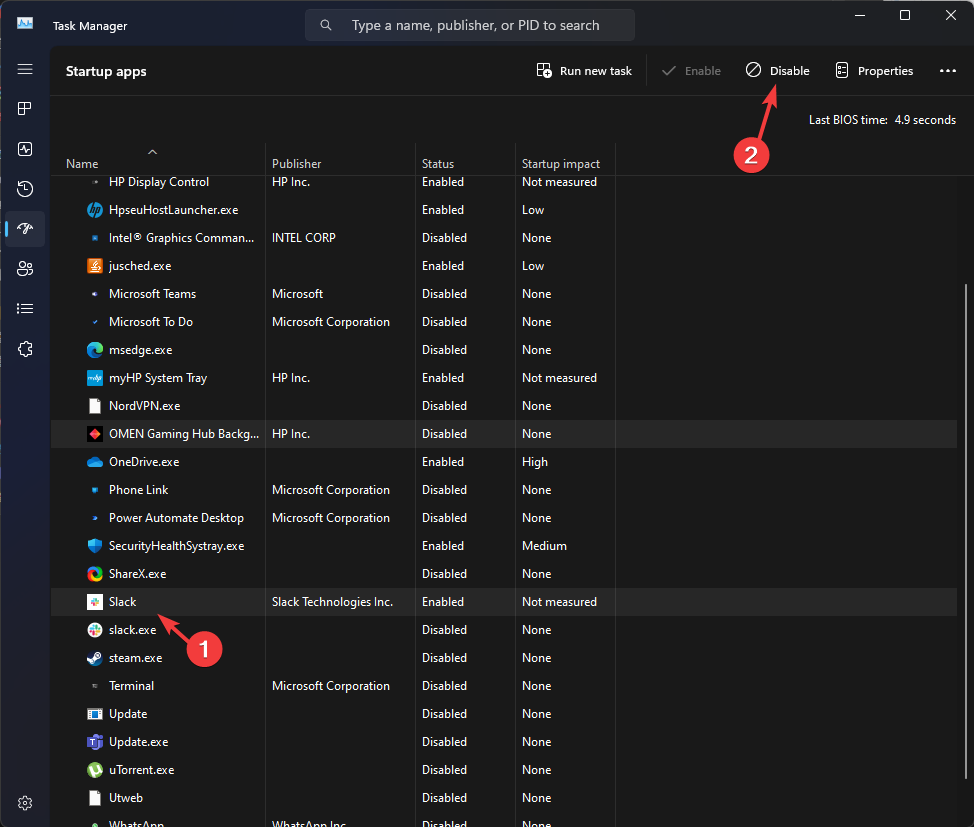
Now go to each Enabled item, and click Disable. Close Task Manager.
On the System Configuration window, click Apply, then OK.
Click Restart.
Now check if the issue persists. If the issue is still there, check all the recently installed apps and services to single out the app or service causing the issue.
Once done, follow the same methods to revert the system to normal mode.
So, these are the methods you have to follow to fix the errors related to igfxCUIService.exe and restore system health.
If you are facing other issues with Intel graphics drivers, we suggest you check out this guide to find the relevant fixes. We also have a guide on Jhi_Service.exe, so feel free to check it out for more information.
Please feel free to give us any information, tips, and your experience with the subject in the comments section below.
Srishti Sisodia is an electronics engineer and writer with a passion for technology. She has extensive experience exploring the latest technological advancements and sharing her insights through informative blogs.
Her diverse interests bring a unique perspective to her work, and she approaches everything with commitment, enthusiasm, and a willingness to learn. That's why she's part of Windows Report's Reviewers team, always willing to share the real-life experience with any software or hardware product. She's also specialized in Azure, cloud computing, and AI.


User forum
2 messages