How to Remove Learn About This Picture in Windows 11
Hide this desktop icon to continue enjoying vast sceneries
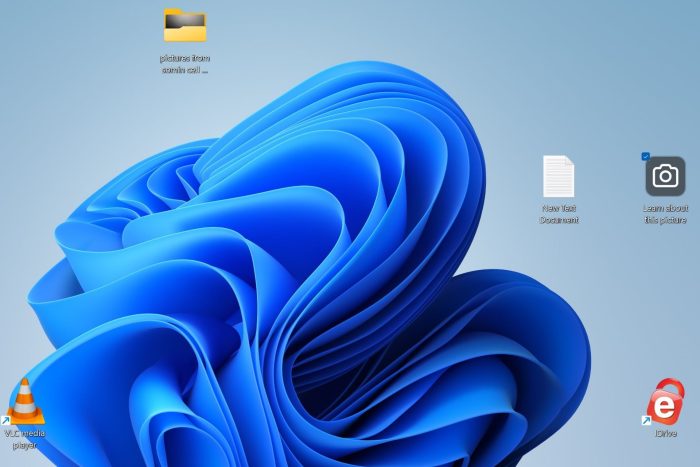
Windows 11 comes with a handful of themes, so when you change to the Windows Spotlight theme, it will be accompanied by a learn about this picture desktop icon.
The learn about this picture icon on your desktop is not by mistake. It provides additional information about the theme you’ve just downloaded and also gives you a chance to rate it.
Most users prefer the Windows Spotlight theme because of the dynamic wallpapers it provides. However if Windows Spotlight is not working or you just don’t want the learn about this picture icon, you can remove it.
How do I remove the Windows 11 learn about this picture icon?
1. Disable the Windows Spotlight theme
- Click on the Search button, type in Settings, and click on the most relevant result.

- Select Personalisation from the left panel, and then click on the Lock screen on the right.

- Next, choose Picture from the Personalize your lock screen menu.

Note that by disabling the Spotlight theme, you won’t be able to access the wide variety of sceneries that come with it.
2. By using the Registry Editor
- Before you start making any changes, ensure you back up your Registry or create a restore point, as some changes can make your PC unstable.
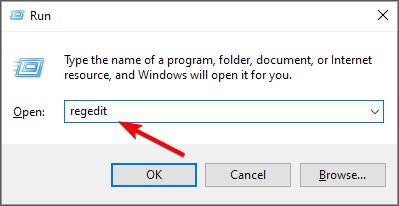
- Hit the Windows + R keys to open the Run command.
- Type regedit in the dialog box and hit Enter.
- Navigate to the following location:
HKEY_CURRENT_USER\Software\Microsoft\Windows\CurrentVersion\Explorer\HideDesktopIcons\NewStartPanel - Right-click on the right pane, select New>DWORD (32-bit) Value and name it as {2cc5ca98-6485-489a-920e-b3e88a6ccce3}.
- Double-click on it and in the Value data, enter 1 to disable it.

- Close the Registry Editor and restart your PC to effect the changes.
3. By using ExplorerPatcher
- Navigate to your browser and open the Github page.
- Click on the latest available ExplorerPatcher app version under Releases on the right side.

- Scroll down and click on the EXE file.
- Download the ExplorerPatcher tool.

- Next, run the setup file. If you can’t start the installation, click on More info.

- After that, choose Run anyway.

- Once the installation is finished, right-click the Taskbar and choose Properties.

- Click on Spotlight on the left pane then select Hide the “Learn about this picture” icon option on the right.
ExplorerPatcher comes in handy at hiding this icon since you cannot delete it from your desktop via right-click>Delete. Aside from hiding desktop icons, there’s so much more you can do with ExplorerPatcher so feel free to explore all the possibilities.
If you’ve had to disable the Windows Spotlight theme, don’t worry as there are hundreds of other free themes you can download.
And it’s not just on your desktop. Browsers like Chrome give you the option to customize your own theme so get to exploring and find your unique aesthetic.
Have you been able to get rid of the learn about this picture icon on your Windows11? Let us know which solution you found easy to use in the comment section below.
Read our disclosure page to find out how can you help Windows Report sustain the editorial team. Read more


Improve this guide


User forum
0 messages