Linksys router is not showing all devices? Try these fixes
3 min. read
Updated on
Read our disclosure page to find out how can you help Windows Report sustain the editorial team Read more
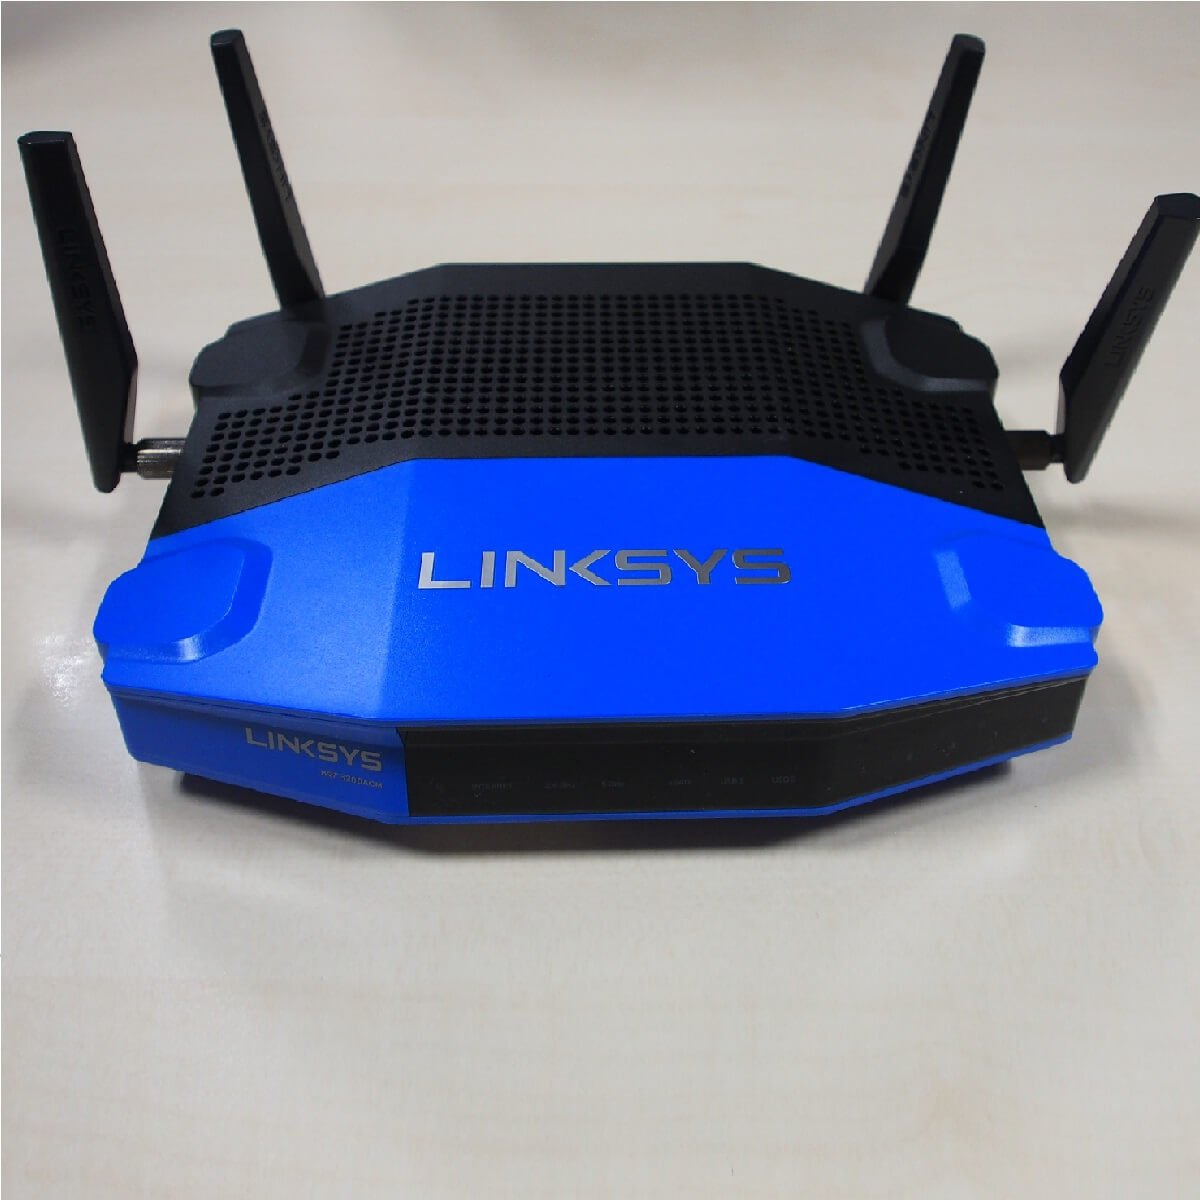
A Linksys router unable to show all devices is indeed something to be concerned about. Let us remind you that there is a greater chance that you’ll be able to fix this by doing some basic troubleshooting procedures.
The DHCP Client Table allows you to check all devices that are connected to your network – both wired or wirelessly.
It displays the name of the device, along with other details such as the assigned IP and MAC addresses, the interface it is connected to, or the precise duration until the connection expires.
That is why we’ve created an article that shows you precisely how to use this tool for the task at hand.
What can I do when a Linksys router is not showing all devices?
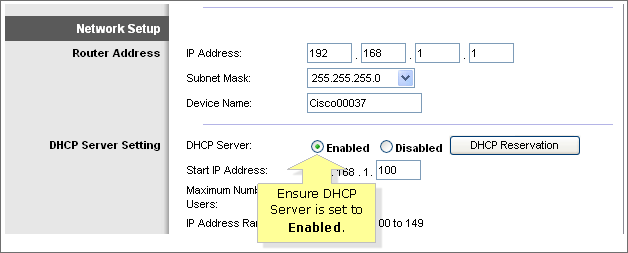
1. Ensure that the DHCP Server is enabled
- Open a web browser at your choice.
- Enter your router’s IP Address on the Address bar.
- Press Enter.
- When the login prompt appears, enter your router’s User name and Password.
- While into the web-based setup page, scroll down to the Network Setup section.
- Check if the DHCP Server is enabled. If it’s set to Disabled, select the Enabled radio button.
- Click Save Settings.
Checking the DHCP Client Table using the web-based setup page is extremely simple, so make sure the DHCP Server is enabled in the first place.
Then, simply following this path Status tab > Local Network > DHCP Client Table under the DHCP Server section. This should reveal a list of clients that are currently connected to your network.
Need to configure a Linksys router? Check out this step-by-step guide.
2. Access the configuration page of your device
Users often describe buying an IP Camera and trying to get the IP Address by plugging in straight into their router. This leads to no result if the IP setting of the camera isn’t in the same segment as the router.
The DHCP Client Table can only show devices currently connected to the router and be assigned an IP Address automatically from the router.
Therefore, the smartest thing to do is to check if your camera is indeed listed, as described above. This helps to retrieve the IP Address assigned by the router to access the configuration page of the device.
3. Use the Refresh option in DHCP Client Table
Note that it may take up to 24 hours or even longer for a new connected device to show up in the list. Your goal is finally seeing the updated list of clients, so keep in mind that the DHCP Client Table page provides a basic, yet useful Refresh option.
In essence, it might be a good idea to use it a few times before resorting to other troubleshooting methods you may find on the Internet.
If you have other questions and suggestions, reach for the comments section below.
READ NEXT:

