7 Ways To Fix Nvidia VSync If It’S Not Working [2024 Guide]
Try these easy solutions to get VSync working in no time
5 min. read
Updated on
Read our disclosure page to find out how can you help Windows Report sustain the editorial team Read more
Key notes
- VSync is a graphics technology that syncs a display refresh rate with a game's FPS.
- If your Nvidia graphics card driver is outdated, corrupted, or damaged, then VSync may not work correctly.
- The VSync feature can be enabled either in Nvidia Control Panel or in your game's settings.
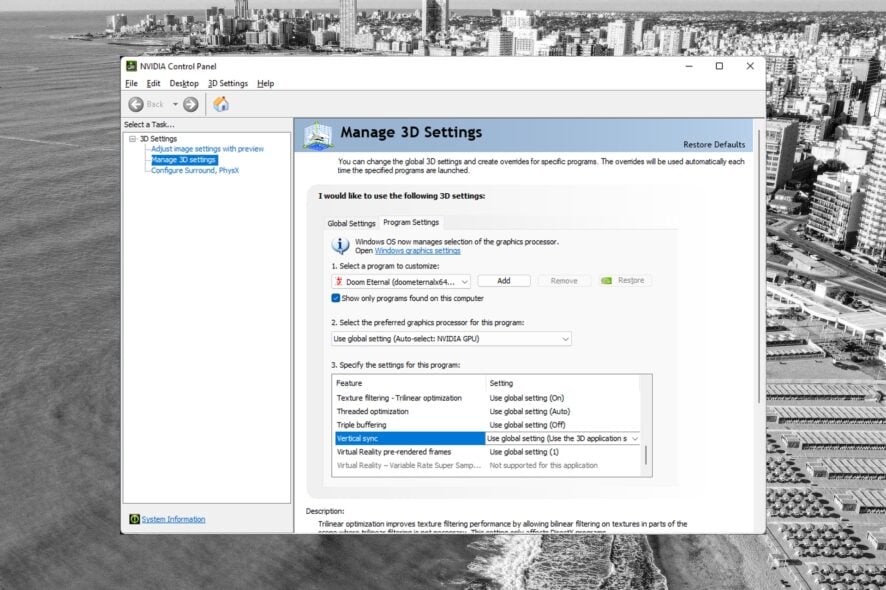
Vertical Sync (VSync) syncs a game’s FPS to the rate of your monitor to avoid lags and stuttering. However, users have reported that Nvidia’s VSync is not working correctly on their PC.
Nvidia’s VSync feature provides the graphics technology needed to give gamers lag-free graphics for demanding games. If you’re having issues with your Nvidia graphics card not detected on Windows 11, we have a guide for that.
Why is Nvidia VSync not working?
VSync can be a crucial feature when playing high-demanding games or AAA games and can lead to screen-tearing if it’s not working. Nvidia VSync may not be working for a number of reasons, including:
- Outdated Nvidia graphics card drivers – To make sure such an issue never happens again, refer to our guide on how to update drivers on Windows 11.
- Corrupted or damaged graphics card drivers – There are multiple ways to update your drivers and solve such issues, including auto-updating via the Settings menu or using a dedicated tool, such as the one mentioned below.
- Too many processes running in the background – Rest assured that terminating unwanted processes is easy if you use Task Manager’s features efficiently, as described in our guide.
- VSync is not properly enabled, including the fact that VSync is not enabled globally.
How do I enable VSync on a game?
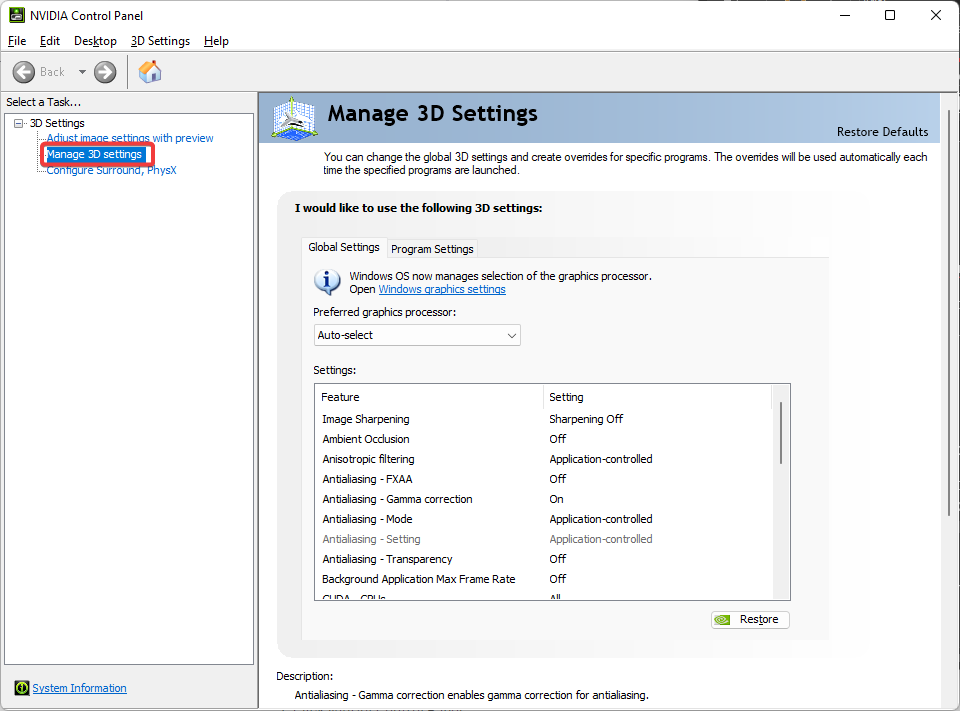
- Click on Start and search Nvidia Control Panel then hit Enter.
- Under 3D Settings, click on Manage 3D Settings.
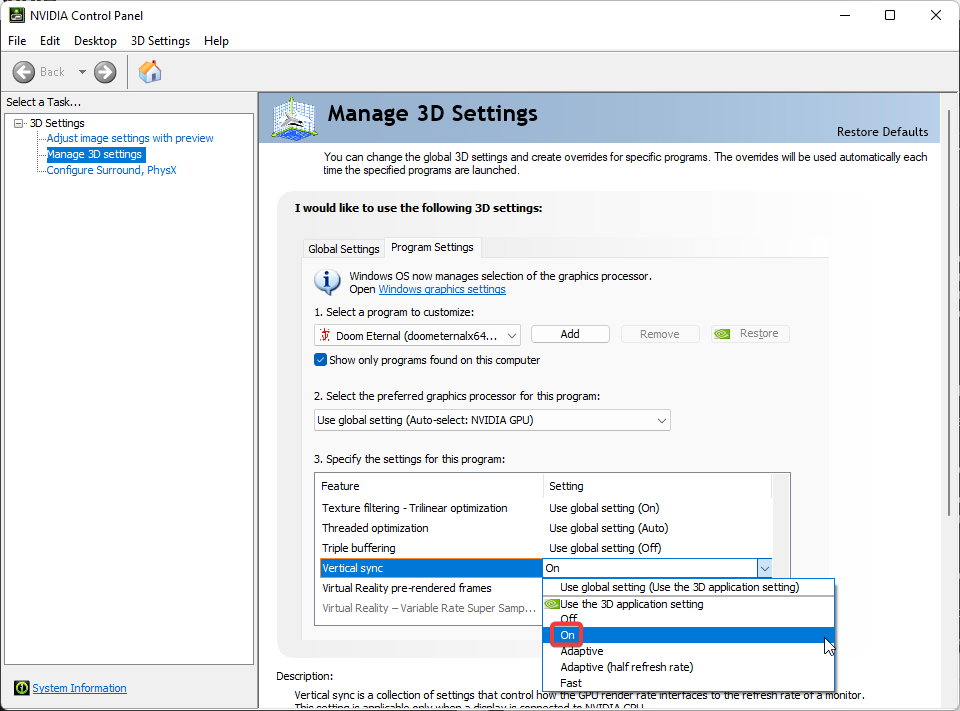
- Navigate to Program Settings and select the game to customize.
- Scroll down to Vertical sync, click on the dropdown menu, and select On.
This is how to enable VSync from the Nvidia Control Panel. Users can also turn on VSync inside the games menu.
How do I fix Nvidia VSync if it’s not working?
1. Force VSync
- Click on Start and search for Nvidia Control Panel, then hit Enter.
- Under 3D Settings, click on Manage 3D Settings.
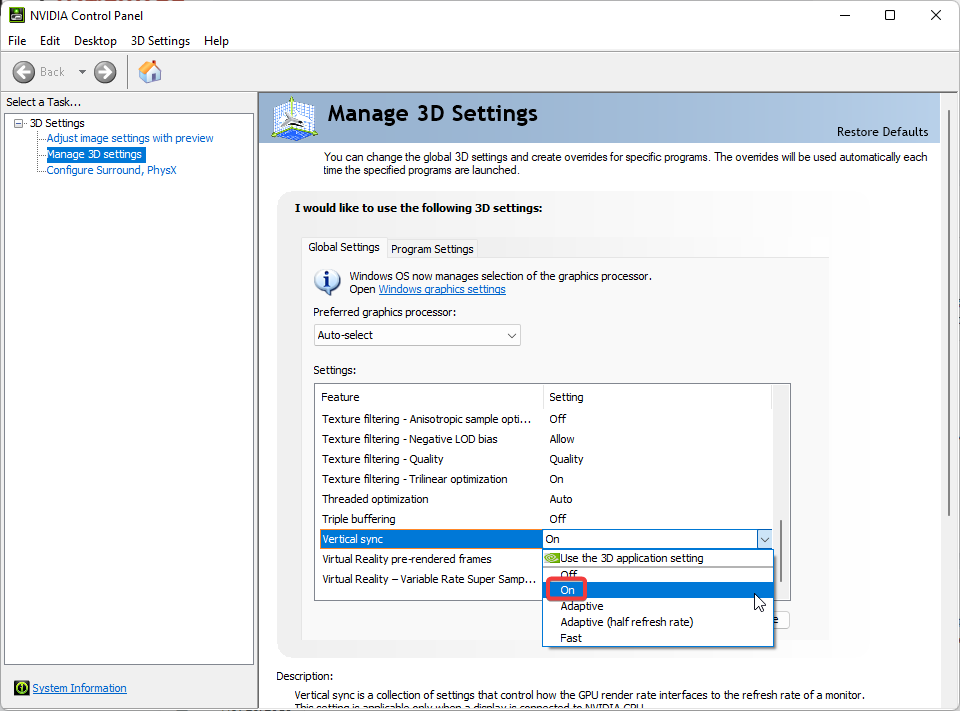
- Under Global Settings, scroll until you find Vertical Sync.
- Click on the dropdown menu and change to On.
Forcing VSync on under Global Settings will apply VSync to all games, not just a particular one. Try adjusting VSync to work across all games through the Nvidia Control Panel to see if that solved the problem.
2. Close background tasks
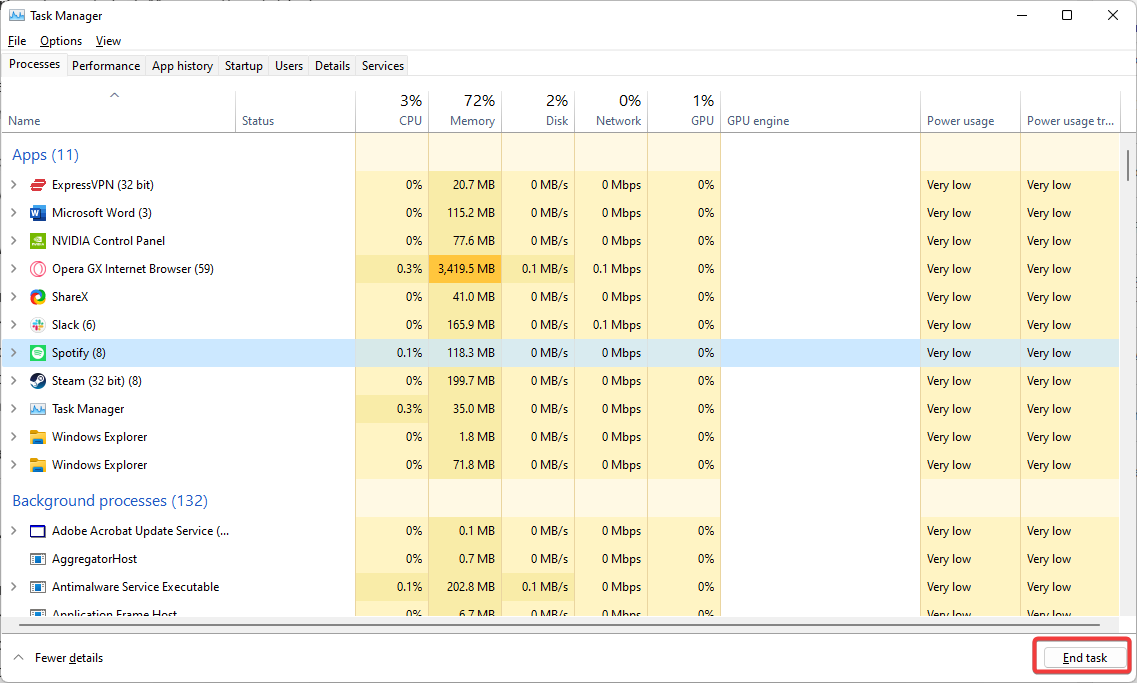
- Click on Start and search Task Manager then hit Enter.
- Under the Processes tab, go through and select a program that you don’t need running and click End Task.
- Repeat the above step for all unnecessary apps.
- Restart your PC.
Sometimes, if apps and programs are running in the background, Nvidia VSync may not work as intended while gaming. Try closing out unnecessary apps to fix this issue.
3. Update drivers
- Click on Start and search Control Panel then hit Enter.
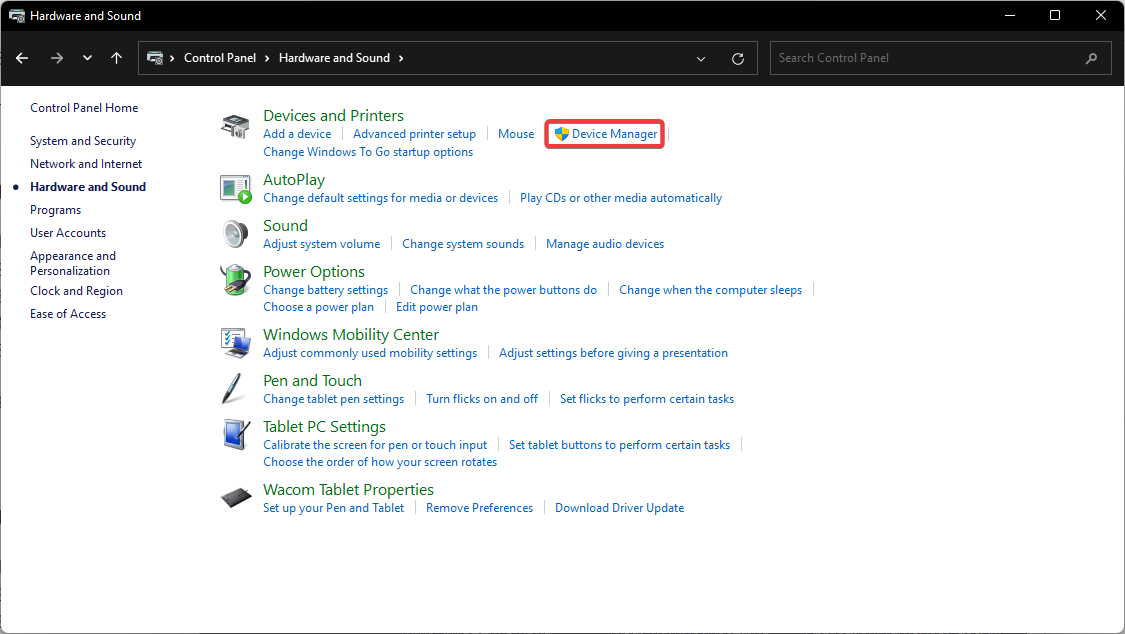
- Click on Hardware and Sound then open Device Manager.
- Select Device adapters to reveal graphics card drivers.
- Right-click on the Nvidia graphics card driver and select Update driver.
- Click Search automatically for drivers.
If your Nvidia graphics card driver is out of date, then VSync will not work properly. Try updating your drivers and see if that solves the issue.
If the missing driver wasn’t automatically detected by Windows, we recommend using a simpler solution, Outbyte Driver Updater, a tool that specializes in updating drivers.
Outbyte Driver Updater scans your computer for all outdated drivers and installs them safely. We have a database of over 18 million ready-to-use driver files.

Outbyte Driver Updater
Keep your system in shape by maintaining all drivers updated.4. Uninstall and re-install drivers
- Click on Start and search Control Panel, then hit Enter.
- Click on Hardware and Sound then open Device Manager.
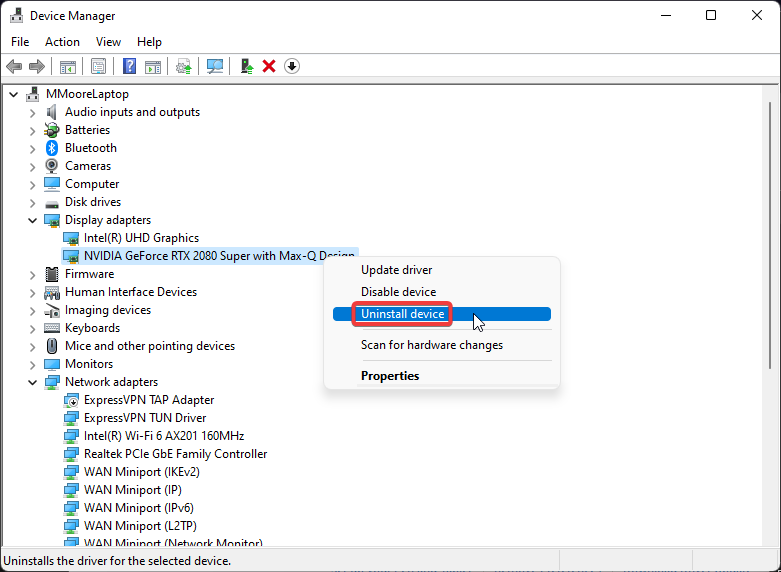
- Select Device adapters to reveal graphics card drivers.
- Right-click on the Nvidia graphics card driver and select Uninstall device.
- Click Uninstall again.
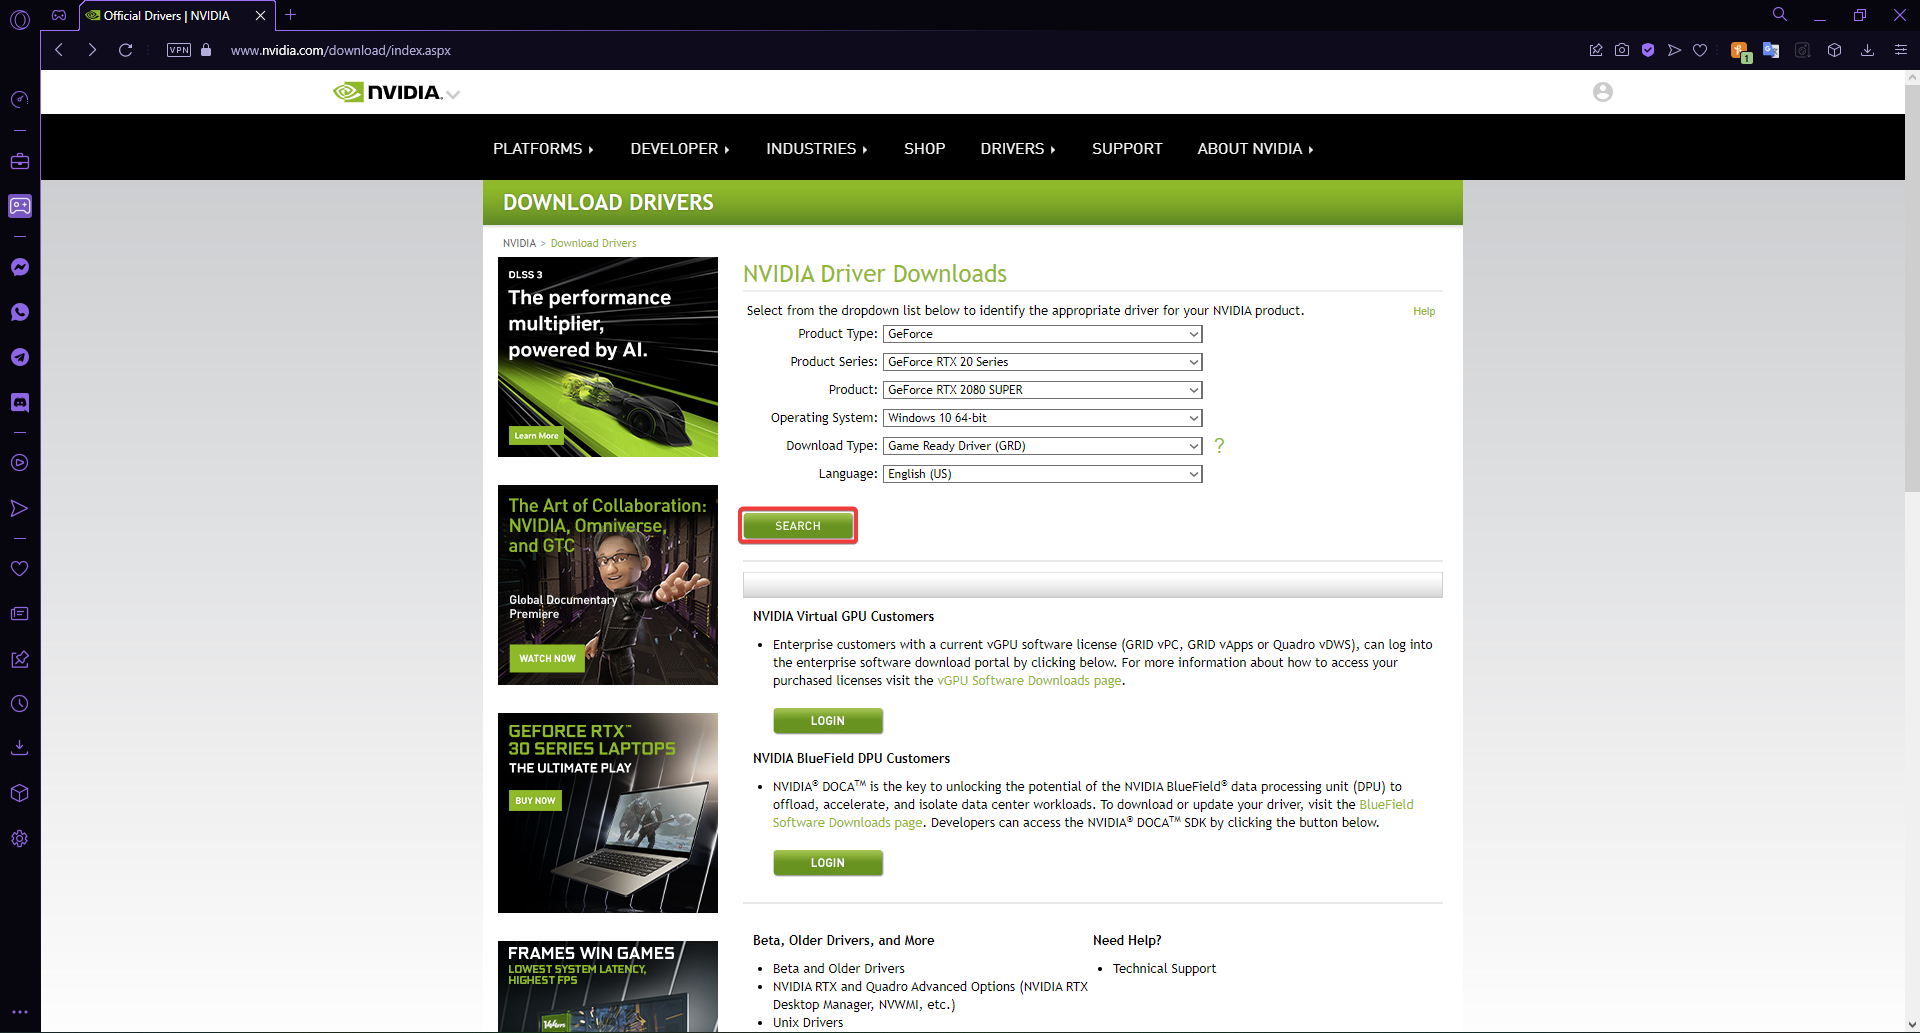
- Go to the Nvidia driver download home page and enter your Nvidia details, then click Search.
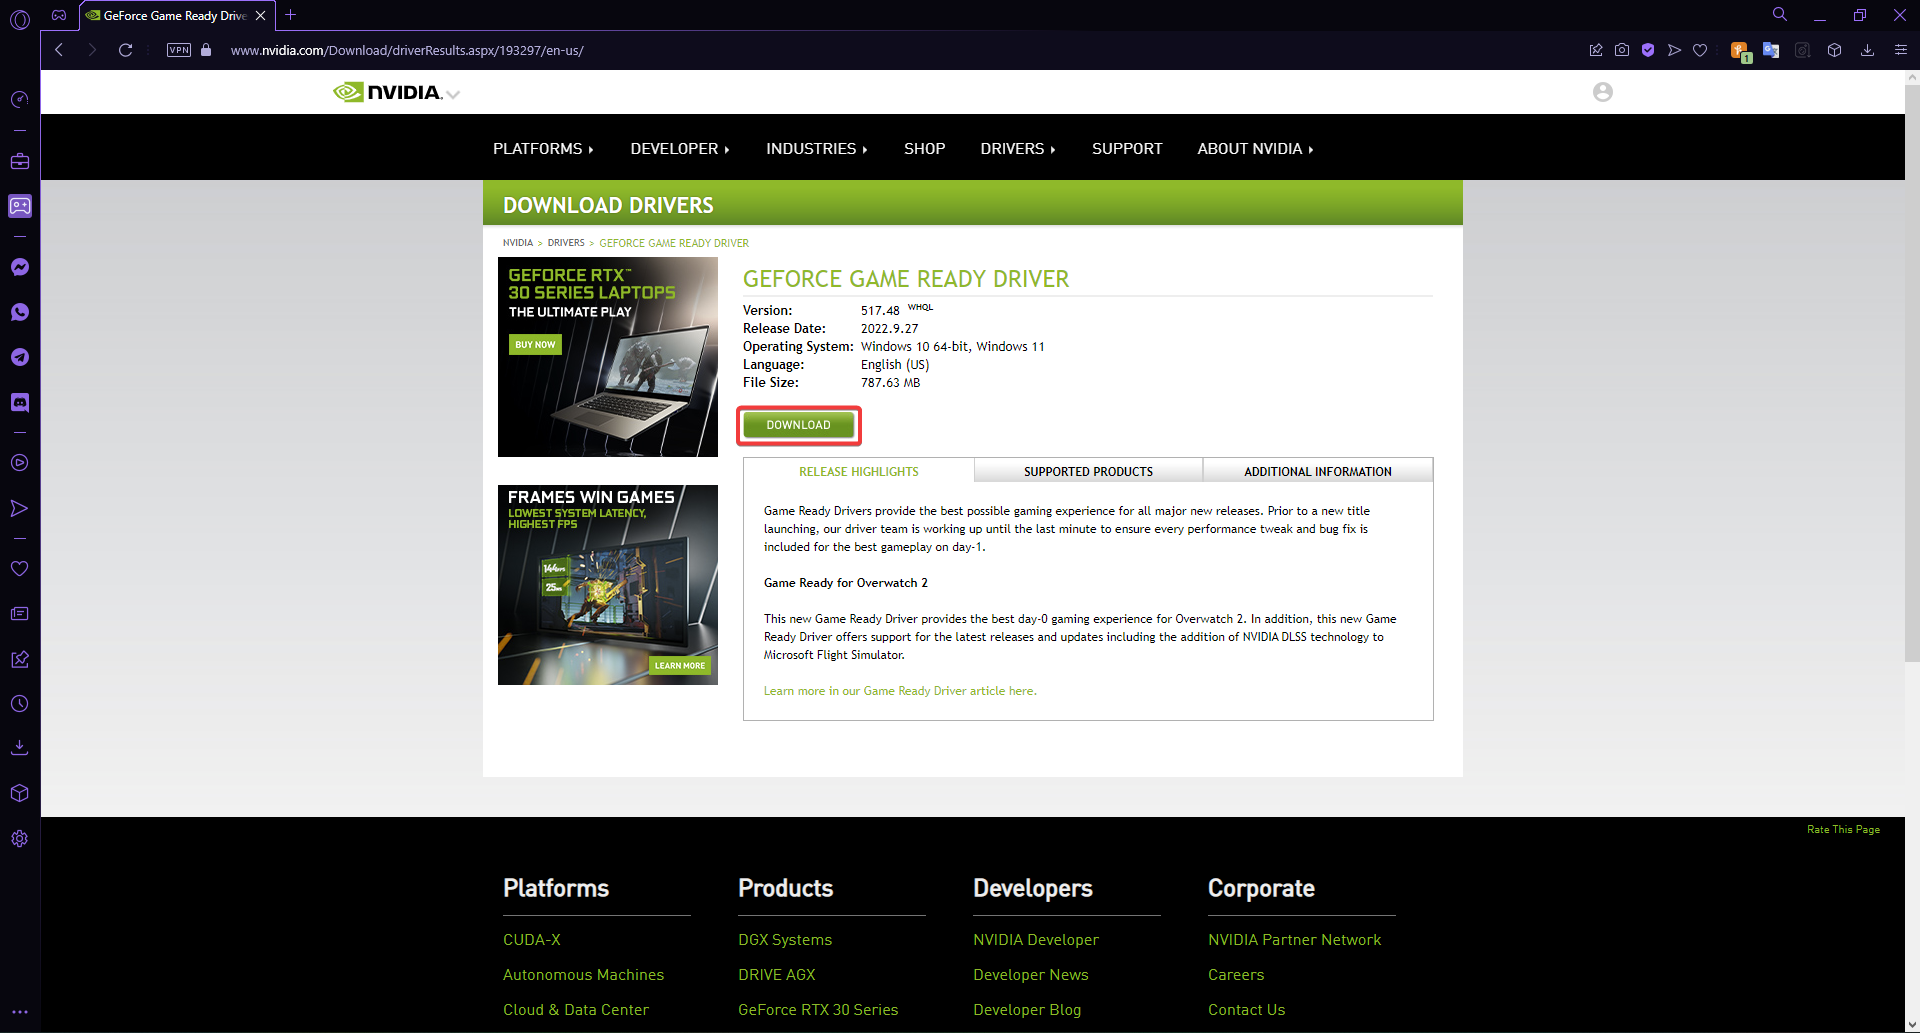
- Click Download.
Nvidia VSync might not be working if the Nvidia graphics card is damaged or corrupted. Performing a clean installation may help fix the problem. You can reinstall the correct driver from Nvidia’s driver download homepage.
5. Change from fullscreen
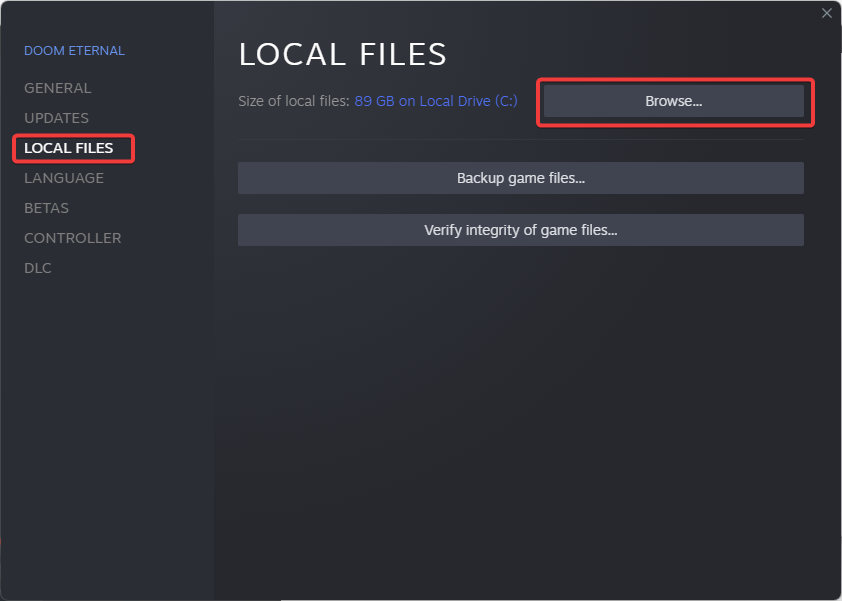
- Open Steam and go to your game library.
- Right-click on your game and select Properties.
- Go to Local Files then select Browse to go to the file location of the game.
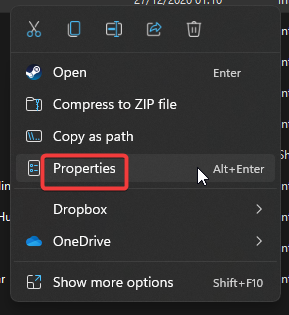
- Right-click on the game application and select Properties.
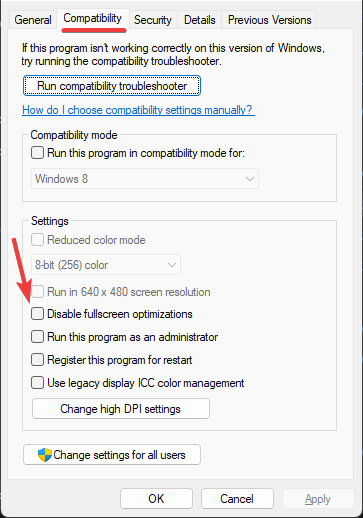
- Click on the Compatibility tab and check the box next to Disable fullscreen optimizations.
- Click Apply then OK.
Users report that disabling fullscreen optimization helped fix Nivida VSync when it wasn’t working. Try disabling fullscreen to see if that solves the problem.
6. Set to fast sync
- Click on Start and search Nvidia Control Panel then hit Enter.
- Under 3D Settings, select Manage 3D Settings.
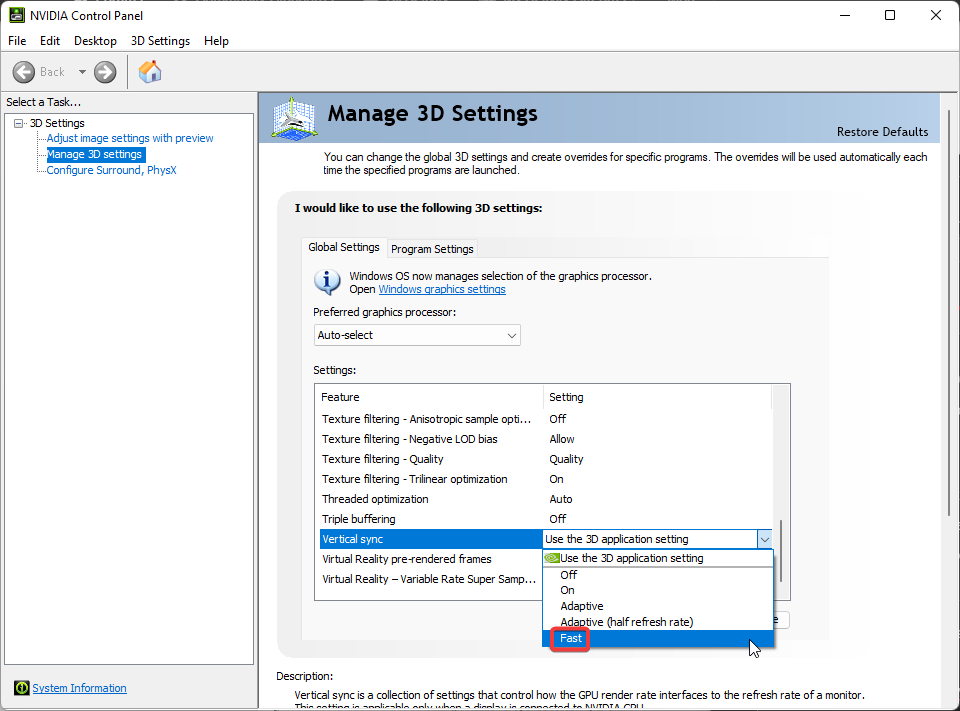
- Under Global Settings, scroll until you find Vertical sync.
- Click on the dropdown menu and select Fast.
Setting Vertical Sync to fast will allow for higher FPS and not idle your GPU. If your GPU is providing a higher FPS than the monitor, then fast sync may kick your VSync into gear. Fast Sync also ensures that no screen tearing or lagging occurs.
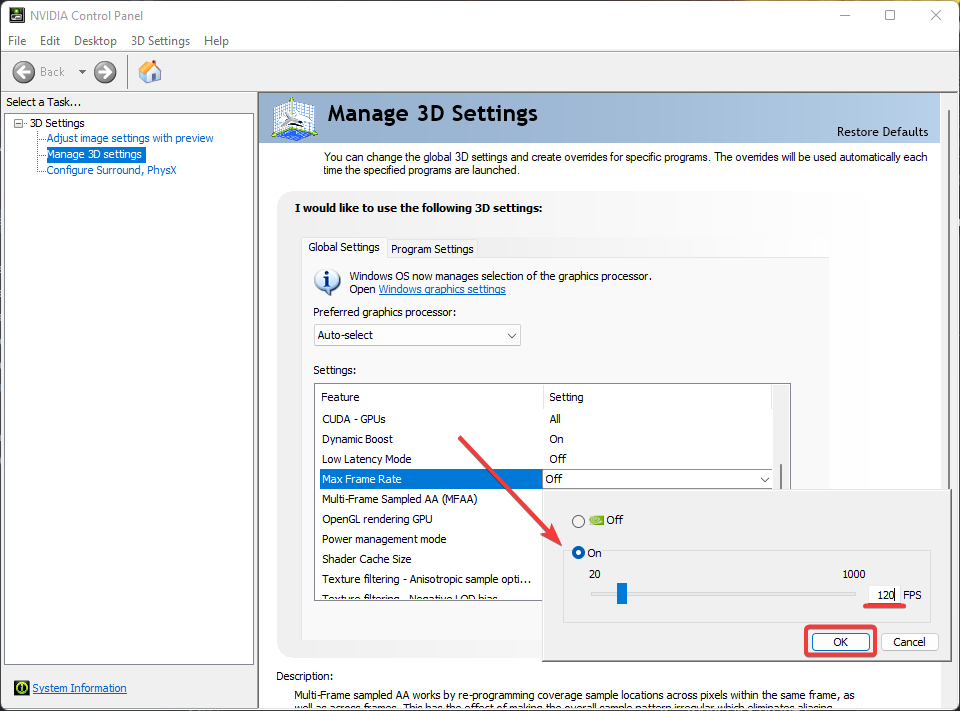
7. Adjust Max Fram Rate
- Click on Start and search Nvidia Control Panel then hit Enter.
- Under 3D Settings, click on Manage 3D Settings.
- Under Global Settings, scroll until you find Max Frame Rate.
- Click on the dropdown menu and change to On and then enter 120 FPS then click OK.
In case you experience game stuttering in Windows, rest assured that we have solutions for that as well.
Hopefully, one of the above methods helped you fix Nvidia VSync if it’s not working. Let us know in the comments which one did the trick.

