Old Snipping Tool on Windows 11: How to Get it Back [3 Ways]
Snipping Tool was changed in Windows 11 and users aren't pleased
3 min. read
Updated on
Read our disclosure page to find out how can you help Windows Report sustain the editorial team Read more
Key notes
- You can easily get the old Snipping Tool on Windows 11 using third-party sources.
- Alternatively, you can copy the tool manually from Windows 10 if you have it installed.
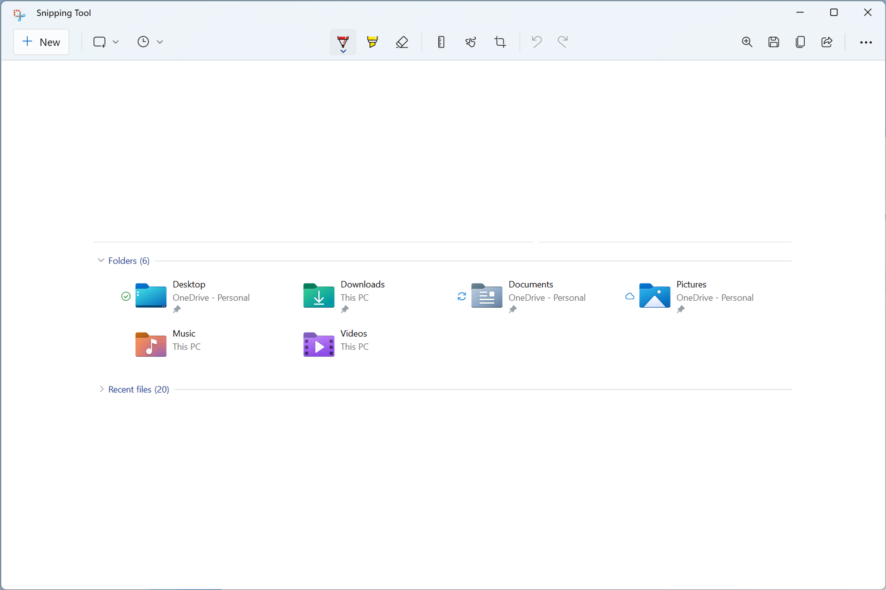
The Snipping Tool has changed, and many unsatisfied users want to return the old Snipping Tool to Windows 11.
This is easily achievable, and in today’s guide, we’ll show you the best ways to do that on your PC.
What happened to the Snipping Tool in Windows 11?
Windows 11 introduced a new Snipping Tool that works similarly to the Snip & Sketch tool. On Windows 10, those were two different tools, but in the latest version, they are combined into one.
How do I get the old Snipping Tool back on Windows 11?
1. Download old SnippingTool online
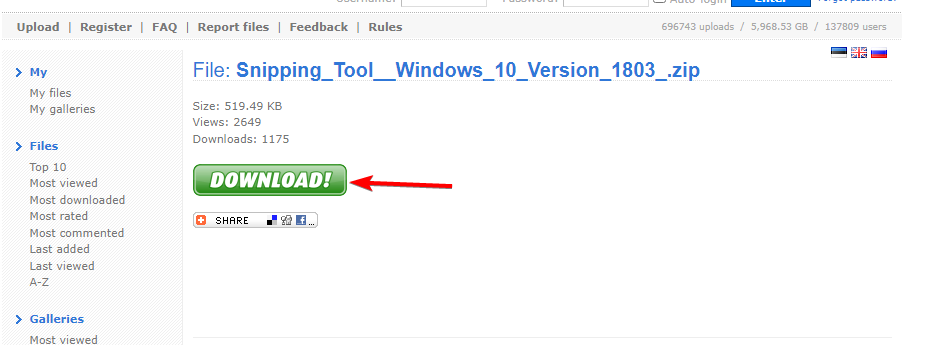
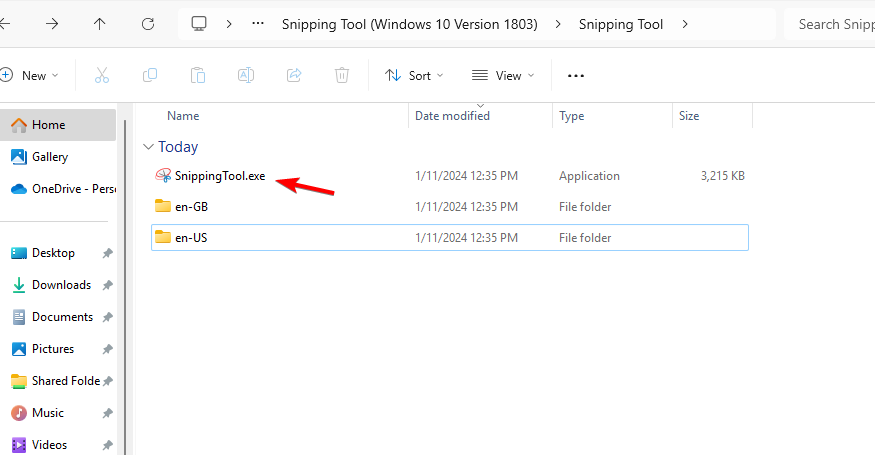
- Download the Snipping Tool. Do keep in mind that you might get several popups on this page, so be sure to ignore them. You’ll also have to click the Download button several times.
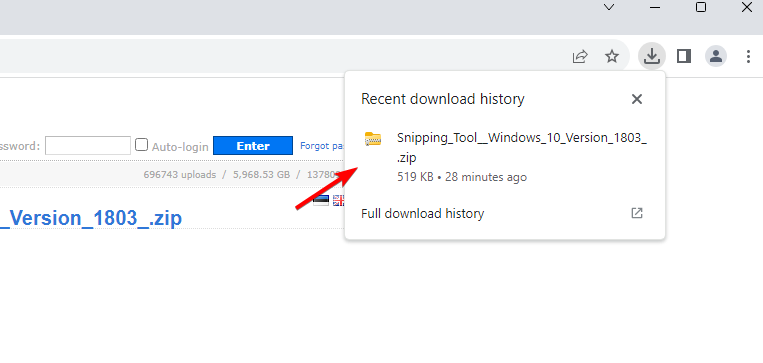
- Next, open the downloaded zip file.
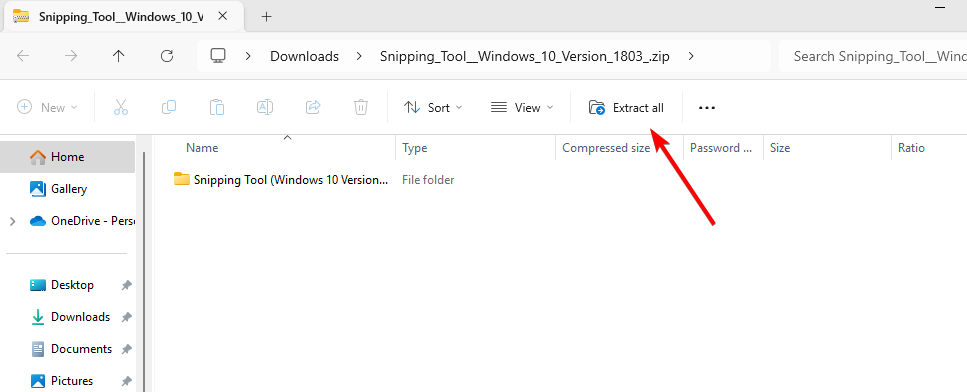
- Click on Extract all.
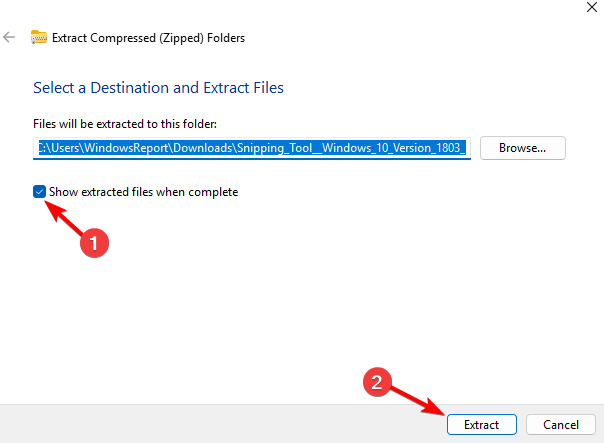
- Choose the extract location, check Show extracted files when complete and click Extract.
- Once done, just run the SnippingTool.exe.
We tested this solution and it worked for us, and since our antivirus didn’t report anything, we assume that the file is safe to use. If you don’t feel safe downloading files from third-party sources, go to the next solution.
2. Restore the Snipping Tool from the older Windows version
- Create a new folder on your old PC and name it SnippingTool for example.
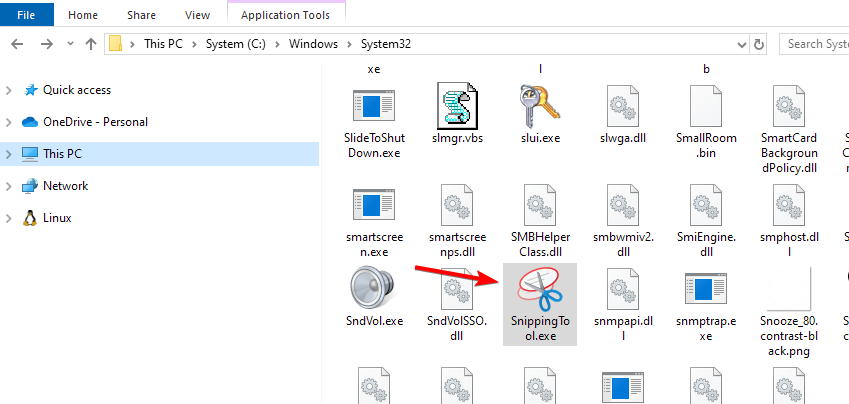
- Go to
C:\Windows\System32 - Copy the SnippingTool.exe to the SnippingTool folder you created in Step 1
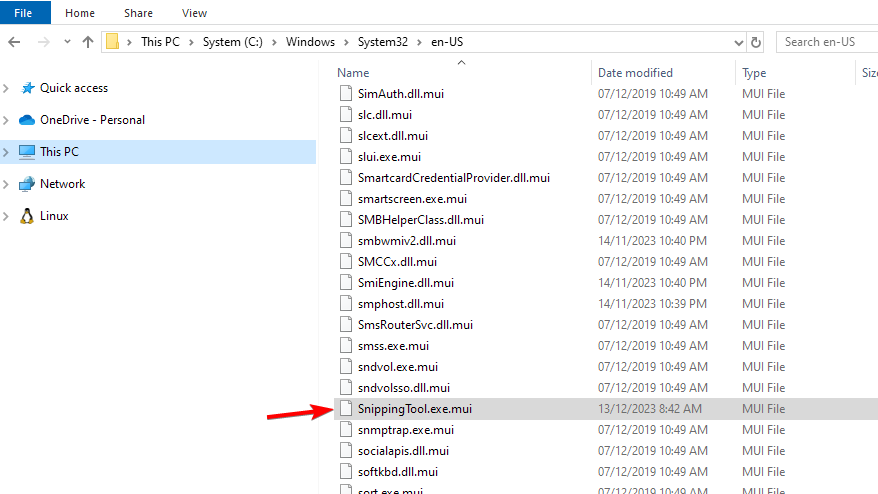
- Next, go to
C:\Windows\System32\en-US - Locate the SnippingTool.exe.mui and select the copy option.
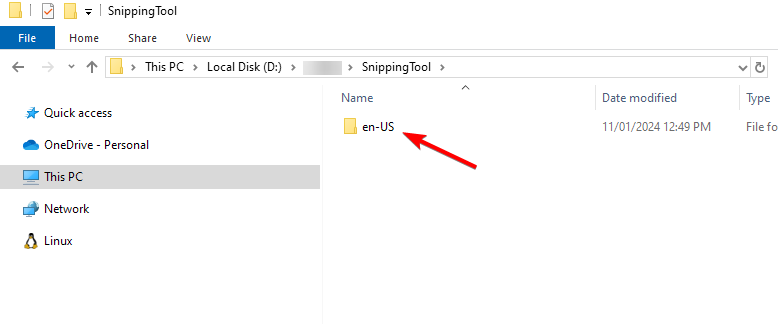
- Go to the SnippingTool folder from Step 1.
- Inside of it, create a new folder called en-US.
- Paste the SnippingTool.exe.mui into the en-US folder you just created.
- Lastly, copy the SnippingTool folder from Step 1 to your Windows 11 PC.
- Double-click on SnippingTool.exe to launch the Snipping Tool on your Windows 11 PC.
 NOTE
NOTE
3. Restore the Snipping Tool from Windows.old
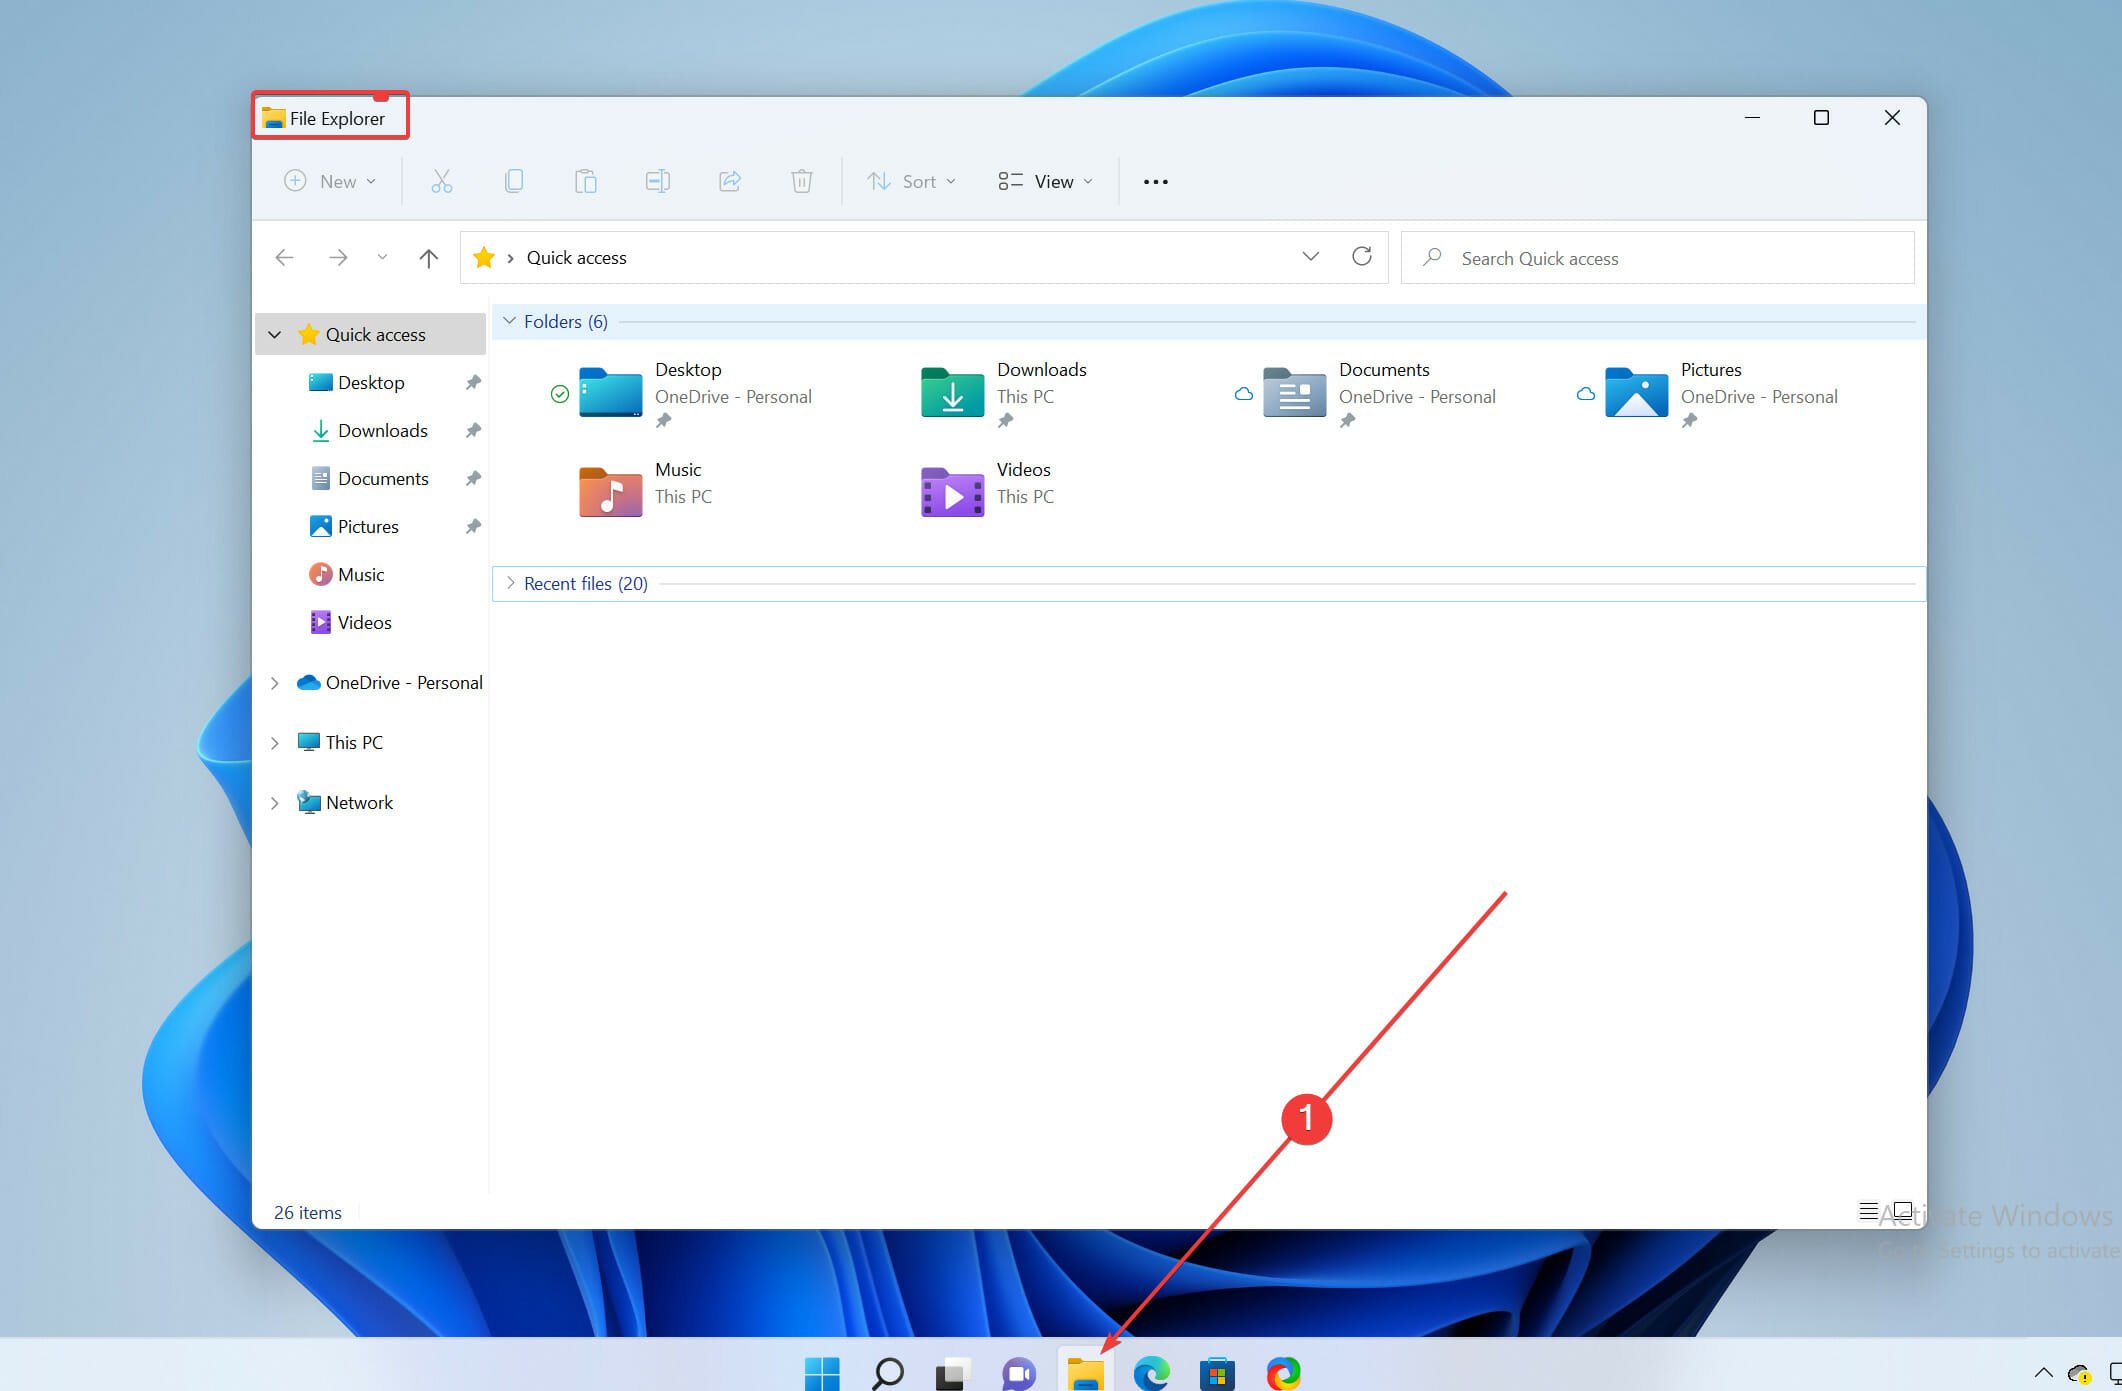
- Open File Explorer.
- Make a new folder called SnippingTool and save it anywhere on your system’s local drive.
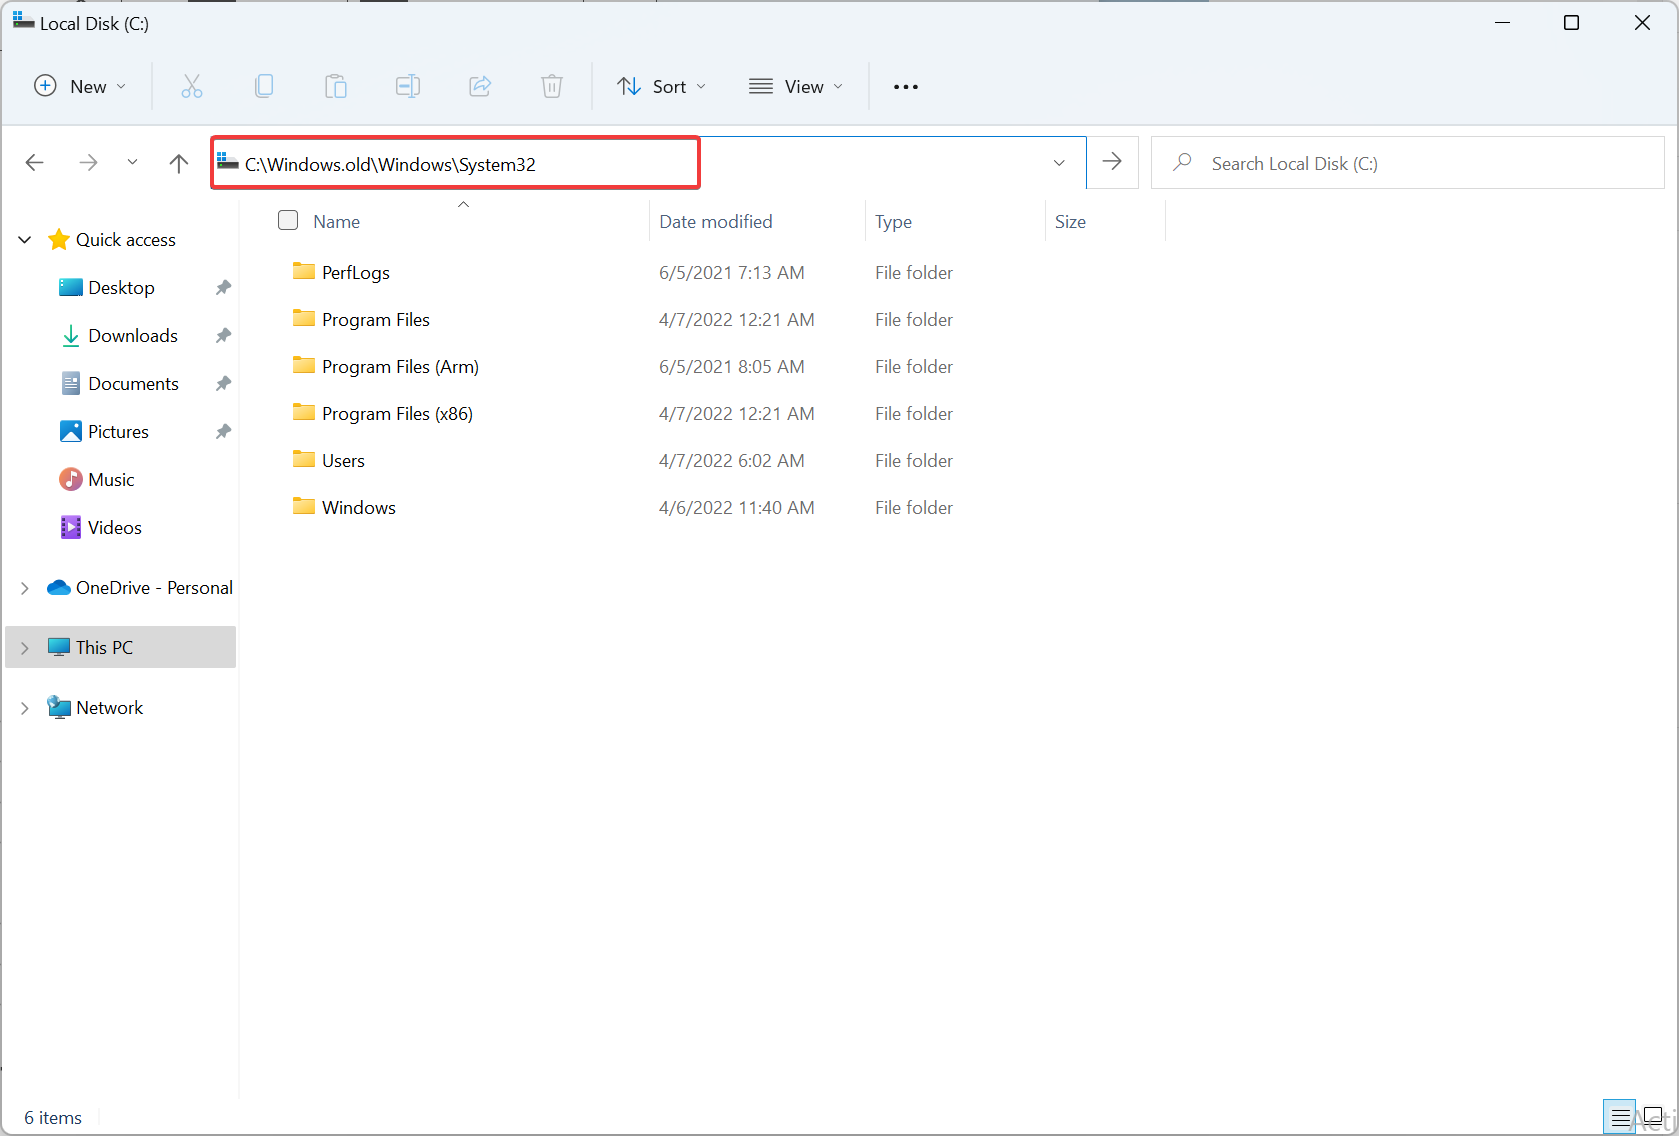
- Go to the path
C:\Windows.old\Windows\System32 - Copy the SnippingTool.exe file and paste it into the new folder that was created.
- Now, create another folder inside the parent folder of Snipping Tool and name it en-US (or whatever your default language is).
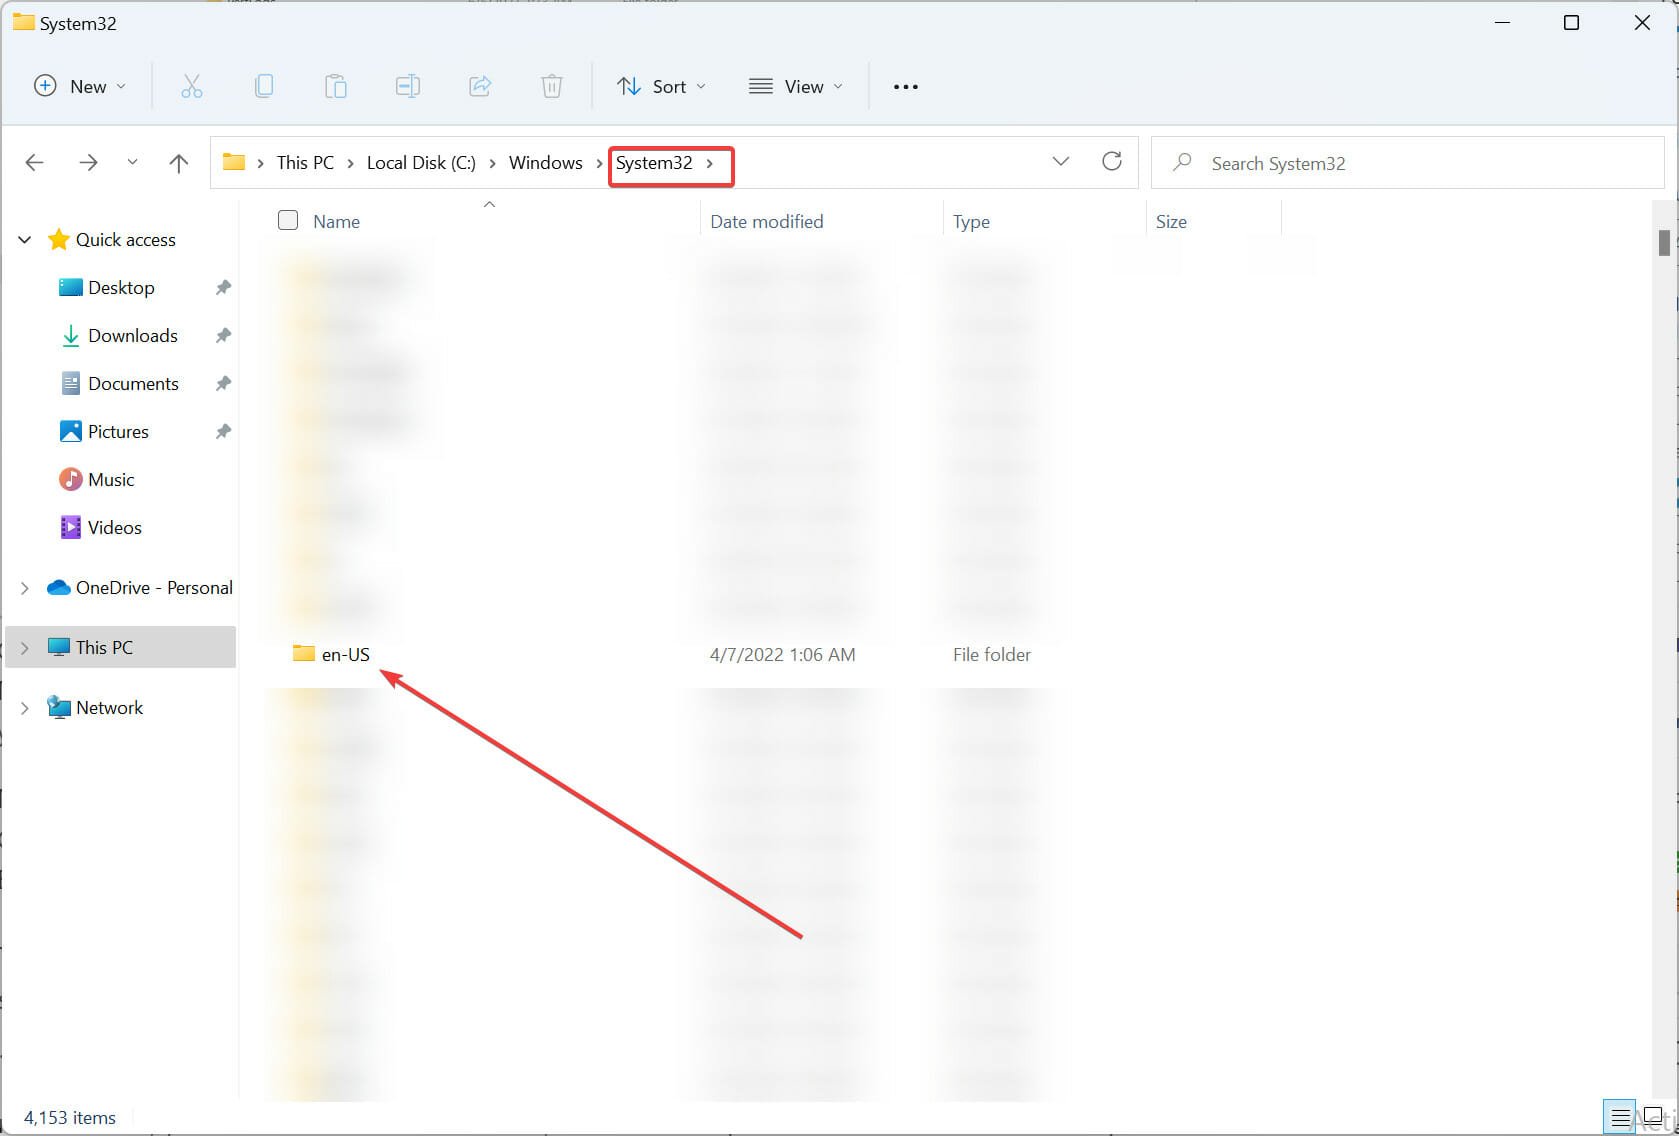
- Now, go to
C:\Windows.old\Windows\System32\en-US - Copy and paste the SnippingTool.exe.mui file into the new en-US subfolder that you created.
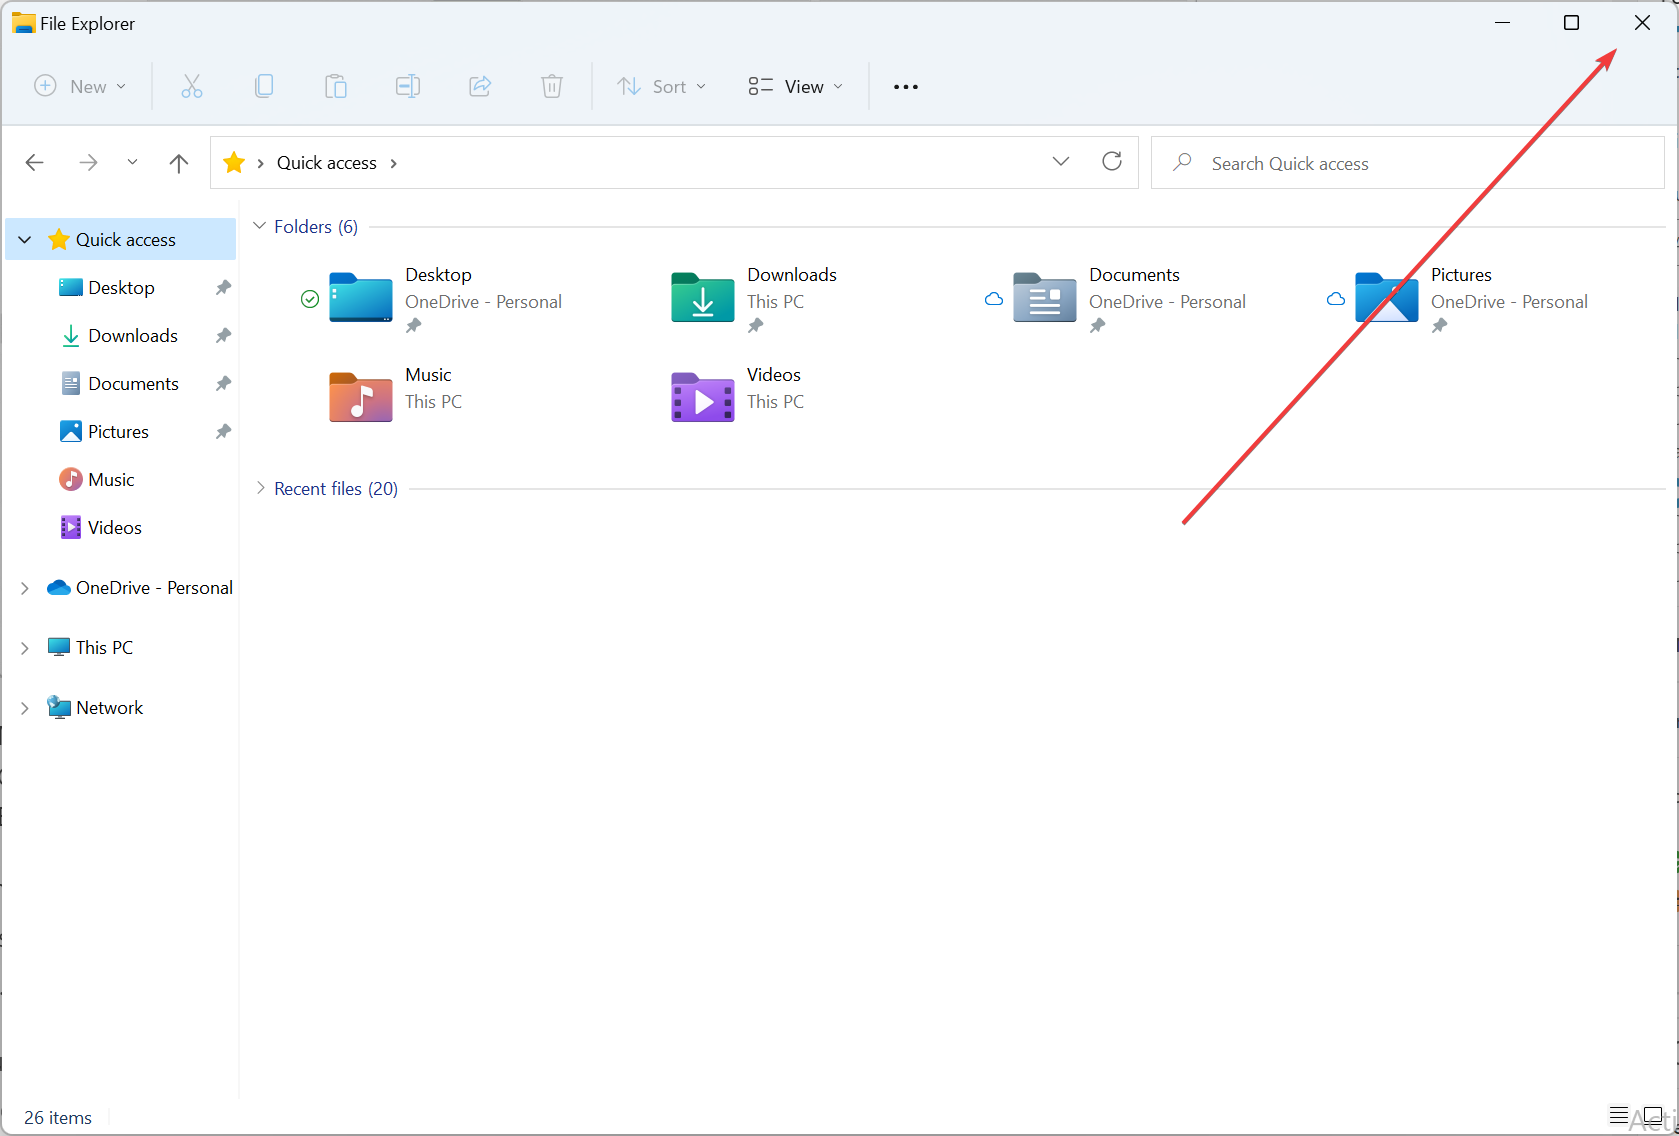
- Exit File Explorer after you are done.
 NOTE
NOTE
How to install Snipping Tool in Windows 11 without Microsoft Store?
The only way to get the old Snipping Tool is to copy it manually from Windows 10 or download it from third-party sources.
To get the new version, we have a guide that shows you how to install Microsoft Store apps without using the Store.
Unfortunately, the old Snipping Tool is gone, but you can get it by transferring it from an older version of Windows.
If, for some reason Snipping Tool is missing, we have a guide that shows you how to reinstall the Snipping Tool, so you might want to check it out.

