Can't Find Snipping Tool [Missing]: How To Restore It
4 min. read
Updated on
Read our disclosure page to find out how can you help Windows Report sustain the editorial team Read more
Key notes
- If you like capturing screenshots, then you've probably heard of the Windows 10 Snipping Tool.
- Many users have reported that they have issues finding the Snipping tool through conventional manners.
- If that's your case as well, try rebuilding your search index, using Run, and more.
- Among the fixes, this guide will also provide you with the Snipping Tool location in Windows 10.
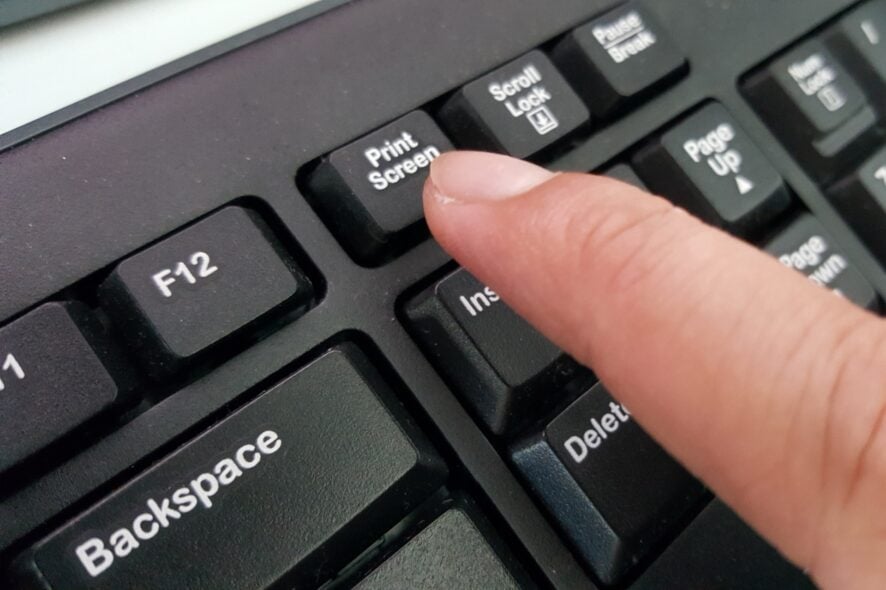
The Windows 10 Snipping Tool is a utility for capturing screenshots. You can usually open it by entering ‘Snipping Tool‘ in the Cortana search box.
However, not all users can always find the Snipping Tool via the Windows 10 search box. This is how you can open the Snipping Tool if Window search tool doesn’t find it for you.
What can I do if my Snipping Tool is missing?
1. Rebuild the Search Index
- Press the Windows key + R keyboard shortcut.
- Then enter ‘Control Panel’ in Run’s Open text box, and press the OK button.
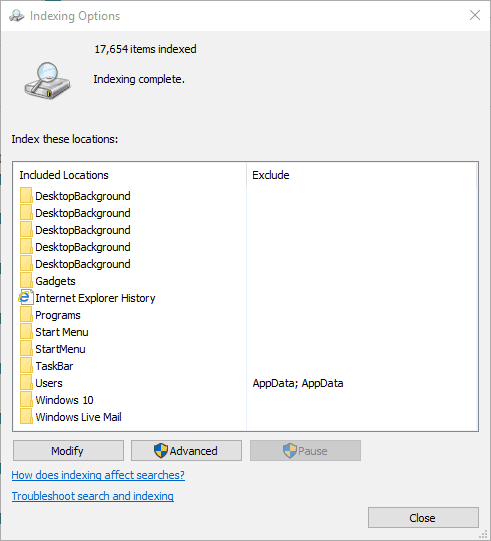
- Click Indexing Options to open the window in the snapshot directly below.
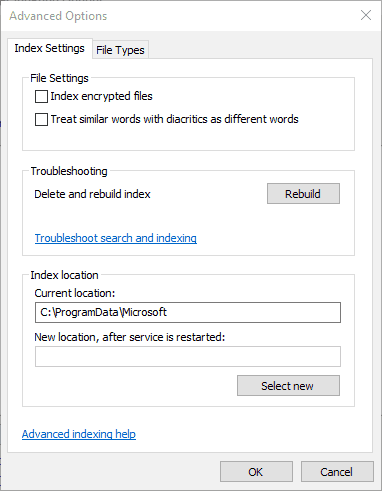
- Press the Advanced button to open the Index Settings tab below.
- Then press the Rebuild button and click OK.
The Windows 10 search index is disabled on some laptops and notebooks with SSD storage. Does your laptop include SSD storage?
If so, that might be why the search tool doesn’t find the Snipping Tool. Rebuilding the search index will then be a probable resolution.
2. Open the Snipping Tool with Run

However, you don’t always have to search for the Snipping Tool to open it. There are various ways that you can open the Snipping Tool.
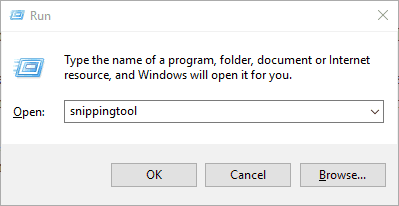
For example, you can open it with Run. Press the Windows key + R hotkey to open Run, enter snippingtool in the text box and then press the OK button.
3. Add a Snipping Tool shortcut to the Windows 10 desktop
- First, right-click the desktop and select New > Shortcut.
- Then enter in the text box shown directly below.
- Press the Next button.
- Press the Finish button to add the shortcut to desktop.
- Thereafter, you can add the Snipping Tool shortcut to the Start menu or taskbar. To add it to Start menu, right-click the shortcut and select Pin to Start.
- To add the shortcut the taskbar, you can right-click it and select Pin to taskbar.
Alternatively, you can add a Snipping Tool shortcut to the Windows desktop. Then you can open the Snipping Tool with its desktop shortcut instead.
4. Open the Snipping Tool From its System32 Folder
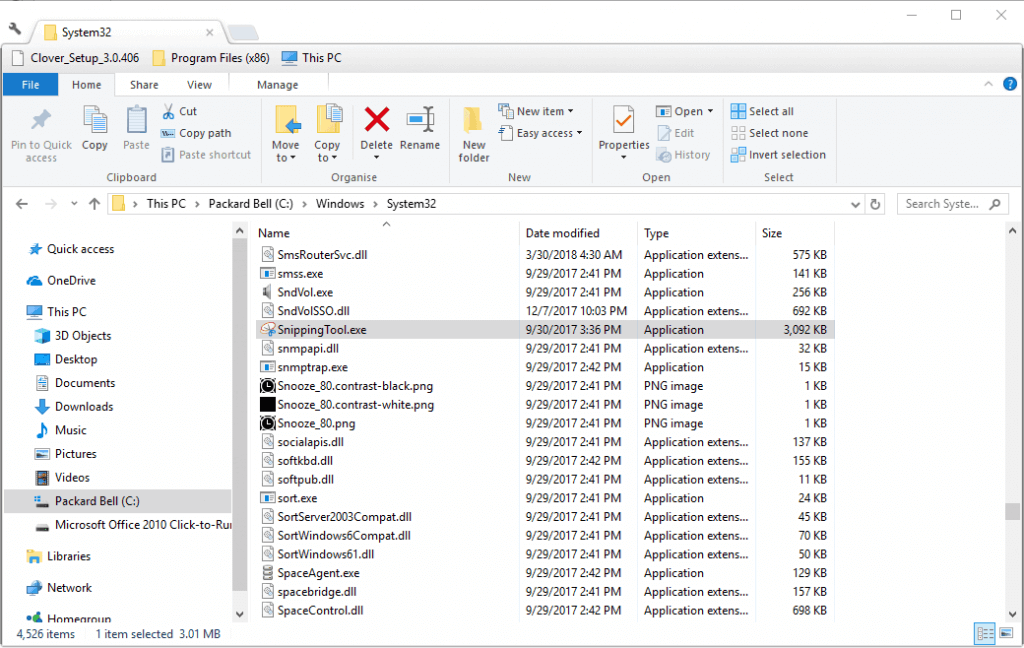
- Press the File Explorer button on the Windows 10 taskbar
- Open this folder in File Explorer:
- C:/Windows/System32
- Click Snipping Tool in the System32 folder to open it from there.
5. Enable the Snipping Tool in the Group Policy Editor
- Press the Windows key + X hotkey.
- Then select to open the Run accessory from the Win + X menu.
- Enter Gpedit.msc in Run’s Open text box, and press the OK button.
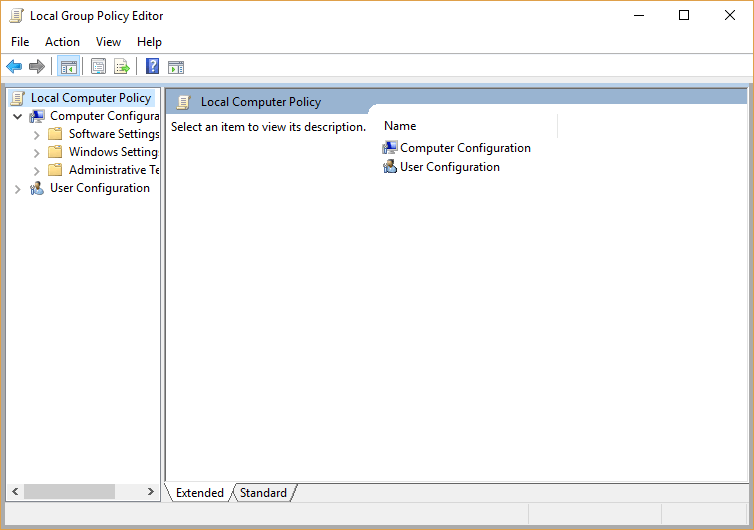
- Then click User Configuration > Administrative Templates > Windows Components > Tablet PC > Accessories on the left of the Group Policy Editor window.
- You’ll see a Do not allow Snipping Tool to run option on the right of the window. Select the Do not allow Snipping Tool to run option to open its window.
- Then click Disabled if Enabled is currently selected.
- Press the Apply and OK buttons to confirm the new setting.
Note that the Group Policy Editor in Windows 10 Pro and Enterprise includes a Do not allow Snipping Tool to run option. As such, the Snipping Tool doesn’t run with that option selected. This is how you can check if that option is configured to enabled in Win 10 Pro and Enterprise.
What are some Snipping Tool alternatives?
Remember that there are plenty of third-party software alternatives to the Snipping Tool, such as Share X, Greenshot, Lightshot and Screenshot Captor.
Some of those third-party screen capture tools also include more options for capturing and annotating screenshots than the Snipping Tool. This software guide provides further details for some of the best Windows 10 screen capture utilities.
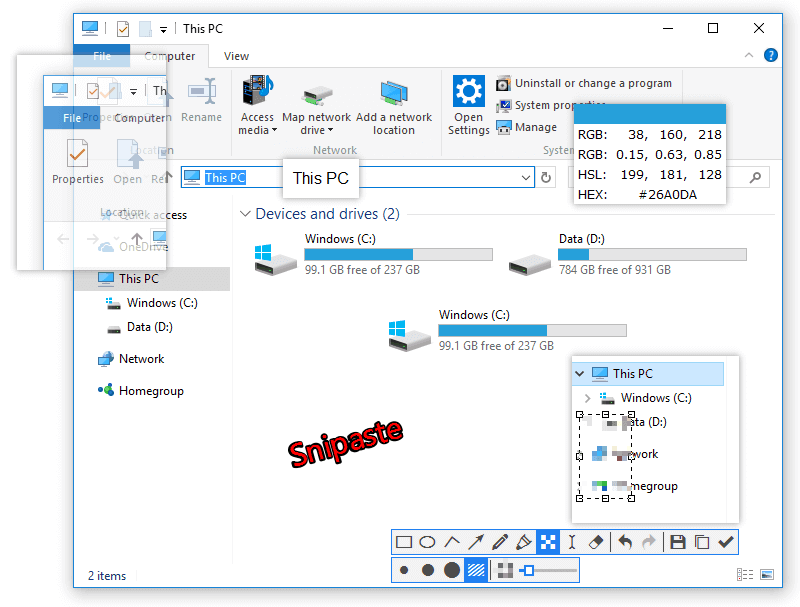
Snipaste is one alternative to the Snipping Tool that’s worth noting. That’s a freeware screen capture tool which automatically captures UI elements on software windows.
Snipaste users can select Line strip, Marker pen, Pencil, Arrow and Text annotation options on its toolbar.
Snipaste also includes plenty of customization options and hotkeys that you can utilize the software with. You can add that program to Windows 10/8/7 by pressing the 32-bit or 64-bit button on this webpage.
So you don’t really need the Snipping Tool even if you can’t find it in Win 10.
By following this guide, you should be able to make use of the Snipping Tool in Windows 10 once more.
Know of another way to access the tool? Let us know by leaving some feedback in the section below, and we’ll be sure to update the article.

