Fix: Open With Menu Option is Missing in Windows 10
This issue is most likely the result of a registry key problem
![]() 6 min. read
6 min. read
![]() Updated on
Updated on
Share this article

Improve this guide
Read our disclosure page to find out how can you help Windows Report sustain the editorial team Read more
Key notes
- Users report that the Open with option is missing from the context menu without any warning or obvious reason.
- This problem is mainly caused by a possible alteration of the responsible key in the registry.

If you want to open a certain file with a different program, usually you’ll right-click that file and choose the Open with from the menu.
Many users use the Open with menu on their PC, but sometimes this menu can become missing.
Why is the Open with menu missing?
There are plenty of reasons why the Open with menu is not showing, but we will take into consideration the most important of them:
- Registry problem – The Open With registration key is probably missing in Registry Editor, or its data value has changed.
- Windows 10 problematic update – If you performed any updates prior to this issue appearing, this might be the cause of the registry corruption.
- Third-party software modified the registry – Did you install any file management software lately? If so, that tool may have overridden the right-click menu from Windows.
This bug has a lot of iterations. Our readers have complained that Open with is disabled in Windows 10, that Windows 10 Open with is grayed out, or that Open with is missing from the right-click context menu.
However, the solutions we provided below will help you fix this problem in no time.
How can I fix the Open with menu missing in Windows 10?
Before getting to more complicated solutions, you should try bringing back the Open with menu with the following simple methods:
- Pressing the Shift + F10 key combination is the shortcut to the context menu. For other systems, you may also try AltGr + PrtSc + CtrlR. It’s worth trying.
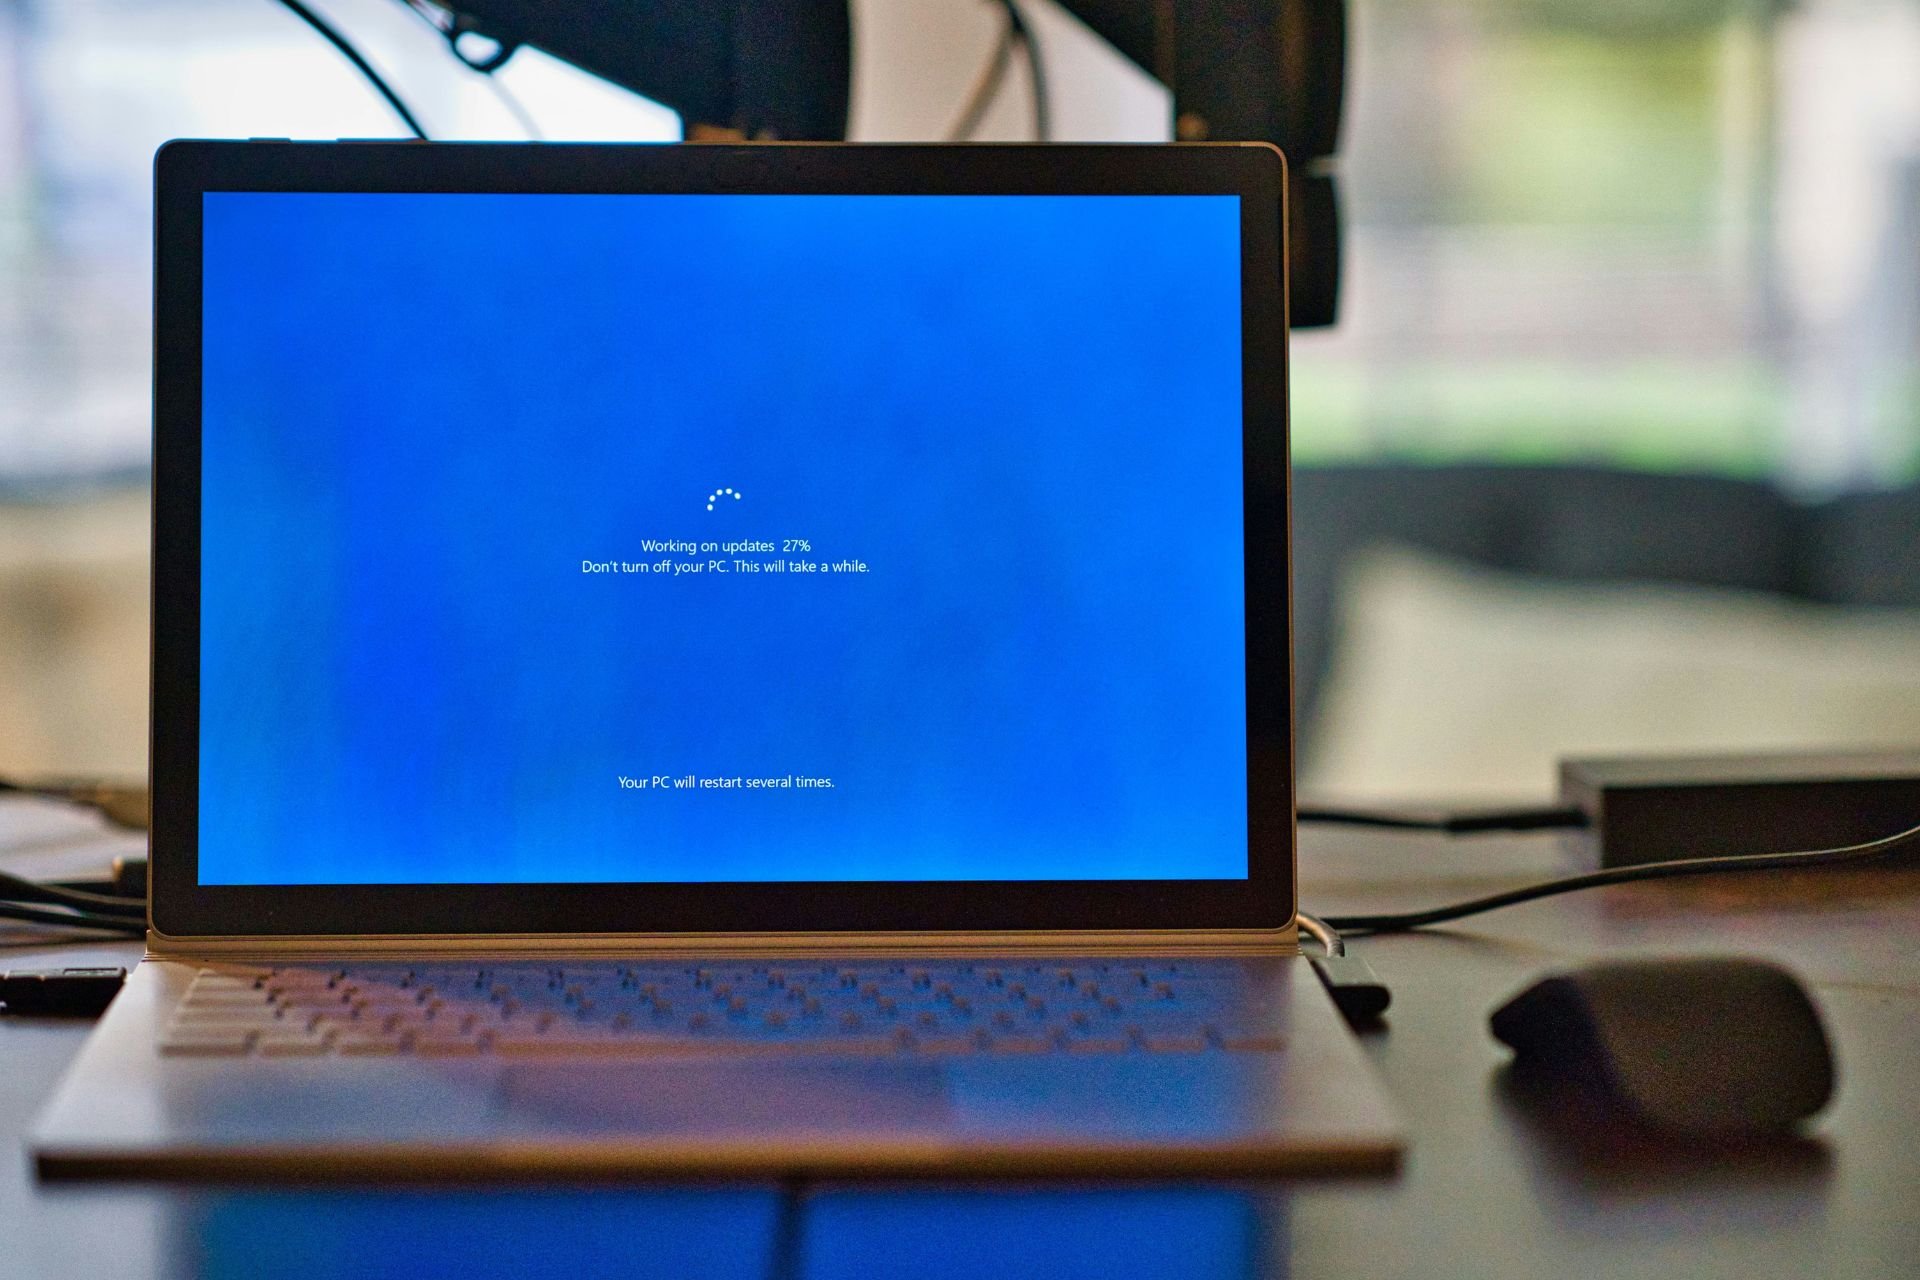
- Restart your system. If you’ve had any pending updates, they might get installed and solve this issue.
- Disable the antivirus temporarily because it may be responsible for this issue. If disabling it fixed the problem, you probably need a better antivirus for your system.
- Install any missing updates for your OS. You can check in Settings, Update & Security for new ones.
If this issue persists, let’s go through the following solutions to fix it permanently.
1. Create a .reg file and change registry values
- Click the Start button, type notepad, and open the app from the results.
- When Notepad opens, paste the following into it:
Windows Registry Editor Version 5.00[HKEY_CLASSES_ROOT\*\shellex\ContextMenuHandlers\Open With]@="{09799AFB-AD67-11d1-ABCD-00C04FC30936}"
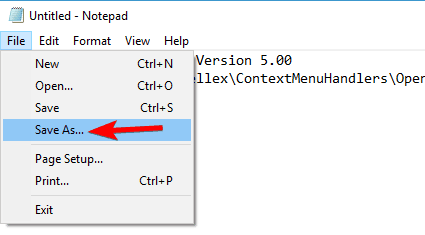
- Click File and Save as.

- In the Save as type section, choose All Files.
- In the File name section enter OpenWith.reg and click Save.

- Find the OpenWith.reg file and double-click it to add its content to the registry.

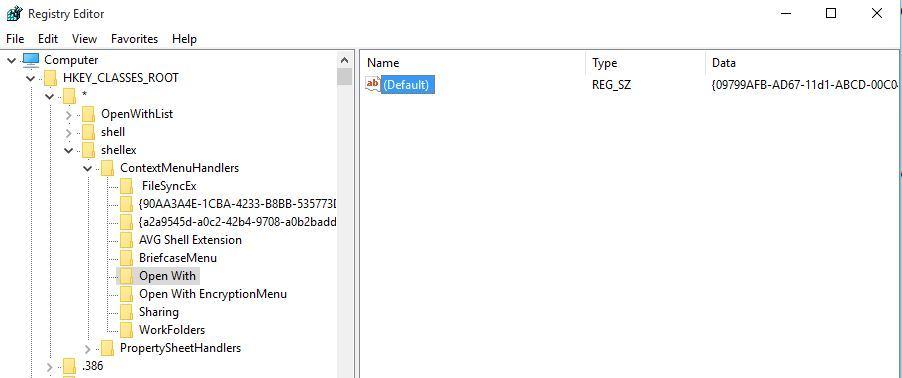
2. Change the registry manually
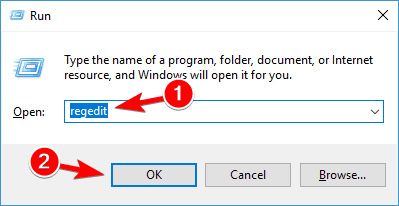
- Press Windows key + R and type regedit.
- Press Enter or click OK to start Registry Editor.

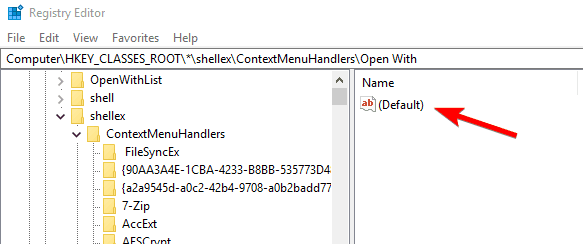
- When Registry Editor starts, in the left pane navigate to the following key:
HKEY_CLASSES_ROOT\*\shellex\ContextMenuHandlers

- If you see Open With key available, click it.
- If it’s not available, right-click ContextMenuHandlers and choose New and select Key.
- Enter OpenWith as the name and click the OpenWith key.
- In the right pane, you should see Default.
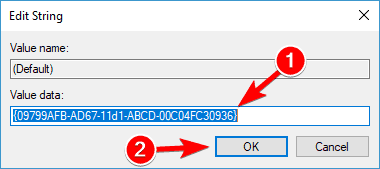
- Double-click it to open its properties.

- In Value data enter: {09799AFB-AD67-11d1-ABCD-00C04FC30936}

- Click OK to save the changes and close the Registry Editor.

3. Use third-party software to disable shell extensions
Sometimes programs add their functionality to the right-click menu in Windows, and this can sometimes cause the Open with menu to be missing.
To fix this issue, you need to find the problematic software and to do that, you’ll need CCleaner or ShellExView.
Regardless of which one you use, make sure to disable shell extensions and turn them back on, one by one, to see which one is causing the problem. Once finished, make sure to restart Windows.
4. Copy all files from the WinX folder
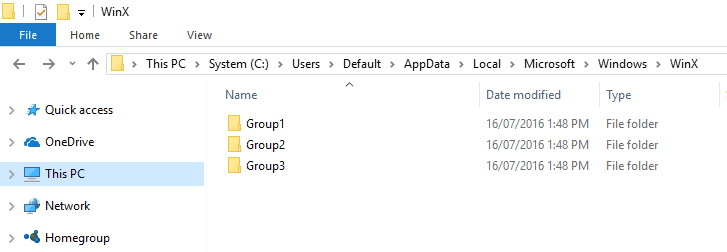
- Press the Windows key + E to start File Explorer.
- Go to the following path:
C:\Users\Default\AppData\Local\Microsoft\Windows\WinX - Select all files in WinX folder and copy them to the following location:
C:\Users\[user.account.name]\AppData\Local\Microsoft\Window\sWinX

- Restart Windows Explorer.
5. Create new values in the registry
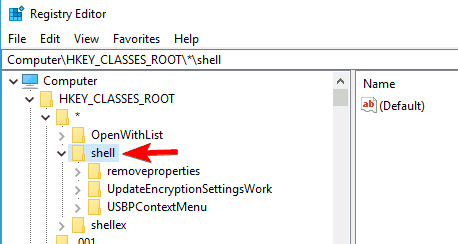
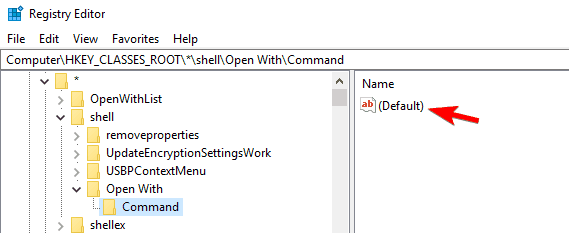
- Open Registry Editor.
- Navigate to the following key:
Computer\HKEY_CLASSES_ROOT\*\shell

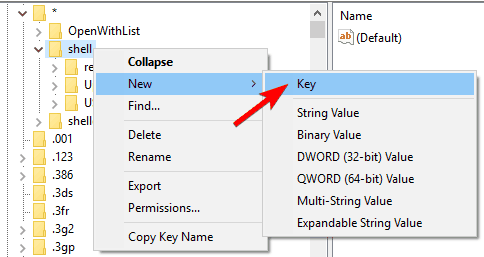
- Now right-click shell key and choose New and select Key from the menu.
- Enter Open With as the name of the new key.

- Now right-click Open With key, choose New, and select Key.
- Set its name as Command.
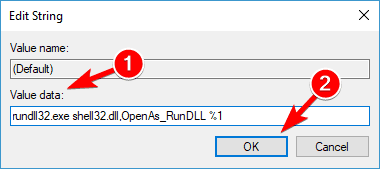
- Select Command key and in the right pane double click on it.

- Set the value data to the following line and click OK to save the changes.:
rundll32.exe shell32.dll,OpenAs_RunDLL %1
6. Perform SFC and DISM scans
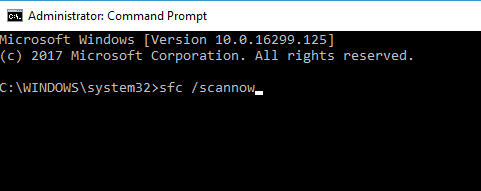
- Click the Start menu, type cmd, and click on Run as administrator.
- Once the Command Prompt starts, type the following command and press Enter:
sfc /scannow

- The scanning process will now start.
- Keep in mind that the SFC scan can take up to 15 minutes, so don’t interrupt it.
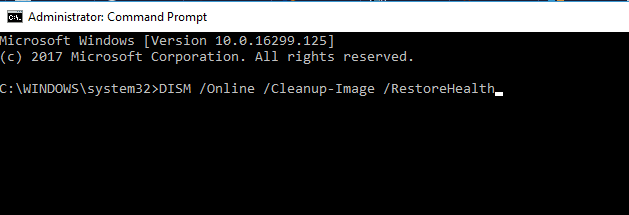
- Now enter the following command and press Enter:
DISM /Online /Cleanup-Image /RestoreHealth

- DISM scan will now start.
- Keep in mind that this scan can take up to 20 minutes or more, so be sure not to interrupt it.
Once the DISM scan is finished, check if the problem still appears. If the issue is still present or if you were unable to run the SFC scan before, run the SFC scan again and check if that solves your problem.
7. Create a new user profile
- Press the Windows key + I to open the Settings app and navigate to the Accounts section.

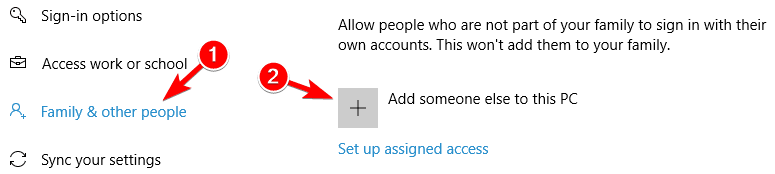
- Click on Family & other people.
- Now click on Add someone else to this PC.

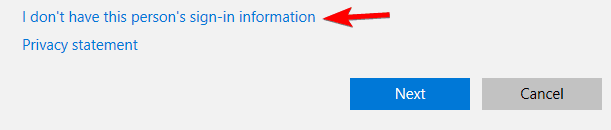
- Select I don’t have this person’s sign-in information.

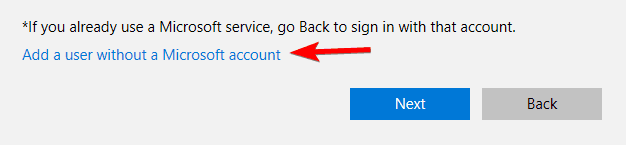
- Now click on Add a user without a Microsoft account.

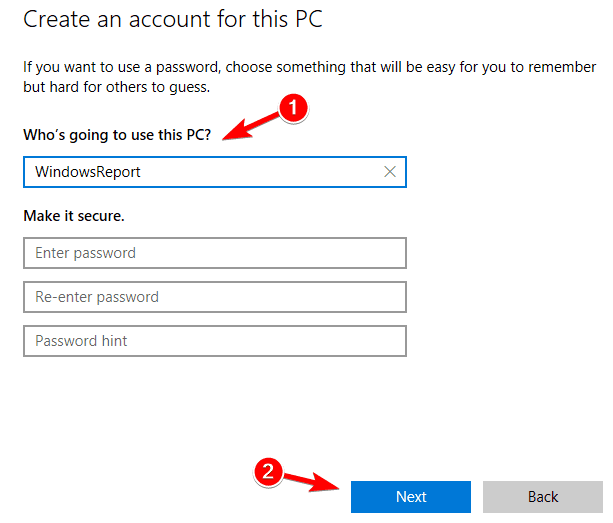
- Enter the desired name and click Next.


That is all. If the Open with menu is missing on Windows 10, in most cases, the cause lies in your registry, and the issue can be easily resolved after performing a few registry changes that we mentioned in our solutions.
You might be also interested in our selection of the best universal all file opener software for your PC.
Let us know in the comments section below if you have other suggestions or recommendations.