How to Keep Outlook's Calendars Selected
Combine your calendars in Outlook with these few tweaks
5 min. read
Updated on
Read our disclosure page to find out how can you help Windows Report sustain the editorial team. Read more
Key notes
- Working with more than one calendar in Outlook can be hard when you have to select each calendar or switch the calendars manually.
- Outlook provides many options for keeping your calendar organized by selecting one default calendar or merging them.

Did you know Outlook has a calendar associated with your default mail account? The more accounts you have, the more calendars you have in your view.
Instead of switching from one calendar to another, you can connect your default calendar to your main account or merge your calendars to a single view. We will show you how to achieve this.
What is the default calendar in Outlook?
The default calendar in Outlook is the one that comes with the email address that you first signed in with. Here, you can create your own appointments and meetings, which will be displayed in this calendar.
When you create more accounts, your default calendar will always appear when you open it, but you can always change these settings.
How do I reset my Outlook calendar to the default view?
- Launch your Outlook app.
- Click on the Calendar icon at the bottom left corner.
- Navigate to the View tab on the top taskbar pane, then select Reset View.
As you keep adding events to your calendar, it can become messy or disorganized. That’s why you may need to reset your calendar settings to the default view.
However, this is not the only reason. You may find that your calendar items are not syncing or saving when you populate it. This can cause you to miss out on important calendar events. Deleting every single appointment can be a hassle, so resetting it is the way to go.
Aside from resetting Outlook to default view, you can also change your default calendar to reflect the one you use the most, and below is how to go about it.
How can I set and change the default calendar in Outlook?
- Launch your Outlook app.
- Click on the Calendar icon at the bottom left corner.
- Navigate to the File tab at the top left pane, click on Options, and select Account settings.
- Navigate to the Data Files tab in the Account Settings dialog box, click on your chosen mail profile, and hit Set as Default.
- Hit Yes on the confirmation prompt, then click the Close button.
- Restart your Outlook app for the changes to take effect.
The above steps apply to all email protocols, including Exchange, IMAP, and POP3.
Having a long list of calendars can be confusing. You may be getting meeting requests, but if you’ve not set the default calendar in Outlook to your work or school email, you may fail to check on these emails.
That’s why we recommend merging calendars to increase your productivity. This will provide more insight into your free and busy time so you can avoid booking more than one meeting at the same time, and below, we show you how to go about it.
How do I merge calendars in Outlook?
1. Use the Overlay feature
- Launch your Outlook app.
- Click on the Calendar icon at the bottom left corner.
- Right-click on the calendar you wish to merge and select Overlay.
- Repeat this step until you’ve successfully added all calendars.
Your calendar screen will now display all your calendars in one place, side-by-side, but they will not be combined. To view them in one place, you’ll have to export your calendar items from separate mail profiles to merge them.
It’s important to note that the Overlay feature is only available in newer versions of Outlook from 2007 upwards. Users may have to export their data files manually for the older versions.
2. Export the calendar folders
- Launch your Outlook app.
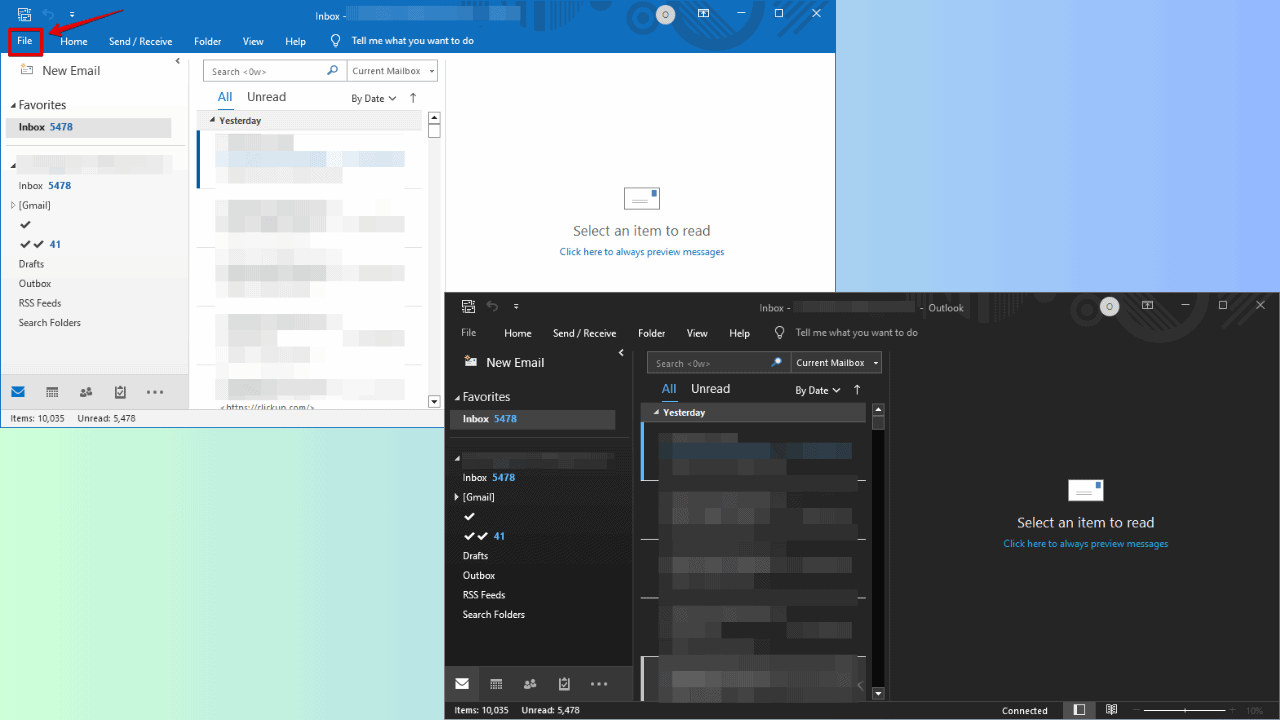
- Click on the File tab at the top left pane, select Open & Export, and in the drop-down menu, select Import/Export.
- Hit Export to a file and click Next.
- Click on Outlook Data File and hit Next.
- Select a calendar folder associated with the mail profile you want to merge and hit Next.
- Fill in the folder location and name, respectively, then click on Finish.
- Repeat steps 1-2, then click Import.
- Click on Outlook data file and hit Next.
- Select Browse and select the file you created in step 6 above.
- Click on Import items into the current folder checkbox and hit Finish.
When you need to jump from one calendar to the other, it can become annoying trying to select the correct one every time you want to sign an appointment or send an invitation.
Furthermore, you may find that your Outlook app hangs when switching calendars. Luckily, exporting will keep the calendars you frequently use in one view.
It’s generally a good idea to follow this process to avoid losing or switching over calendar events. It takes just seconds, so it’s worth doing if you use multiple calendars in Outlook frequently.
You may also be interested in hiding calendar details from your colleagues or keeping your calendar events private, so check out our article on how to go about it.
Hopefully, this article has helped you to keep Outlook’s calendars selected and merge them. If you have any additional questions or recommendations, please comment below.


User forum
0 messages