PnPUtil.exe: What is It & How to Properly Use It?
Manage device drivers in Windows using this utility
3 min. read
Updated on
Read our disclosure page to find out how can you help Windows Report sustain the editorial team Read more
Key notes
- The PnP in PnPUtil stands for Plug and Play which enables automatic detection and installation of hardware devices and their associated drivers.
- It can be accessed using Command Prompt or PowerShell to install, uninstall, export, and query information about device drivers.
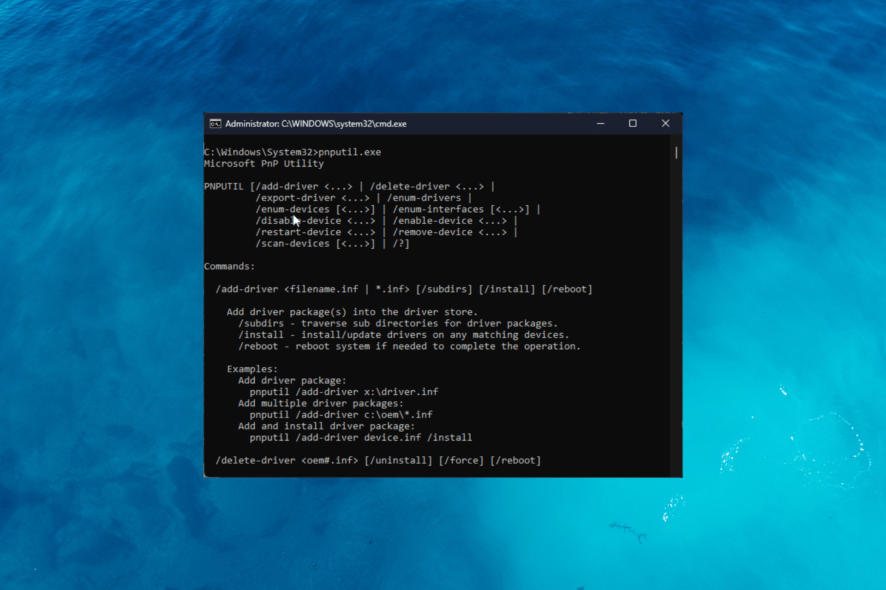
PnPUtil.exe is a command-line utility tool that comes with the Microsoft Windows operating system, starting with Windows Vista, which enables users to manage device drivers and driver packages.
In this guide, we’ll provide a detailed overview of PnPUtil.exe, explain how it works, and show you how to properly use it to manage device drivers in Windows.
What is PnPUtil.exe?
PnPUtil.exe is a command-line tool that provides a wide range of functionalities, including installing, uninstalling, exporting, and querying information about drivers and driver packages.
It can be used to update existing drivers, install unsigned drivers, and enable or disable device drivers.
However, as PnPUtil.exe is a command-line tool, it can be difficult for novice users to use it effectively.
How to use PnPUtil.exe?
Here are a few preliminary checks you should do before using the utility tool:
- You are logged in to an account with administrative privileges.
- Must have a driver package on your system.
- If you want to install an unsigned driver, you should first disable driver signature enforcement on your system.
Now that you have checked all these things let us know how to use the tool.
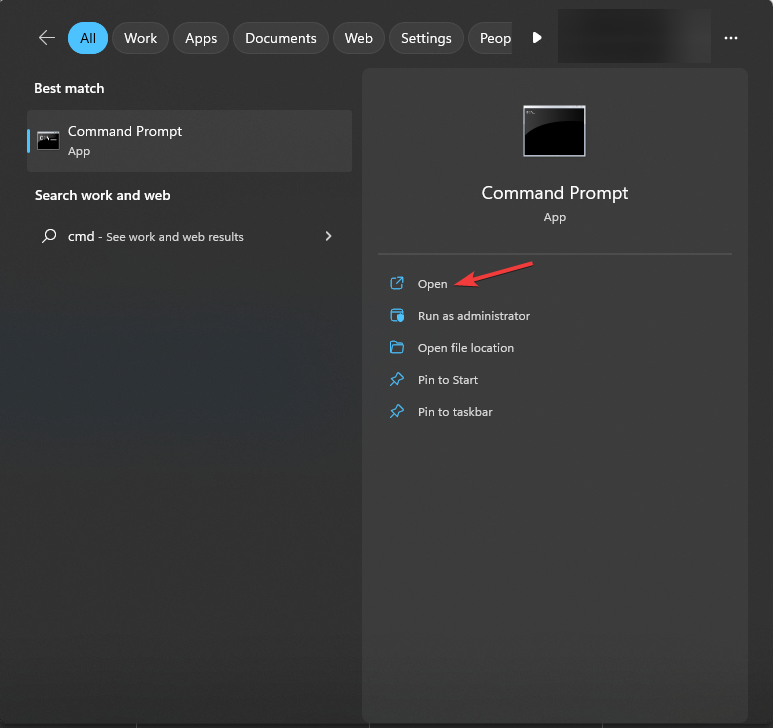
- Press the Windows key, type cmd, and click Open.
- Type the following command to navigate to the directory containing PnPUtil.exe and press Enter:
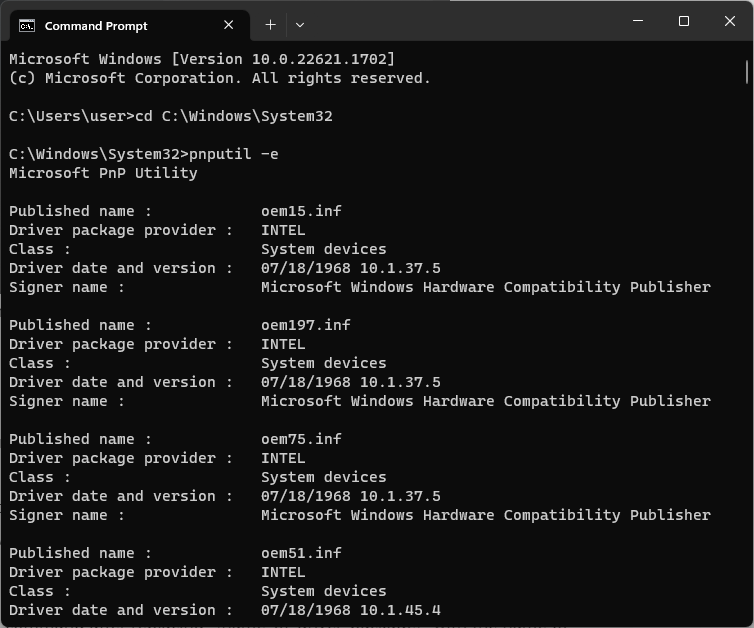
cd C:\Windows\System32 - To view a list of installed drivers on your system, copy and paste the following command and hit Enter:
pnputil -e - You will get a list of all the installed drivers on your computer, along with their publishers, version, and more.
- To install a driver package, type the following command after replacing <path_to_driver_inf_file> with the full path to the driver INF file you want to install, and press Enter:
pnputil -i -a <path_to_driver_inf_file> - Copy & paste the following command after replacing <name_of_driver_package> with the name of the driver package you want to uninstall and hit Enter:
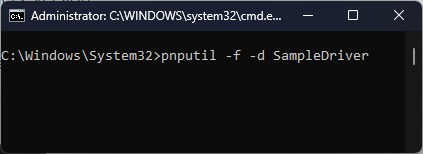
pnputil -f -d <name_of_driver_package> - To export a driver package to a text file named <exported_file_name>, type the following command after replacing <name_of_driver_package> with the name of the driver package you want to export and press Enter:
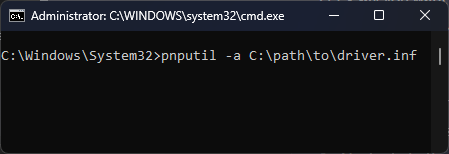
pnputil -e -u <name_of_driver_package> > <exported_file_name>.txt - Copy & paste the following command to query information about a specific driver package after replacing <path_to_driver_inf_file> with the full path to the driver INF file you want to query and hit Enter:
pnputil -a <path_to_driver_inf_file>
So, these are the steps you can use PnPUtil.exe to manage device drivers in Windows. You must remember that some PnPUtil.exe commands may require administrator privileges.
However, if the PnPUtil tool seems a bit too complicated, you can use one of the best driver updater software from our list.
If you have any questions or suggestions, feel free to mention them in the comments section below.

