TP-Link Unidentified Network: 5 Fixes for Powerline Error
Restore your adapter to proper functionality
Key notes
- TP-Link is a popular brand of routers known for their affordability and reliability.
- The unidentified network error can leave you unable to browse the web or use specific applications.
Are you experiencing issues with your TP-Link router, which shows an Unidentified Network error message. This is a common problem that many router users face.
When this error occurs, your computer cannot establish a connection to the router, so you cannot access the internet.
So, let us explore the possible causes of the Unidentified Network error and provide step-by-step solutions to help you troubleshoot and fix the issue.
Why does my TP-Link say Unidentified network?
If your TP-Link router shows an Unidentified Network error message, it usually means that your computer cannot identify its connected network. This can happen due to various reasons, including:
- IP address conflict – If your computer and another device on your network have the same IP address, it can cause a conflict and prevent your PC from identifying the network.
- Driver issues – If the network adapter driver on your computer is outdated or corrupted, it can cause connectivity issues and prevent your computer from identifying the network.
- Router settings – Additionally, if the router’s configuration settings are incorrect, it can cause issues with network connectivity, leading to the Unidentified Network error.
- Network cables – Also, if there are issues with the network cables connecting your router and computer, it can cause connectivity issues and prevent your device from identifying the network.
- Malware or virus infections – Malware or virus infections on your computer can cause network connectivity issues and prevent your laptop from identifying the network.
These are the common reasons for this error. By identifying the cause of the issue, you can take steps to resolve it and get your network back up and running.
How can I fix the Registry Filter Driver Exception error?
- Reset Winsock IPv4 / IPv6 Entries to Default
- Disable / Re-Enable Network Card
- Disable IPv6 for Network Properties
- Update/Uninstall Network Adapter
- Factory Reset your Adapter
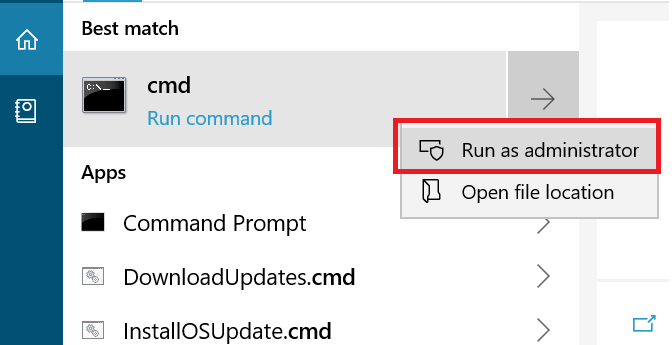
1. Reset Winsock IPv4 / IPv6 entries to default
- Type cmd in Windows Search. Right-click on cmd and select Run as Administrator.
- In the Command Prompt, type these commands and hit Enter.
netsh winsock reset catalognetsh int ipv4 reset reset.lognetsh int ipv6 reset reset.log
- Close the Command Prompt window and reboot your system. Finally, restart, connect to the Powerline adapter, and check for improvements.
2. Disable / re-enable the network card
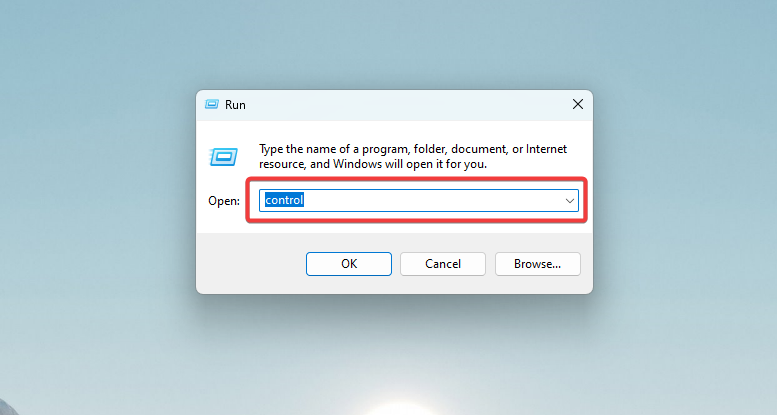
- Press Windows Key + R to open the Run dialog box, type control, and hit Enter.
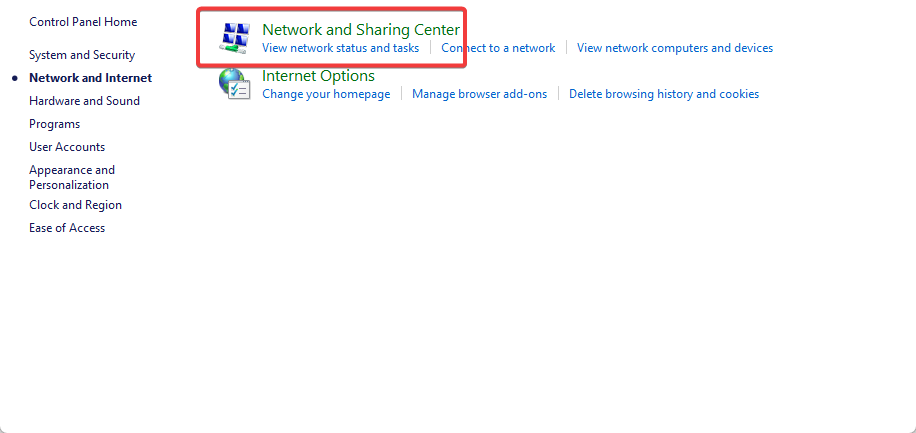
- In the Control Panel, click on Network and Internet.

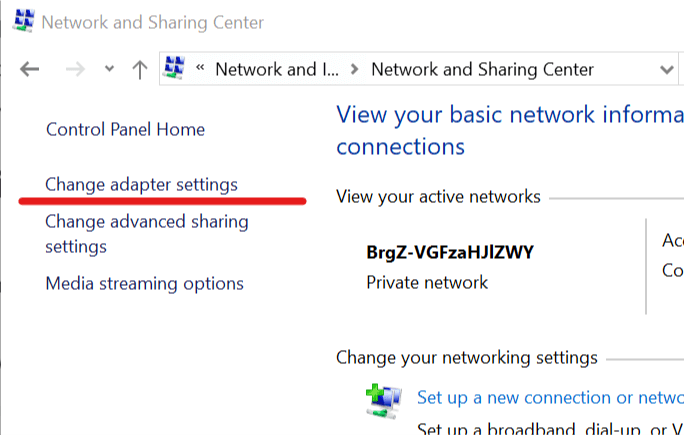
- Click on Network and Sharing Center.
- From the left pane, click on Change Adapter settings.
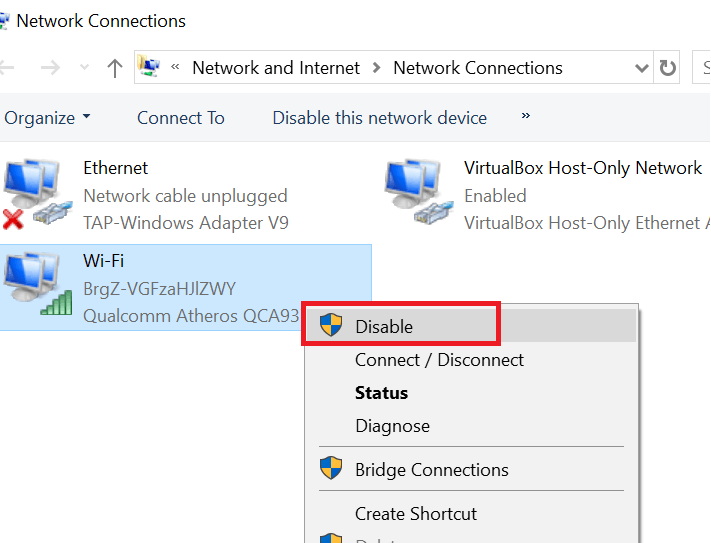
- Right-click your adapter and select Disable.
- Right-click on the disabled network adapter and select Enable.
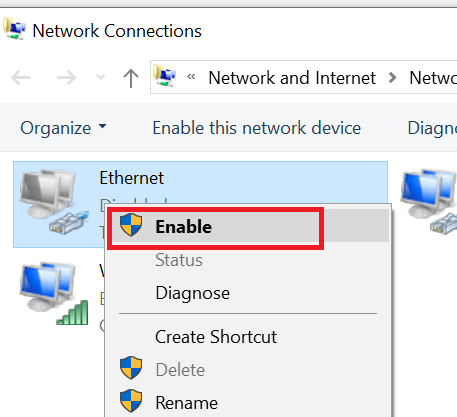
- Lastly, reboot your system and check for any improvements.
3. Disable IPv6 for network properties
- Press Windows Key + R to open the Run dialog box, type control, and hit Enter.
- In the Control Panel, click on Network and Internet.
- Next, click on Network and Sharing Center.
- From the left pane, click on Change Adapter settings.
- Now right-click on the problematic network and select Properties.
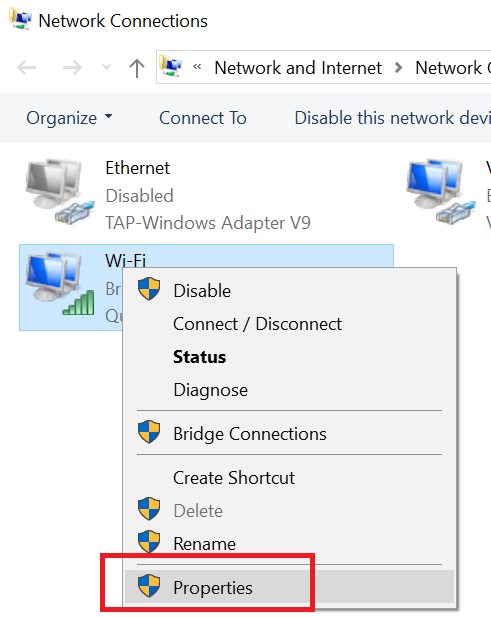
- In the Properties window, uncheck Internet Protocol Version 6(TCP/IPv6).
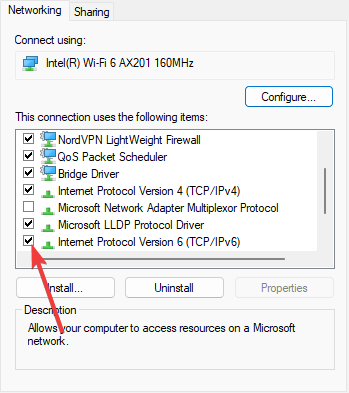
- Click OK to save the changes.
- Finally, reboot your computer and check for any improvements.
IPv6 is the successor to the popular IPv4. However, not all devices are fully compatible with the IPv6 protocol, which can cause the TP-link unidentified network error.
4. Update/uninstall the network adapter
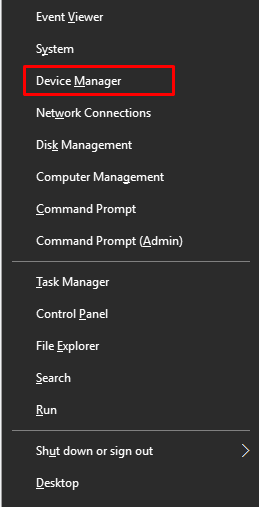
- Press Windows + X and select Device Manager.
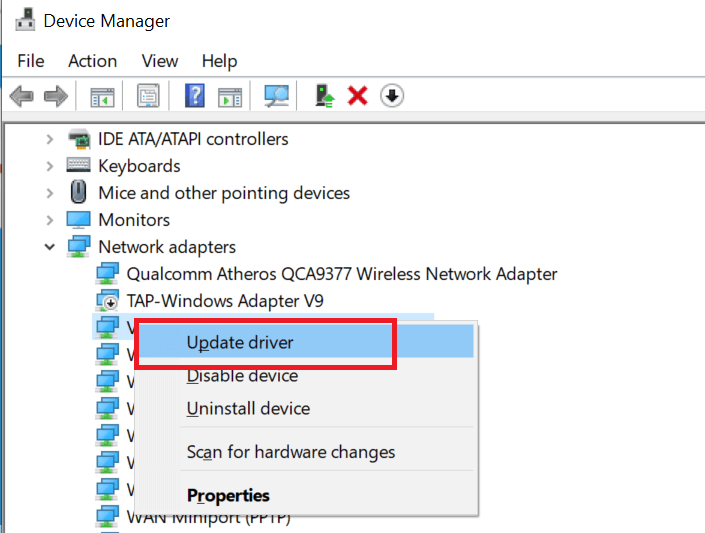
- In the Device Manager, expand Network Adapters, right-click on your ethernet card, and select Update driver.
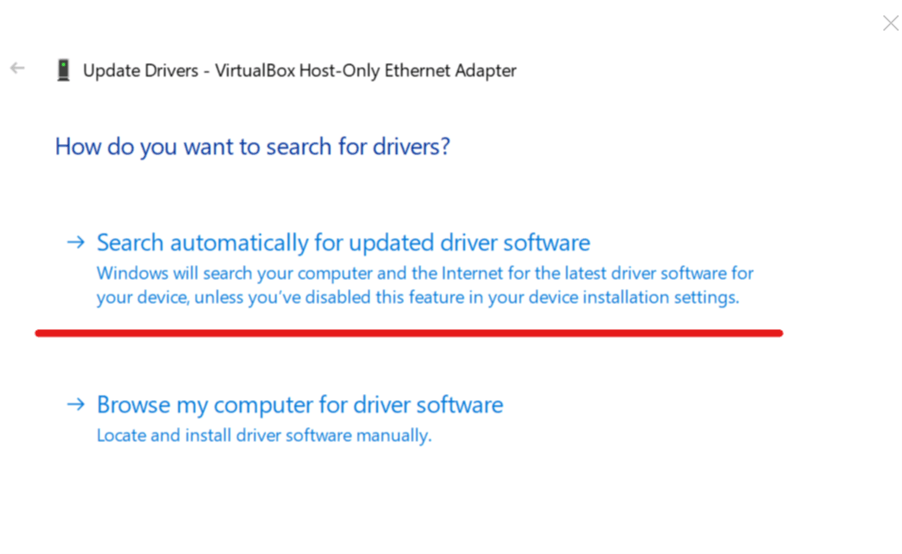
- Lastly, select Search automatically for updated driver software.
Check for any improvements. If not, do the following:
- Right-click on your ethernet adapter again and click Uninstall. Click Yes to confirm.

- Once uninstalled, click on Actions and select Scan for hardware changes.
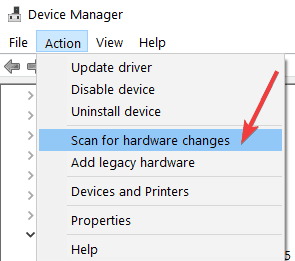
- Finally, if the drivers are not installed after the hardware scan, reboot your system, and Windows will install them automatically after the restart. This should solve the TP-link unidentified network error.
You can also use dedicated software such as Outbyte Driver Updater. It will save you some time and automatically match your hardware with the best driver version available. In addition, you can set it up to make regular updates and repairs to your drivers while you take care of more important tasks.
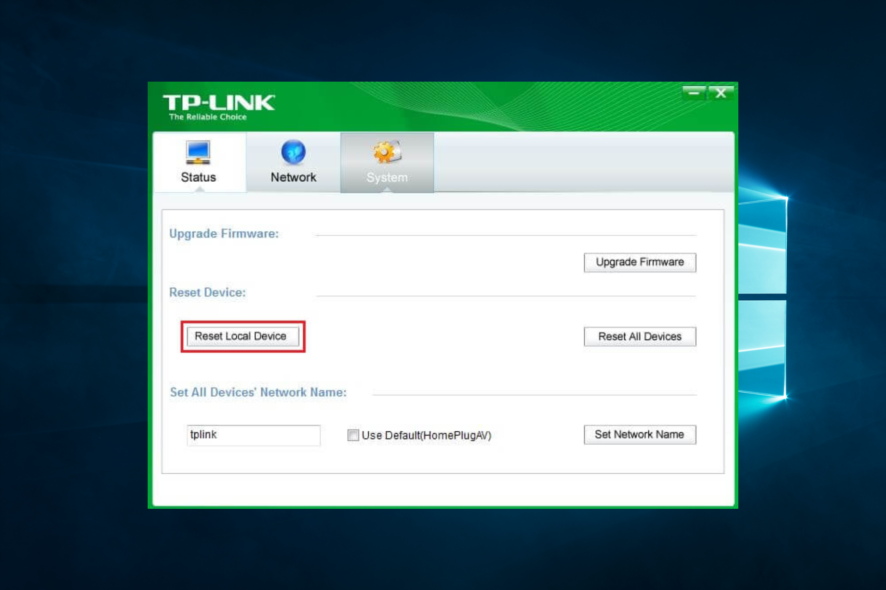
5. Factory Reset your Adapter
- Connect the Powerline adapter to a Windows computer.
- Download and install the TP-Link Management Utility. You don’t need to download this utility if you have the source CD provided with the adapters.
- Open the Management Utility, go to System, and click the Reset Local Devices button.
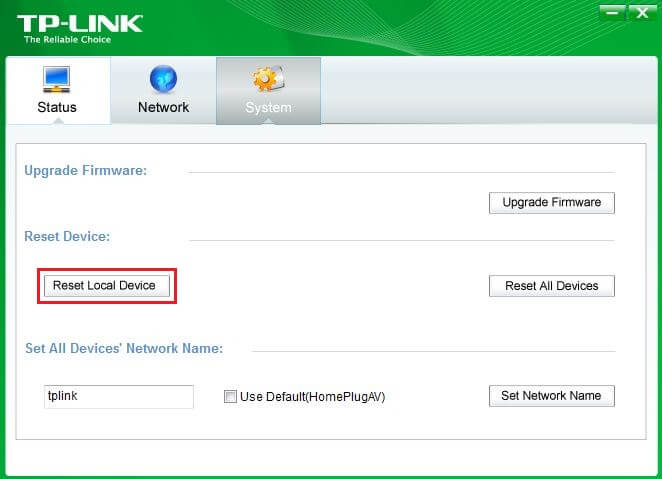
- Once the reset is over, disconnect the adapter, connect it to the wall socket, and check for any improvements.
As a last resort, you can try to factory reset the Powerline adapter. The steps to factory reset adapters may differ depending on the maker of the adapter.
Also, if you have the Wireless Powerline adapter, you can reset it by pressing and holding the Reset button using a pin for 10 seconds.
Encountering an unidentified network error with your TP-Link router can be frustrating and can cause disruptions to your internet connectivity. However, there are several steps that you can take to troubleshoot and resolve the issue.
So, by following the tips and solutions discussed in this article, you can effectively identify and address the root cause of the problem, whether it be a hardware issue, software issue, or configuration issue.
Lastly, remember to tell us what worked for you using the comments below.
Read our disclosure page to find out how can you help Windows Report sustain the editorial team. Read more


Improve this guide


User forum
0 messages