The printer driver package could not be installed [Fix]
3 min. read
Updated on
Read our disclosure page to find out how can you help Windows Report sustain the editorial team Read more
You’ve gotten your hands on a new printer, but The printer driver package could not be installed error just keeps showing up.
There are many causes for this error, be it a faulty port, or incorrect driver management, but there’s a way to fix this problem. So let’s get to work, shall we?
What to do if I can’t install printer driver on Windows 10?
1. Disable Spooler Service
The Spooler Service is responsible for the management of processes that have been sent to the printer. This feature works just fine in most cases, but if there’s a problem with it, you might get The printer driver package could not be installed error. You can fix that by doing the following:
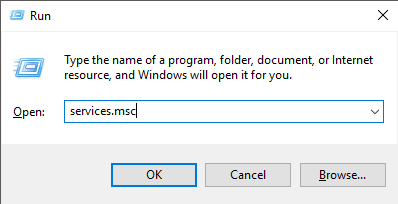
- In your Start Menu, open the Run box.
- Now type services.msc and press Enter.
- Now look for the Spooler Service in the list, and double click on it.
- Once the Properties tab is open, click on Stop, and then press OK.
After doing that, wait for a few moments and start the service again.
2. Change printer port
If you’re using a USB connection, chances are that some of your ports might be unresponsive. We suggest you try using a different port for your printer in order to fix The printer driver package could not be installed error. To do this, follow these steps:
- In the Start Menu select the Control Panel.
- Next, select Devices and Printers.
- In the top area of the window, select Add a Printer.
- Select Add a Local Printer.
- In the Choose a Printer Port section, now select Use an existing port.
- In the drop-down menu, select the USB001.
- Click the Next button.
- In the Manufacturers section, select your printer manufacturer.
- In the Printers section, look for your printer model and select it.
3. Reinstall drivers
This solution can sometimes help with The printer driver package could not be installed error. In order to reinstall the driver, simply follow these steps:
- Open your Control Panel.
- Click on Hardware and Sound.
- Select Printers.
- Right-click on the printer whose driver you need to install, and then select Run as administrator.
- Click on Properties.
- Now click on Advanced.
- Click on the New Driver tab, and then follow the onscreen instructions to install the driver.
If you wish to uninstall it, follow these steps:
- In the Start Menu, open up your Run box.
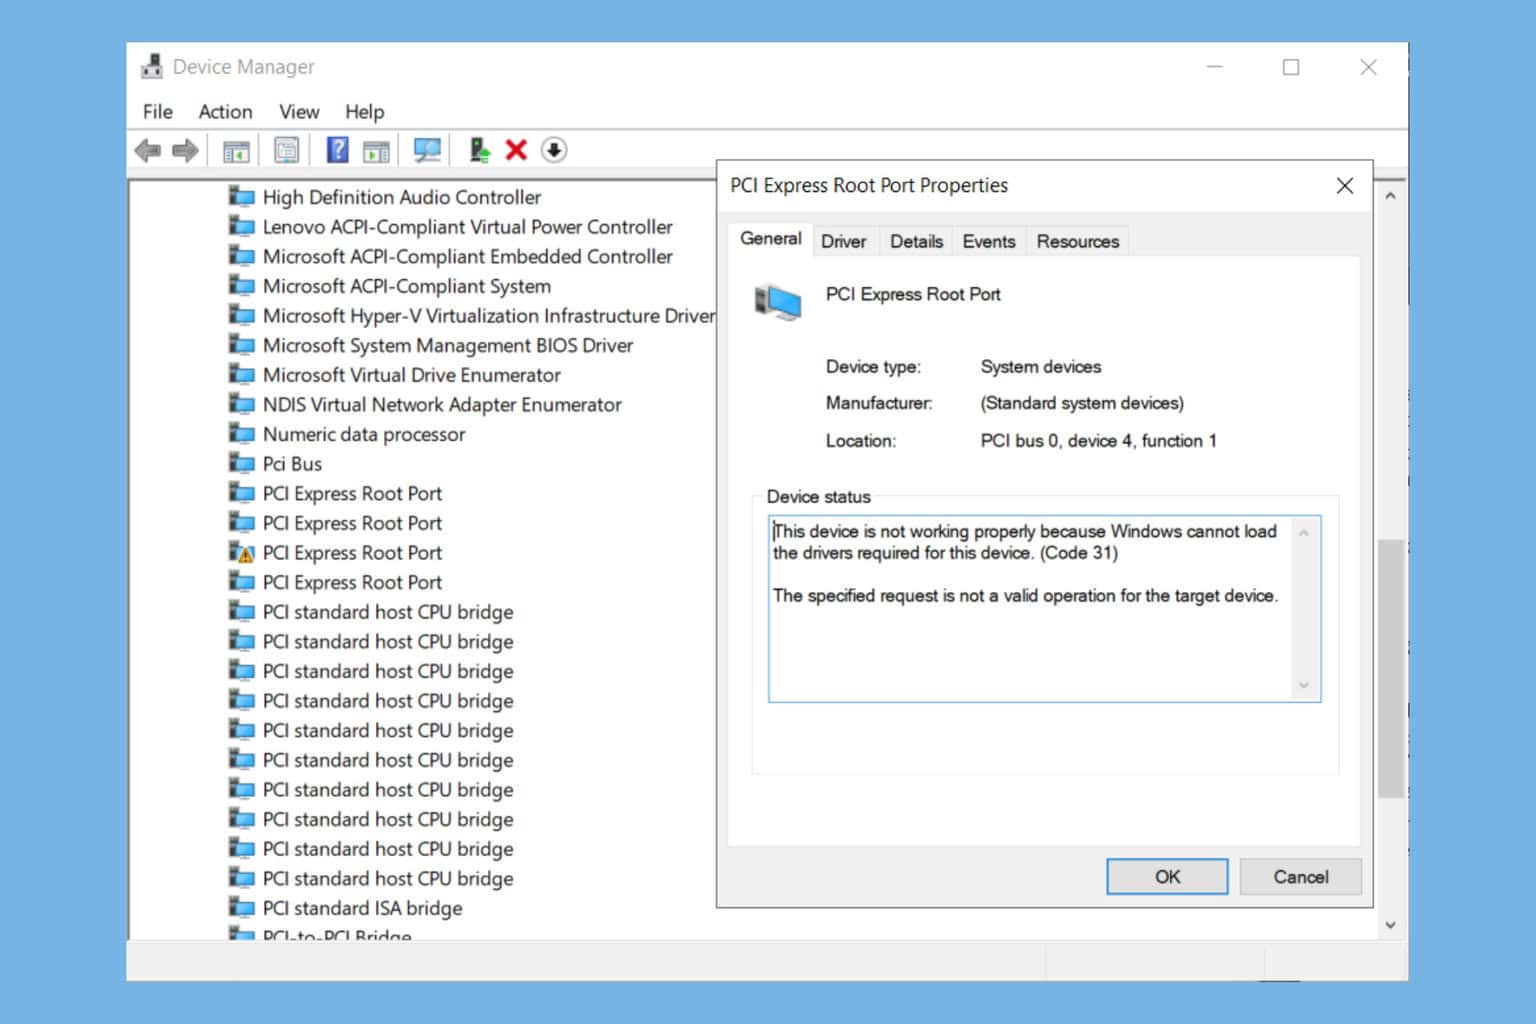
- Type devmgmt.msc and press Enter.
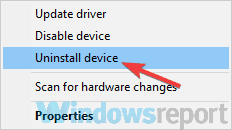
- Look for your printer and click on Uninstall Device.
- Restart your machine.
Another way to install printer drivers is to use a third-party application. By using this tool you can easily update all your drivers automatically with just a couple of clicks.
4. Use a different machine
Try running the printer on a different machine, so you can narrow down the culprit. If The printer driver package could not be installed error appears on other PC as well, it’s possible that your printer is faulty.
We hope that these fixes were of help. In the meantime, let us know in the comment section down below on what type of printers do you use at the moment.

