Fix: Critical Error Start Menu Isn’t Working on a Windows PC
Running PC in safe mode is a quick way around the critical error
Key notes
- When you get a Critical Error and the Start Menu is not working, the issue could have been caused due an outdated OS.
- Your primary approach should be to hide Cortana and disable Internet Explorer.
- Ending the Local Security Authority Process is another effective fix to solve this issue.
Start Menu is one of the most valuable components of Windows 10. It allows us to access installed apps and settings quickly. However, sometimes the feature might not work as expected, and many reported a Critical Error and that the Start menu is not working.
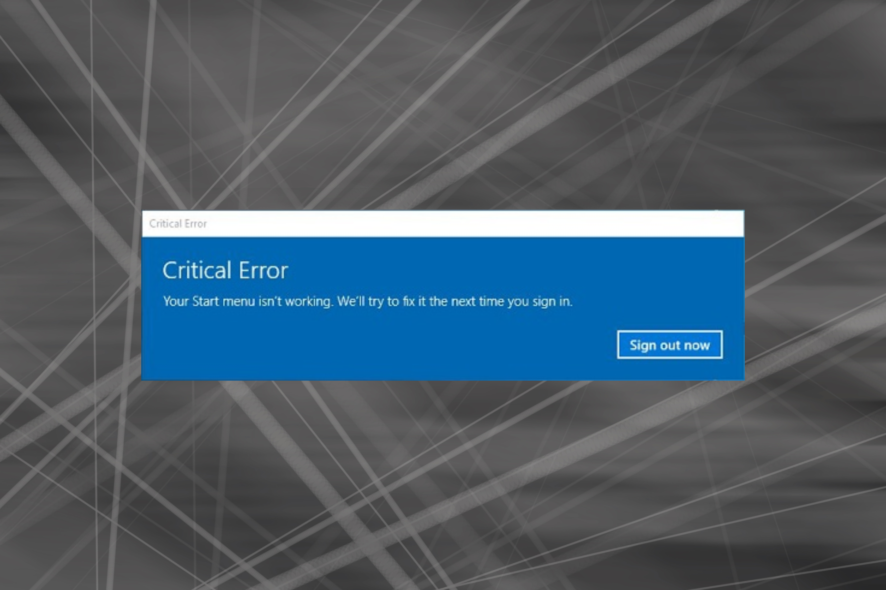
Besides, for some, the Start Menu kept disappearing. Regarding the problem at hand, users had an error message, Critical Error – Your Start menu isn’t working. We will try to fix it the next time you sign in, appear. So, let’s find out all about it.
What causes Critical error in Start Menu?
If your Start Menu isn’t working in Windows 11, it may be followed by an error message. This can occur if the system files are corrupt or damaged. Corrupt system files can also lead to Critical Process Died BSOD error, but luckily that’s not the case here.
Remember that these errors can affect other components; many reported a critical error in Cortana on Windows. Luckily, there are ways to fix these issues, and today we’ll show you how.
Problems with Start Menu can drastically affect your user experience. Speaking of problems, users reported the following issues with their Start Menu:
- Start Menu and Cortana not working: Start Menu and Cortana are closely related to Windows 10. However, many users reported that both Start Menu and Cortana aren’t working on their PC.
- Start Menu won’t open in Windows 10: In some cases, your Start Menu won’t even open. This can be a big problem, but you should be able to solve it by using one of our solutions.
- The Start Menu won’t go away: According to users, they can open the Start Menu but cannot close it.
- Start Menu randomly opens in Windows 10: Users reported that Start Menu randomly opens on their PC. This is an annoying problem since Start Menu will interfere with other applications on your screen.
- Start Menu tiles missing, icons missing – Several users reported that their tiles and icons in Start Menu are missing. This can be a problem, but you should be able to fix it with one of our solutions.
What is a critical error on a computer?
A critical error is a severe issue that affects the operations of a computer. When this error occurs, it forces the computer to stop its process and makes it impossible for the affected component to continue working.
To curtail this critical error and prevent lasting damage, a computer might start freezing or restarting.
What can I do if the Start Menu is not working?
Before trying the other solutions, here are a few quick workarounds that might work:
- Restart the computer and check if you still encounter the Critical error with the Start menu.
- Sign out of the affected account and then log into another account. Open the Start menu, and make sure that it works. Now, log back into the previous account, and the Start menu should also work here.
If these didn’t work, head to the fixes listed next.
1. Enter Safe Mode
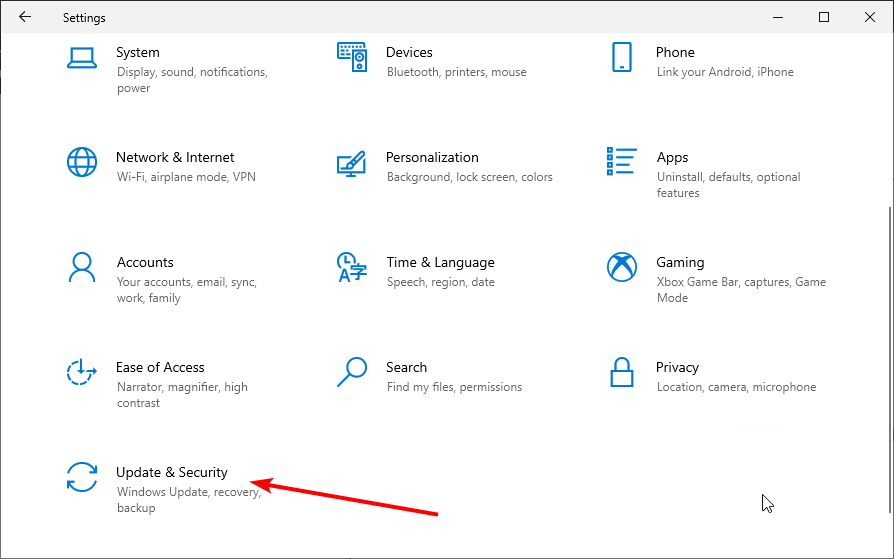
- Press Windows + I and select Update & Security.
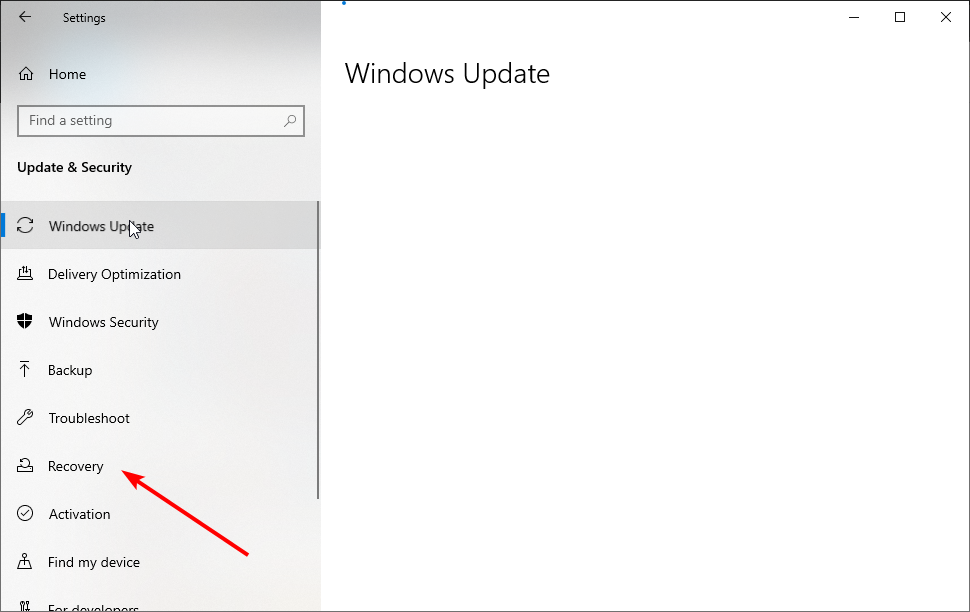
- Choose the Recovery option in the left pane.
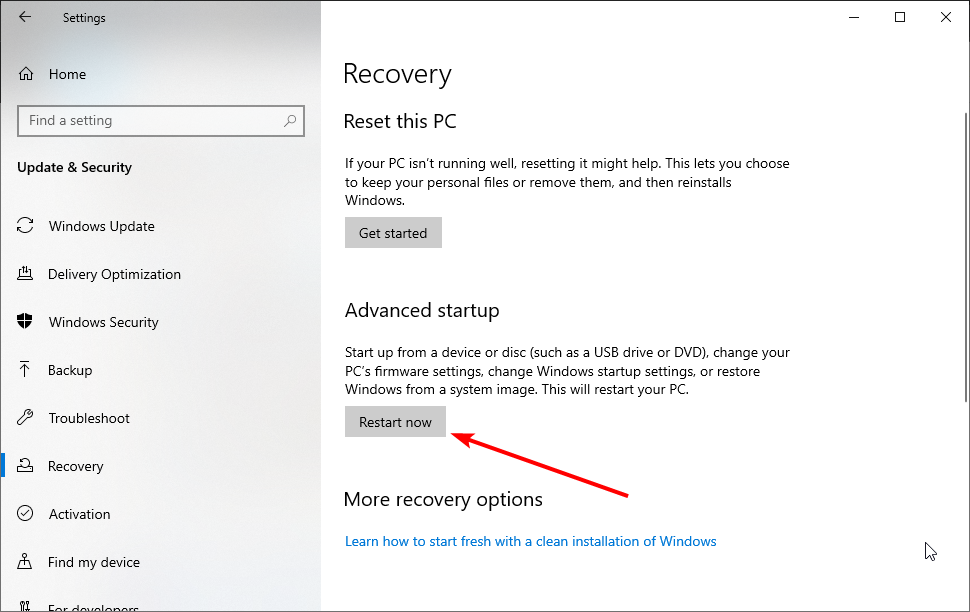
- Click the Restart now button under the Advanced startup section.
- When your PC restarts, click Troubleshoot.
- Select Advanced options.
- Now, click the Startup Settings option.
- Click the Restart button.
- Once your computer restarts again, press F5 to access Safe Mode with Networking.
Critical Error – Start menu not working can be troublesome, but users claim this error can be fixed by entering Safe Mode. Once done, verify if the Critical Error with Start Menu in Windows 10 is fixed.
2. Uninstall Dropbox/your antivirus software
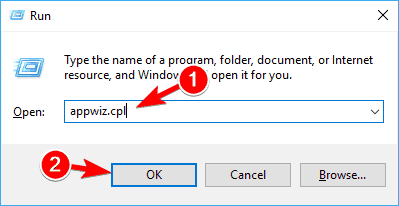
- Press Windows + R to open the Run prompt, type appwiz.cpl, and click OK.
- Locate Dropbox on the list and choose Uninstall.
- After you’ve removed Dropbox, restart your computer and check if the issue is resolved.
Many users reported Dropbox as the main culprit for Critical Error – Start menu not working error. To fix this issue, you have to remove Dropbox from your computer.
After doing so, check if the Critical Error Your start menu isn’t working in Windows Server 2016 error message disappears, in case you are using the particular version. The method would work on other iterations of the OS as well.
3. Temporary hide Cortana from Taskbar
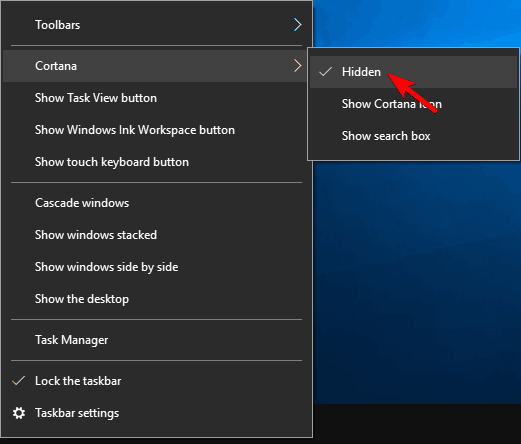
- Right-click the Taskbar, choose Cortana, and select Hidden.
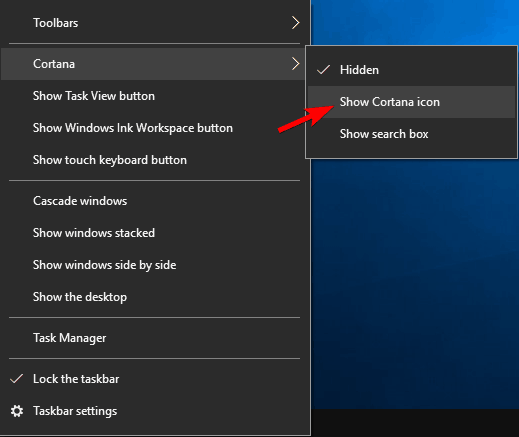
- Again, right-click Taskbar, hover the cursor over Cortana, and uncheck Show Cortana icon.
- Restart your computer and check if the issue is resolved.
Some users reported that Cortana is causing the Critical Error Start Menu not working issue. Hiding the icon from your Taskbar, in this case, should fix the problem.
4. Switch to a new admin account and delete the TileDataLayer directory
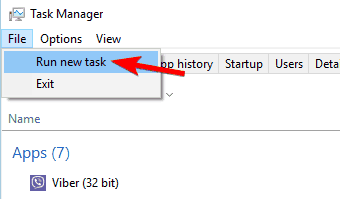
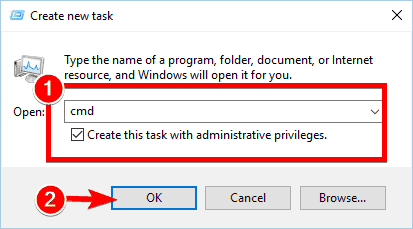
- Press Ctrl + Shift + Esc to open Task Manager, click on File, and then choose Run new task.
- Type cmd, check Create this task with administrative privileges, and click the OK button.
- Type the command below and press Enter:
net user /add admin1 password1
- This will create a new user account named admin1 with password password1.
- Now, type the command below and hit Enter to provide the new account with administrative privileges:
net localgroup administrators admin1 /add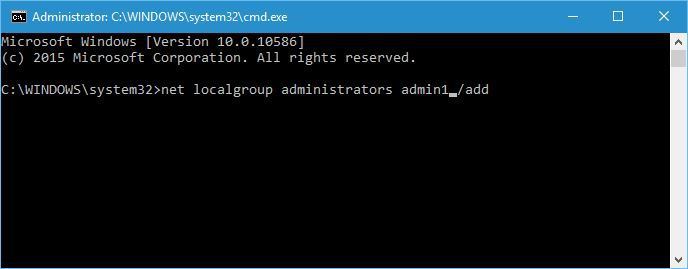
- Close Command Prompt, and sign out of your current account.
- Now, go to the newly created admin1 account. Use the password1 you created to log in.
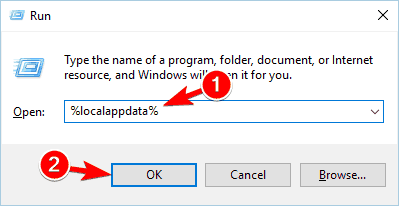
- Press Windows + R, enter %localappdata%, and click OK.
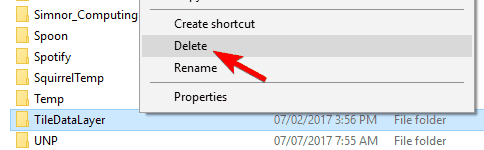
- From here, locate the TileDataLayer folder, right-click on it, and select the Delete option.
- Finally, Sign out of the new admin1 account and switch back to your regular account.
If the Critical Error – Start menu not working message is showing on one user admin account, you can fix it by switching to another account and deleting the TileDataLayer directory. You can follow the steps above if you don’t have another account.
5. End Local Security Authority Process
- Open Task Manager by pressing Ctrl + Shift + Esc.
- Scroll down on the Processes tab and locate the Local Security Authority Process, right-click on it and choose End task.
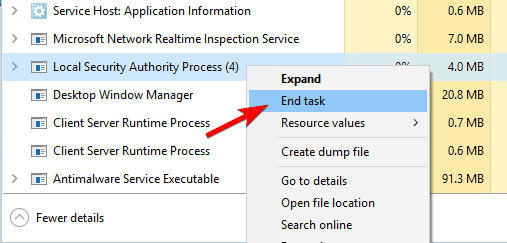
- Once done, restart the computer.
To fix Critical Error – Start menu not working, it’s advised that you end Local Security Authority Process using Task Manager. You can now restart your PC and see if the error persists.
6. Disable Internet Explorer
- Press Windows + R, type appwiz.cpl, and click OK.
- Click on Turn Windows features on or off in the left pane.
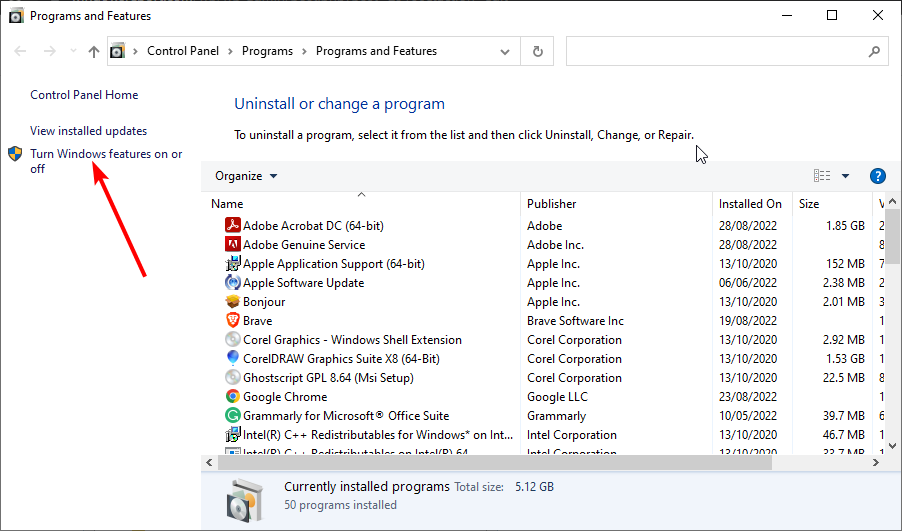
- Uncheck the box for Internet Explorer 11, and click on OK to save the changes.
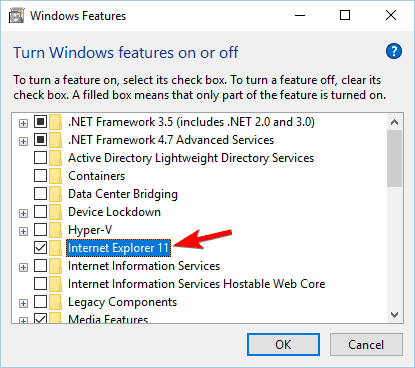
- If you get a warning message, click Yes.
- Restart your computer and check if the issue is resolved.
7. Create two new administrator accounts and transfer the Database folder
- Launch Command Prompt as admin, enter the commands below, and hit Enter to create two new accounts.
net user /add admin1 password1net user /add admin2 password2net localgroup administrators admin1 /addnet localgroup administrators admin2 /add - Log out of your current account, go to the admin1 account, use password1 to log in, and restart the PC.
- After your computer restarts, go to the admin2 account and use password2 as the password.
- Follow the path below:
C:\Users\admin1\AppData\Local\TileDataLayer - If you can’t find the AppData folder, click the View tab, and check the box for Hidden items.

- Copy the Database folder in TileDataLayer.
- Now, go to the path below to access your main account:
C:\Users\Your_username\AppData\Local\TileDataLayer - Rename the Database folder to Database.old.
- Paste the new Database folder from admin1.
- Restart your computer and go back to your main account.
This process requires you to create two administrator accounts, and we have to warn you that the process might seem a bit confusing at times, so try to follow the steps closely. If the issue is fixed, remove the administrator profiles you created.
If your administrator account is disabled in Windows 10, find out how you can enable it in this helpful guide.
8. Make sure Windows is up to date
- Press the Windows + I keys to open the Settings app and choose Update & Security.
- Click the Check for update button.
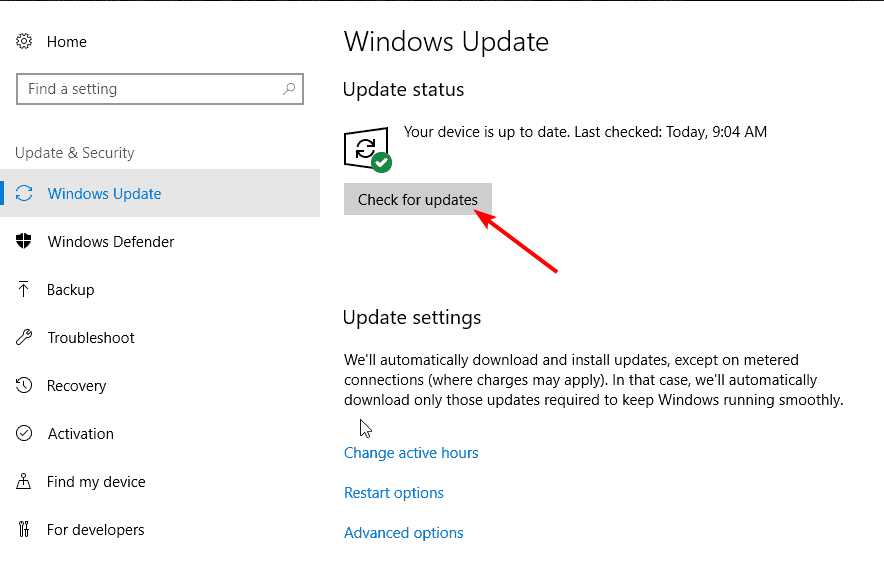
- Finally, click the Install now button to update your PC.
Microsoft is aware of the Critical Error Start Menu issue, and a permanent fix might be available through Windows Update. Therefore, ensure to download all the latest updates for Windows 10.
9. Reset Windows 10
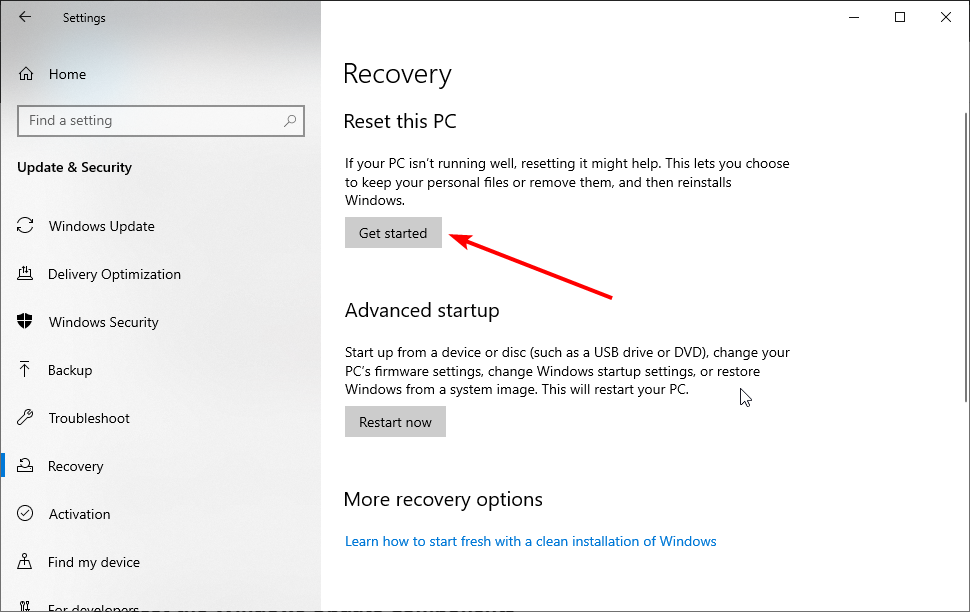
- Open the Settings app and select the Update & Security option.
- Choose Recovery in the left pane.
- Click the Get started option under the Reset this PC section.
- Choose the Keep my files option.
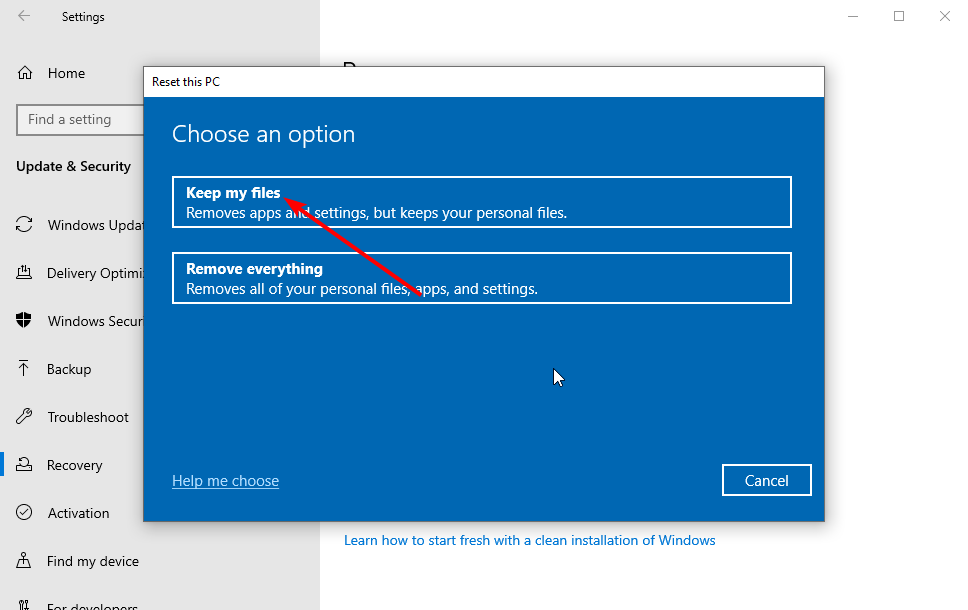
- Now, follow the on-screen instructions, and choose the appropriate options when prompted to complete the reset process.
If you’re still getting Critical Error – Start menu not working message, you might want to consider resetting Windows 10. This is the last resort but has proven effective in solving the issue.
How do I fix the Critical Error Start Menu on Windows 11?
The Critical Error Start Menu not working on Windows 11 can be caused by faulty system files. Also, it might be due to glitches in some processes on your PC. This can be fixed easily by restarting your computer.
Since the causes of the issue are similar to that of Windows 10, you can apply the fixes in our guide to solve it.
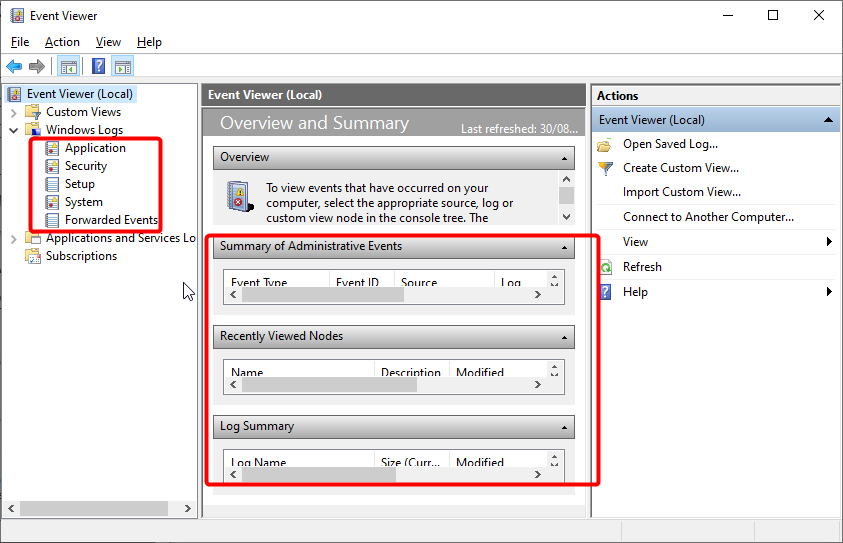
How do I check Critical Errors in Windows 10?
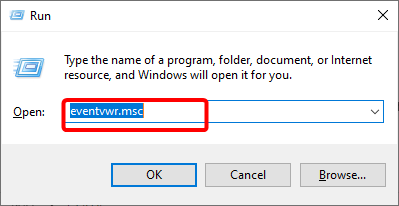
- Press Windows key + R to open Run, type eventvwr.msc, and hit Enter.
- Click the Windows Logs folder in the left pane.
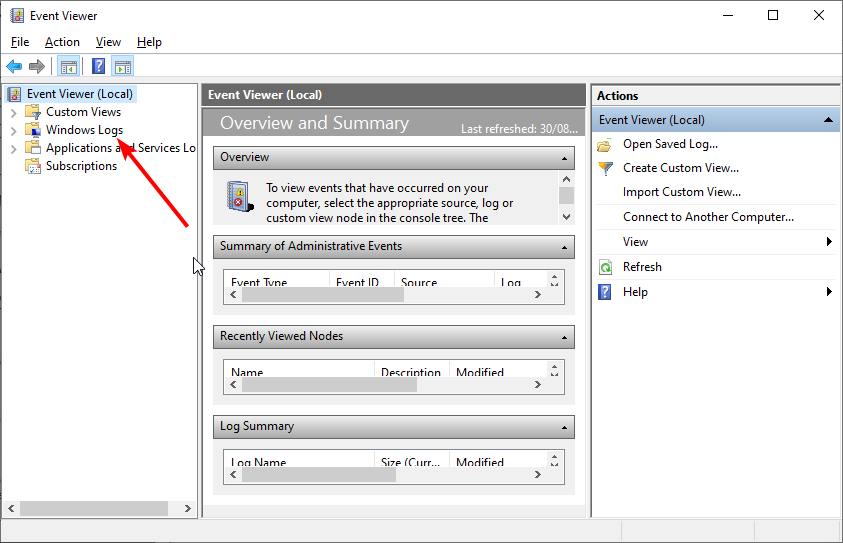
- Choose any options under the folder to view the activities in the middle pane.
Critical Error – Start menu not working can be a significant problem and seriously affect your Windows 10 experience. The methods listed here would also work in the case of an HP laptop Critical Error with the Start menu.
Once you have fixed the problem, do not forget to check how to boost the PC’s performance.
If you have any other questions, feel free to drop them in the comments section below, and we’ll surely take a look.
Read our disclosure page to find out how can you help Windows Report sustain the editorial team. Read more


Improve this guide


User forum
1 messages