Efficiently fix the problem with the printer setup on the PC
3 min. read
Updated on
Read our disclosure page to find out how can you help Windows Report sustain the editorial team. Read more
Key notes
- If Windows has encountered a problem with the printer setup, it is usually associated with MS office applications.
- However, the problem could also stem from major issues like outdated drivers or corrupted files.
- Windows can overwrite fault in the previous entry by changing default printer according to this guide.

It isn’t uncommon for the printer to develop errors during use, just like other electronic devices. Hence, the reason you have to familiarize yourself with basic troubleshooting hacks.
Often, the problem displays an error message as windows/words cannot print due to a problem with the current printer setup. It could be either windows or words depending on the problem.
This problem is often associated with Microsoft Word and other Office applications. Although it could be caused by different reasons which include, the printer developing fault itself.
To troubleshoot this problem, this guide will provide some troubleshooting fixes with step-by-step instructions on how to fix it.
What can I do if I get a problem with the printer setup?
1. Reset Default Printer
- Click the Windows button, type control panel, and click on the Control Panel from the search result.
- Select Devices and Printers from the options displayed.
- Randomly select any of the printers and right-click on it. Click to Set as Default Printer from the pop-up.
- Then, select the original printer and right-click on it to Set as Default Printer back.
By changing the default printer, Windows will overwrite the previous entry which might be faulty for the default printer.
2. Uninstall and reinstall the printer driver
- Click the Start button and select Settings.
- Choose Devices and click on Printers & Scanners.
- Select your printer and choose Remove device.
- Click the Add a printer or scanner from the top. Once your printer has been detected, proceed with the installation. Then click Finish once the installation is complete.
If it fails to work after this, it could be an issue with the driver or the local printer’s connection. If you have connection issues with your printer, check this article on what can I do if the printer is not connecting to the PC.
3. Update drivers
- Right-click the Start button and choose Device Manager from the list.
- Scroll down and select Print queues or Printers. Right-click on your printer from the pop-up list and select Update Driver.
- Select Search automatically for drivers.
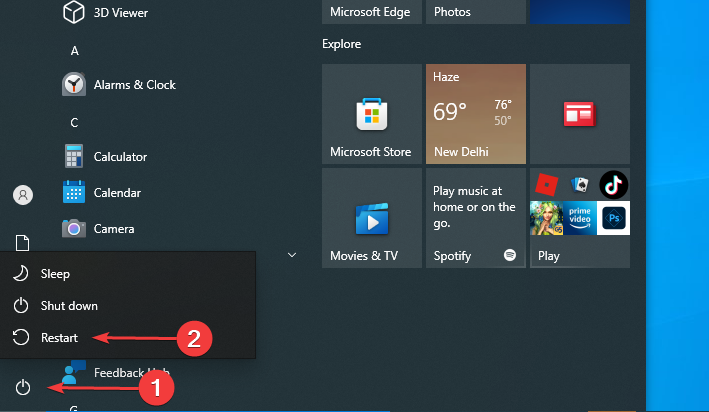
- If the system finds a new driver, it will be installed automatically. Then, proceed to restart your PC to effect the changes.
Drivers update is essential for the proper functioning of the printer on the OS. However, if the drivers couldn’t be updated, you may need to update them via a third-party app.
We strongly recommend you install Outbyte Driver Updater to get the latest drivers for your PC. It auto searches for the best and recommended updates for your drivers.
4. System file checker
- Close all running applications and search for cmd in the Start button search area.
- Select Command Prompt from the result and Run as Administrator.
- Input this code sfc/scannow and press Enter key. Then wait for the result after some minutes.
- Type exit to close the prompt. If the Windows found corrupt or bad files, they will be repaired. Then Restart the PC.
This article has analyzed the best solutions to fix problems with the printer setup. However, if none of these worked for you, you can check out our article on fixing printer configuration problems.
We’d like to hear more from you about your experiences, so leave your suggestions or questions in the comment section below.


User forum
0 messages