How to Remove Common Program Groups From Start Menu
Quick ways to manage your Start Menu groups listing
Whenever you install apps in Windows, you’ll often find yourself with more programs than you know what to do with. These apps can be useful if you want an easy way to access certain tasks or settings in your Start Menu. However, they may not be needed for everyone.
If you’re one of those users who like a decluttered Start Menu interface, you can take charge of what appears here, and we show you how to achieve this by removing common program groups.
How do I remove common program groups from the Start Menu?
1. By using the Group Policy Editor
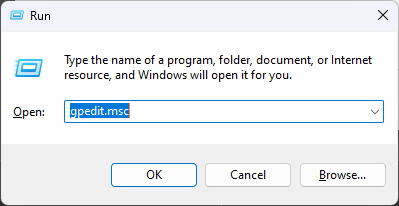
- Hit the Windows + R keys to open the Run command.
- Type gpedit.msc in the dialog box and hit Enter to open the Group Policy Editor.
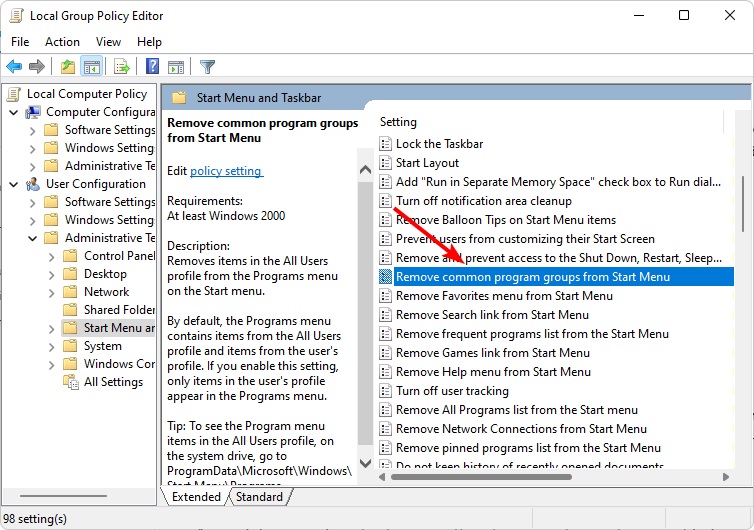
- Navigate to the following location:
User Configuration/Administrative Templates/Start Menu and Taskbar - Double-click on the Remove common program groups from Start Menu policy setting.
- Check the Enabled box.
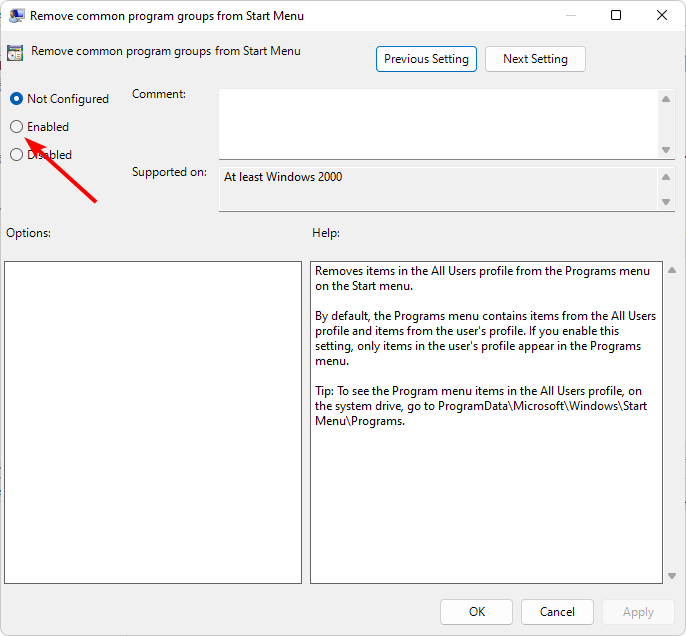
- Hit Apply and OK to save changes, then restart your PC for the changes to take effect.
2. By using the Registry Editor
 NOTE
NOTE
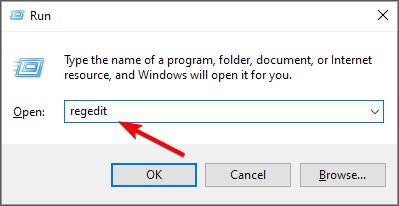
- Hit the Windows + R keys to open the Run command.
- Type regedit in the dialog box and hit Enter to open the Registry Editor.
- Navigate to the following location:
HKEY_CURRENT_USER\Software\Microsoft\Windows\CurrentVersion\Policies\Explorer - Double-click on the NoCommonGroups entry, but if unavailable, right-click on an empty space, select New>DWORD (32-bit Value), and name it as so.
- In the Value data entry, set it as 0 to disable, then close the Registry Editor.
How do I add common program groups to the Start Menu?
Simply reverse-engineer the above steps if you wish for the common apps to make a comeback to your Start Menu. For the Group Policy option, set the option to Disabled, and for the Registry Editor, set the Value data to 0.
By removing all common program groups, remember that all the changes apply to all user profiles on that PC. This means that features like Homegroup will be unnecessary because you can’t share files anymore. You might as well go ahead and remove Homegroup, especially if it’s slowing down your device.
Hopefully, you now only have apps you want to see on your Start Menu. Should you encounter any issues with default apps, it is best to uninstall the pre-installed apps, especially if you rarely use them.
And if it’s the Windows 11 interface that is giving you the ick, you can change that too. Most users prefer the classic Start Menu, so don’t hesitate to revert to old ways.
Do you prefer the common program groups or to disable them? Let us know in the comment section below.
Read our disclosure page to find out how can you help Windows Report sustain the editorial team. Read more


Improve this guide


User forum
0 messages