Learn how to repair corrupted Notepad files in 4 simple steps

Notepad in Windows is a handy little utility that can be used for many things, from taking notes to creating batch files as well as registry entries. However, the text files created on Notepad or other text editing programs like NotePad++ are prone to file corruption in case of system crashes or freezing.
Users have reported that their notepad files have become corrupted and showing Null characters after their system crashed or froze resulting in a forced restart.
If you have a corrupted file that you want to recover, here are a few troubleshooting tips that you can try to recover the text file.
How do I repair corrupted Notepad files?
1. Restore the Previous Version
- Open “File Explorer” from the taskbar.
- Now navigate to the location where the text file stored.

- Right-click on the stored file and select Restore Previous Version.
- Select the Previous Version and click on Restore.
- If successfully restored, open the Text file in Notepad to see if the corrupted text file is repaired.
Note: Restore Previous version option will be mostly available for old files. However, do give this method a try to see if your text file has a previous version that can be restored.
2. Run Recuva Recovery Wizard
- Download and install Recuva free version.
- Run Recuva wizard and click on Next.
- Under File type, select Documents.
- For File Location, select “In my specific Location“.

- Click on the browser button and select the folder where your corrupted text file stored.
- Click on Next.
- Check “Enable Deep Scan” option.

- Click on the Start button to begin the scanning.
- Wait for the scanning to finish.
- Recuva will list all the recovered documents. Select your File and Restore it.
If Recuva couldn’t find the backup file, search for the undeleted files.
- Start Recuva.
- If the Wizard appears, select the document type, location and start scanning.
- Once the scanning starts. click the Cancel button.

- In the Recuva window, click on Switch to Advanced Mode.
- Click the Options button.

- In the Options window, click the Actions tab.
- Under the Scanning section, check the “Scan for non-deleted files” option.
- Click OK.
- Select the drive to scan and click on the Scan button again.
- Wait for the Scan to finish.
- If Recuva has recovered the text file, select the file and click on Recover.
3. Run Chkdsk Tool
- Type cmd in the search bar.
- Right-click on Command Prompt option and select Run as Administrator.
- In the command prompt, enter chkdsk C: /f and hit enter.
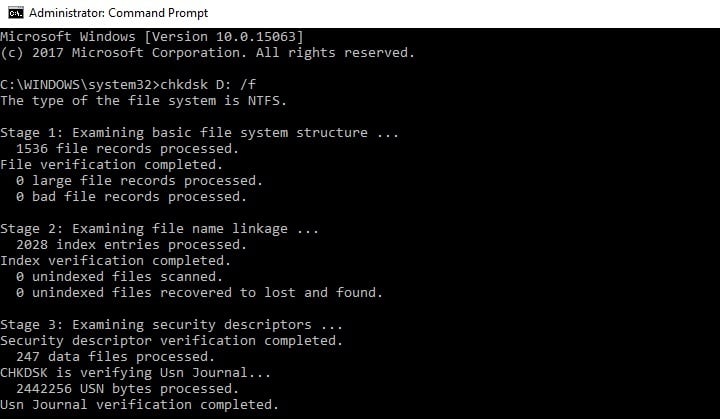
- Wait for the Check Tool to complete the scan and repair any bad section in the hard drive.
- Now restart your Windows system. Check if the text has been recovered by the chkdsk tool.
4. Use Word Recovery Any File Tool
- Launch the MS Word app.
- Select a blank document.
- Click on File and select Options. It will open the Word Options window.
- Click on the Advanced tab.
- Scroll down to General section.

- Check the “Confirm file format conversion on open” option.
- Click OK to save the changes.
- Now click on File and select Open.
- Click on Browse button.
- In the Open window, click on All Files and select “Recover Text from any files (*.*)”.

- Select the corrupted text file you want to recover and click Open.
- Will now try to repair the text file.
Read our disclosure page to find out how can you help Windows Report sustain the editorial team. Read more


Improve this guide

User forum
1 messages