Scanner not Sending to Email: 4 Quick Ways to Fix It
There is a file size limit to what can be sent from scanner to email
Key notes
- Users of scan-to-email scanners are experiencing specific difficulties, such as genius scan not sending to email.
- One of the reasons for this is that the destination email is wrong.
- You can read further to explore the reasons and the best fixes for your scanner issues.

As a typist or one who works with documents, scanning your documents and sending them to email can ease your workload. Recently, users have reported scanners not sending emails which has affected users’ workflow.
There are diverse claims raised by users, such as scanner not sending to email Ricoh; Genius scan not sending to email; Tiny scanner not sending email; Adobe scan not sending email, and so forth.
There can also be different reasons for the scanner not sending to email. You can read further to explore the reasons for these issues and the short-term workaround to get your scanner to scan your email.
Why won’t my scanner scan my email?
- Wrong email destination: As users, it is possible to make specific slips at times. If you are experiencing a scanner not sending to email, you first should confirm if you have entered the destination email address correctly.
- Password has been changed on the host email account: Another reason for scanner Pro not sending email could be because the password on the host email account has been changed. Each scanner has a customized email address, which can require a password change. Unless the password in your scanner’s settings is updated with your email address, you won’t be able to scan.
- The file size is too large: It is worth noting that every email account has a maximum file size to send an email successfully. Hence, if you exceed your scanner’s full file size, you may encounter this problem.
- Email domain of scanners/host email is temporarily out of service: It is possible to encounter a xerox scan to email not working or a soft scan to email not working because every scan to email scanner is assigned an email address to enable this feature to work. But the problem is inevitable whenever the email server is down or the email provider has a temporary issue.
- New Router or Internet Provider: If, for some reason, you have to get a new router or you make changes to your email service provider, for instance, changes from Comcast to Sonic, then you will have to update the settings in your scanner, or else your scan to email will not work.
How do I get my scanner to scan to my email?
Before we start with the complex changes, here are a few quick checks and tips:
- Restart the computer, the modem/router, and the scanner.
- Verify that the entered email address is correct.
- Make sure the file size is within the scanner’s range.
- Check if the patch cord is damaged and needs replacement. Even if it doesn’t appear that way, we recommend you replace it just to be sure.
If none work, head to the fixes listed next.
1. Reduce the DPI Settings
- Scan your document at a lower resolution (96 DPI).
- Crop the image to remove any space around it.

- Shrink the image.
- Save the file in JPG format instead.
2. Use a USB thumb drive
- Locate the built-in USB port of your color copier.
- Connect a USB thumb drive and locate the Control Panel.
- Click on the storage space in Control Panel.

- Follow the intuitive prompts to scan your documents from your copier to the USB thumb drive.

- You can upload the scanned file from your thumb drive to your computer/email.

This is an excellent hack for scanning any time you are experiencing internet or email challenges preventing you from scanning.
3. Use your email client as an alternative
- Open your scanning app.
- Scan your document and save it.
- Open your email account.
- Select Compose to start writing a new email.

- Click add attachment symbol. (It usually looks like a paper clip)

- After clicking on it, find your file, select it, and press Enter.
4. Reinstall drivers
- Right-click on the Start menu icon.
- Select Device Manager.
- Expand the Imaging devices section.
- Right-click on the problematic scanner and click on Uninstall.

- Reboot your PC.
Alternatively, you can use Outbyte Driver Updater to locate the latest drivers and download them without having to download them from the manufacturer’s site.

Outbyte Driver Updater
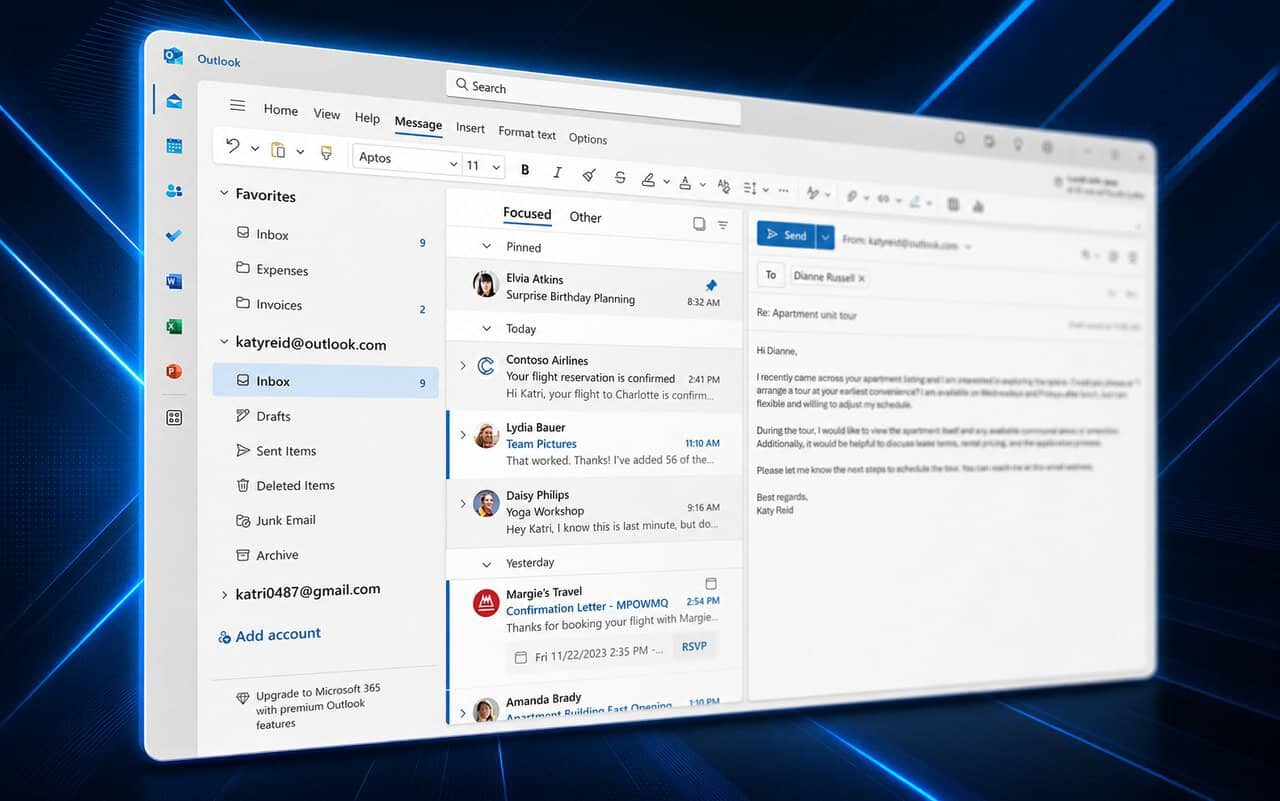
Scan and keep your device’s drivers updated all the time with this professional software.How do I set up a scan to email in Outlook?
- Go to Outlook on your browser.
- Select the File tab in the upper left corner.
- Click the Options button to open the Outlook Options window.
- Select the Add-Ins section. (Settings of plug-ins embedded into Outlook are displayed in the right part of the window)

- Click the Add-In Options button.
Following the steps above, you should be able to scan to email via Outlook.
You can work your way through any of the fixes above. One of them should fix your scanner issue. You may also check our guide on how to fix scanner not detected in Windows 11 for more solutions.
If you have more questions or suggestions, leave them in the comments section. We’d like to hear from you.
Read our disclosure page to find out how can you help Windows Report sustain the editorial team. Read more


Improve this guide


User forum
0 messages