SHARED_RESOURCE_CONV_ERROR: 7 Ways to Fix the BSOD
Make sure all the installed drivers are updated
5 min. read
Published on
Read our disclosure page to find out how can you help Windows Report sustain the editorial team. Read more

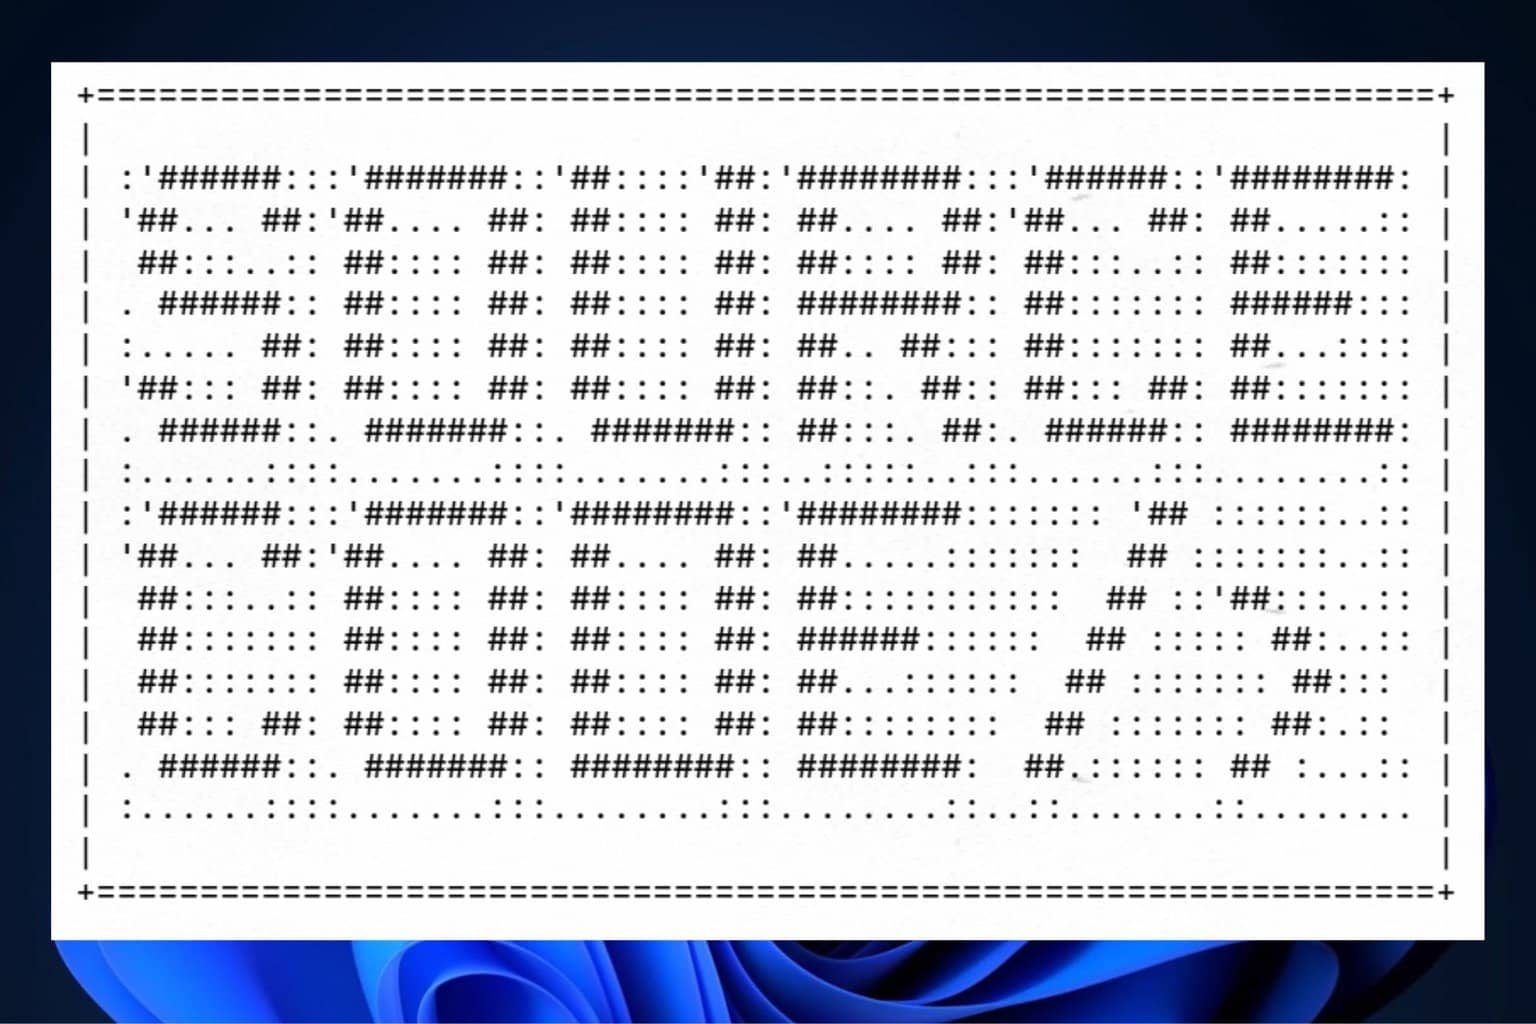
Blue Screen of Death (BSOD) errors are not uncommon, but a few are encountered so rarely that there’s very little information available. One such is SHARED_RESOURCE_CONV_ERROR, a BSOD with a bug check value of 0x0000001F!
Based on data collected from past occurrences, incompatible hardware, misconfigured connections, outdated driver software, corrupt system files, disk issues, RAM problems, malware infection, or a corrupt user profile are all possible reasons for BSOD.
Before we proceed to the slightly complex fixes, restart the computer, disconnect all non-critical peripherals (including printers), rectify any loose connections, and uninstall any recently installed conflicting apps.
How can I fix the SHARED_RESOURCE_CONV_ERROR BSOD?
1. Update all the outdated drivers
- Press Windows + X to open the Power User menu, and select Device Manager from the list.
- Expand the Display adapters entry, right-click on the active graphics adapter, and choose Update driver.
- Select the Search automatically for drivers option and wait for Windows to install the best locally available driver.
- Once done, restart the computer.
Apart from the graphics adapter, you have to update the drivers for every other critical hardware. If Windows can’t find a better version, head to the manufacturer’s official website and manually install the driver!
2. Repair the corrupt system files
- Press Windows + R to open Run, type cmd, and hit Ctrl + Shift + Enter.
- Click Yes in the UAC prompt.
- Paste the following DISM commands individually and hit Enter after each:
DISM /Online /Cleanup-Image /CheckHealthDISM /Online /Cleanup-Image /ScanHealthDISM /Online /Cleanup-Image /RestoreHealth - Now, execute this command for the SFC scan:
sfc /scannow - Finally, restart the computer to apply the changes.
Corrupted files can cause all sorts of damage to your computer and in many cases, they lead to loss of data. A good way to identify and fix any corrupted files is with the help of professional repair software that will scan and repair your computer in just a few minutes.
3. Repair the disk issues
- Press Windows + S to open Search, type Command Prompt in the text field, and then click on Run as administrator.
- Click Yes in the UAC prompt.
- Paste the following Check Disk command and hit Enter:
chkdsk /r - If prompted to schedule the scan, press Y, hit Enter, and then reboot the PC.
Often, due to bad sectors or disk corruption, you encounter the SHARED_RESOURCE_CONV_ERROR BSOD on Windows 11. In this case, running Check Disk will repair all disk issues and get things up and running!
4. Scan the PC for malware and virus
- Press Windows + S to open Search, type Windows Security, and click on the relevant result.
- Click on Virus & threat protection.
- Click on Scan options.
- Now, choose Full scan and then click on Scan now.
- Wait for the built-in antivirus to identify and eliminate any threats.
If Windows Security can’t find any threats, I recommend you get a top-rated antivirus solution and scan for malware. These often prove more effective at the job!
5. Run Windows Memory Diagnostic
- Press Windows + R to open Run, type mdsched.exe in the text field, and hit Enter.
- Click on Restart now and check for problems and let the utility identify and repair any trivial issues for the RAM.
If the built-in Windows Memory Diagnostic can’t find any issues, you can go with a more advanced tool like MemTest86. It runs a wide array of tests on the RAM and identifies even the most intricate of the issues. For this reason, MemTest86 takes 4-8 hours to complete. So, it’s best you let it run overnight!
6. Increase the virtual memory
- Press Windows + S to open Search, type View Advanced System Settings, and click on the relevant result.
- In the Advanced tab, click the Settings button under Performance.
- Again, go to the Advanced tab, and click on Change under Virtual memory.
- Untick the checkbox for Automatically manage paging file size for all drives at the top, and then choose Custom size.
- Now, based on the available physical RAM, fill out the fields underneath (screenshot is from a PC with 4 GB RAM):
- Initial size: 1.5 x Available RAM x 1024
- Maximum size: 3 x Available RAM x 1024
- Once done, click Set and then OK on all windows to save the changes.
If you are getting the SHARED_RESOURCE_CONV_ERROR BSOD in Windows 10 due to low memory issues, a viable solution is to increase the virtual memory without having to spend on physical RAM modules. Although, when it comes to performance, virtual memory is no match for physical memory!
7. Create a new user profile
- Press Windows + R to open Run, type netplwiz in the text field, and hit Enter.
- Click the Add button.
- Select the Sign in without a Microsoft account option.
- Click on Local account.
- Now, enter a username and password (not mandatory for local accounts) for the new account, click Next and then on Finish.
- Once done, select the new account from the list, and click on Properties.
- Head to the Group Membership tab, choose Administrator, and click OK to save the changes.
- Finally, sign into the new profile, and verify whether the BSOD is fixed. If it is, transfer all files to the new account using an external USB drive. As for the apps, you can always have programs available to all users.
One of these solutions should have helped fix SHARED_RESOURCE_CONV_ERROR. In case the BSOD persists, reset the PC to factory defaults to get rid of it for good!
While you are here, discover some quick tips to make your PC faster than ever.
For any queries or to share which fix worked for you, drop a comment below.


User forum
0 messages