Fix:2100 Detection Error on Storage Device (M.2)
Everything you need to get your drive working again

You may get the 2100 detection error on the storage device M2 when trying to turn on your machine.
This is a common SSD error and can occur due to a faulty SSD or the improper installation of the drive in the M.2 slot.
Follow the steps below to fix it fast:
How can I fix the 2100 detection error on the storage device (M.2)?
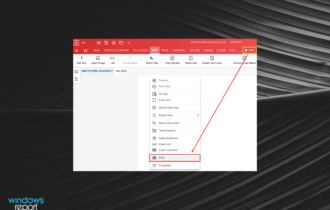
1. Run Hardware Scan
- If you are using a Lenovo laptop, run a hardware scan to identify any issues with the SSD or any other system component.
- Launch the Lenovo Vantage software on your system.
- Click on Health and Support option.
- Scroll down and click on Run a Hardware Scan.

- Click on the Run Quick Tests option.

- Lenovo Vantage will execute the hardware scan. Wait for the test to conclude.
- On the result page, scroll down to the Storage section.
- If your SSD has passed the test with a green checkmark, then the issue is not with your SSD.

- Check if any other major component has failed the test.
2. Check if the SSD is seated firmly
Another reason why the SSD error 2100 can occur is if the SSD wasn’t seated firmly in the M.2 slot. The SSD requires a screw to be seated firmly in the slot. However, the SSD manufacturers don’t offer any screw with the SSD.
If you haven’t properly screwed the SSD to the slot or if it wasn’t pushed down, the system may have difficulty accessing the drive resulting in this error. Make sure you open the back panel and remove the SSD.
Then reinsert the SSD into the slot and make sure it is properly placed and screwed. Restart the computer and check for any improvements.
3. Contact Support

If the SSD error 2100 started to occur after upgrading your Windows version or BIOS, contact Lenovo support or the SSD manufacturer if you installed the SSD.
The company should be able to replace the faulty drive with a new drive. You can also request data recovery in case your SSD is bricked and you cannot recover any data.
We can now conclude this detailed guide on how to fix the 2100 detection error on the storage device (M.2). The issue should now be gone for good, provided you follow our instructions.
Similarly, if SSD is showing RAW file system, check our detailed guide to fix it.
Were you able to fix this issue? Feel free to let us know in the comments below.
Read our disclosure page to find out how can you help Windows Report sustain the editorial team. Read more


Improve this guide


User forum
0 messages