Fix: Stutter in games caused by Diagnostics Policy Service
Key notes
- The Diagnostics Policy Service can cause game stuttering that will ruin your experience.
- The first thing you should get rid of the stuttering is updating your GPU drivers.
- You should also try disabling the Diagnostics Policy Service for an easy fix.
- Other solutions that you could try are updating your Windows or installing a Game booster app.

Stuttering in your game can be caused by many things, and sometimes cause for stuttering is Diagnostics Policy Service.
If you’re experiencing any stuttering caused by this service, you might want to have a closer look at our solution.
According to users, stuttering appears at every minute while playing video games on Windows 10, and stutters can sometimes be barely noticeable and sometimes can last more than half a second.
Of course, this kind of stuttering is unacceptable while playing your favorite video game.
The main cause of this stuttering problem is System Resource Usage Monitor of Diagnostics Policy Service, or Energy Estimation Provider (eeprov.dll) if you want to be more specific.
It seems that this application is collecting information about energy consumption in the background and this is causing the stuttering while playing video games.
How to fix stuttering caused by Diagnostics Policy Service?
- Install the latest NVIDIA drivers
- Disable the Diagnostic Policy Service
- Update Windows
- Install a game booster
1. Install the latest NVIDIA drivers

Don’t forget to install the latest GeForce drivers to enhance your gaming experience and run apps faster. NVIDIA regularly rolls out updates to improve game compatibility and fix various issues limiting your gaming experience.
To install the newest drivers, go to NVIDIA’s Geforce support page and simply click on the download button.
NVIDIA will automatically identify your GPU type and install the corresponding drivers.
Update drivers automatically
Constantly having to check for newer drivers for your hardware can be tiresome and tedious, especially when you have no background knowledge and you’re not sure what hardware models you have.
Thankfully, there’s a third-party software that will automatically scan your components for the newest available drivers so you don’t have to do it on your own.
- Download Outbyte Driver Updater.
- Launch it on your PC to find all the problematic drivers.
- Afterward, Click Update & Apply Selected to get new driver versions.

- Restart your PC for the changes to take effect.

Outbyte Driver Updater
Do not let a faulty driver disrupt your gaming experience, use Outbyte Driver Updater to run them without any issues.2. Disable Diagnostics Policy Service
- Press Windows Key + R, type services.msc and press Enter to run it.
- Services window should open.
- Now find Diagnostics Policy Service from the list of services.
- Right-click it and choose Properties.
- In the Startup type section choose Disabled.

- Now check Service status.
- If it’s running make sure that you stop it by pressing the Stop button.
- Click Apply and OK then restart your computer.
This is relatively simple workaround and all that you have to do is to disable Diagnostics Policy Service from Services.
After disabling Diagnostics Policy Service your gaming experience shouldn’t be affected by it anymore. Once again, this is just a workaround, so it may not work for all users.
3. Update Windows
- Go to Settings.
- Then, go to Update & Security.
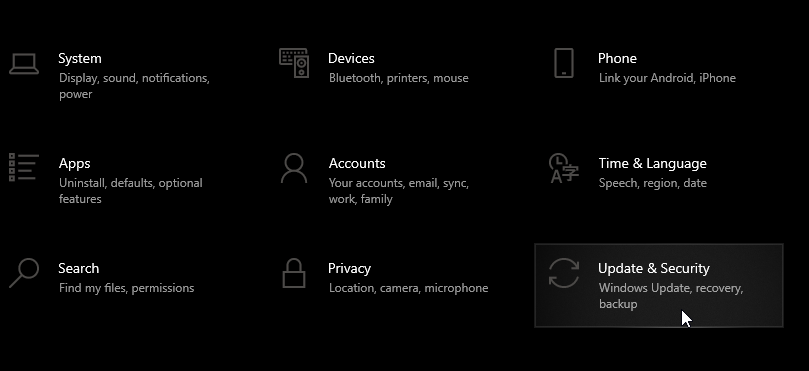
- Then go to Update and select Check for updates.
Make sure that you download the latest Windows 10 updates on your computer to benefit from the latest system improvements.
Microsoft rolls out major system updates on Patch Tuesday to make the OS more stable and reliable.
4. Install a game booster

A powerful game boosting software can be a lifesaver. Game boosters make your games run smoother by helping your PC perform better while you are playing games.
There are plenty of game boosters out there and choosing the right one for your computer is not an easy task.
Windows Report did the homework for you and compiled a list of the best game boosting tools that you can use on your Windows 10 PC.
We recommend you to install a powerful program that temporarily disables unnecessary background processes, features, and programs while playing games.
The tool also optimizes CPU and memory usage to that your computer can direct its resources to powering your gaming sessions.
That’s about it for this article. We hope that these quick solutions helped you fix game stuttering. Let us know which suggestion worked best for you.
Read our disclosure page to find out how can you help Windows Report sustain the editorial team. Read more


Improve this guide


User forum
3 messages