How to Upgrade Windows 7 to Windows 10 on Bootcamp
Try our recommendations to upgrade to Windows 10 easily
3 min. read
Updated on
Read our disclosure page to find out how can you help Windows Report sustain the editorial team Read more
Key notes
- Before the upgrading process, make sure you meet all the necessary details.
- As a final step, keep in mind that your Mac needs the latest update.
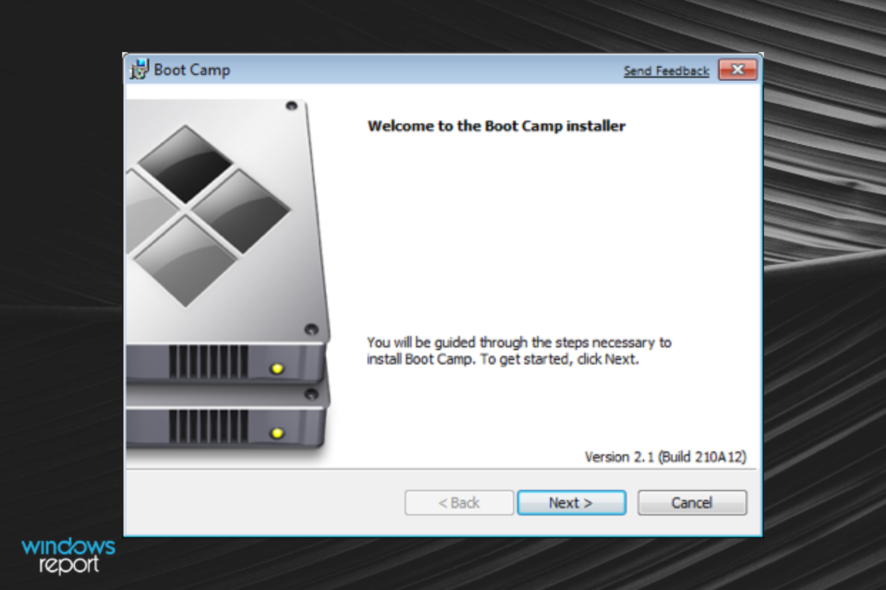
For those of you that are more Mac users than Windows users, Apple has been able to support Windows 10 on Bootcamp for some time now.
Now that Windows 7 is no longer officially supported, you’ll probably need to learn how to upgrade to Windows 10.
Of course, those of you that have purchased the Windows 7 Extended Support can postpone this for another 2 years. However, the vast majority of you will probably choose to upgrade to windows 10.
Thus, we’ve created this guide on how you can upgrade from Windows 7 to Windows 10 in Bootcamp on a Mac.
How do I upgrade from Windows 7 to Windows 10 on Bootcamp?
Before proceeding with the upgrade, you need to make sure you have all the necessary items and made all the preparations:
- A Mac PC
- Windows 7 Service Pack 1
- A 64-bit edition of Windows
- Keep in mind that Bootcamp only allows the installation of 64-bit editions of Windows
- A valid Windows 10 license key
The final step that you need to take before actually upgrading your Windows is to make sure that your version of Mac is updated to the latest version.
In order to do this, follow these steps:
- Boot your Mac into the OS X system
- Log in
- Open the App Store app
- Go to the Updates tab
- Install any available updates

- Boot into Windows
- Launch the Apple Software Update application
- Install any available updates from here

Once you’ve made these preparations, you can proceed with the actual upgrade from Windows 7 to Windows 10.
Simply follow these steps:
- Download the Windows 10 Media Creation tool
- Launch the executable
- Select Upgrade this PC
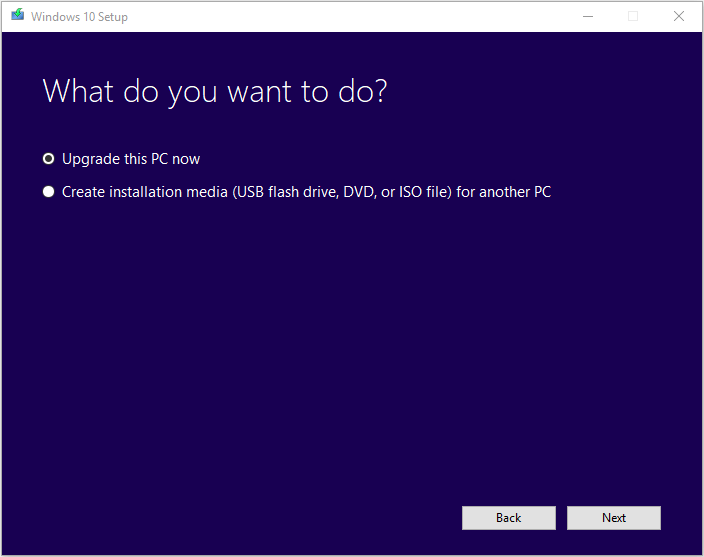
- Follow the on-screen instructions as if it were a regular Windows PC
- Once the upgrade process is finished, run the Apple Software Update application again and install any available updates
By following these steps, you should be able to successfully upgrade your Bootcamp Windows 7 to Windows 10 efficiently.
Also, remember that this process will register your Mac hardware to Microsoft and that any future installs of Windows 10 on that PC will be made much easier.
Remember that since Windows 7 is no longer supported, you won’t be able to benefit from new security updates. This makes upgrading extremely important and should be mandatory to those that want to keep their data safe.
Did you find this article useful? Let us know in the comment section below.
RELATED ARTICLES YOU SHOULD CHECK OUT:

