User Profile Service Failed the Sign-in on Windows 11 [Fix]
Explore the expert-tested ways to fix the error
Key notes
- This issue could be due to improper Windows updates, corrupt registry entries, or corrupt user profiles.
- This guide covers all the available solutions to fix the problem.

If you have encountered a User Profile Service that failed the sign-in on Windows 11 startup screen, it mostly means the user profile files are corrupt or failed to start.
In this guide, we will discuss all the available troubleshooting methods to fix the problem right after talking about the causes. Let’s start!
What causes the user profile service failed the sign in on Windows 11?
- Improper Windows Update – An interrupted or unfinished update or crash could corrupt host files required for UAC to work correctly, and it could cause an error. You need to install all the pending Windows updates to fix it.
- Resizing partitions – While resizing the partition, often, those parts could get corrupted, leading to a corrupted user profile.
- Corrupt Windows registry – If there are incorrect values in the registry or a corrupt registry, then it could cause the issue. To fix it, you need to make some tweaks in Registry Editor.
- Antivirus interference – If an antivirus program is scanning your computer when you log in, it can stop you from using a user profile.
- Improper shutdowns and restarts – If you don’t log out or shut down your computer properly, you may encounter this error. Always shut down your computer using the standard way once your work is complete.
How can I fix the user profile service failing the sign-in on Windows 11?
Before moving to the actual troubleshooting methods, you can try to restart your computer.
1. Check for Windows updates
- Press Windows + I to open the Settings app.
- Go to Windows Update, and click Check for updates.
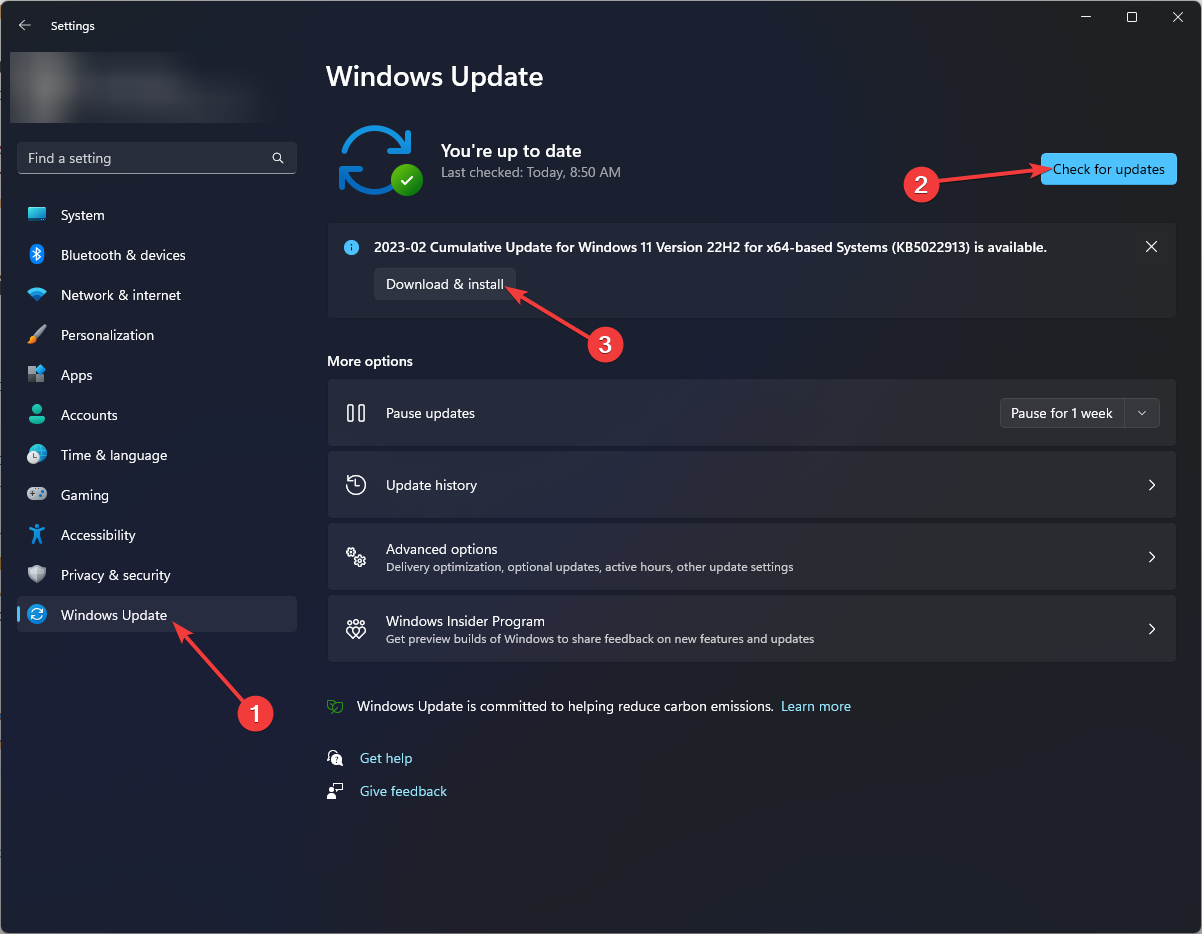
- If available, click Download and Install. While installing the updates, your computer will restart.
2. Replace the NTUSER.DAT file from a working profile
- Press Windows + E to open Windows Explorer.
- Follow this path:
C:\Windows\Users - Now click View, then select Show. Now choose Hidden items.
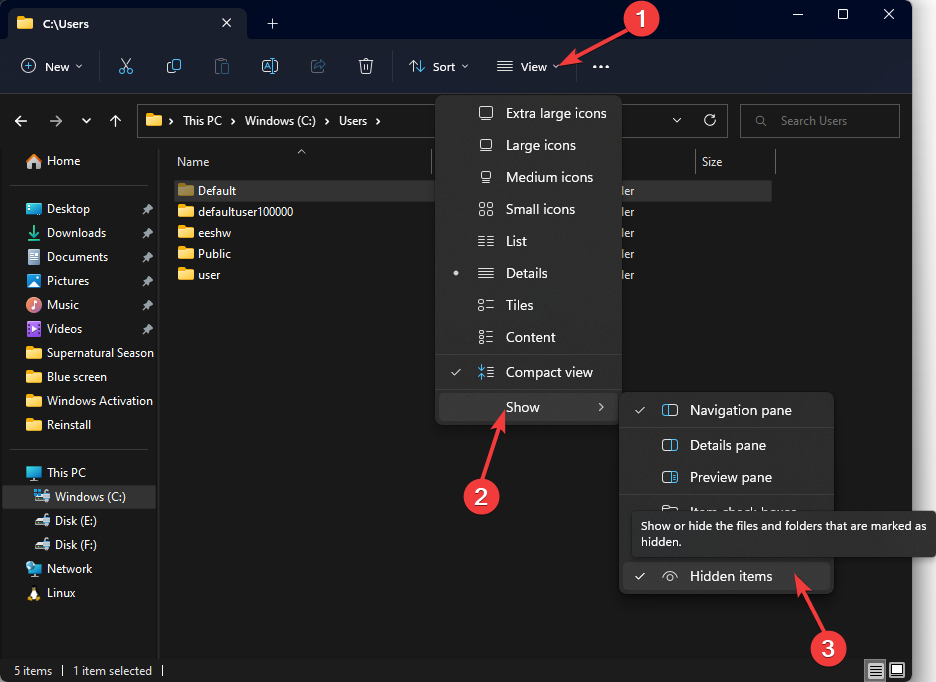
- Locate and double-click the Default folder.
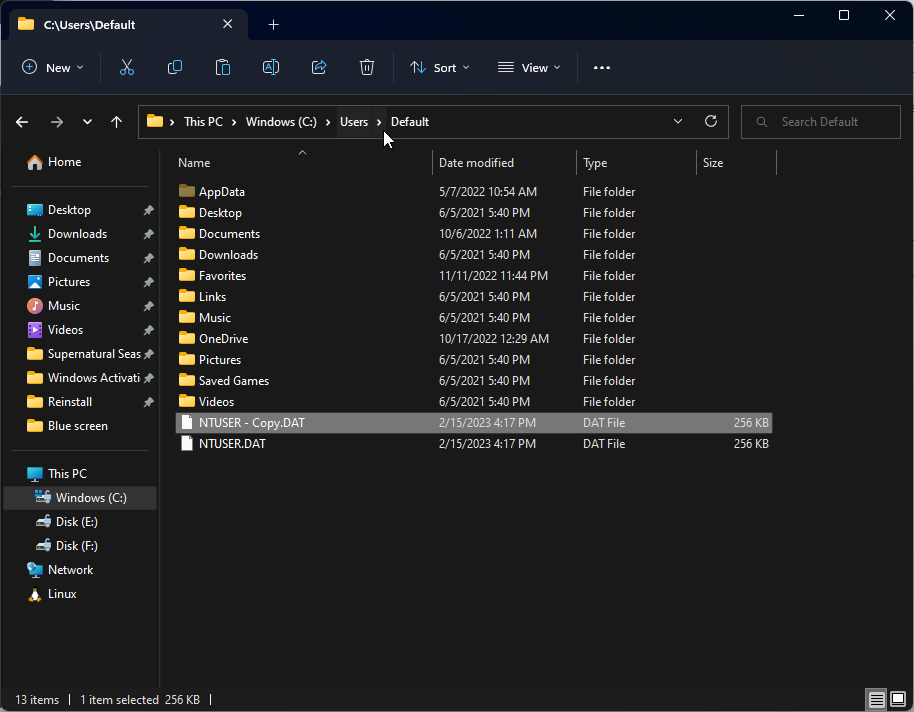
- Rename the NTUSER.DAT file into anything you like.
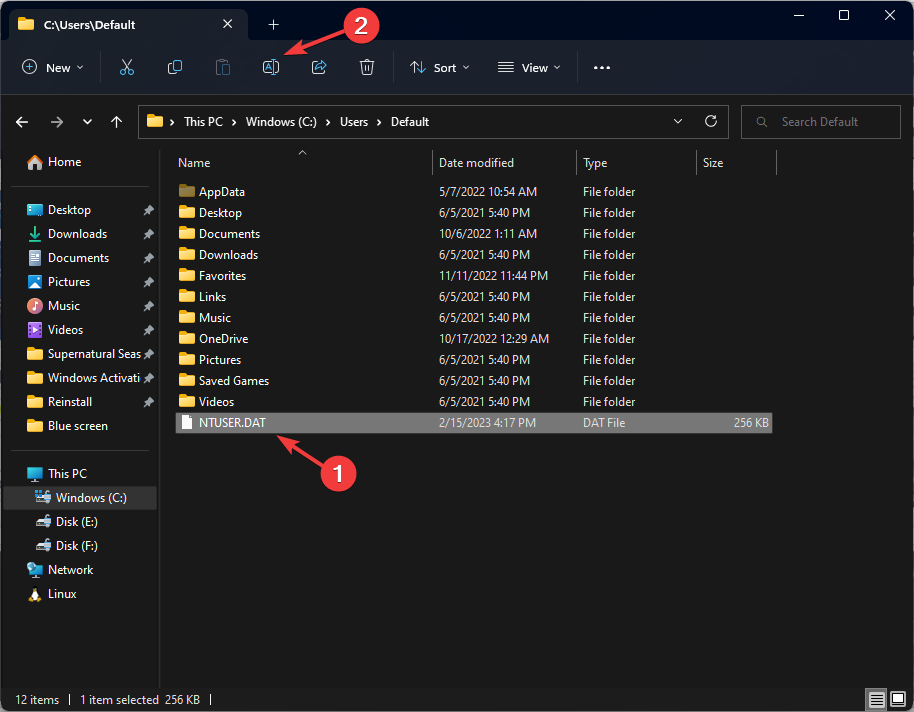
- Next, go to the working user profile folder, and copy the NTUSER.DAT file.

- Now paste it into the Default folder.
3. Delete the local user account causing the issue
- Press Windows + R to open the Run window.
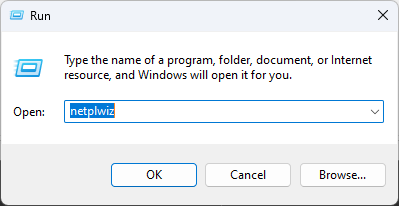
- Type netplwiz and click OK to open the User Accounts window.
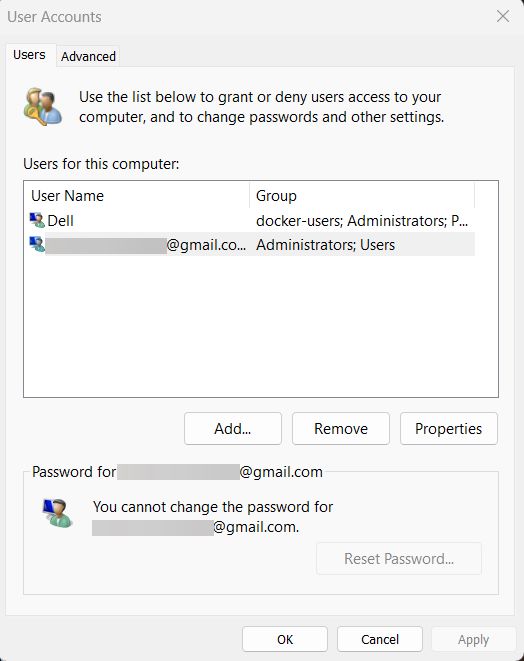
- You will get the User Account Control; enter your username and password if prompted.
- Click the Remove option to delete the user account.
- Click OK to confirm your choice.
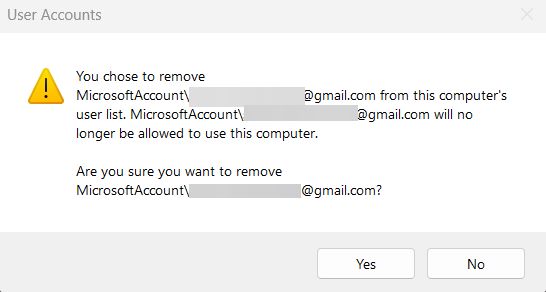
- Press Windows + L to exit the local account logon window. Restart your PC to save the changes.
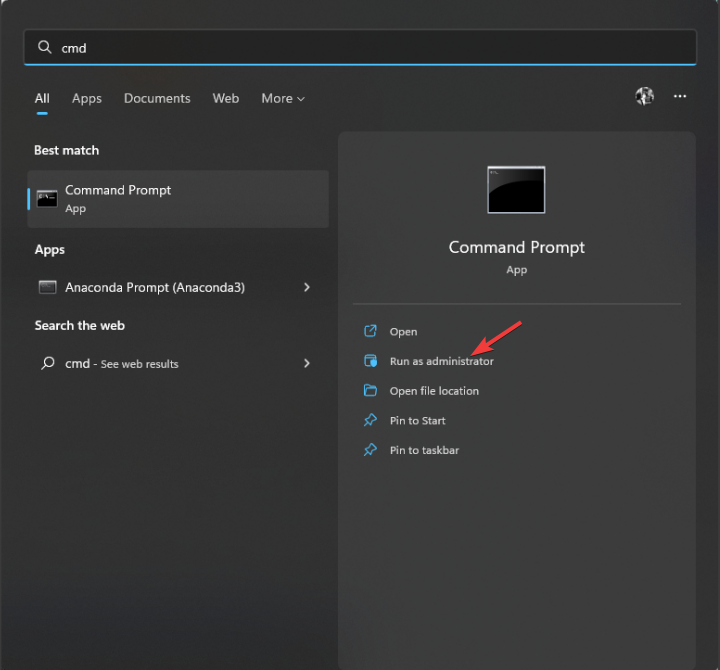
4. Use the Command Prompt
- Press the Windows key, type CMD, and click Run as administrator.
- Copy and paste the following commands one by one and press Enter after every command:
DISM /Online /Cleanup-Image /CheckHealthDISM /Online /Cleanup-Image /ScanHealthDISM /Online /Cleanup-Image /RestoreHealth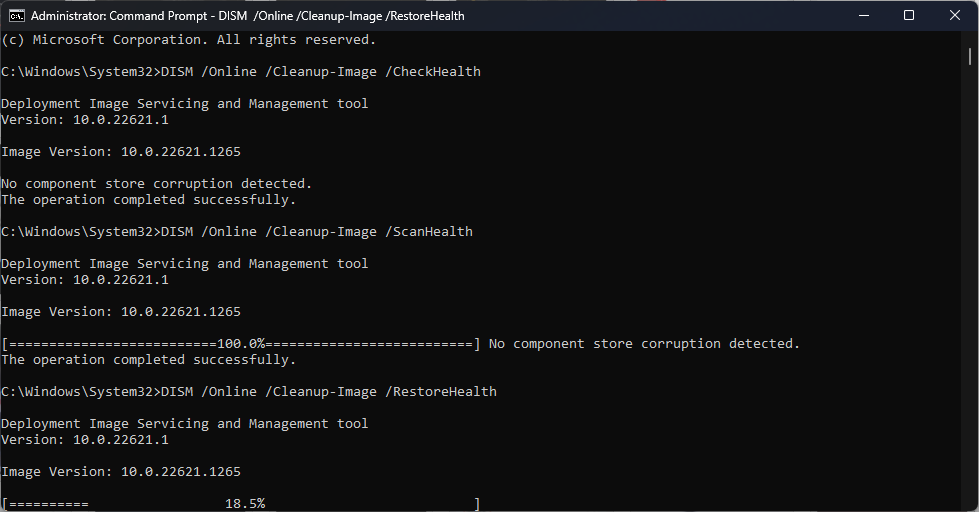
- Type the following command to repair system files and press Enter:
sfc\scannow
- Restart your computer to let the changes take place.
5. Use the Registry Editor in Safe mode
5.1 Enter Safe Mode
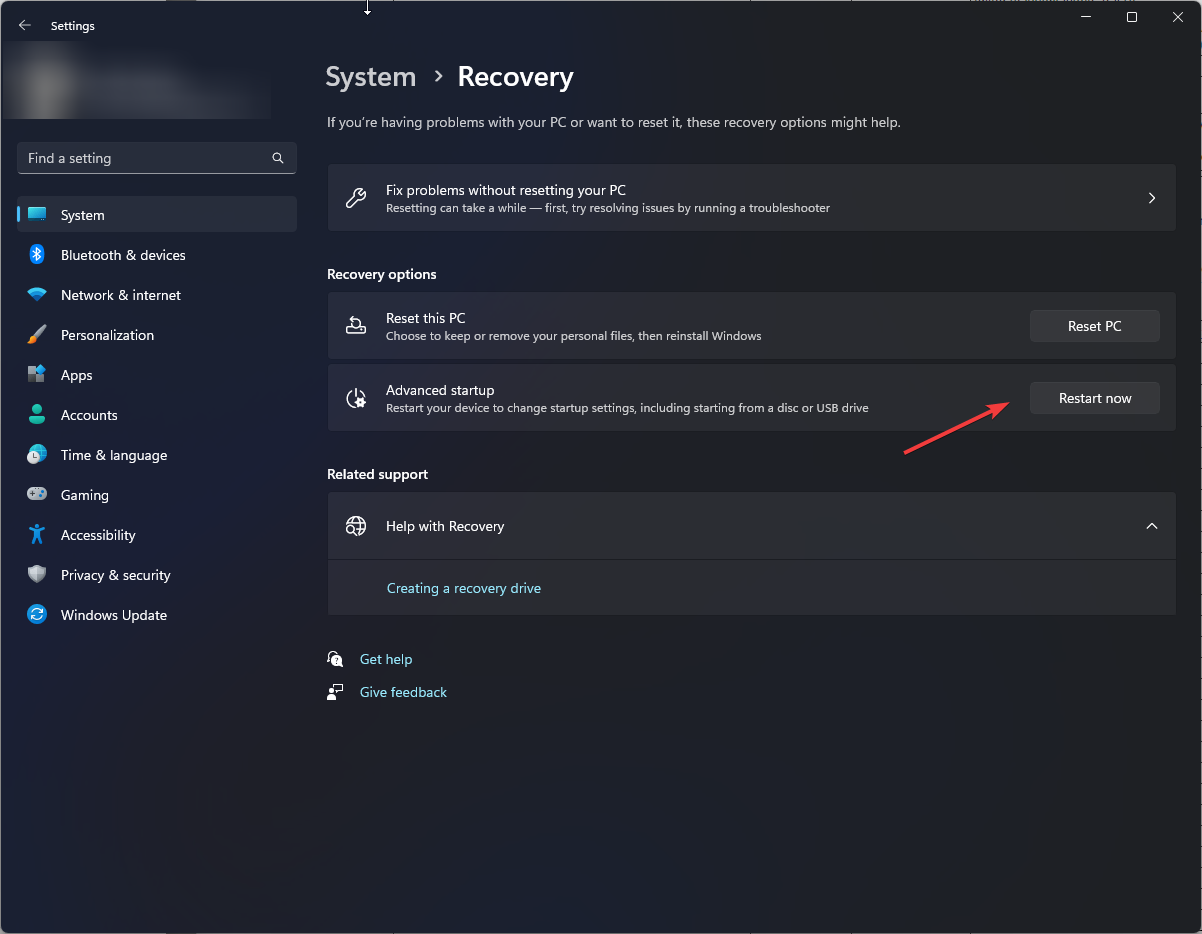
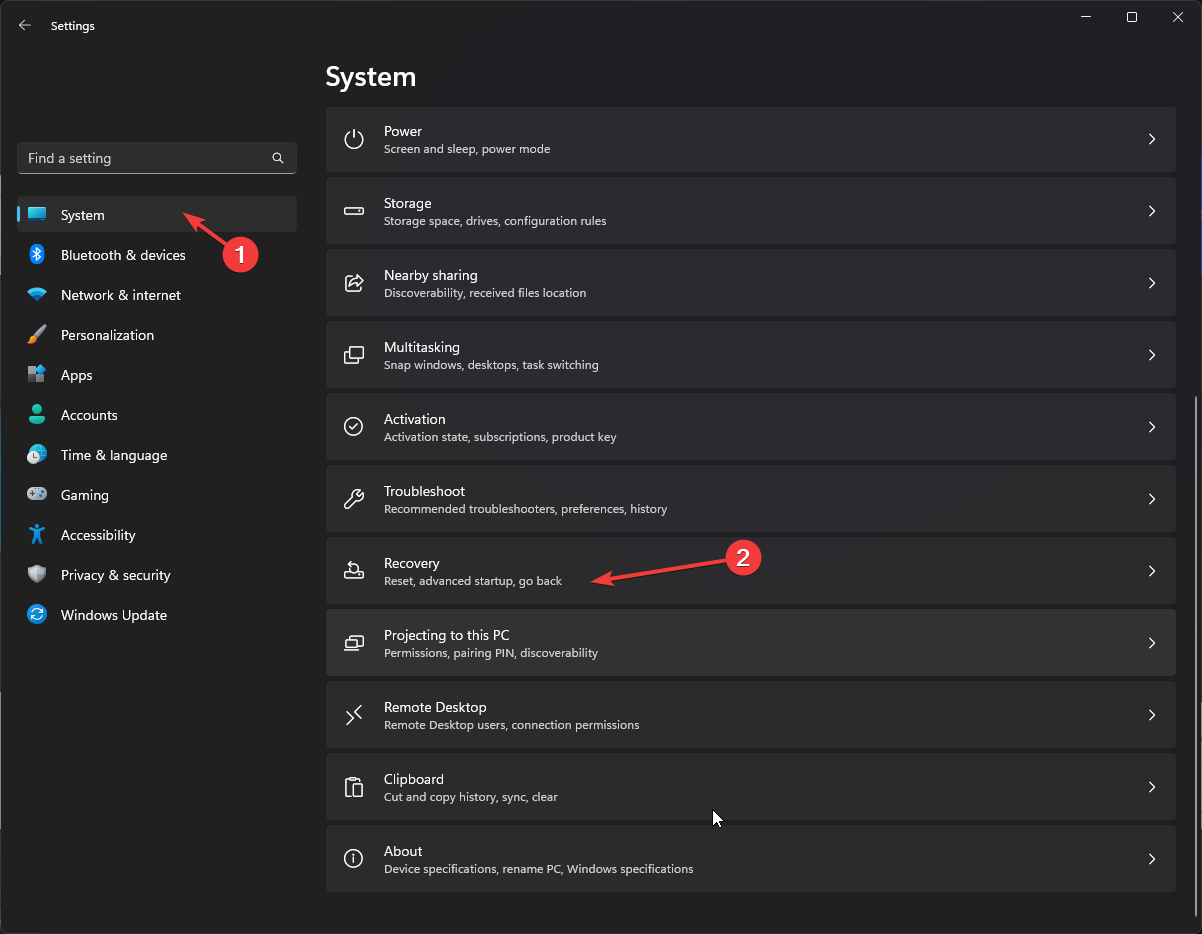
- Press Windows + I to open the Settings app.
- Go to System, and click Recovery.

- Locate Advanced startup, and click Restart now.
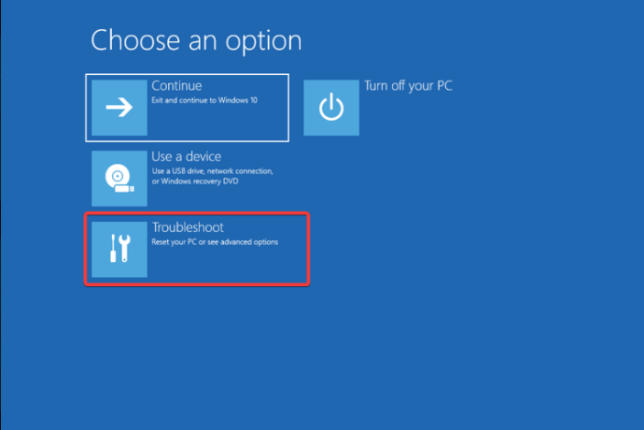
- On the Choose an option screen, click Troubleshoot.
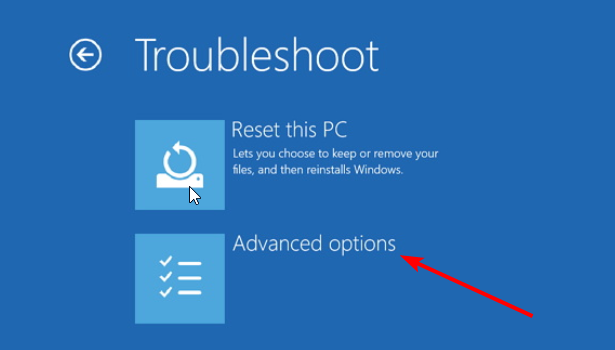
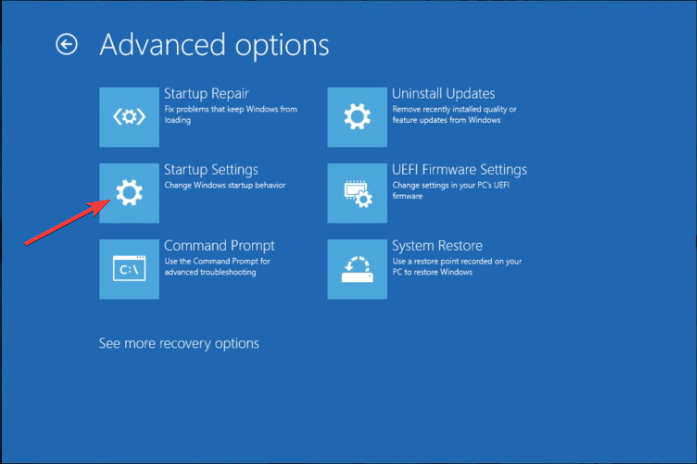
- From the Troubleshoot page, click Advanced options.
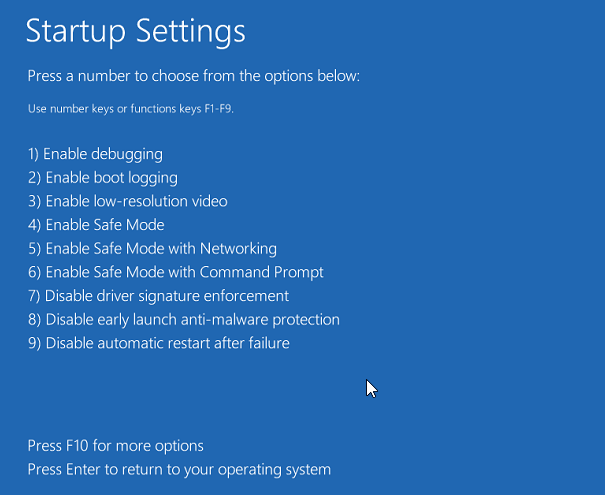
- On the Advanced options screen, choose Startup settings.
- Now select F4 to start your computer in safe mode.
5.2 Tweak Registry settings
- Press Windows + R to open the Run dialog box.

- Type Regedit and click OK to open Registry Editor.
- Navigate to this path:
Computer\HKEY_LOCAL_MACHINE\Software\Microsoft\Windows NT\CurrentVersion\ProfileList - Check the entries under ProfileList for duplicates. The entries will have similar names, and one will have a .bak file. Rename the .bak extension to .ba
- For the next duplicate entry, rename it but add the .bak extension. Remove all the other extensions if duplicate entries are present.

- Now delete the .Ba extension from the entry that you renamed
- Select the entry and double-click the State key from the left pane. Change the Value data from 1 to 0 and click OK.

- Now double-click RefCount and modify the Value data from 0 to 1. Click OK.
- Close the Registry and restart your computer in normal mode.
6. Perform a system restore
- Press the Windows key, type Control Panel, and click Open.

- Select Large icons for View as and click Recovery.

- Click Open System Restore.

- Select Choose a different restore point in the System Restore window and click Next.

- Choose the restore point and click Next.

- Click Finish, and the computer will restart. It will revert all system settings and changes in Registry values.

7. Reset the Windows
- Press Windows + I to open the Settings app.
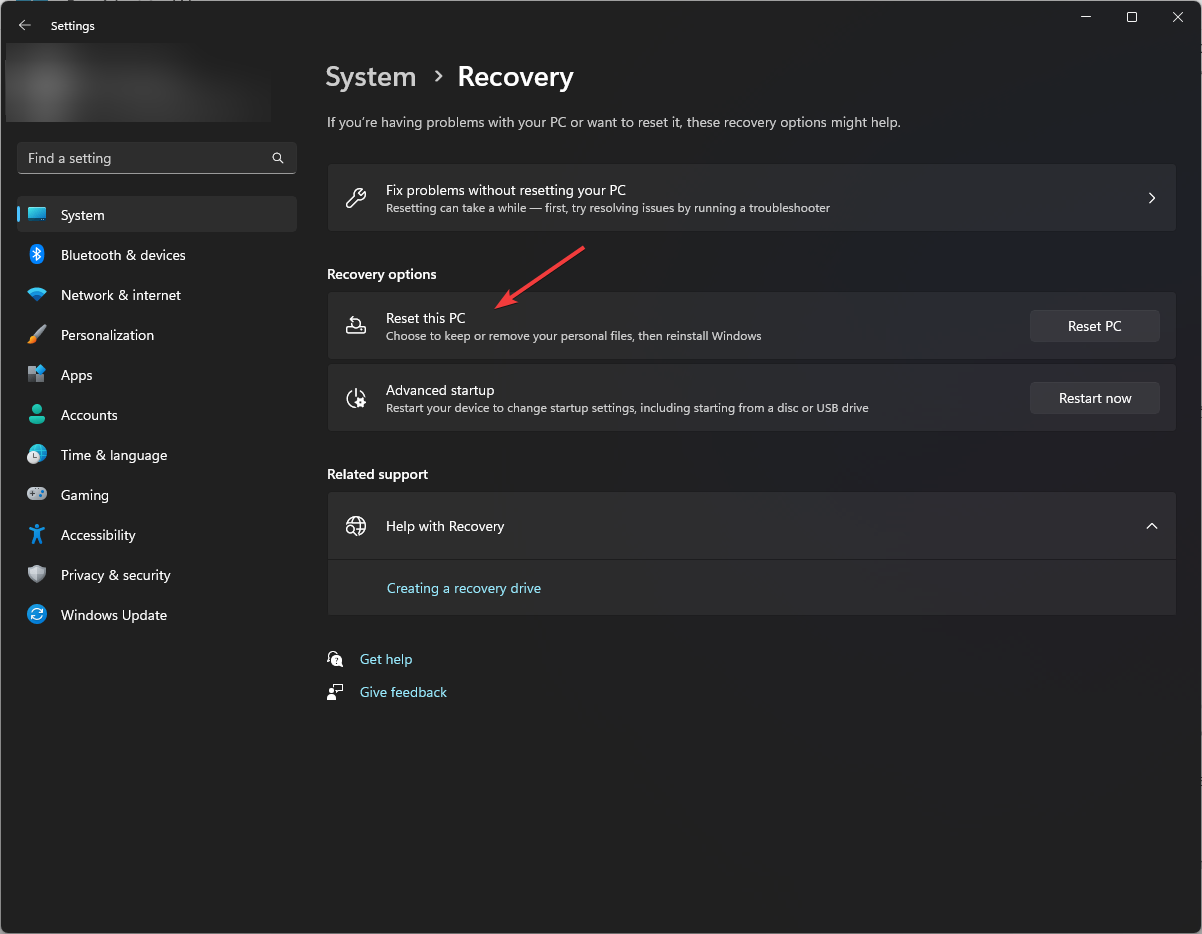
- Go to System, then click Recovery.
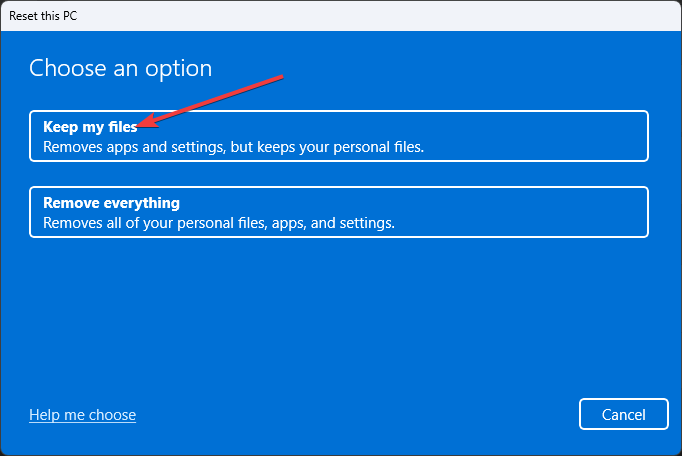
- Now select Reset this PC, and click Reset PC.
- Select Keep my files or Remove everything.
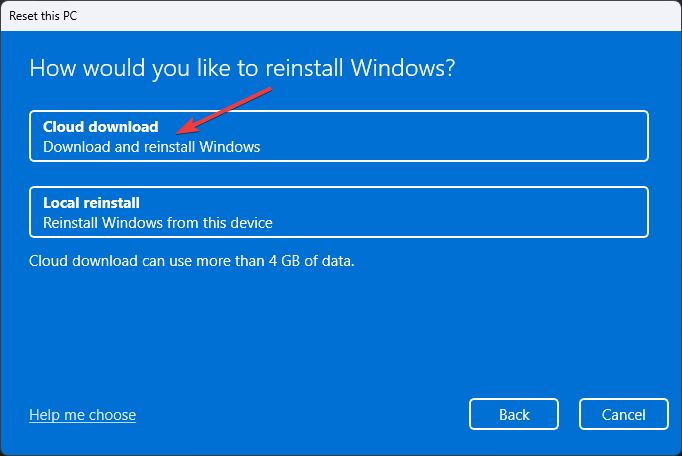
- On the How would you like to reinstall Windows page, select Cloud download.
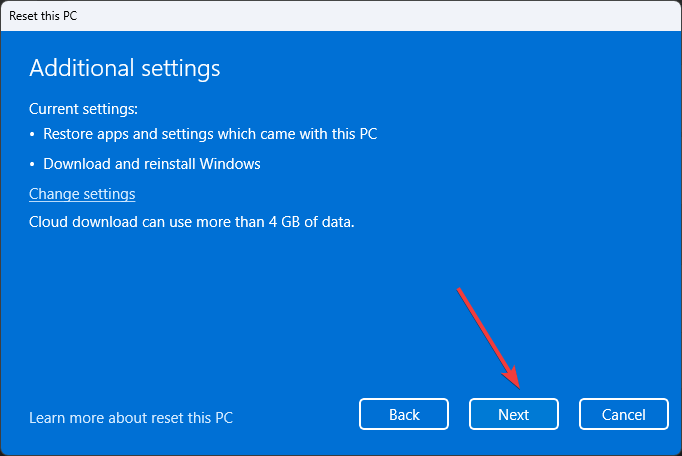
- On the Additional settings page, click Next.
- Wait for the process to complete.
Some of these solutions may also help you out when your user account profile picture fails to update.
These are some of the methods to fix the user profile service’s failed sign-in on Windows 11. Try them and let us know what worked in the comments section below.
Read our disclosure page to find out how can you help Windows Report sustain the editorial team. Read more


Improve this guide


User forum
0 messages