VLAN ID is Missing in Windows 10: How to Fix it
Install the .NET Framework to get things up and running!
3 min. read
Updated on
Read our disclosure page to find out how can you help Windows Report sustain the editorial team Read more
Key notes
- A missing VLAN ID in Windows 10 is usually linked to driver issues or misconfigured settings.
- A quick fix is to install the .NET Framework in Windows.
- You can also manually create a VLAN using a series of commands in PowerShell.
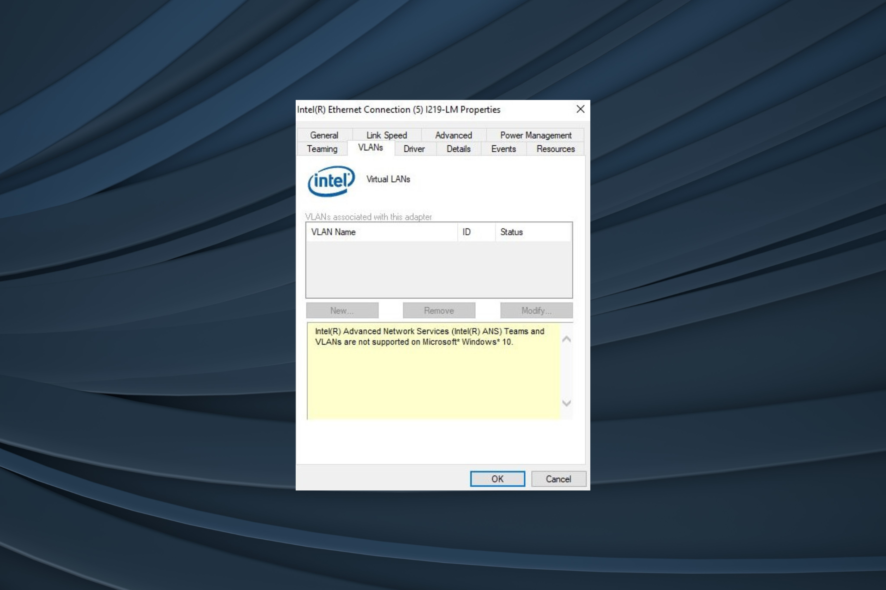
If your VLANs ID, or the tab altogether, is missing in Windows 10, you’ve come to the right place. The problem has been faced by many and is usually a result of outdated drivers, misconfigured network settings, or missing components.
In this quick guide, we’re going to list the troubleshooting steps you need to follow in order to solve things when VLAN ID is missing in Windows 10.
What can I do if the VLAN ID is missing in Windows 10?
1. Make sure .NET Framework 2.0 is installed on your PC
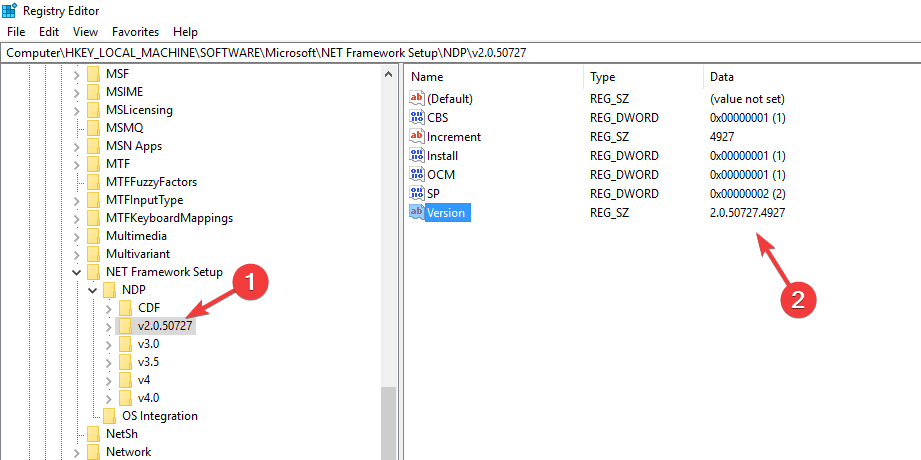
- Press Windows + R to open Run, type regedit, and then press Enter.
- Navigate to the following location inside Registry Editor:
HKEY_LOCAL_MACHINE\SOFTWARE\Microsoft\NET Framework Setup\NDP - Check the subkey values from the right-side panel. If you can see version 2.0 listed, restart the computer and verify whether the problem is not resolved.
A missing .NET Framework often results in issues with the VLAN ID in Windows 10. So, your primary approach should be to verify this and if it indeed is missing, install or activate the framework, as discussed next.
2. Activate .NET Framework 2.0 on Windows 10
- Type in Control Panel in the search bar, and choose the relevant search result.
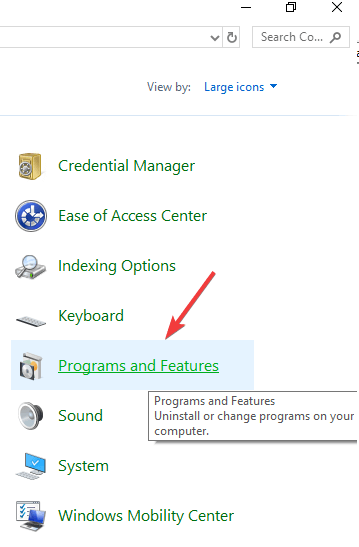
- Choose Large icons from the View by dropdown menu, and select Programs and Features.
- Click on Turn Windows features on or off.
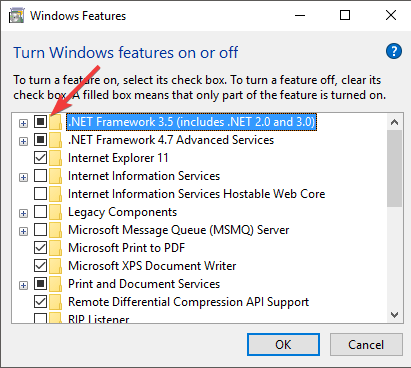
- Check the box next to .NET Framework 3.5 (includes .NET 2.0 and 3.0), and then click OK.
- Windows Update process will start, and it will download the .NET 3.5 files.
- Restart your PC to apply changes.
As stated earlier, installing the .NET Framework will help when VLAN ID is not showing in Windows 10. In case the problem remains unresolved, head to the next solution.
3. Create VLANs using PowerShell (Admin)
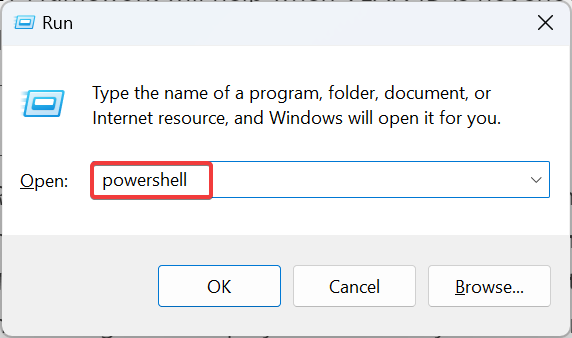
- Press Windows + R to open Run, type powershell, and hit Ctrl + Shift + Enter.
- Click Yes in the UAC prompt.
- Copy and paste this command to your PowerShell window and hit Enter:
Import-Module -Name" C:\ProgramFiles\Intel\WiredNetworking\IntelNetCmdlets\IntelNetCmdlets" - Now, run the following command to get the display the name of your network adapter:
Get-IntelNetAdapter - Execute this command to start the creation of a VLAN:
Add-IntelNetVLAN - Copy the exact name from the previously used Get-IntelNetAdapter command, paste it into the ParentName section, and then press Enter.
That’s it! By now, you would have the missing VLAN ID available in Windows 10 using one of the solutions listed here.
Before you leave, do check some quick tips to increase the Internet speed in Windows.
Please feel free to let us know if this article helped you create VLAN networks by using the comment section found below.

