WDF01000.sys High Latency Fix: 7 Ways to Lower It Down
Expert recommended quick fixes to resolve this common Windows error

If your LatencyMon tool is showing high ISR and DPC routine execution times due to WDF01000.sys (Kernel Mode Driver Framework Runtime), don’t worry.
This guide will walk you through troubleshooting steps to resolve this latency issue and ensure smooth audio performance.
What causes the WDF01000.sys High Latency?
There could be a lot of reasons behind the audio stuttering issue caused by WDF01000.sys, some of which are listed here:
- Outdated drivers: If the drivers installed are not compatible or obsolete, you might encounter problems while recording audio on the computer.
- Missing System files: Sometimes, when the system files are missing, this could cause an issue.
- Incompatible devices: The issue might occur if the device connected to your computer is incompatible.
- Virus or malware infection: Sometimes, when your PC is infected, it could be the reason behind the problem. It is recommended to run a scan using a reliable antivirus tool.
How do I fix WDF01000.sys High Latency?
Before we go into detailed troubleshooting steps, let us try some easy fixes:
- First, check the power plan and optimize it for the best performance.
- Ensure no Windows updates are pending.
- Shut down your PC and check the external peripherals to ensure the connections are proper. Then, restart and check for the error.
- Ensure you have a proper internet connection.
- Check for BIOS version upgrade.
- Go back to the Last known good configuration using System Restore.
- Try using Windows troubleshooter to resolve the issue.
If you tried all the quick fixes, but the issue persists, try these troubleshooting steps:
1. Use Device Manager to disable High Precision event timer
- Press Windows + R to open the Run console.
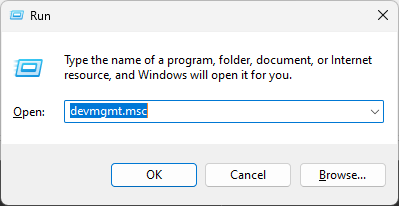
- Type devmgmt.msc and hit Enter to open Device Manager.
- Go to System devices and expand it. Look for a High precision event timer and right-click on it. Choose Disable device.

2. Use Command Prompt for system checks
- Press the Windows key and type CMD and click Run as administrator.
- Copy and paste the command mentioned and press Enter after every command.
cleanmgr /sageset:1cleanmgr /sagerun:1
- Type the following command and press Enter.
sfc/scannow - Copy and paste the following commands and press Enter after every command:
DISM /Online /Cleanup-Image /CheckHealthDISM /Online /Cleanup-Image /ScanHealthDISM /Online /Cleanup-Image /RestoreHealth
- Type the command and press Enter
chkdsk c: /b - Restart your PC.
3. Update Drivers
3.1 Use Device Manager
- Press Windows + R to open the Run console.
- Type devmgmt.msc and hit Enter to open Device Manager.
- Go to Sound, video and game controllers and click on it to Expand.
- Look for the Realtek Audio device, right-click on it and select Uninstall device.

- Now download Realtek High-Definition (HD) Audio Driver.
- Follow the on-screen instructions to reinstall the driver.
3.2 Use third-party driver updater
- Download and install PC HelpSoft Driver Updater.
- Launch it and click on Scan.
- Once the scan is complete, select the driver, and click on Update.
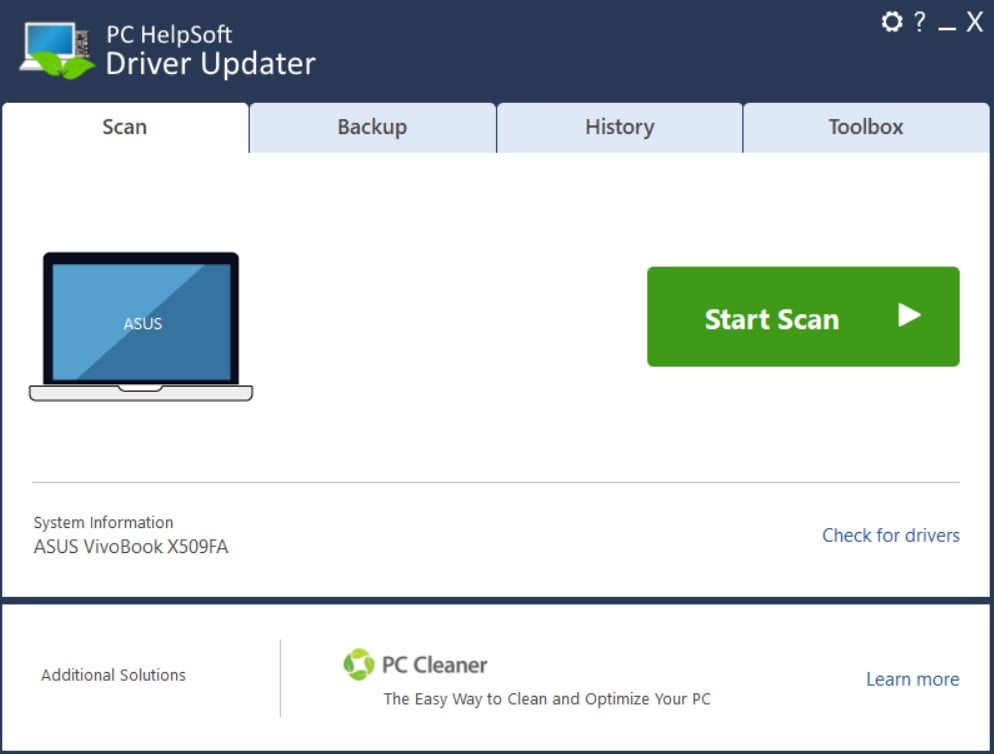
- The driver updater will download the driver. Once done, click Install.
- Now, follow the on-screen instructions to complete.
4. Re-Register the Wdf01000.Sys File
- Press the Windows key and type CMD and click Run as administrator.
- Type the following command and press Enter:
regsvr32 C:\Windows\system32\drivers\wdf01000.sys
- Restart your computer.
5. Reset Windows
- Press Windows + I to get Settings.
- Click System, then Recovery.

- Now Click Reset this PC.

- Under Choose an option, select Keep my files.

- Now, click Cloud Download under How would you like to reinstall Windows.

- Follow the on-screen instructions to complete the process. Your computer may restart several times.
6. Verify your hardware
If possible, test your audio setup with different hardware to rule out hardware-specific issues.
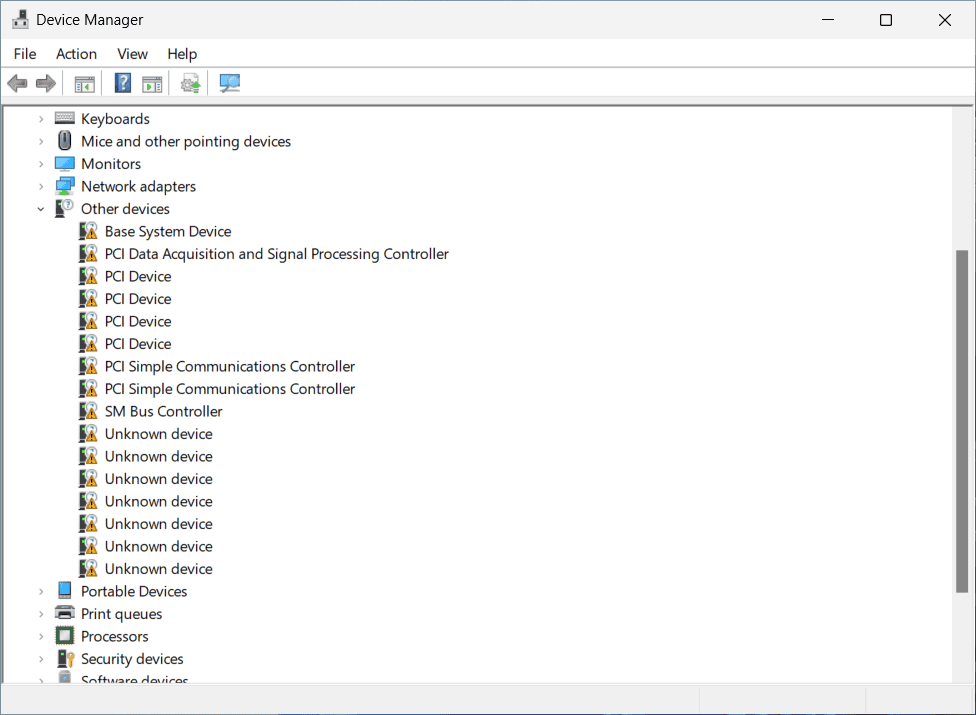
Also, check for device manager conflicts. Look for any devices with warning symbols in Device Manager and address any conflicts.
7. Adjust interrupt moderation settings
- Open Device Manager.
- Expand Network adapters and right-click your network adapter.

- Select Properties, go to the Advanced tab.

- Look for Interrupt Moderation or Interrupt Moderation Rate.Set it to Disabled or Off.

Some network adapters have Interrupt Moderation settings that can impact system latency. Adjusting these settings may help.
So these are the methods to fix WDF01000.sys latency issues. Try them and get rid of audio-cracking noises when using audio equipment.
If you have any more questions or concerns about latency, feel free to mention them in the comments below.
Read our disclosure page to find out how can you help Windows Report sustain the editorial team. Read more


Improve this guide


User forum
0 messages