How to Quickly Change Wi-Fi Priority on Windows 11
Shave some time off of your tasks by prioritizing your connection
Key notes
- If you enjoy uninterrupted and fast Internet connection, prioritizing your Wi-Fi may be of interest to you.
- Instead of settling on the default network, you can tweak a few settings and choose the best as per your needs.
- Keep reading as we explore the different ways you can change the connection priority.

Most people never pay attention to the priority of their network connection as long as their Internet is working. Although it isn’t all that critical of a feature, it is one that can increase your productivity and overall time spent working in your home or office.
It’s one of the few things you may pick up when adopting a new operating that makes your time using the OS much easier and much more convenient for you, and the below guide helps explain how.
Does the PC prioritize Ethernet or Wi-Fi?
In most cases, Windows will automatically choose the best network to connect to. Usually, its priority by default will be Ethernet if it’s available because it’s usually faster than Wi-Fi. If only wireless connections are available, it will select the strongest.
However, sometimes, you may want to force a Wi-Fi connection over an Ethernet connection or use both Ethernet and Wi-Fi simultaneously.
How do I change the priority of my Wi-Fi in Windows 11?
1. By manually selecting a Wi-Fi connection
You can manually prioritize your Wi-Fi by clicking on the Wi-Fi icon on your taskbar. A list of available network connections in order of strength will appear. Here, you can click on your preferred Wi-Fi network and connect to it.
The only downside is that it’s not a reliable method because when you turn off and turn back on your PC, this setting will not hold. It will change to the strongest connection, and you’ll have to keep changing it every time.
2. By using the Settings app
- Hit the Windows key and click on Settings.

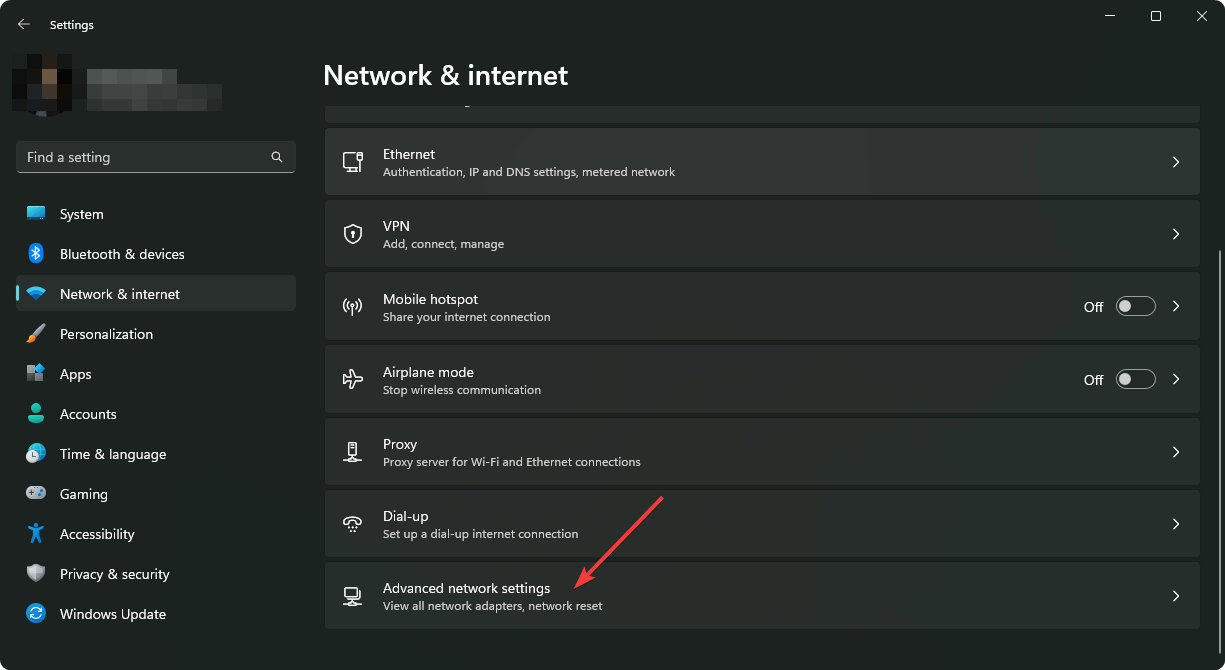
- Select Network & internet and click on Advanced network settings.
- Scroll down to Related settings and click on More network adapter options.

- Right-click on the Wi-Fi adapter you wish to change priority and select Properties.

- Next, click on Internet Protocol Version 4 (TCP/IPv4) or Internet Protocol Version 6 (TCP/IPv6), then select Properties.

- Click on the Advanced button in the next window.

- Uncheck the Automatic metric box then in the Interface metric box, enter 1 or the level of priority you wish to set it to.

- Click on Apply, then OK to save the changes.
3. By using the Control Panel
- Hit the Windows key, type Control Panel in the search bar, and click Open.

- Click on Network and Internet.

- Select Network Sharing Center, then click on Change adapter settings.

- Locate the Network adapter you’d like to change network priority, right-click on it, and select Properties.
- Next, click on Internet Protocol Version 4 (TCP/IPv4) or Internet Protocol Version 6 (TCP/IPv6), then select Properties.
- Click on the Advanced button in the next window.
- Uncheck the Automatic metric box then, in the Interface metric box, enter 1 or the level of priority you wish to set it to.
- Click on Apply, then OK to save the changes.
4. By using the Command Prompt
- Hit the Windows key, type cmd in the search bar, and click Run as administrator.

- Type in the following command to list available Wi-Fi connections, then hit Enter:
netsh wlan show profiles - Take note of the Wi-Fi name in 3 above, then type the following command. Remember to replace profile name with your actual Wi-Fi name, InterfaceName with Wi-Fi or Ethernet where applicable and # with the priority number:
netsh wlan set profileorder name="profile name" interface="InterfaceName" priority=#
5. By using the PowerShell command
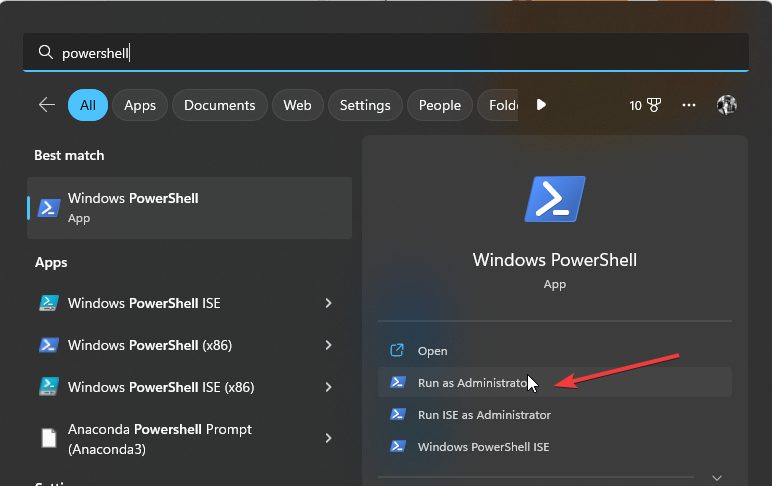
- Hit the Windows key, type PowerShell in the search bar, and select Run as administrator.
- Type the following command and hit Enter to get a list of all network adapters available:
Get-NetIPInterface - Note down the corresponding IfIndex value of the connection you wish to prioritize. Next, run the following command and remember to replace IFIndex with the one noted and IFMetric with the priority level you wish to set:
Set-NetIPInterface -InterfaceIndex [IFIndex] -InterfaceMetric [IFMetric]
How do I set QoS for gaming?
QoS is a very powerful tool that can be used to optimize gaming performance. You can use it to ensure that important traffic, like gaming, gets priority over other types of data or when there’s a network congestion issue.
The most common method to achieve this is through your router. You can use QoS to tell the router or modem which applications and services are more important than others by setting priorities for each application and/or device connected to it.
The only limitation is that it applies to newer routers, and even then, you may still be unable to prioritize on an application basis.
If you’re not ready to upgrade your router, you’ll be happy to know that there exists bandwidth prioritization software that can help you achieve the same results.
You should now be able to set your Wi-Fi priority in Windows 11 and connect to whatever network you want if you have multiple Wi-Fi connections without any unnecessary drops in connection or interruptions.
If you have any questions, comments, or suggestions, please do not hesitate to leave us a message.
Read our disclosure page to find out how can you help Windows Report sustain the editorial team. Read more


Improve this guide


User forum
0 messages