High Performance Mode Missing on Windows 10 [Fix]
Create the power plan manually to fix this issue on your PC
3 min. read
Updated on
Read our disclosure page to find out how can you help Windows Report sustain the editorial team. Read more
Key notes
- Missing High performance power plan can appear on Dell computers as well as other brands.
- Manually creating a custom plan is the way way to fix this issue on your PC.
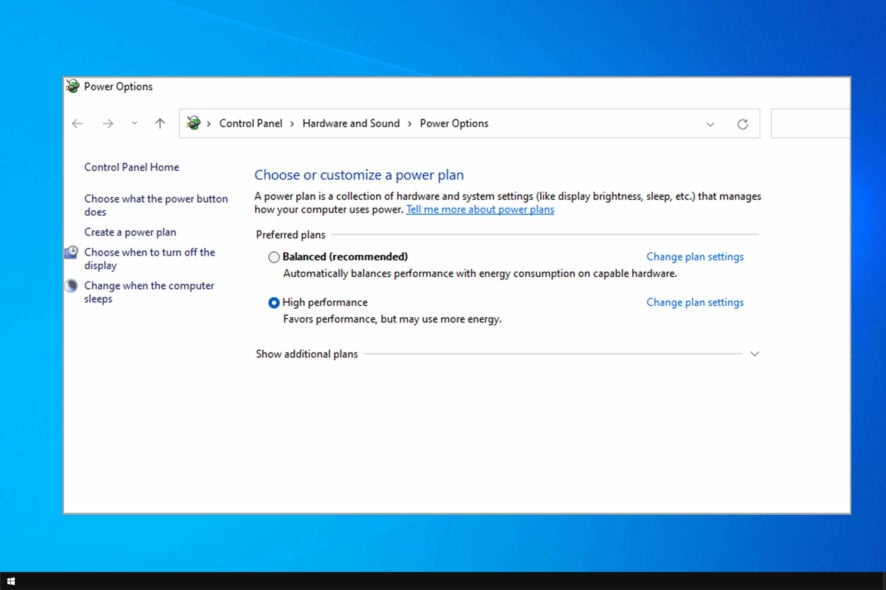
Using a proper power plan is important, but many users reported that high performance mode is missing on Windows 10.
In case you’re not familiar with it, we have a great guide on high performance vs balanced power plan that you should check it.
This can be a problem, but in today’s guide, we will show you how to fix this issue.
Where is my high performance power plan in Windows 10?
This power plan is located in Power Options in Control Panel. You can access it by doing the following:
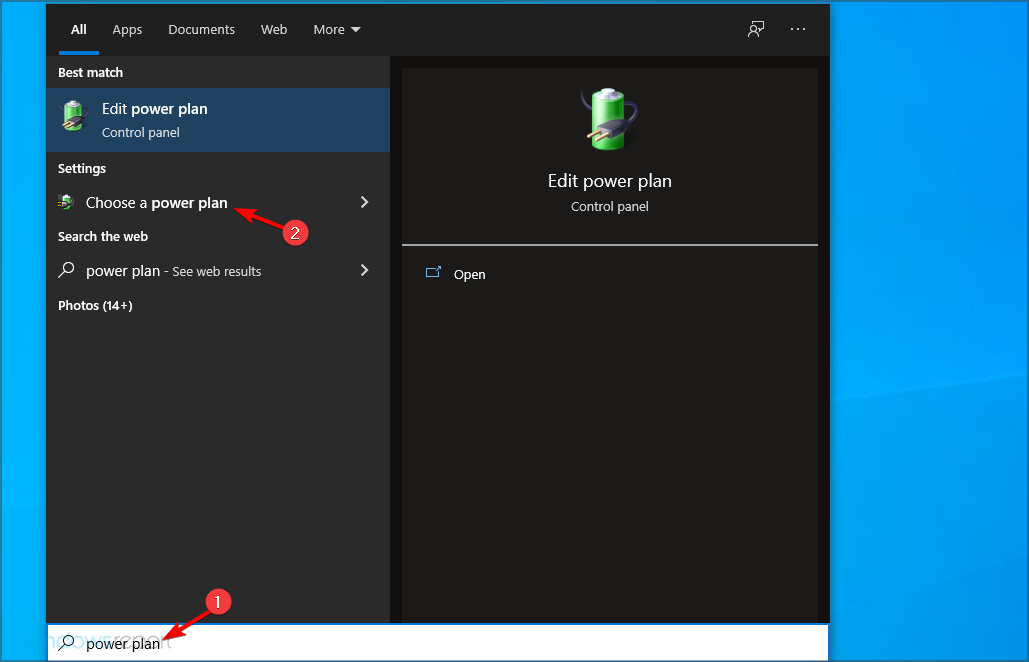
- Press Windows key + S and type power plan. Select Choose a power plan.
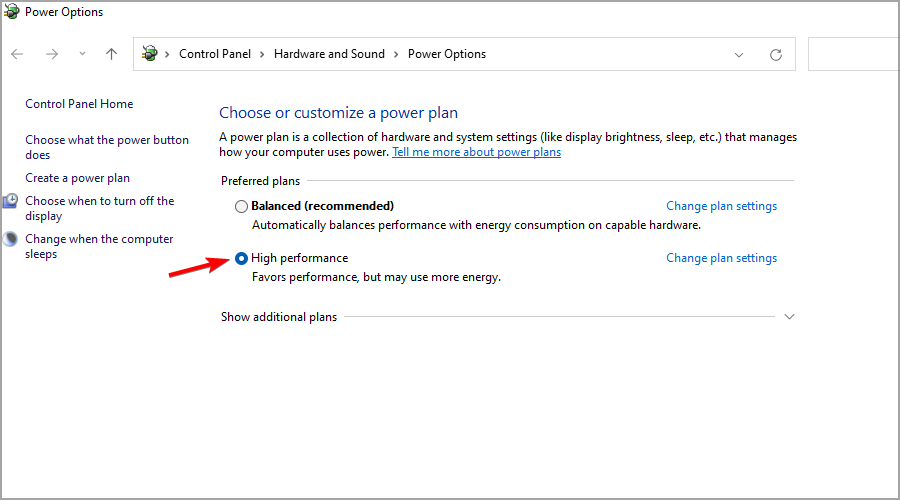
- From there, you should see all available power plans.
- Select High performance plan.
How do I enable missing high performance mode in Windows 10?
1. Add a new High-Performance battery mode
- Press the Windows key + Q hotkey.
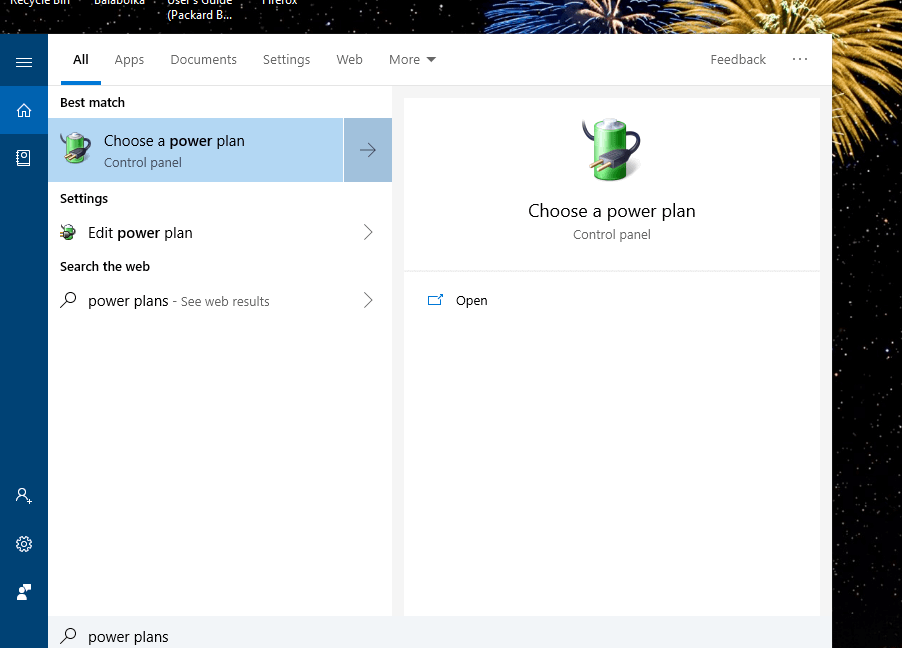
- Enter power plan in Cortana’s search box as shown directly below.
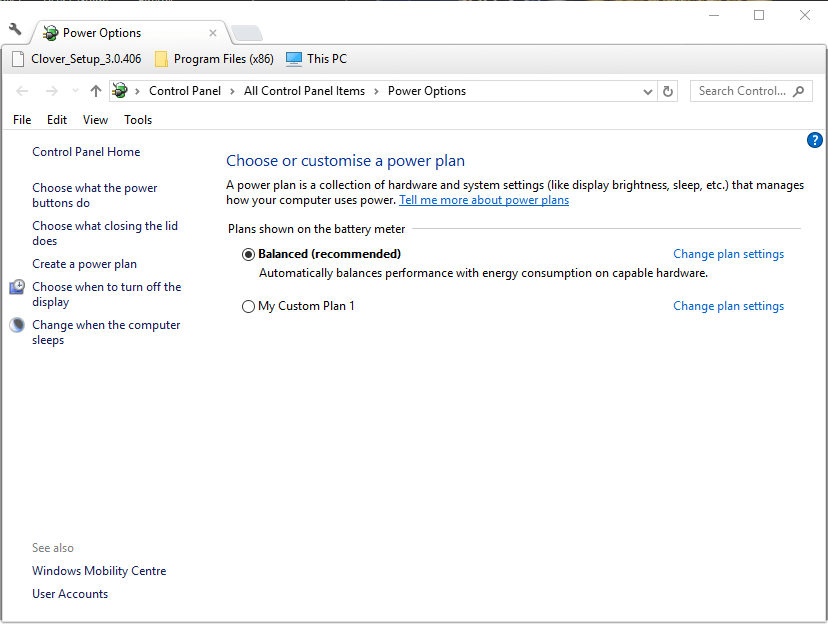
- Then click Choose a power plan to open the Control Panel as shown below.
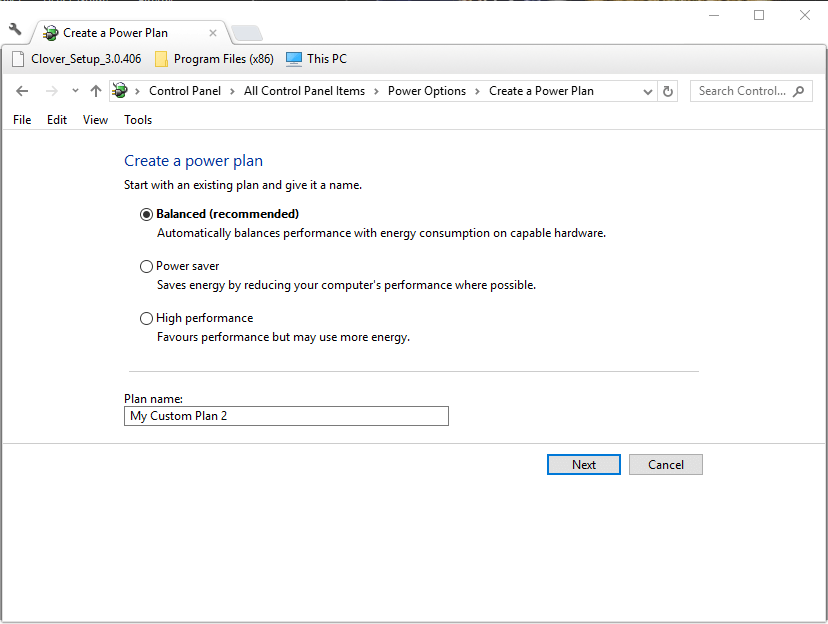
- Click Create a power plan to open the options shown directly below.
- Select the High performance option there.
- Enter a title for the plan in the text box, and click the Next button.
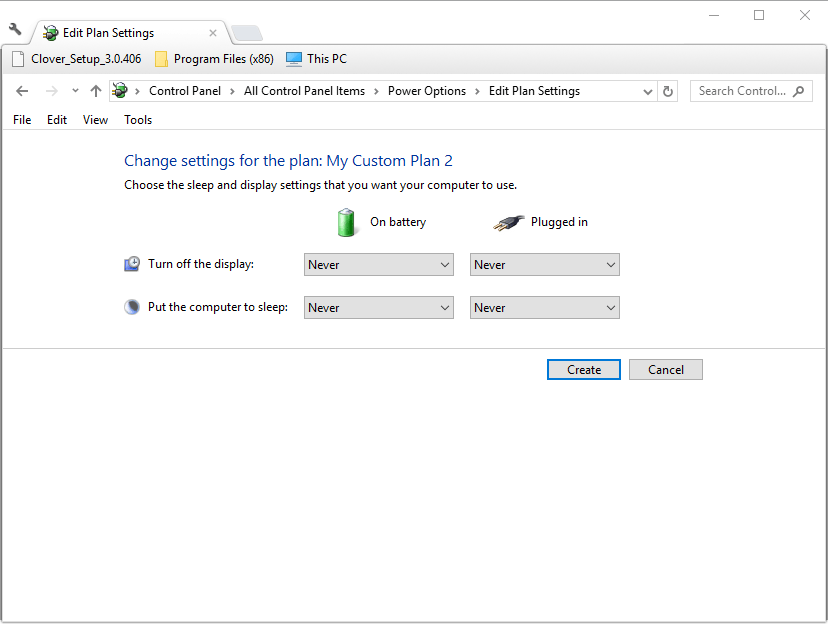
- Then users can adjust the settings for the plan by selecting alternative options on the drop-down menu.
- Click the Create button to add the new plan.
- After that, select the new custom plan within the Power Options Control Panel applet.
This is a bit complex solution, but it can help you if high performance mode is missing on Windows 10.
2. Adjust Power Settings With the Power Mode Slider
- However, users can also select a high-performance mode with the Power mode slider bar. To adjust power settings with that bar, enter power plan in Cortana’s search box.
- Select Choose a power plan to open the Power Options Control Panel applet.
- Users can’t adjust the Power mode slider bar without the Balanced option selected. So, select the Balanced radio button if it’s not already selected.
- Then close the Control Panel.
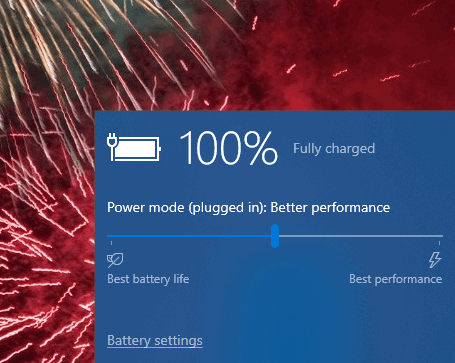
- Double-click the battery icon on the Windows 10 system tray to open the Power mode bar shown directly below.
- Now users can drag that bar to the far right to select a high performance mode.
As you can see, missing high performance mode on Windows 10 isn’t a major issue, and it can be fixed with these simple solutions.
If you need even more power, you might be interested in the ultimate performance power plan. We have a great guide on it, so be sure to visit it.
Did you use a different solution? If so, let us know in the comments below.



User forum
0 messages