Laptop Keeps Changing Time Zones? 7 Quick Fixes
Presence of malware may force the time to keep changing on your PC

If your laptop keeps changing time zones, keep reading.
The issue usually stems from automatic settings, syncing errors, or even hardware problems. We’ll walk you through how to get your time zone set correctly and keep it that way.
How to fix your Windows time zone when it keeps changing
1. Disable automatic time zone
- Right-click on the system clock on your taskbar.
- Select Adjust date/time.

- Toggle the switch for Set time zone automatically backward to deactivate it.
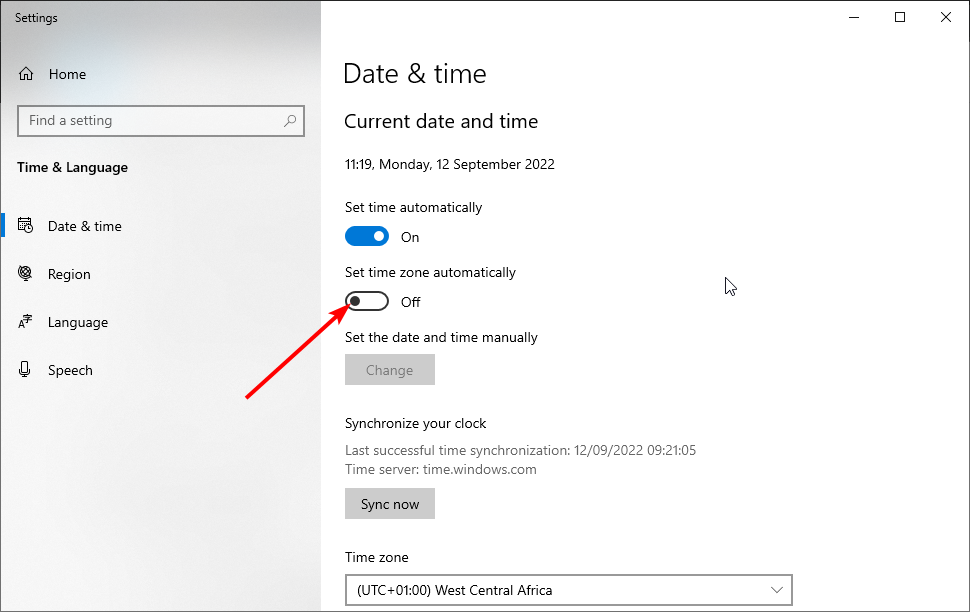
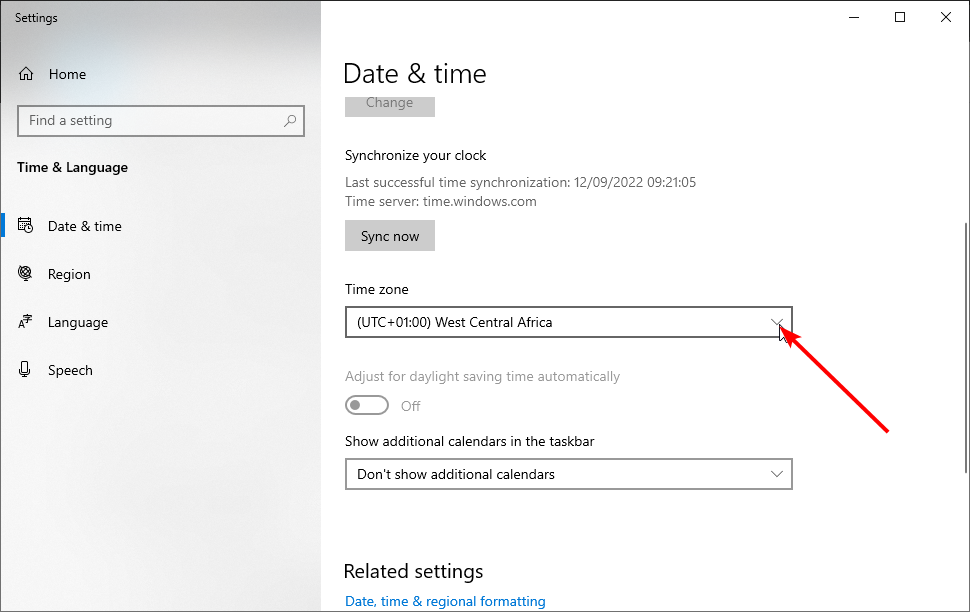
- Now, click the dropdown under Time zone and choose your time zone.
- To deactivate automatic time update, toggle the switch for Set time automatically off.

- Now, set your time and date accordingly.
By disabling automatic time zone settings, you gain more control over your time and date. Changing time in Windows 11 and 10 is pretty straightforward, and setting it manually can prevent unexpected changes.
2. Set Internet Time
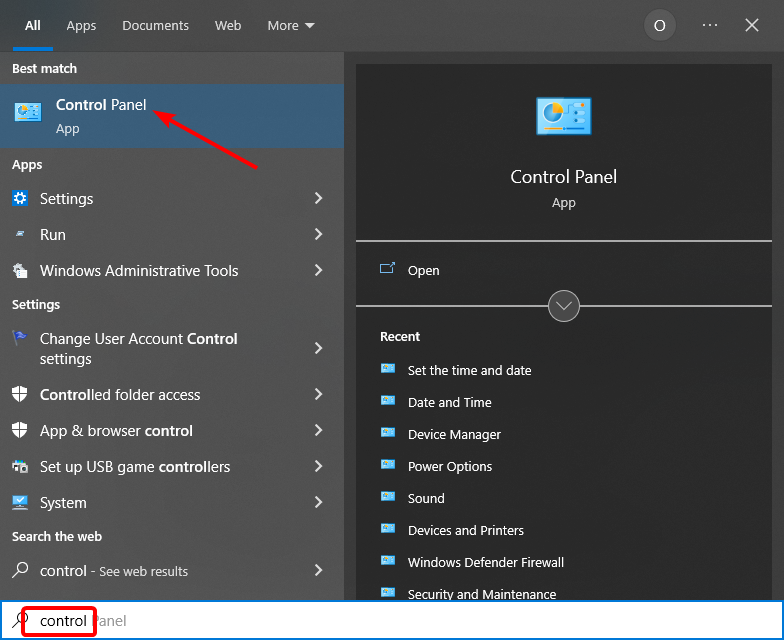
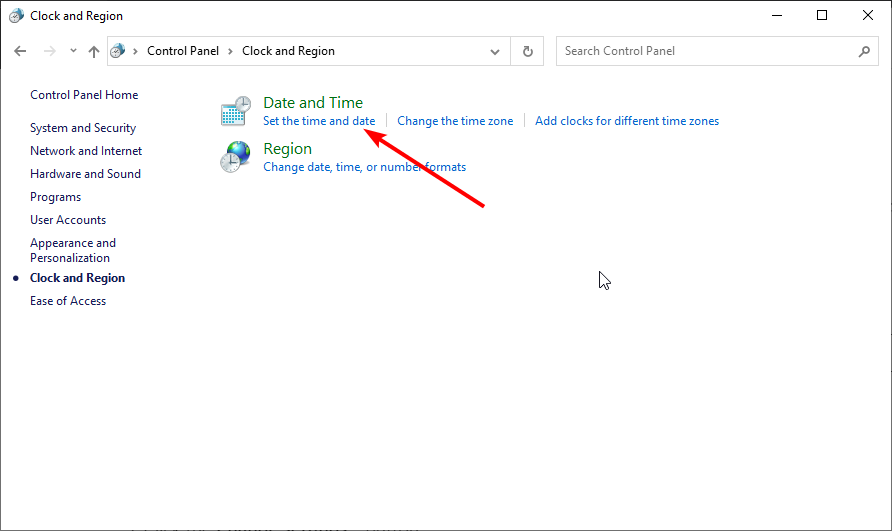
- Press the Windows + S button, type control, and select Control Panel.
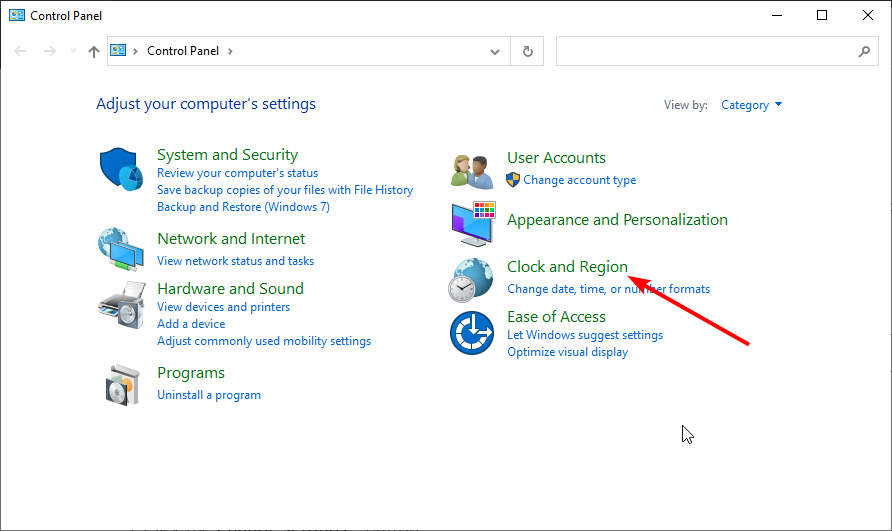
- Select the Clock and Region option.
- Now, choose Set time and date under the Date and Time option.
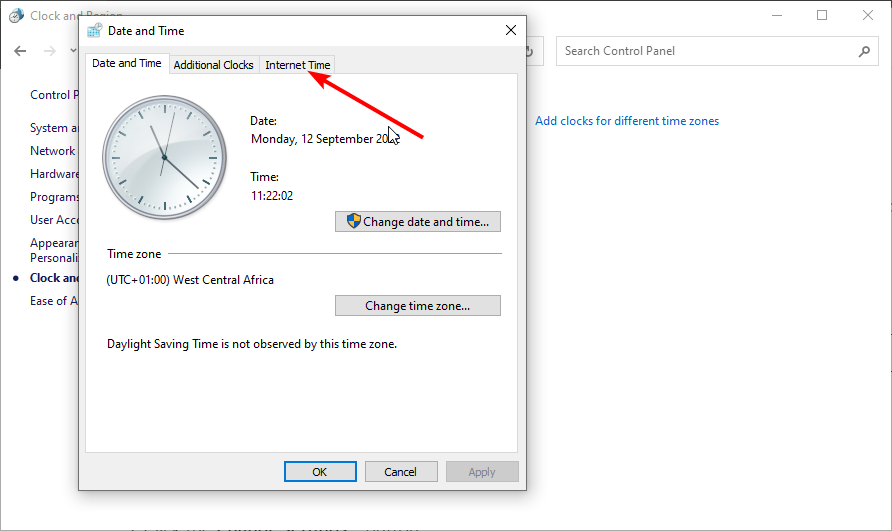
- Click the Internet time tab at the top.
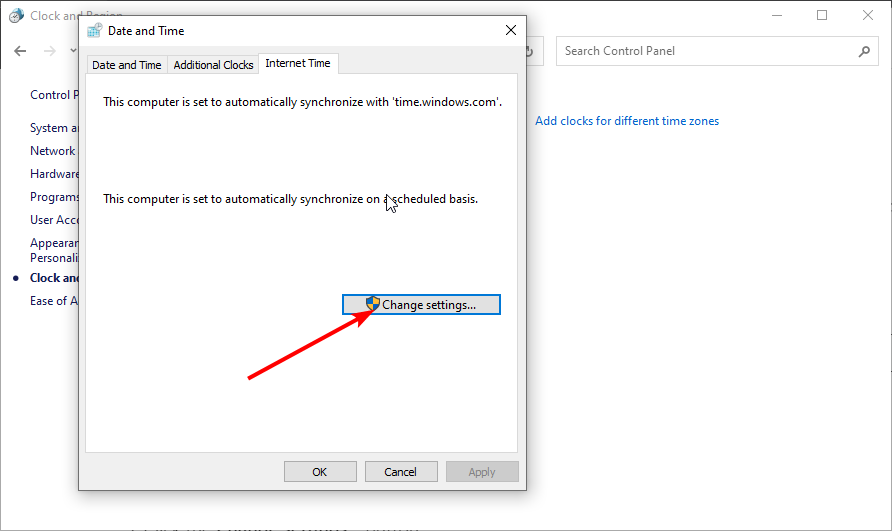
- Click the Change settings… button.
- Now, click the dropdown before Server and select time.windows.com.
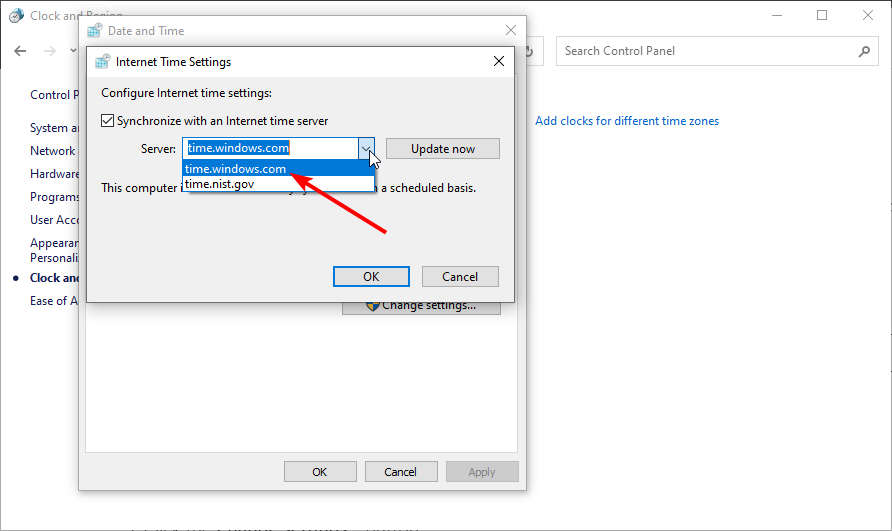
- Finally, click the Update now button followed by OK.
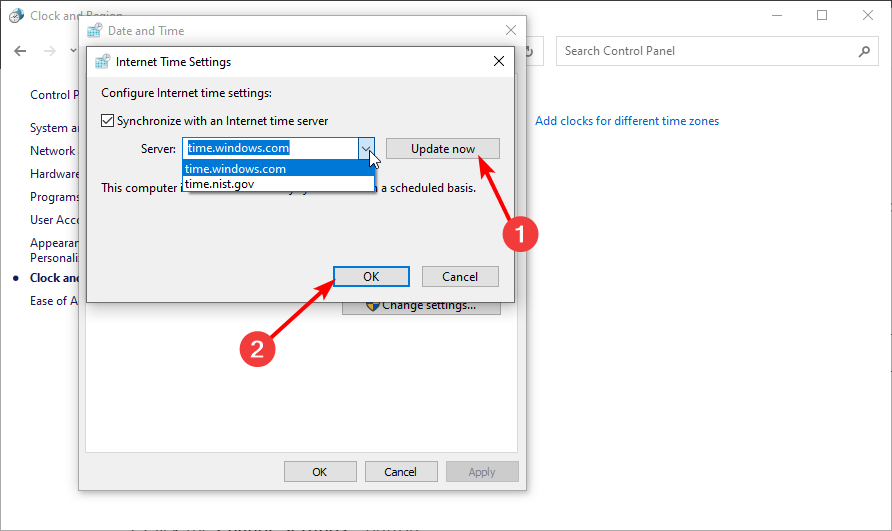
If your time or zone keeps changing on Windows 10, it might sync with the wrong server.
Setting it to sync with the Windows server will help recognize the time and location you set accordingly.
3. Scan for viruses
- Press the Windows key and type Windows security.
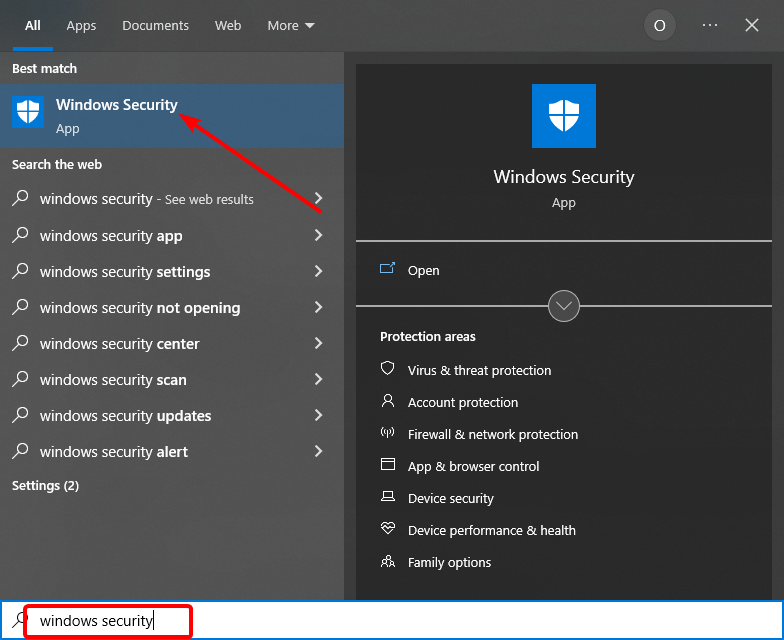
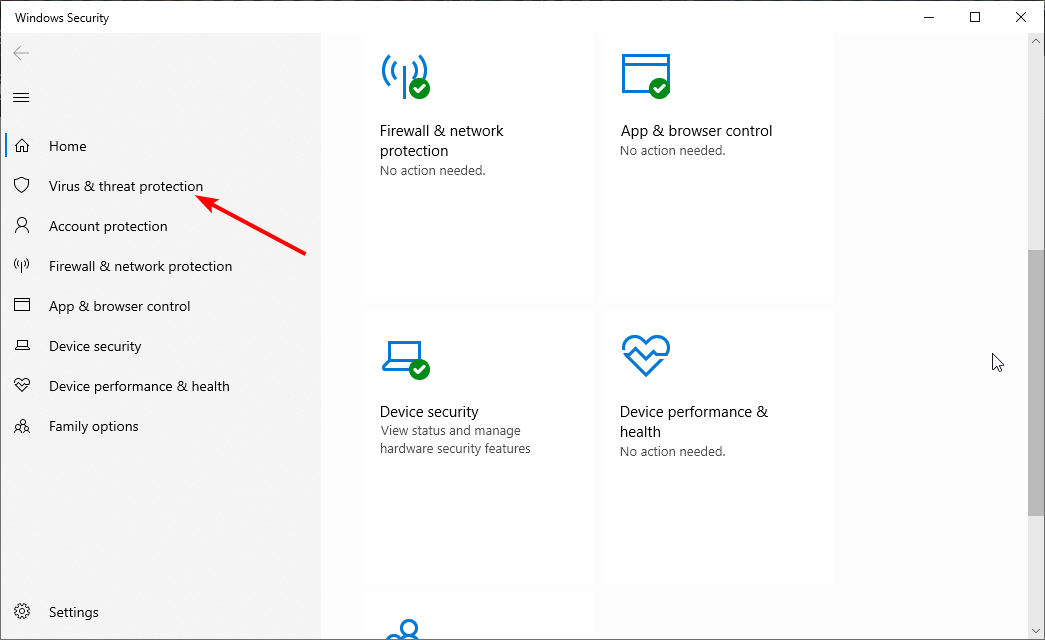
- Select Virus & threat protection in the left pane.
- Choose the Scan options.
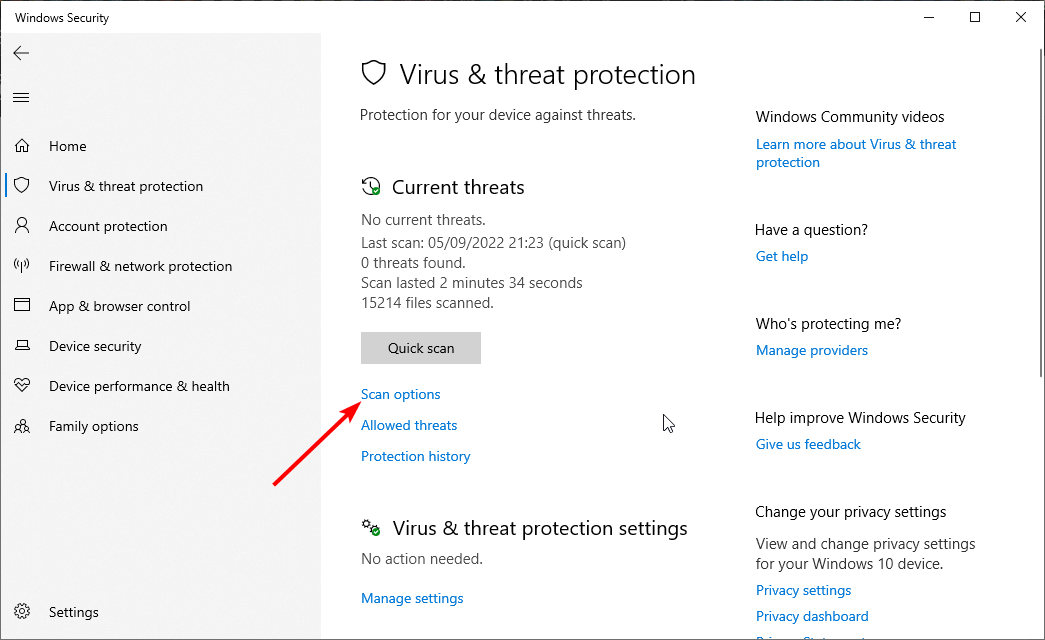
- Select your preferred scan option and click the Scan now button.
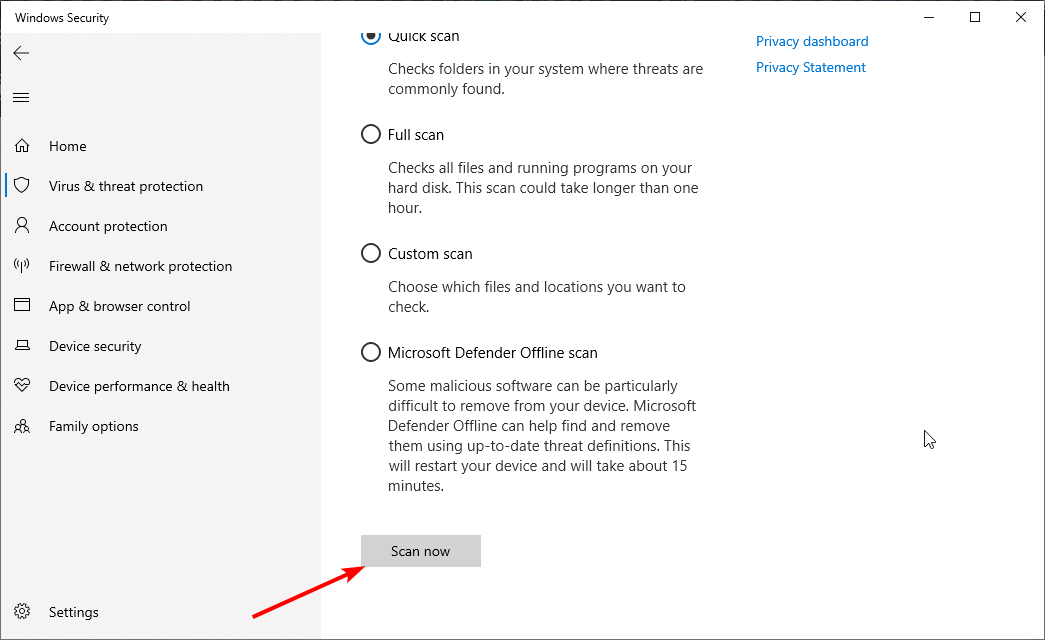
Malware can cause all sorts of problems on your PC. It could be why your time zone keeps changing. Choose the Full Scan or Windows Defender Offline Scan to perform a deep scan and eliminate all threats.
Alternatively, you can use dedicated antivirus software to eliminate the most stubborn viruses on your PC. And you can’t go wrong with ESET NOD32.
This modern tool uses cutting-edge technology to protect you offline and online. It detects viruses before they can attack your PC and eliminates them accordingly.
From ransomware protection to password management and malware protection, ESET NOD32 takes care of everything privacy and security on your PC.

ESET NOD32
Fast and light antivirus that helps you eliminate any viruses interrupting your PC’s performance.4. Change CMOS battery
The CMOS battery provides power to the motherboard to retain BIOS settings, including time and date, when the computer is turned off.
Fixing a corrupt CMOS battery will help ensure that your system retains the correct time and date settings even when powered off. To fix this issue, you’ll have to replace your battery.
This way, the next time you turn the PC on, you will find everything spot on and up-to-date.
5. Tweak Services.msc setting
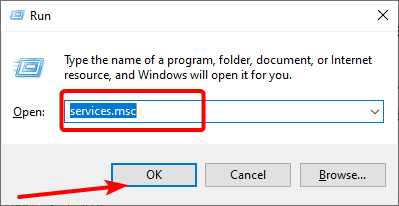
- Press Windows key + R, type services.msc, and click OK.
- Scroll down to Windows Time and right-click it.
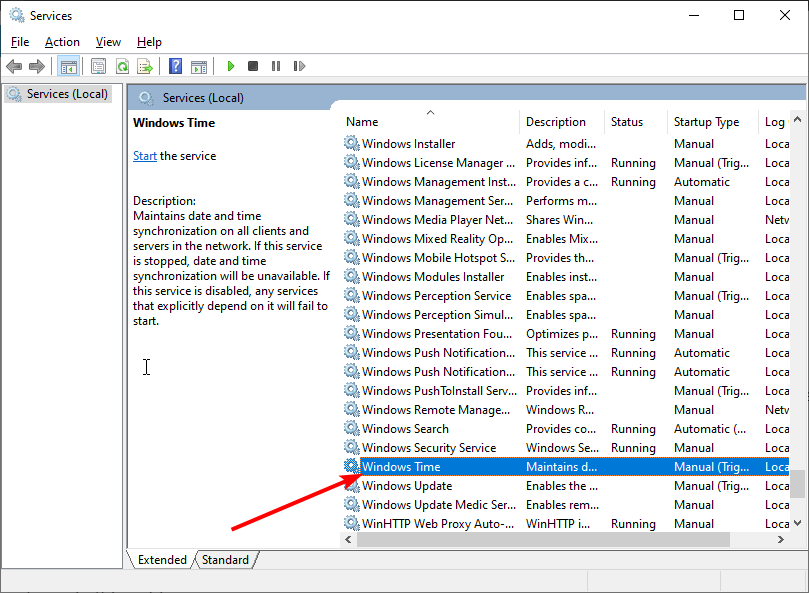
- Select the Properties option.

- Click the dropdown before Startup type and select Automatic.
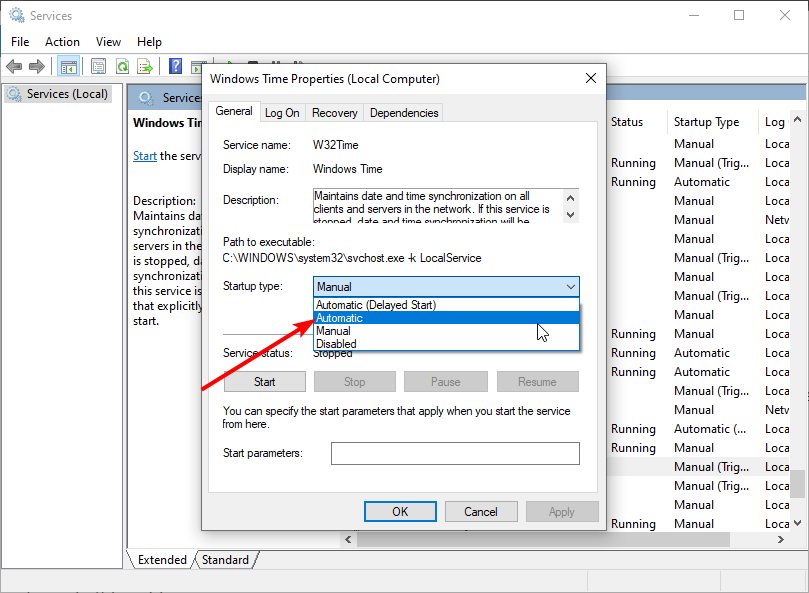
- Now, click the Start button under the Service status section.
- Finally, click on the Apply button followed by OK.
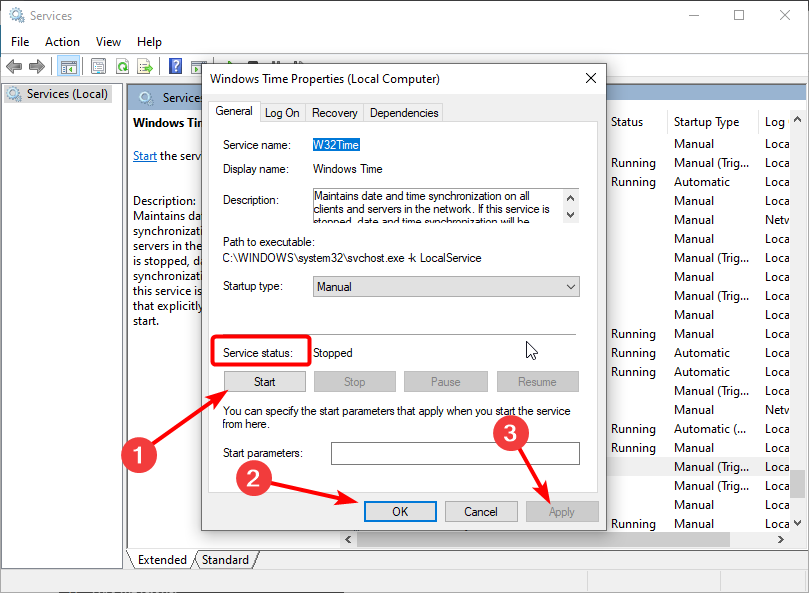
Forcing Windows Time to start up automatically each time your PC starts can also effectively deal with time issues on Windows 10. here is how you do it.
6. Disable location services
- Press the Windows key + I to open Settings.
- Go to Privacy.

- Select Location.
- Click the Change button and toggle Off the button for Location access for this device.

7. Check Windows Time service
- Press Windows key + R, type services.msc, and press Enter.

- Find Windows Time in the list and double-click it.

- Ensure the Startup type is set to Automatic.

- If the service isn’t running, click Start.

- Click Apply and OK.
Why does my laptop keep changing time zones?
One of the primary reasons your time keeps changing on Windows can be because your time is synced with an internet time server.
This feature will automatically update your time and date even if you set them differently. Also, it might be because the CMO battery is getting weak. However, irrespective of the cause, we have detailed the steps to fix it in this guide.
Does BIOS time affect Windows time?
Yes, it does! However, the converse is not true. While Windows relies on BIOS time, the BIOS functions independently of the time set in the OS.
Also, you should not modify the date and time set in the BIOS unless it’s highly inaccurate or is causing trouble with Windows or the installed applications.
How do I find my BIOS time and date for Windows 10?
To find out or change the BIOS time and date in Windows 10 or even a later iteration, you must first enter the BIOS. Depending on the system manufacturer, this can be done when you turn on the computer by pressing the F10, F12, Del, or other keys.
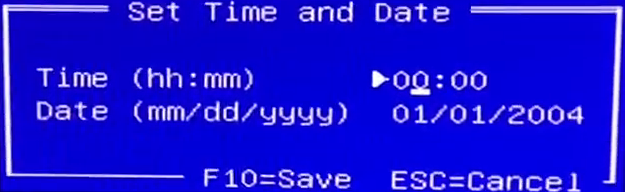
Once in the BIOS, locate the Time and Date settings, and change it from there. This is a fairly simple process and shouldn’t take much time.
This is it. If your Windows 10 laptop time keeps changing or resetting, the above methods should correct things.
If you want to know how to change the time and date on Windows 10/11, check our detailed guide for the different ways to do it.
Please let us know if these tips helped keep your time zone consistent in the comments below.
Read our disclosure page to find out how can you help Windows Report sustain the editorial team. Read more


Improve this guide


User forum
2 messages