Windows 11 Backup Settings: How to Use or Change
Apply our detailed procedures right away
4 min. read
Updated on
Read our disclosure page to find out how can you help Windows Report sustain the editorial team. Read more

Wondering how to go about Windows 11 backup settings? You have come to the right place. For people still unsure whether they need this, here’s the thing. After upgrading to the Windows 11 operating system, many users can’t stop talking about the good look of the interface.
Maybe you like the appearance too, but all of these could be forgotten in a jiffy if your computer encountered an issue and there was no backup.
How can I use Backup Settings in Windows 11? Three important features
Windows 11 backup can be used for any of the following and more:
- Restore files after malware/ransomware attack: Backing up your Windows 11 settings can save you from losing all files after a malware/ransomware attack. With a backup, you can easily restore your Windows settings without losing any files and thus putting your attackers to shame.
- Transfer Windows settings: System backup can transfer settings from an old laptop to a new one. It helps you retain most of the features you are used to instead of finding your way around the new PC.
- Access files anywhere: Backing up your Windows settings also permits you to access all files on your PC from anywhere. This comes in handy when you forgot to take the laptop along on a vacation for instance. But if you have the backup file with you, you can easily connect to any available laptop and access them. This is important for any files you may not want on the cloud.
How can I set up a backup on my Windows 11?
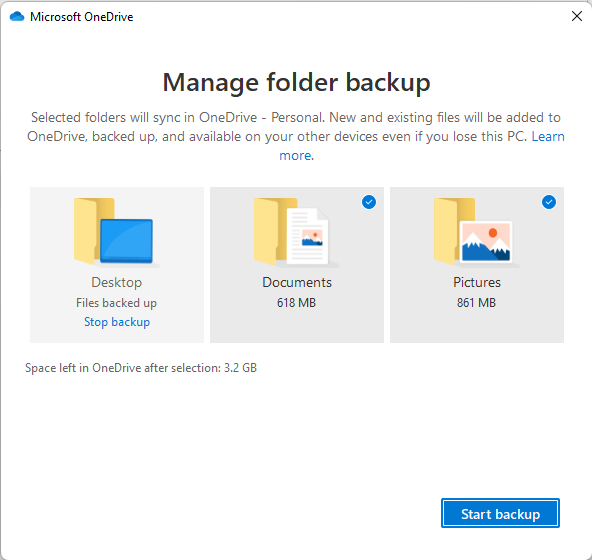
1. OneDrive syncing
- Log into your Microsoft OneDrive account. The OneDrive app comes with Windows 11 by default.
- Right-click on the Windows logo in the Taskbar.
- Select Settings.
- Click on Accounts. Next, select Windows backup.
- Check if the toggle for Remember my apps and that for Remember my preferences are both On. After this, select Manage sync settings.
- OneDrive will automatically scan the system for Windows settings and files. Select the ones you will like to exclude, then click Backup now.
2. Use a dedicated backup tool
There are third-party tools specially designed for this purpose. One of the highly proficient is Acronis Cyber Protection Home. It enables any PC user, irrespective of their technical knowledge, to back up any files and, at the same time, safeguard the system against any cyberattack.
If the directions in the guides above look confusing, this tool can take the burden off and help with whatever you need.
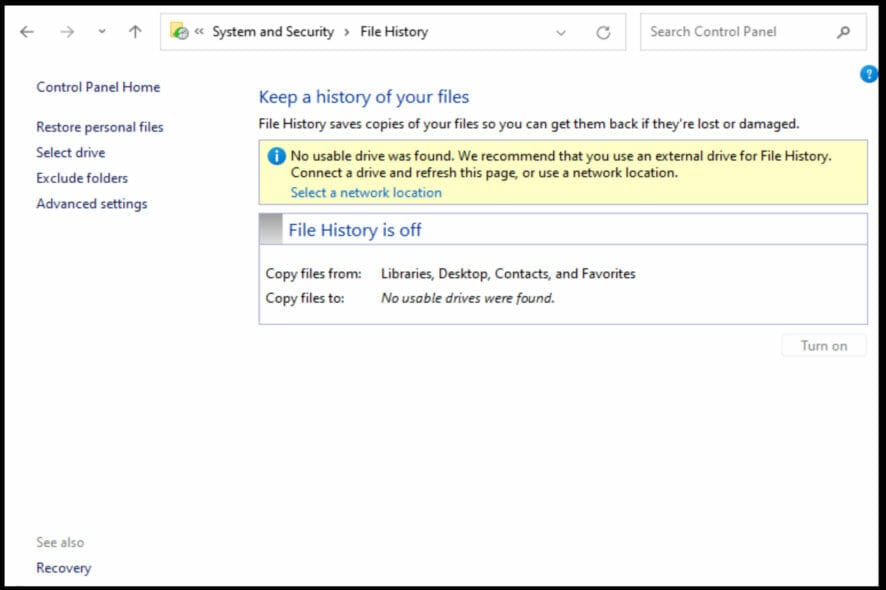
3. Use File History
- Get an external hard drive for the purpose. The hard drive should have enough space to handle the Windows settings file. This is determined by the file size of your system.
- Connect the hard drive to the PC.
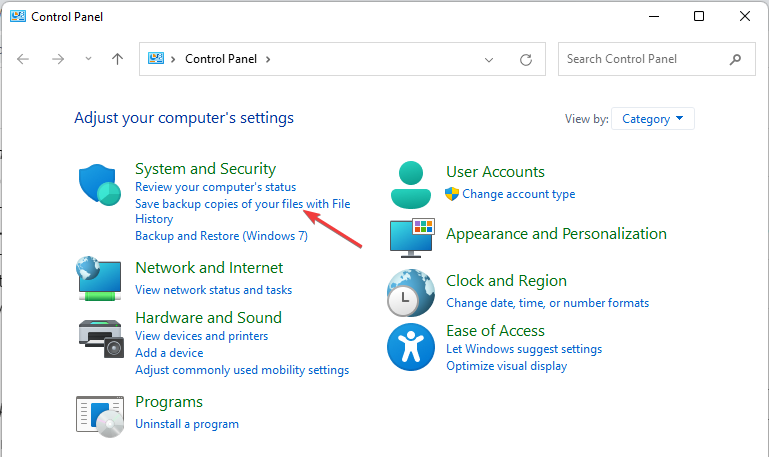
- Go to Control Panel via Run by pressing Windows key + R. Then, type control, and press Enter.
- Select Save backup copies of your files with File History.
- Choose the plugged-in device. Then follow the screen guide to backup your Windows settings.
Backing up your Windows settings gives you something to fall back on when attacked by malware or ransomware and makes it easier to migrate your settings from one computer to another.
Now that you know how this feature works, you can go ahead and restore individual files from Windows Backup.
Also, check out our expert review on File History vs Windows Backup to see which best fits your needs. Backing up files is important, but if you need a service that works with multiple platforms, visit our guide on how to download IDrive for Windows.
Were you able to back up your Windows settings now? Let us know in the comments section.


User forum
0 messages