Windows 11 Map Network Drive Missing: How to Get it Back
It's time to apply our tested solutions
Key notes
- Mapped drives are a good way to access files stored on network drives.
- If you’re struggling to find the option to map a network drive in Windows, there are a few things you can do to get it working again.
- A restart forces all of your system’s drivers and services to reload so that anything causing a conflict or error will be fixed.
- If a mapped drive isn’t available or appears offline, the issue is beyond a reboot, and you need to try other solutions.
A mapped network drive in Windows is the virtual representation of a remote folder. It is a critical feature for users as it enables them to access their files and folders from different computers without physically connecting to the target machine.
Troubleshooting network drive problems in Windows can be tricky, as you could encounter errors in multiple ways.
Mapped network drives aren’t always reliable and sometimes may stop working correctly for some reason. There isn’t a single reason why it stops working, but there are a few common reasons why this problem occurs.
When mapping a network drive is unsuccessful, it may fail to show on File Explorer. This can be quite frustrating, especially when you need to share the files. The folder sharing might not be possible when you cannot locate them even if the two PCs are running on the same OS and are on the same network.
We will go over these reasons in detail below so that you can try and get it to appear again.
Why is my Windows 11 map network drive option missing?
If you’re trying to map a network drive in Windows and you can’t, it’s probably because the option is missing. That’s not necessarily a big problem, but it isn’t very pleasant.
The issue could be due to several factors that are all fairly easy to fix. Here are some of them:
- A wrongfully mapped drive could also be the reason it is missing. You can quickly solve this by deleting it and start over afresh. To delete:
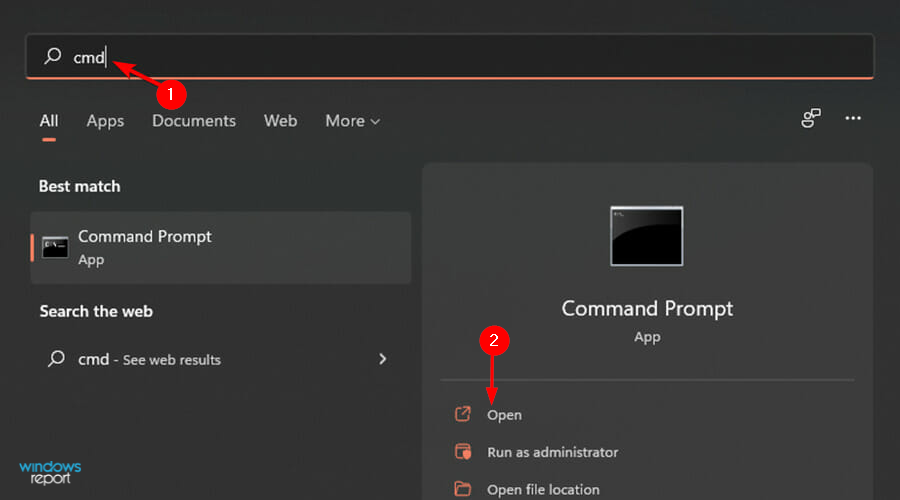
- Hit the Windows key, type cmd on the search bar, and open the Command Prompt.
- Type in the following command depending on your assigned drive:
net use Z: /delete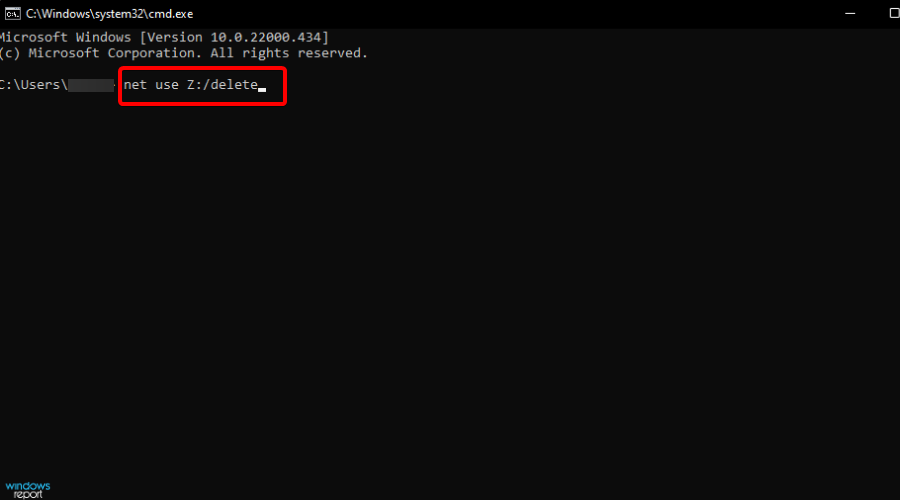
- Hit the Windows key, type cmd on the search bar, and open the Command Prompt.
- A typo in the drive mapping path. Check carefully and make sure that the full path is correct, including the share name and everything else. Make sure you don’t have a space before or after the “//” symbol.
- The folder is hidden or located in a system directory. Make sure it isn’t located inside a hidden folder such as:
C:\Program Files\orC:\Windows\On Files Explorer, you can navigate to the view tab to reveal hidden items and see whether you can locate them there. - Your network drive may be offline. This sounds obvious, but it’s an easy fix for when things go wrong, so we’ll start here. If you can’t see your drive in Windows Explorer or File Explorer, that means either your user account doesn’t have access to the drive or it’s not actually connected to your network.
If you’re sure you know where the drive is located and can see it there in File Explorer or Windows Explorer, and you still can’t access it from your computer, then try pinging the computer that has the drive.
A ping test will confirm whether or not the computer is online and help you determine if there’s a problem with your ISP (Internet Service Provider).
What can I do if my Windows 11 map network drive is missing?
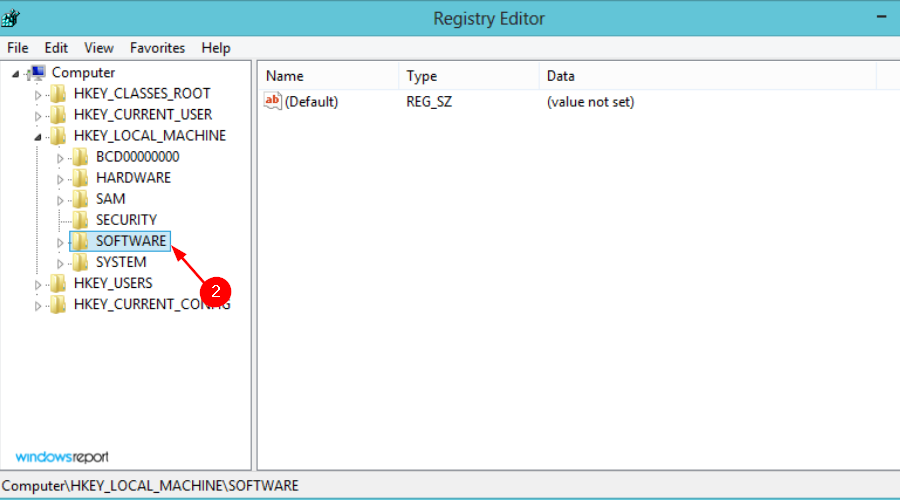
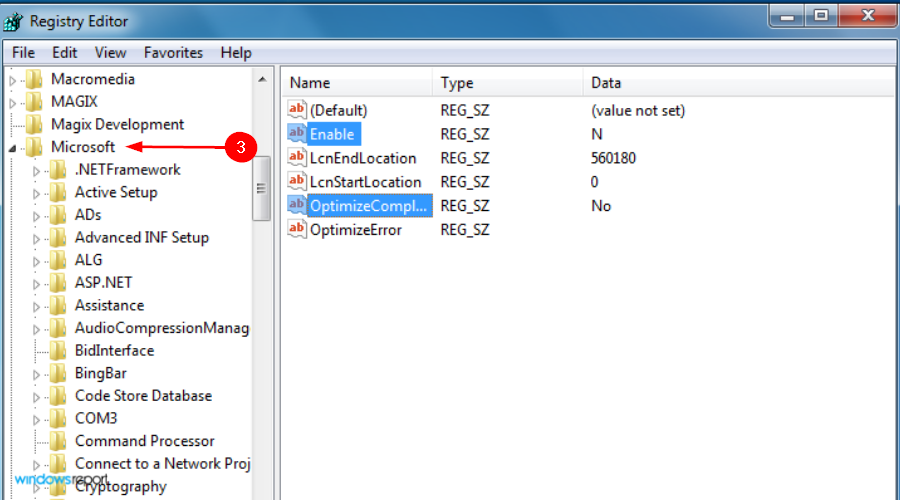
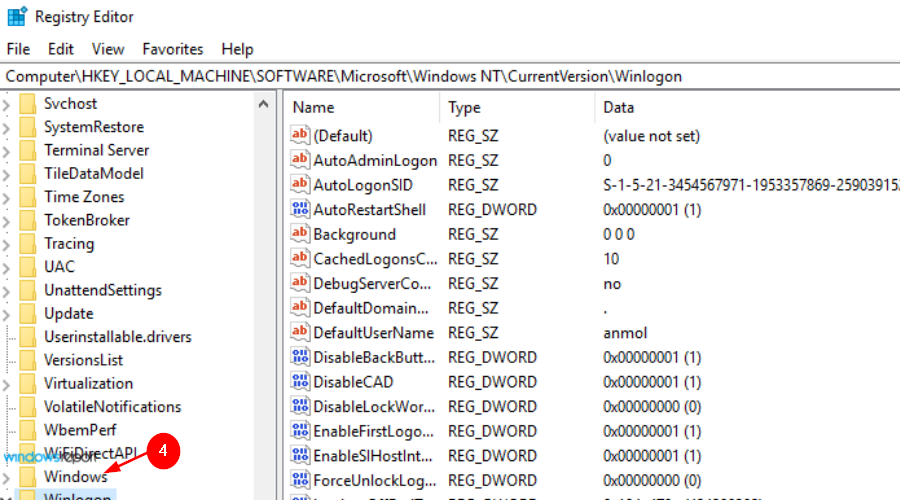
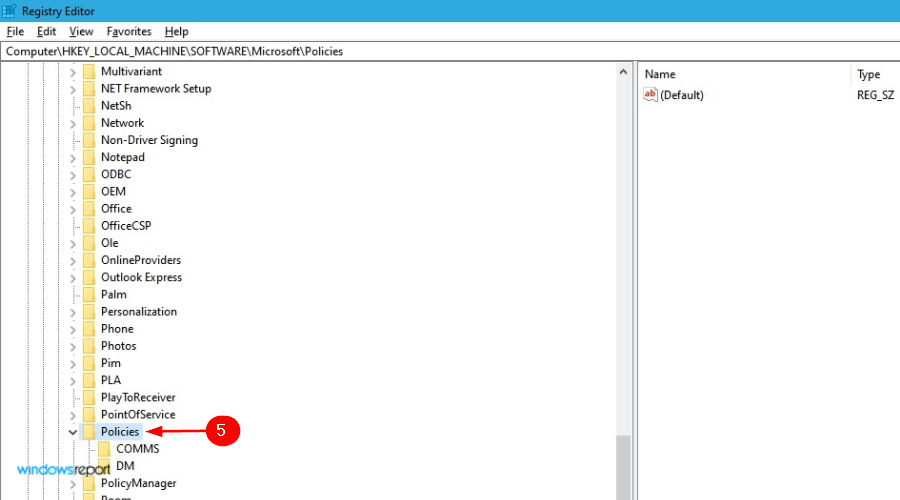
1. Modify your Registry
- Press the Windows + R keys simultaneously to open the Run window.
- Type regedit and hit Enter.
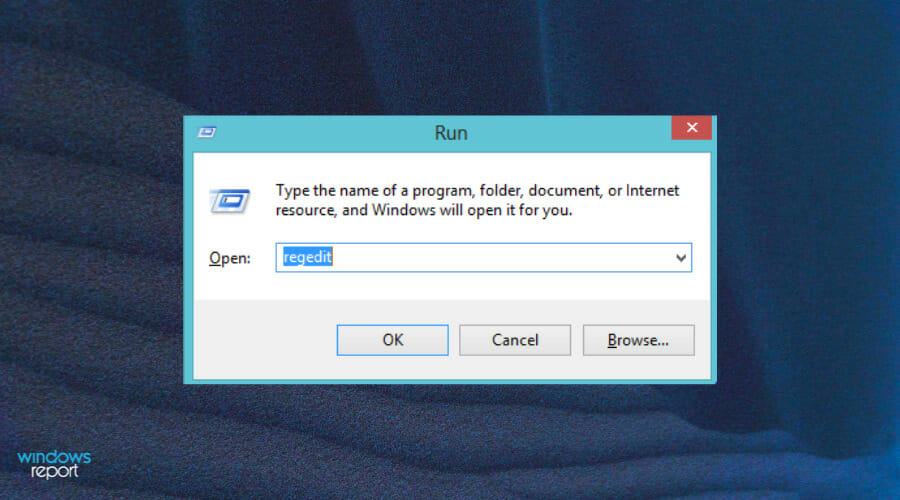
- Navigate to the following location:
HKEY_LOCAL_MACHINE\SOFTWARE\Microsoft\Windows\CurrentVersion\Policies\System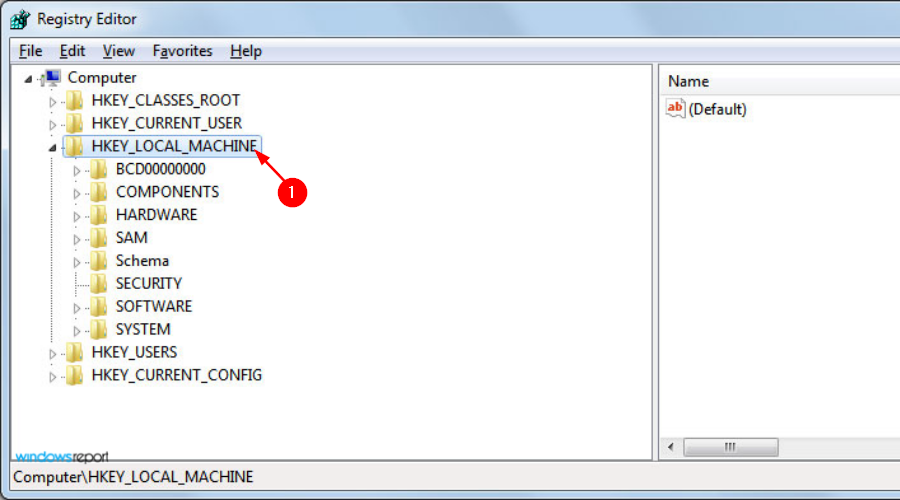
- Under system, select new and click DWORD (32-bit) Value.
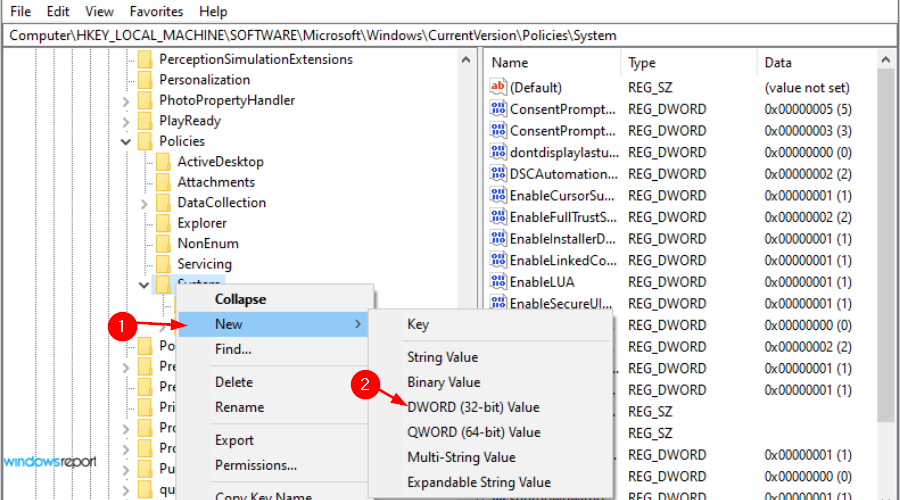
- Name the new value EnableLinkedConnections and press Enter.
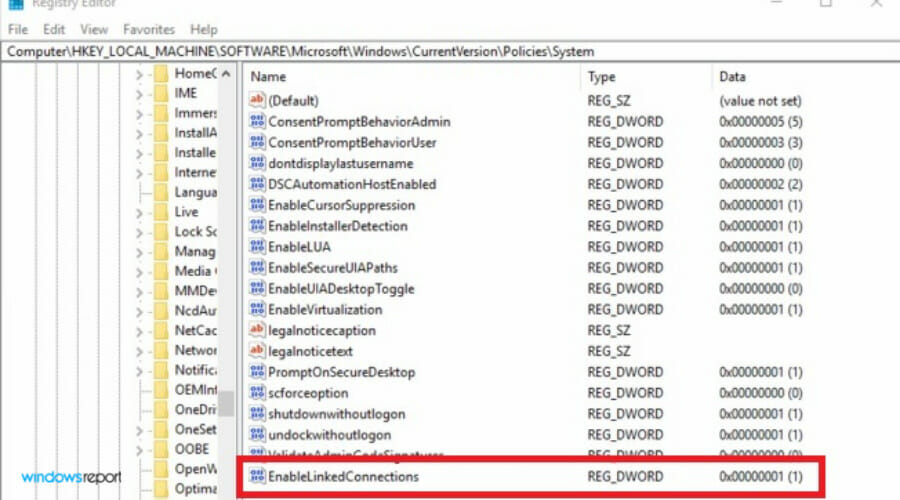
- Under the Value Data field put 1, then press OK.
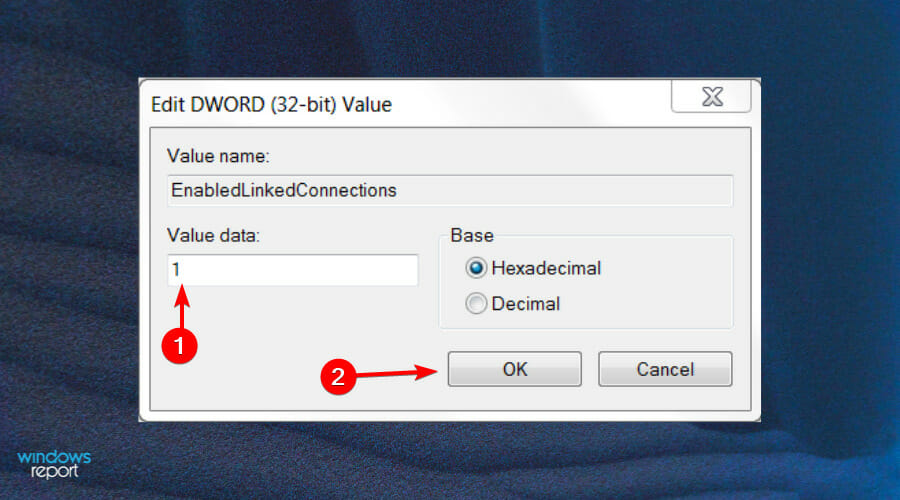
- Exit and restart your computer.
2. Manually update your drivers
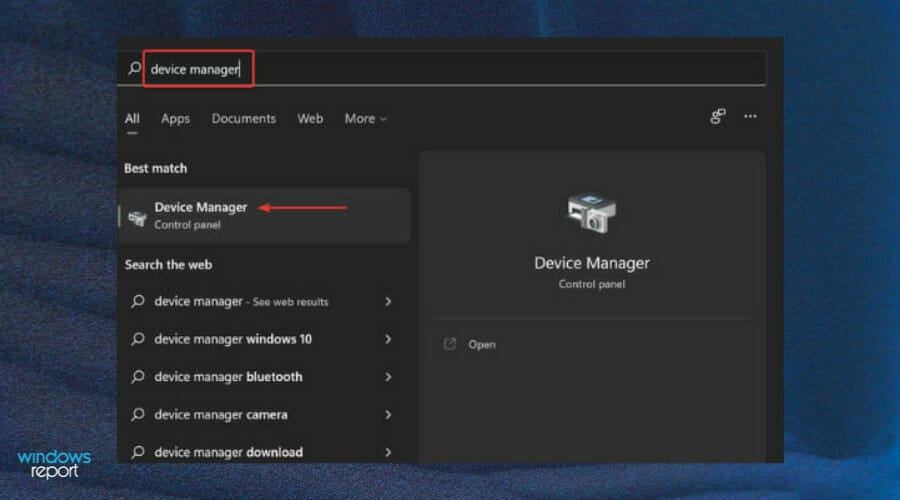
- Hit the Windows + I keys to open the Start Menu.
- Search and open Device Manager.
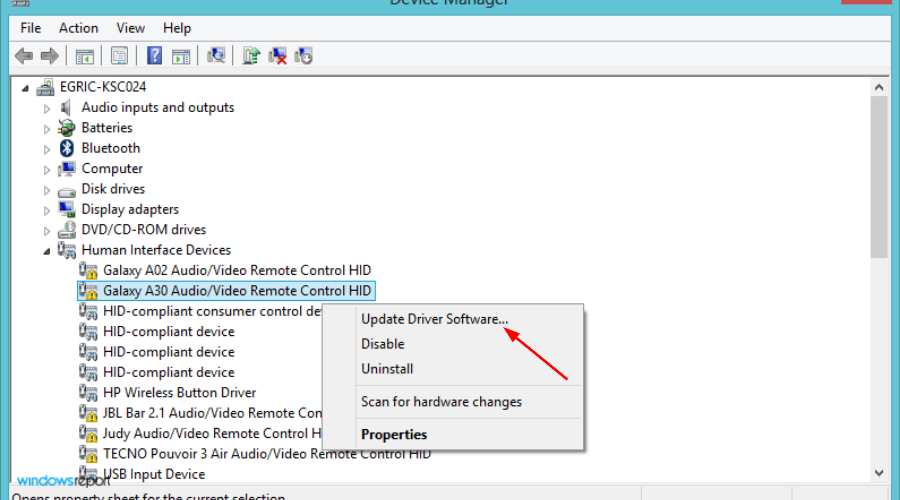
- Locate the driver you wish to find and right-click on Update Driver Software.
- Click on Search automatically for updated driver software.
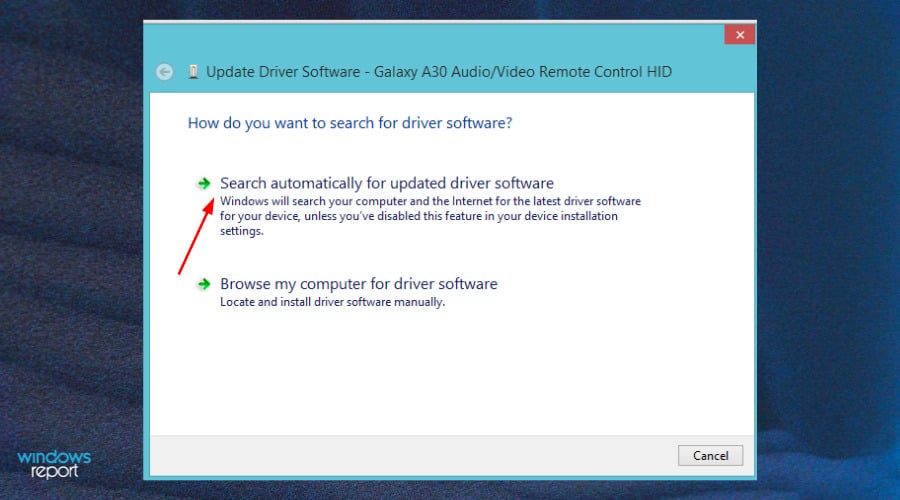
- Once you find the missing drive, restart your device.
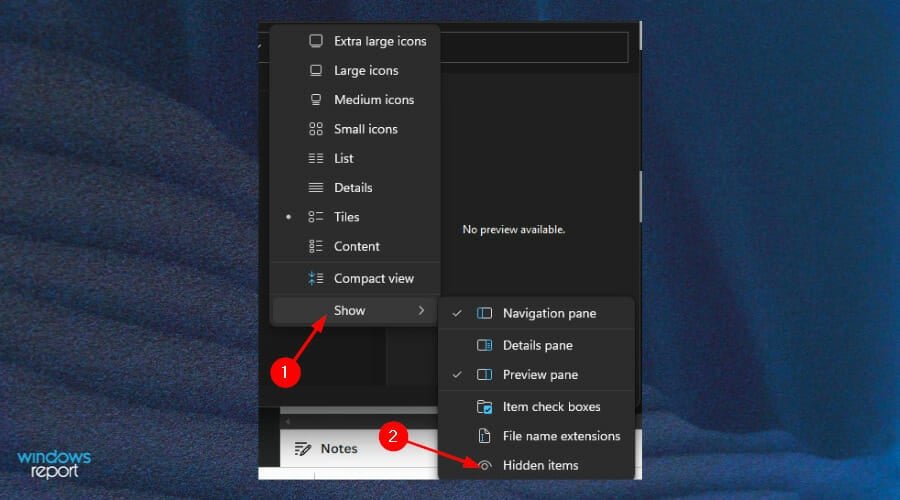
3. Show hidden items in File Explorer
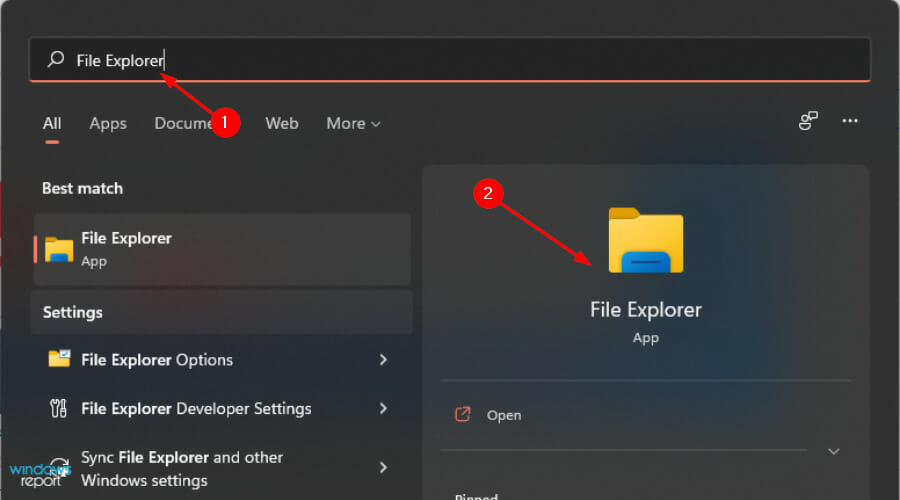
- Hit the Windows + I keys simultaneously to open the Start Menu.
- Search File Explorer and click Open.
- Click on the View tab.
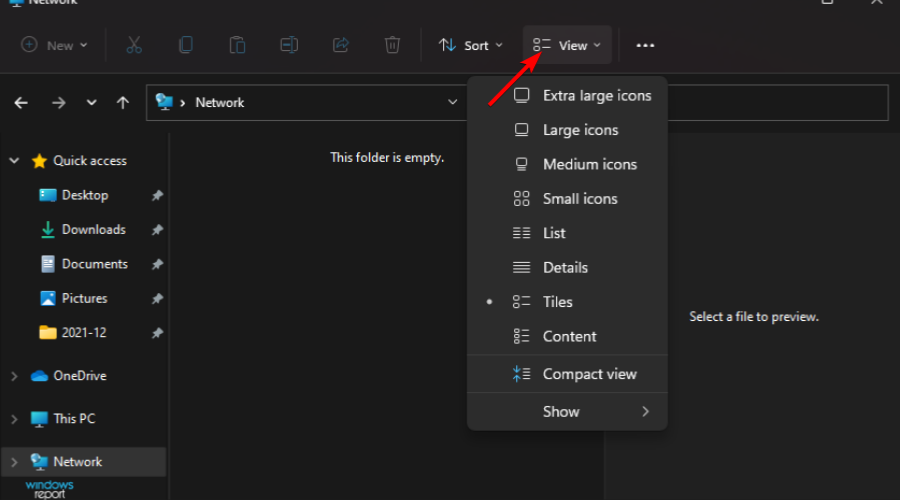
- In the drop down menu, click Show then select Hidden items.
If you feel this step is cumbersome, you can use a third-party software tool such as AnyRecover that will easily locate the missing network drive.
Do I need to enable network discovery to map network drives?
If you’re trying to map a network drive on Windows 11 and it’s acting up, it could be because the network discovery feature isn’t enabled.
One of the most common problems with home networks is that they don’t work how you want them to. This can happen if you upgrade from a previous version of Windows or because you have a lot of devices connected and things get confusing.
To enable network drives:
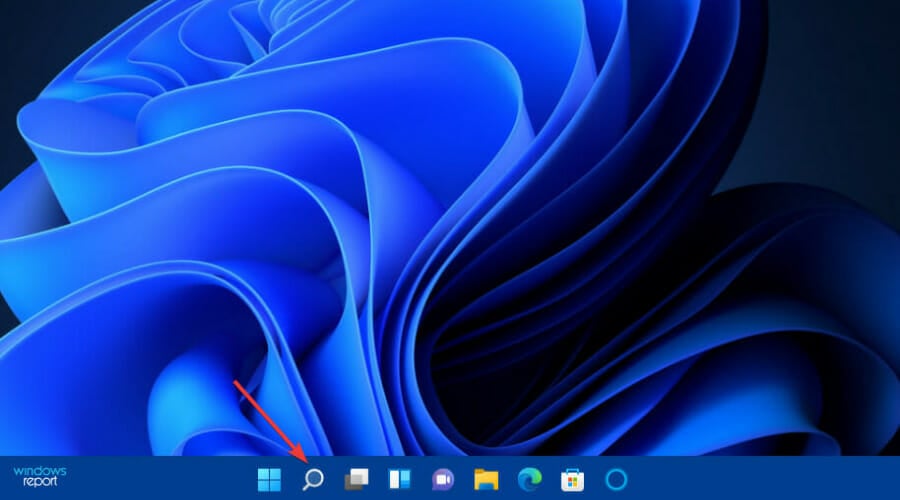
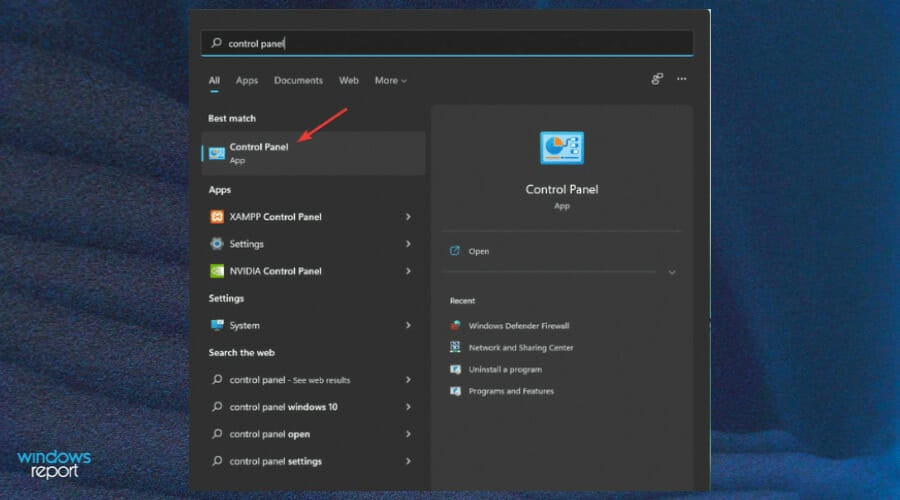
- Press the Search button on the taskbar.
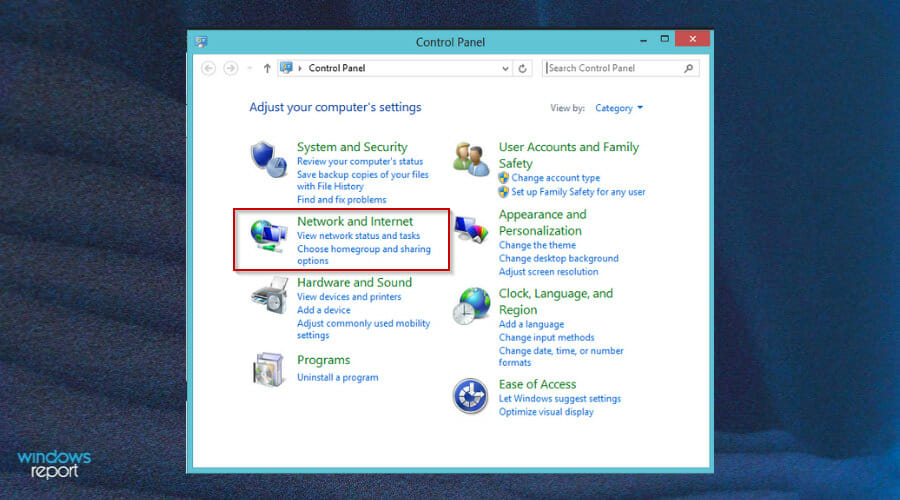
- Type and select Control Panel.
- Click on the View by menu and then select Network and Internet.
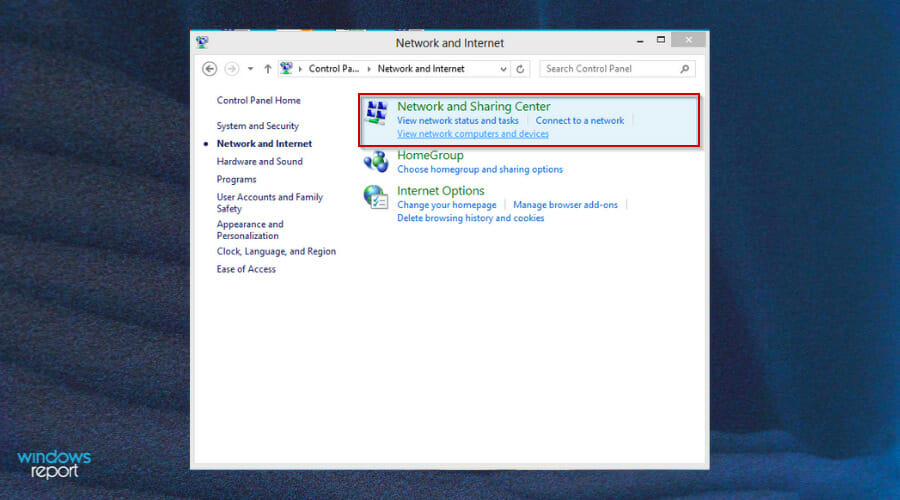
- Select Network and Sharing Center.
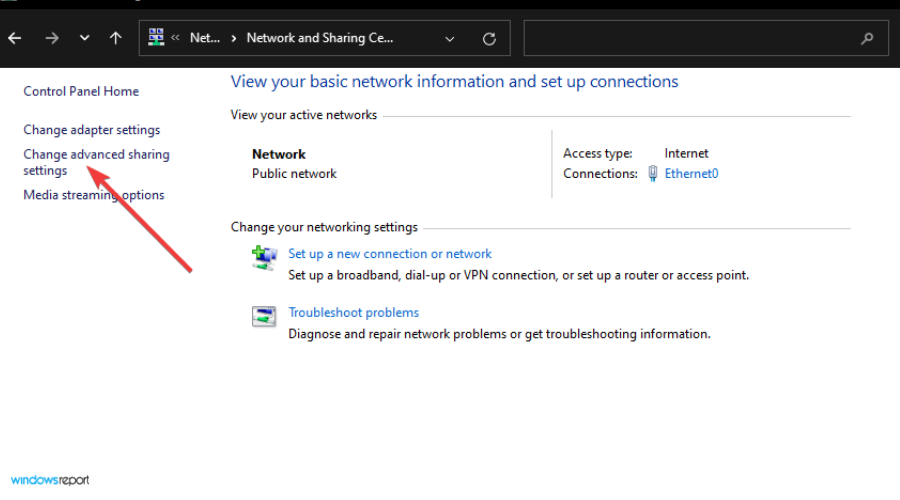
- Next, click Change advanced sharing settings.
- Select the Turn on network discovery option.

- Scroll down, select the Turn on file and printer sharing button.
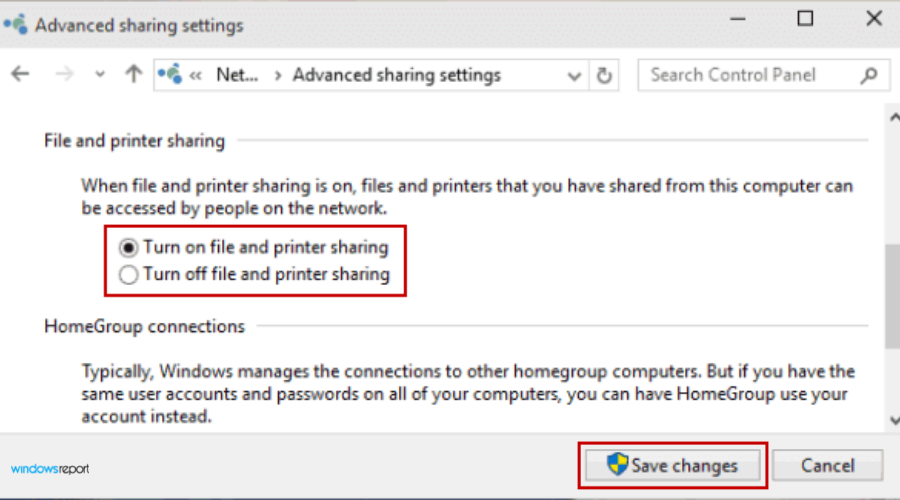
- Click the Save changes button to apply the new settings.
You’re not alone if you’re getting the error that your mapped network drive is missing. In fact, a lot of people are getting this and the error_dev_not_exist error, but the fix isn’t too hard. Hopefully, if you encounter something similar to the one we mentioned above, this article will come in handy to help you resolve it.
If the methods above didn’t work, you can try and map a network drive on Windows 11 again to fix this issue.
Besides, you may find NAS not listed under the Network tab, an issue arising out the of underlying causes. But it, too, is easy to fix! In case you’re using a WD device, we have a great guide on what to do if WD My Cloud is not showing on network, so don’t miss it.
Should you take an interest in mapping out shared resources, check out our article on how to map network drives over VPN.
We’d love to hear from you about the solutions that worked for you, so feel free to leave us a comment below.
Read our disclosure page to find out how can you help Windows Report sustain the editorial team. Read more


Improve this guide


User forum
0 messages