Windows 11 is Stuck in Tablet Mode: 5 Ways to Get Out [Fix]
A quick restart goes a long way and could potentially fix this issue
Key notes
- Preinstalled software, missing drivers, or firmware updates can cause this problem.
- Check your system for corruption or to restore it to an earlier state to fix it.
Sometimes Windows 11 can get stuck on Tablet Mode and this can be a problem since your interface will change to adapt to touchscreen input.
This can be a problem and affect your productivity, especially if you prefer using your device in desktop mode, so today we’re going to show you how to fix it.
Why is Windows 11 in Tablet Mode?
- The tablet keyboard isn’t detected or working properly thus causing Windows to enter Tablet Mode.
- Temporary glitches or missing firmware or driver updates can cause this problem.
- Preinstalled software can sometimes cause this issue on Lenovo devices.
What do I do if my Windows 11 laptop is stuck in Tablet Mode?
Before we start, be sure to perform the following checks, and see if they work for you:
- Make sure that the tablet keyboard is connected and working properly. You can also try connecting a USB keyboard and unplugging it as a temporary workaround.
- Try rotating your device. It should automatically switch to Desktop mode if you use the landscape orientation.
- Perform a soft reset on the Surface device by pressing and holding the Power button for 30 seconds. Release the button, wait for 10 seconds, and start your device again.
1. Update Windows 11
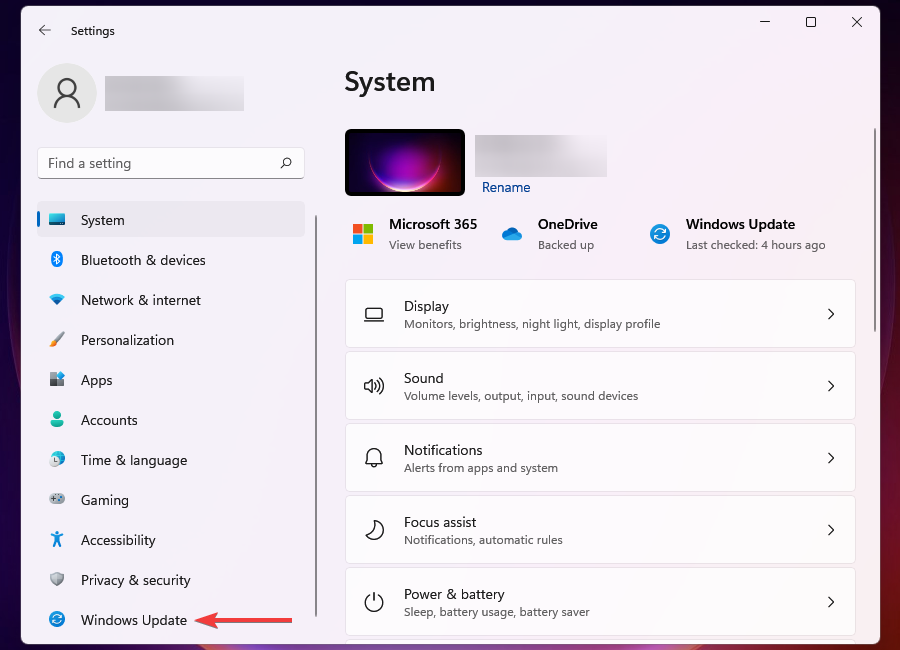
- Click on the Start button in the Taskbar to launch the Start menu.
- Select Settings from the apps listed at the top.
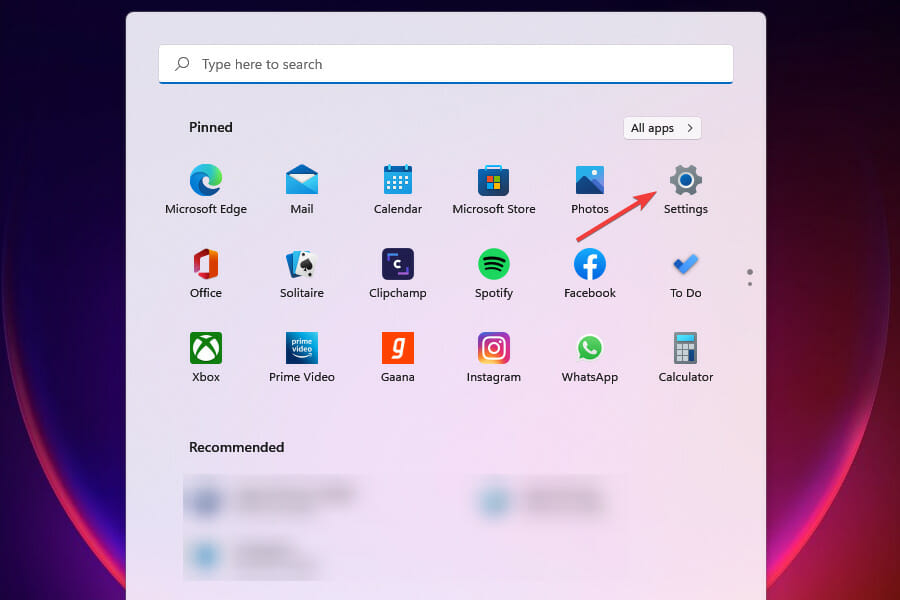
- Next, select Windows Update from the tabs listed in the navigation pane on the left.

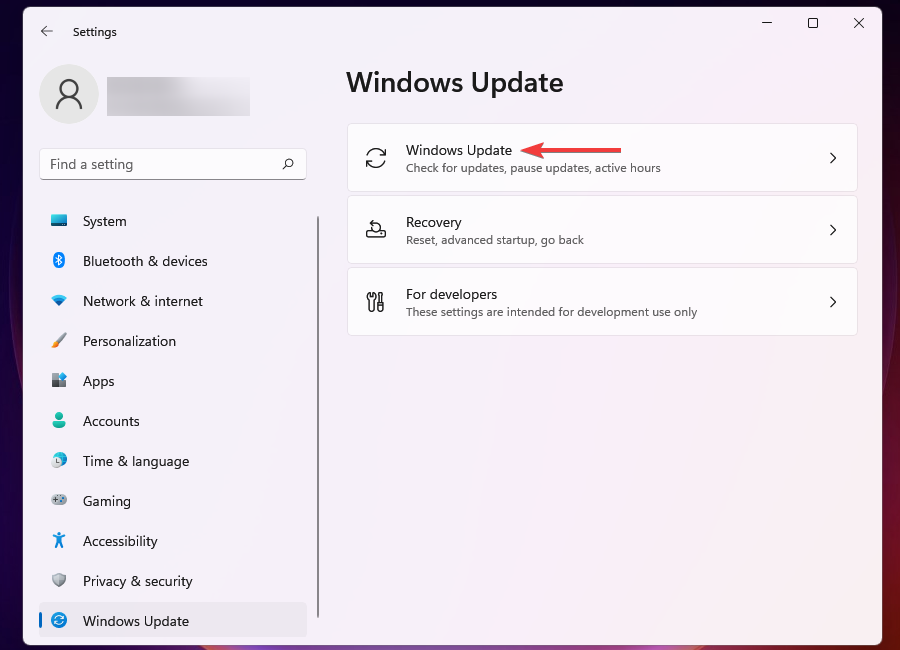
- Click on Windows Update on the right.

- Click on Check for updates to let Windows scan for any available newer version.
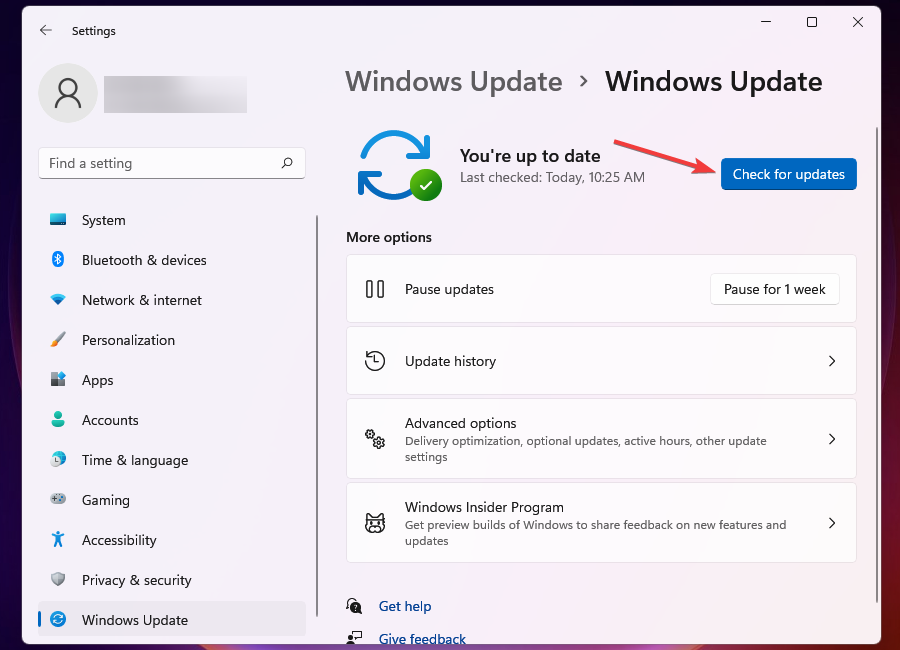
- If any are found, download and install them.
- Also, download Optional updates to update all your drivers.

2. Update the firmware on Surface devices
 NOTE
NOTE
- Make you know the exact model and firmware version of your device. You can check that from the Surface app on your PC.
- Next, go to the Surface firmware download page.
- Locate your model on the list and select it.

- Click the Download button.

- Once the firmware is downloaded, run the setup file and follow the instructions on the screen.
3. Disable the Lenovo Yoga Mode Control service
- Press the Windows key + R enter services.msc and then click OK.

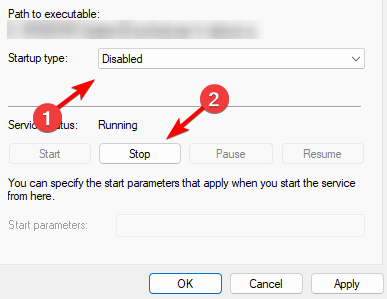
- Locate the Lenovo Yoga Mode Control service and double-click it.
- Locate the Startup type and set it to Disabled. Next, click on Stop and then go to Apply and OK.
- Restart your PC.
4. Run an SFC scan
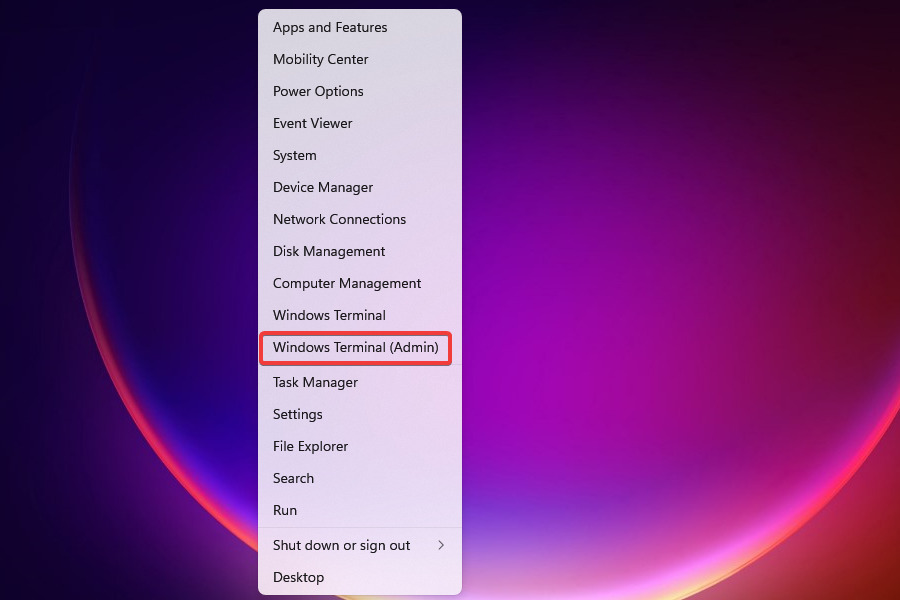
- Launch the Power User/Quick Access menu, and select Windows Terminal (Admin) from the list of options that appear.
- Click Yes on the UAC (User Account Control) prompt that appears.
- Click on the downward arrow at the top and select Command Prompt from the list of options. Alternatively, you can press Ctrl + Shift + 2 to directly launch the Command Prompt tab.

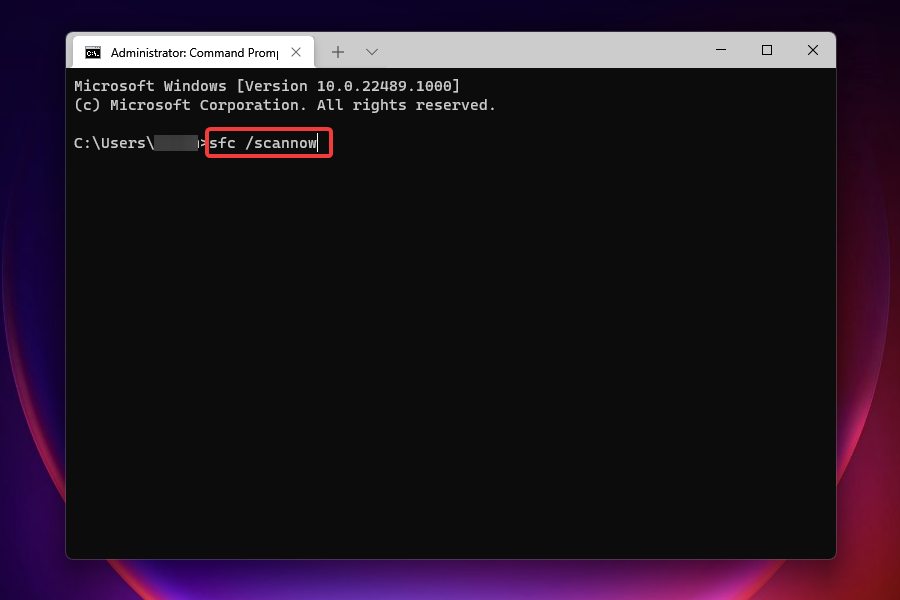
- Next, type/paste the following command, and hit Enter to run the SFC scan:
sfc /scannow
- After the scan is complete, restart the computer, and check if the Windows 11 stuck in Tablet Mode issue is resolved.


If you’re looking for an effort-free alternative, you can try a dedicated repair tool because it can run an in-depth scan of your PC system and automatically find and repair all malfunctioning or missing files.
5. Perform a system restore
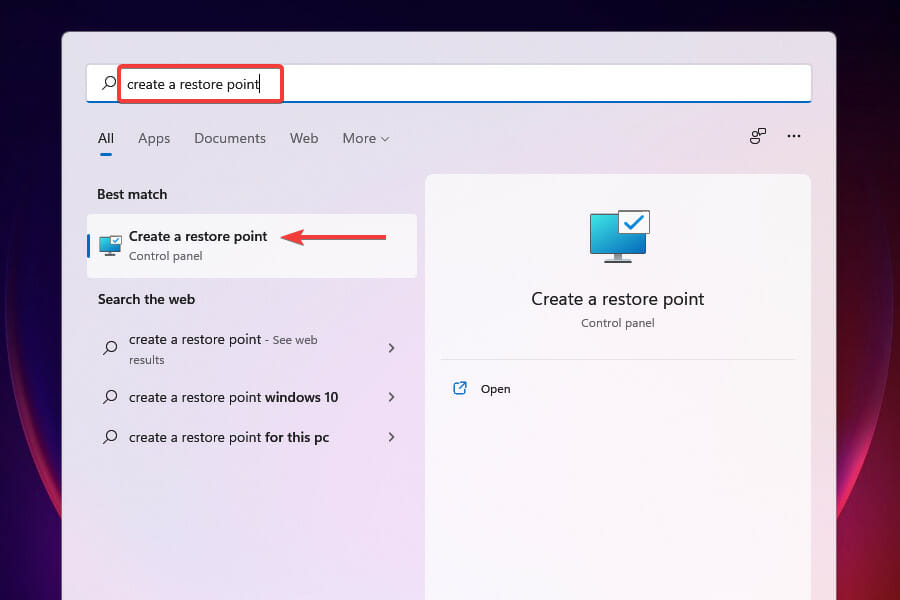
- Click on the Start button in the Taskbar to launch the Start menu.
- Enter create a restore point in the text field at the top, and click on the relevant search result that appears.
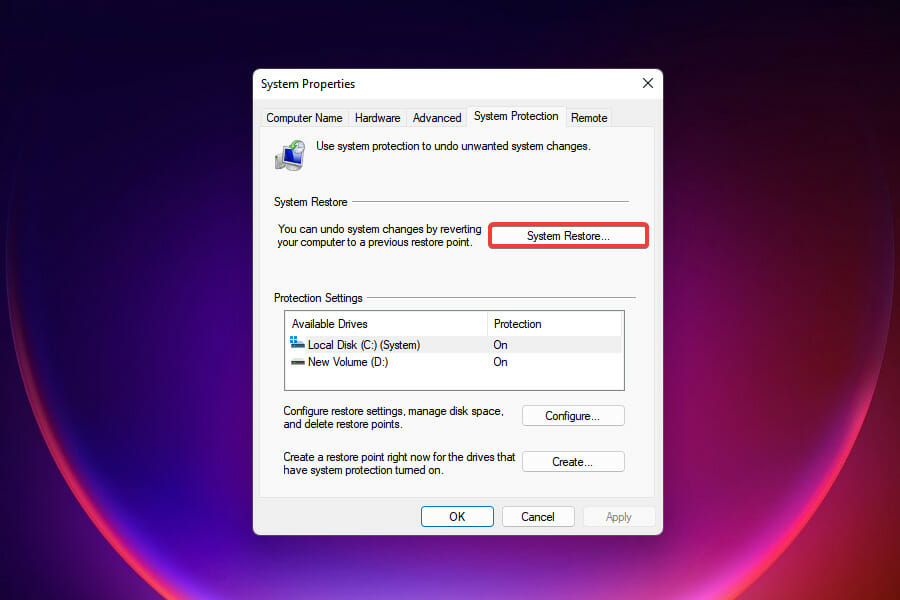
- Next, click on the System Restore button.
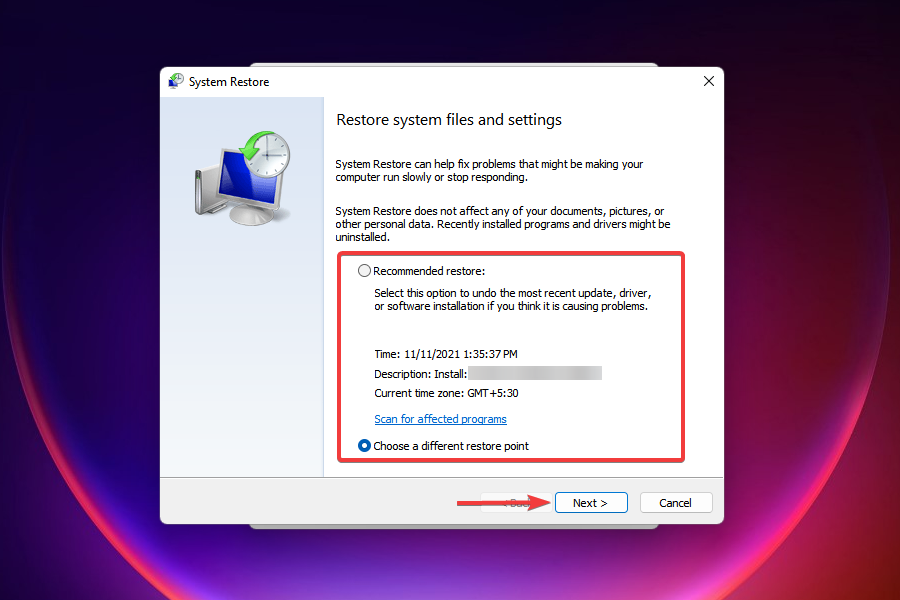
- Now, you can either proceed with the Recommended restore point or tick the option for Choose a different restore point to manually select one, and then click on Next. We choose the latter to help you get acquainted with the process.
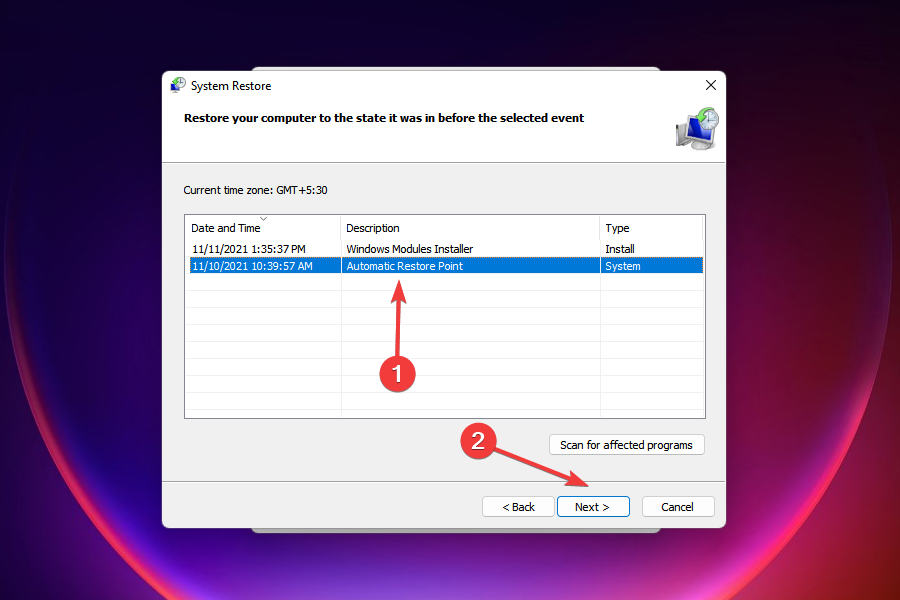
- Now, select a restore point from the ones listed here, and click on Next.
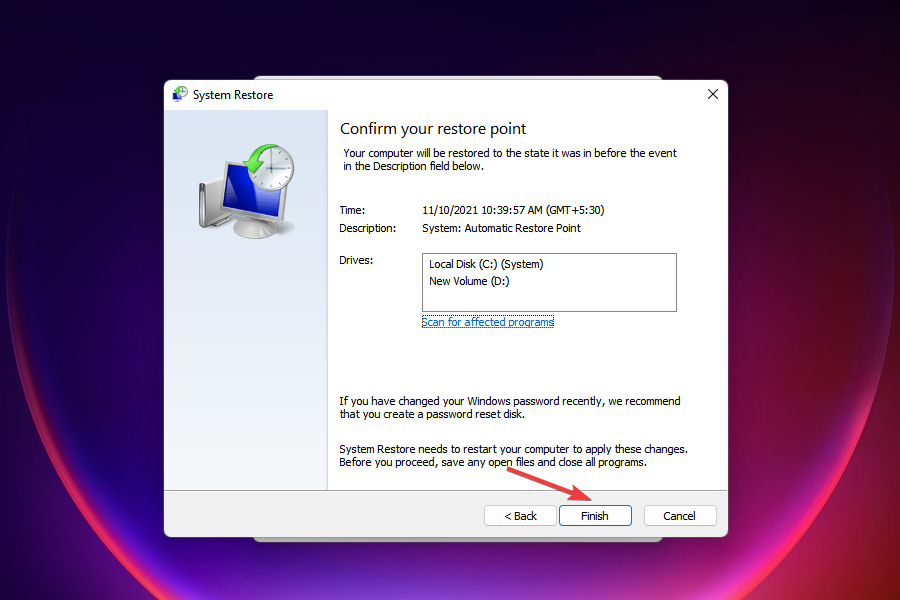
- Finally, review the restore settings and click on Finish to start the process.


What is the difference between Windows 10 and Windows 11 Tablet Mode?
- In Windows 10, this feature can be enabled manually at any time, while on Windows 11 it is activated automatically.
- Windows 10 Tablet Mode forces users to use apps in full screen and brings back the full-screen Start Menu.
- Windows is more intuitive and it doesn’t change user experience as much, but it makes icons larger and easier to tap on a touchscreen.
To learn more about the differences between the two systems check our comparison of Windows 10 and Windows 11.
How do I change to desktop mode in Windows 11?
Due to the nature of Windows 11, the only way to switch back to desktop mode is to set your device in landscape mode or to attach a keyboard or keyboard dock.
To learn more, we suggest reading our guide on Windows 11 Tablet Mode.
You can apply these methods when Windows 11 is stuck in Tablet Mode. In case these tips don’t work, you can always reset the system to its factory settings, a sure-shot fix for almost all issues with the software.
This isn’t the only issue you can encounter and many reported that the touchscreen is not working in Tablet Mode, but there’s a way to fix it.
Tell us which fix worked for you and the experience with Tablet Mode in Windows 11 in the comments section below.
Read our disclosure page to find out how can you help Windows Report sustain the editorial team. Read more


Improve this guide


User forum
0 messages