How to Fix The Video Driver Issues in Windows 11
4 min. read
Updated on
Read our disclosure page to find out how can you help Windows Report sustain the editorial team. Read more
Key notes
- If the display doesn't seem as good as it used to be, it's certainly the video driver issues in Windows 11 to be blamed.
- It could be due to an outdated or corrupt driver, or if there is an issue with the installed version as well.
- To fix the error, first, restart the computer as it works for most, or try updating the driver, amongst other methods here.
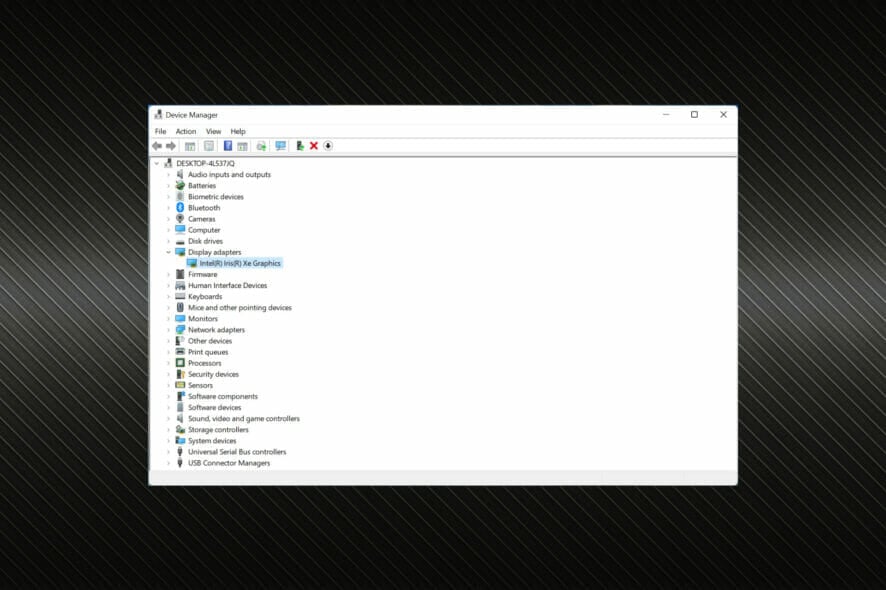
A distorted or glitchy display can be quite problematic, especially for gamers or those into graphic editing. And most of the time, it’s the video driver issues to be blamed in Windows 11.
The three terms, graphics, display, or video are used interchangeably when it comes to drivers, and they have all got to do with the display adapter on your PC.
So, in case you are facing problems with the display clarity or running into issues with the driver, you know where to head to.
Here are the most effective fixes for video driver issues in Windows 11. Just follow them in the listed sequence and you should have the problem resolved real quick.
How do I fix video driver issues in Windows 11?
1. Restart the PC
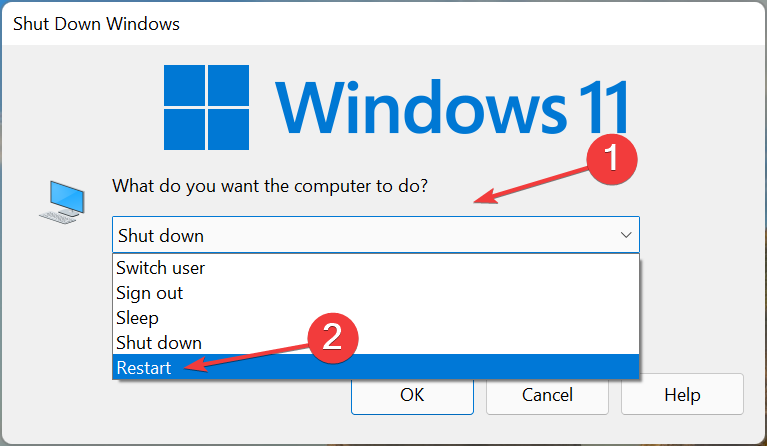
- Go to the desktop, press Alt + F4 to launch the Shut Down Windows box, click on the dropdown menu and select Restart.
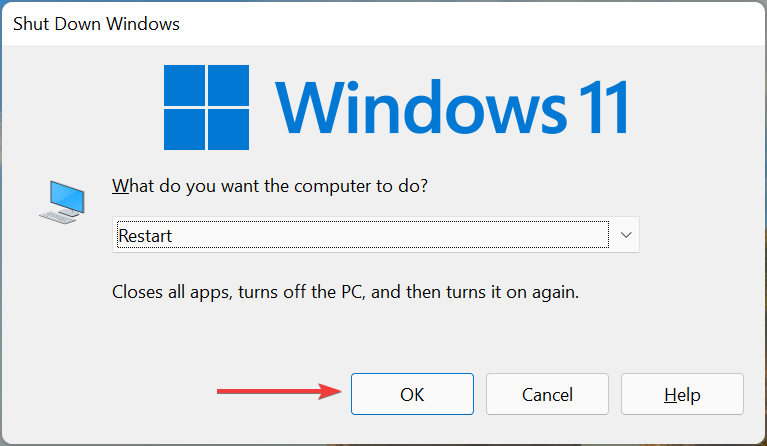
- Next, click on OK.
Whenever troubleshooting an error, you should first restart the computer. In many cases, it’s a trivial bug or a background process behind video driver issues in Windows 11. And, a simple restart should help eliminate that.
2. Update the video driver
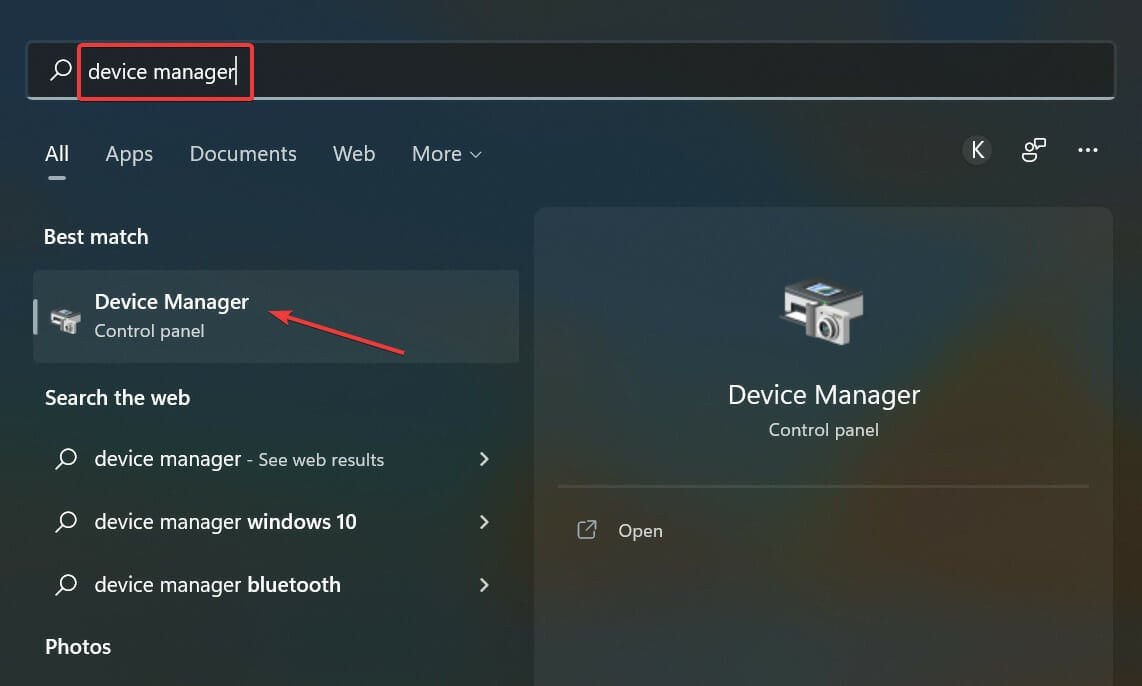
- Press Windows + S to launch the Search menu, enter Device Manager in the text field at the top, and click on the relevant search result that appears.
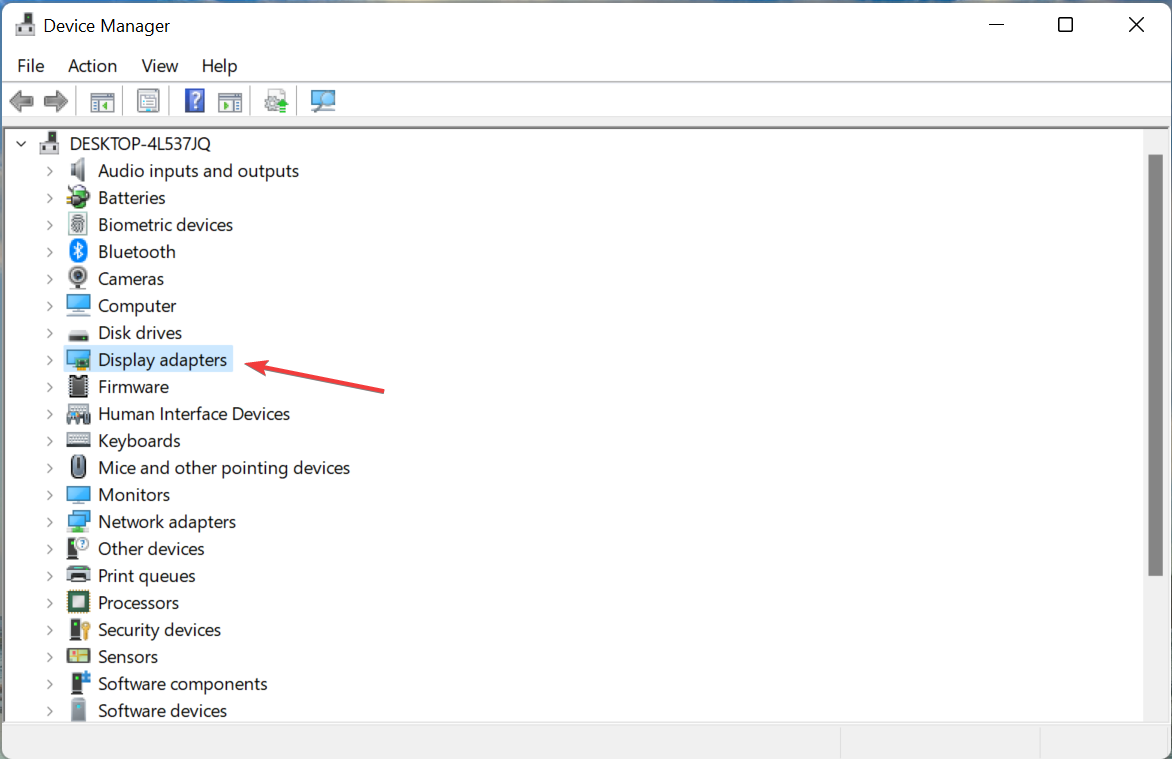
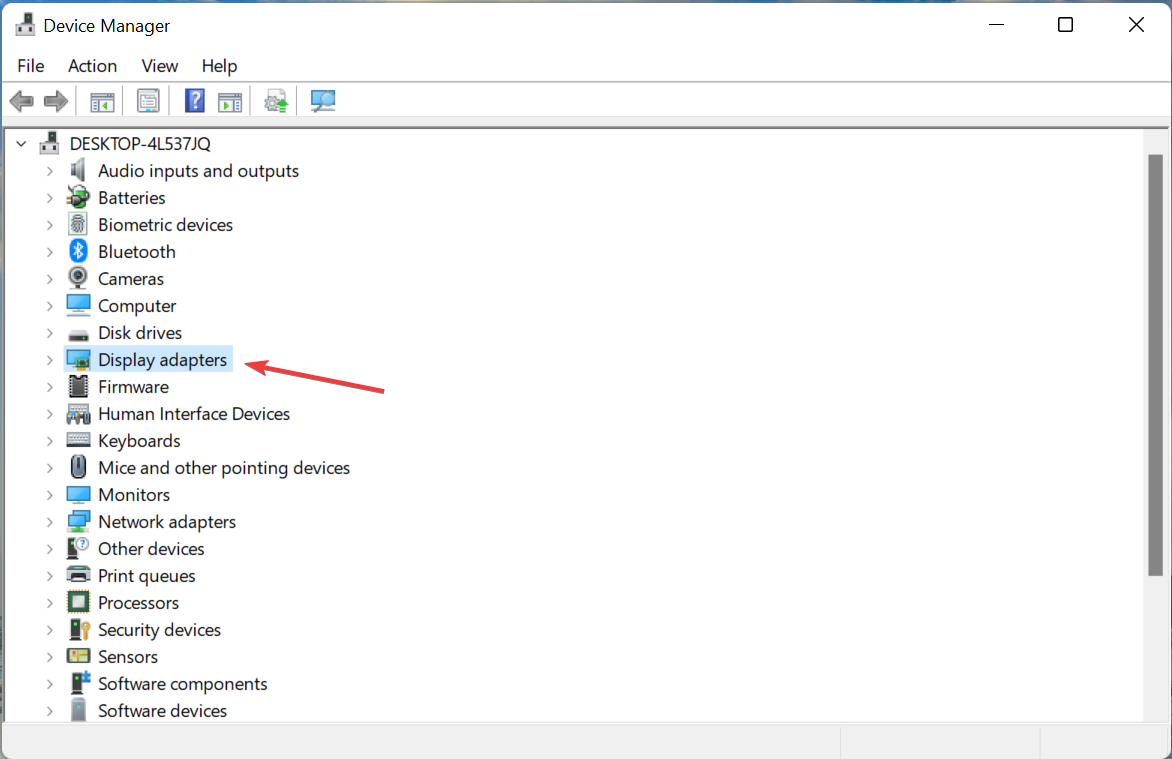
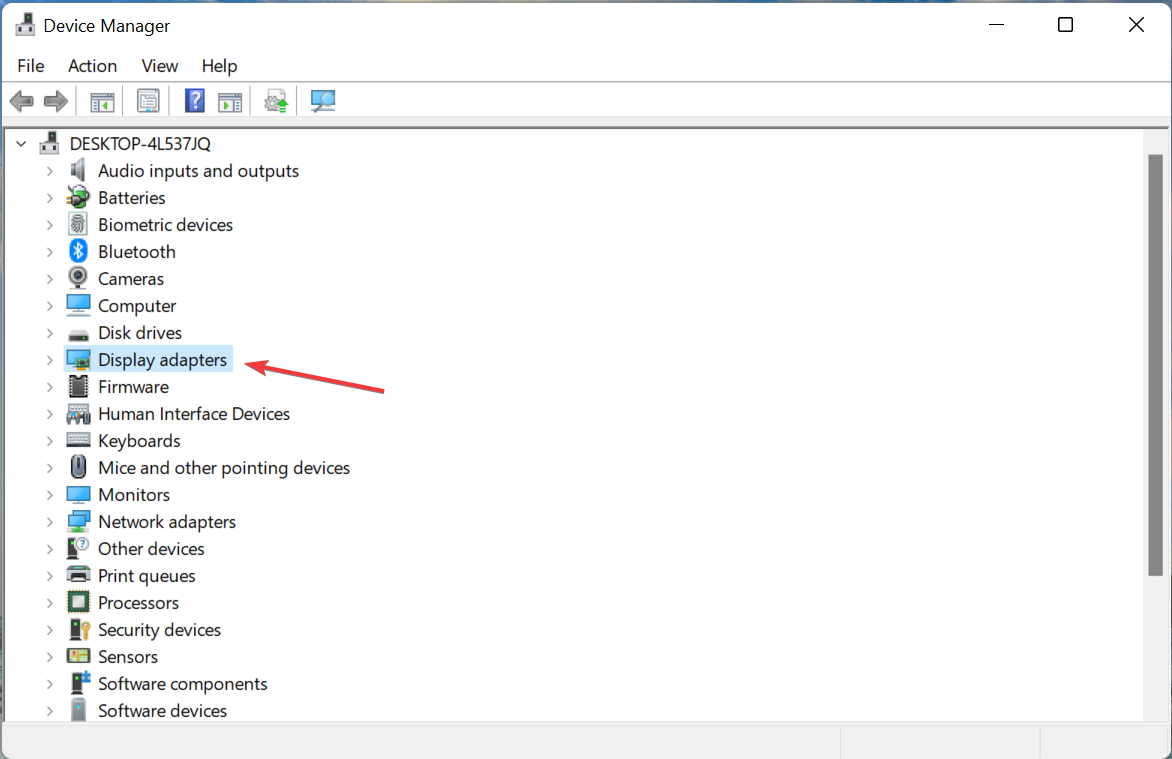
- Double-click on the Display adapters entry here to expand and view the devices under it.
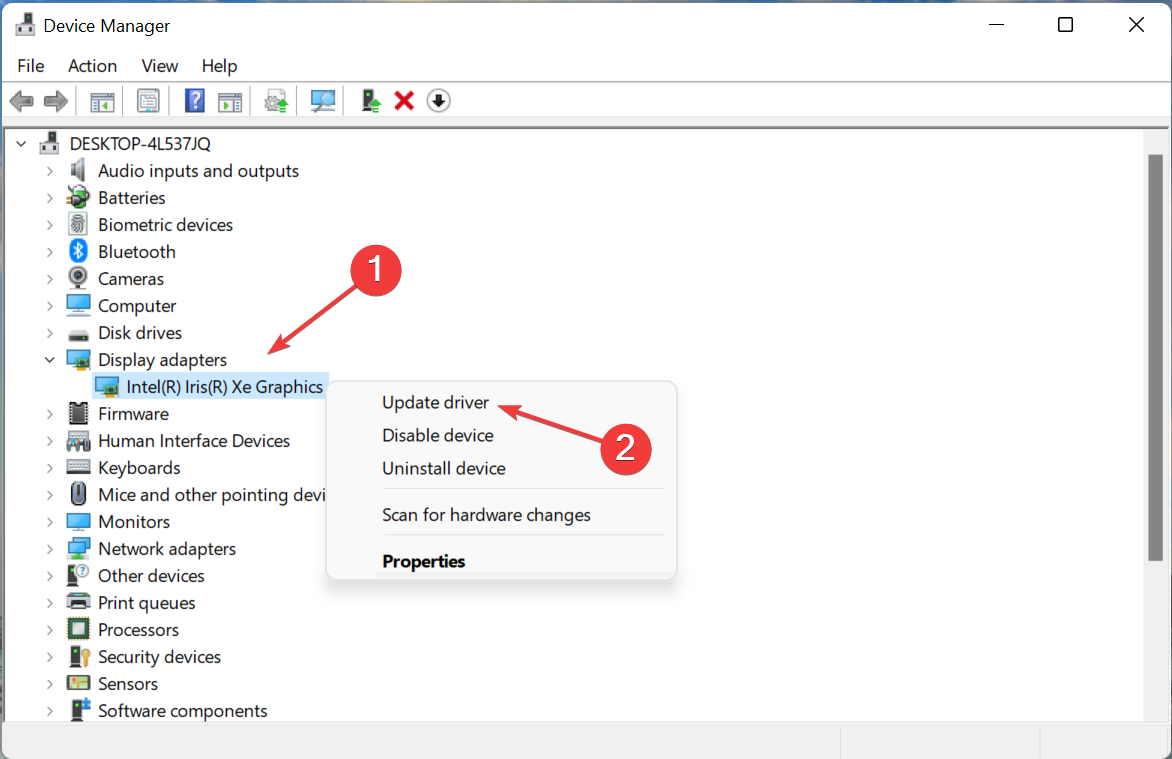
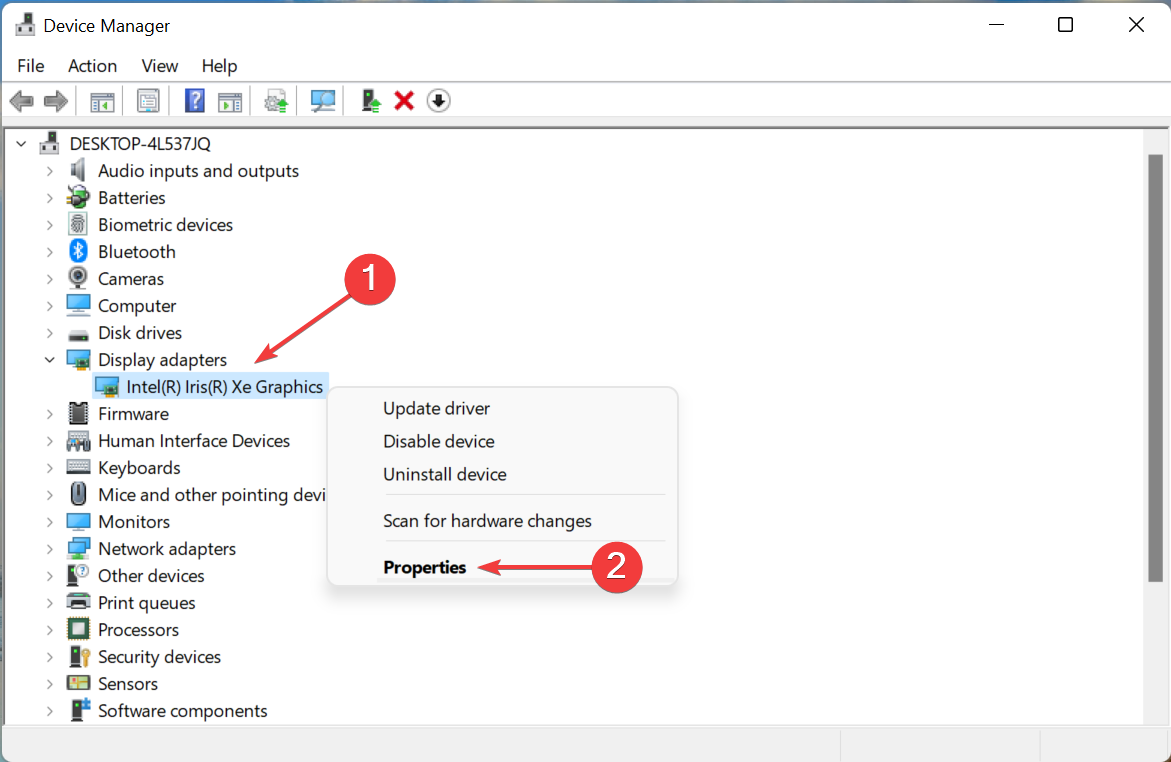
- Right-click on the graphics card, and select Update driver from the context menu.
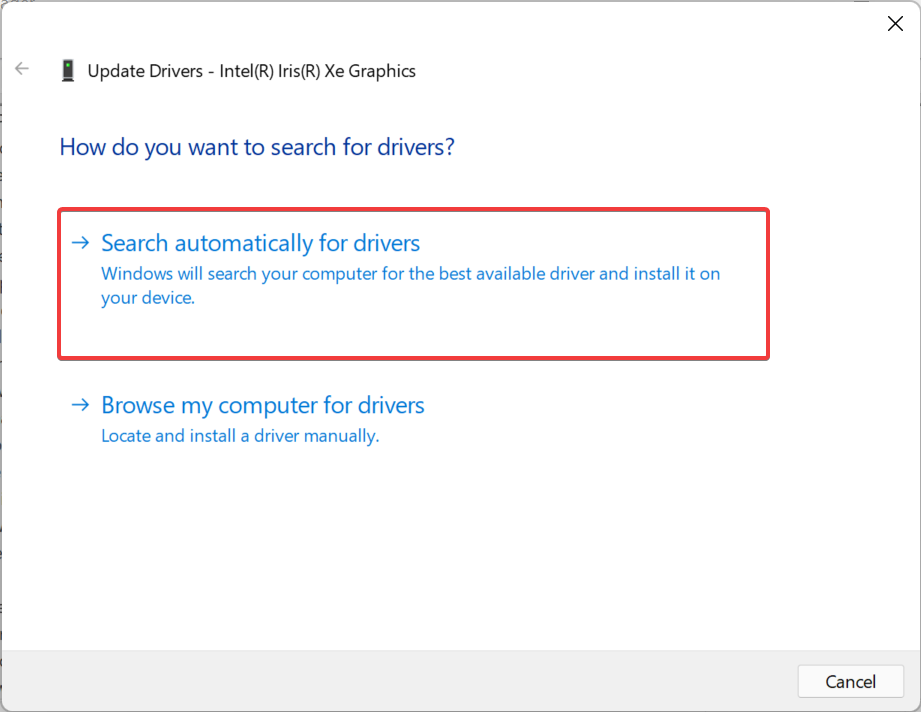
- Now, select Search automatically for drivers from the options listed in the Update Drivers window.
- Your computer will now scan for the best available video driver on the system and install it.
Another common reason behind issues with the graphics is an outdated video driver in Windows 11. Most manufacturers release regular updates, some through Windows Update while others make it available directly on their official website.
With each update, you get better driver performance, some new features, and patches for previously known bugs.
If you couldn’t update it with the method listed above, try the other ways to update a driver in Windows 11. There are a bunch of them, including manually downloading and installing from the manufacturer’s website.
But, there’s also an easy way out, use a reliable third-party app. We recommend using Outbyte Driver Updater, a dedicated tool that automatically scans the web for newer versions of the drivers on your PC, and installs them, thus keeping them all up-to-date.
3. Reinstall the video driver
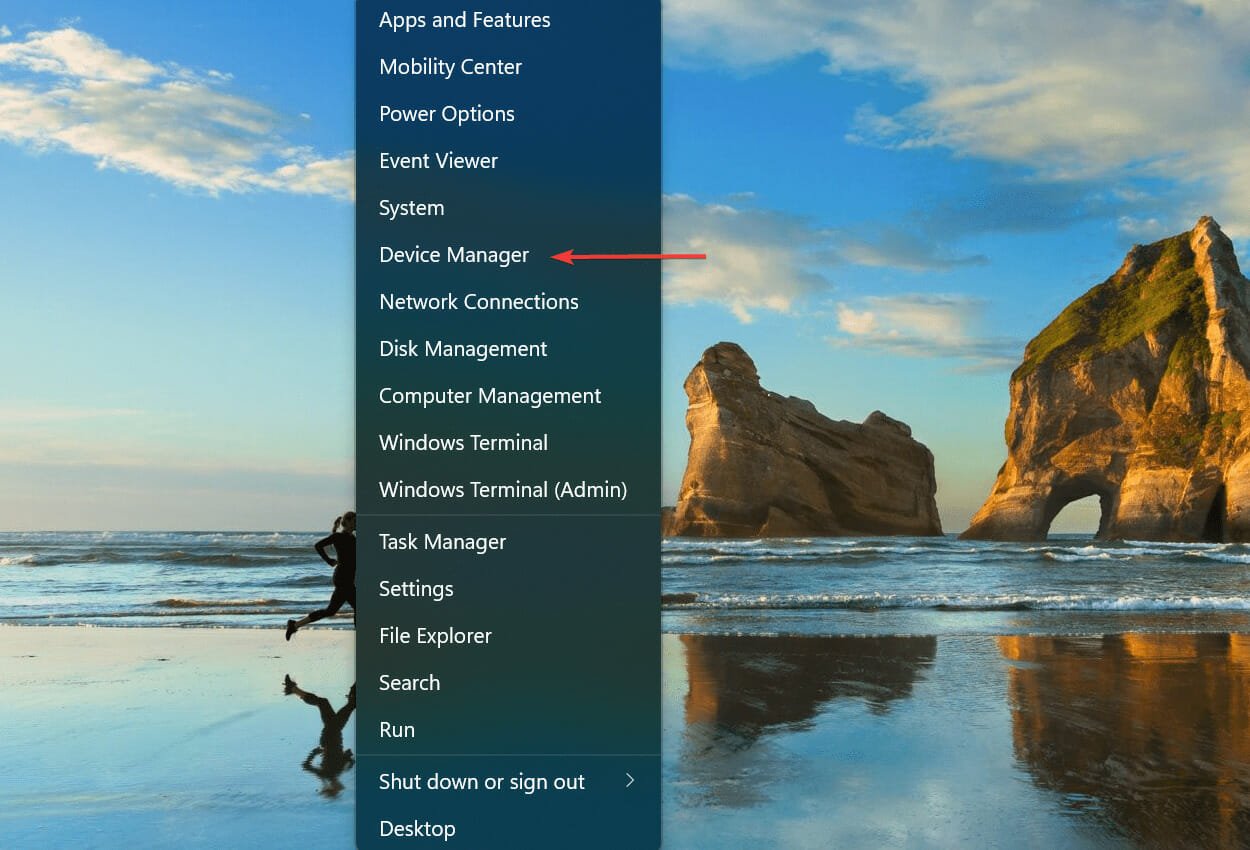
- Press Windows + X to launch the Quick Access menu, and select Device Manager from the list of options.
- Double-click on the Display adapters entry.
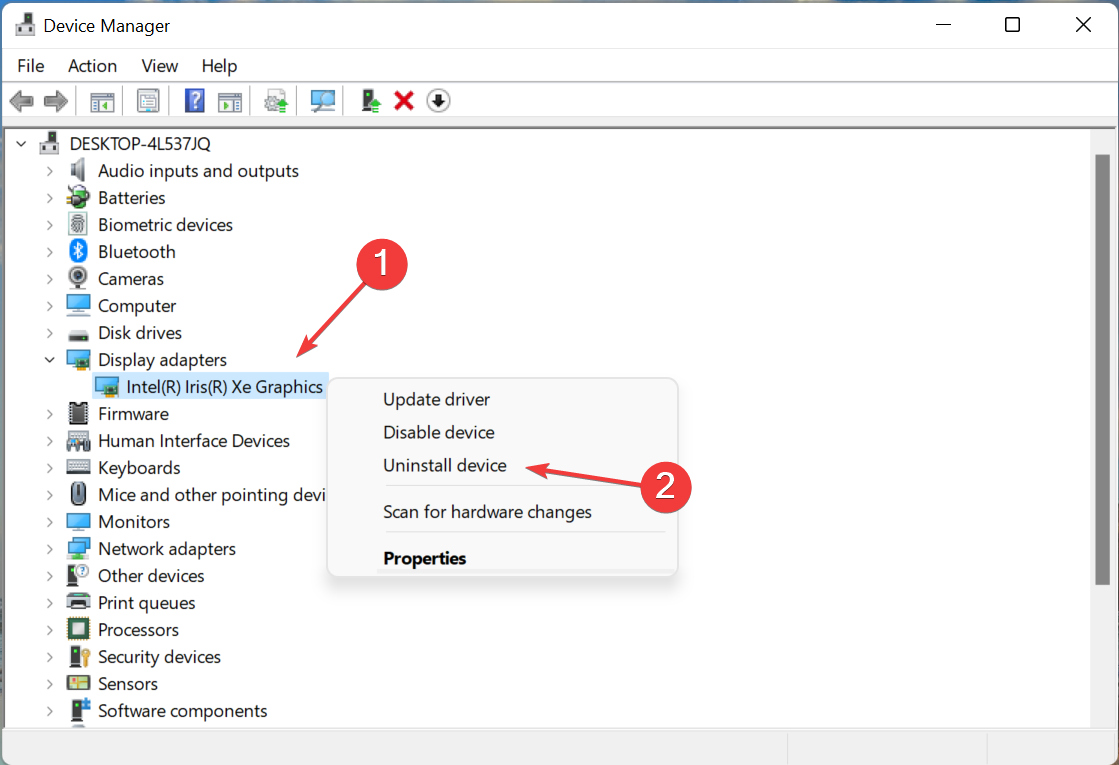
- Right-click on the graphics card, and select Uninstall device from the context menu.
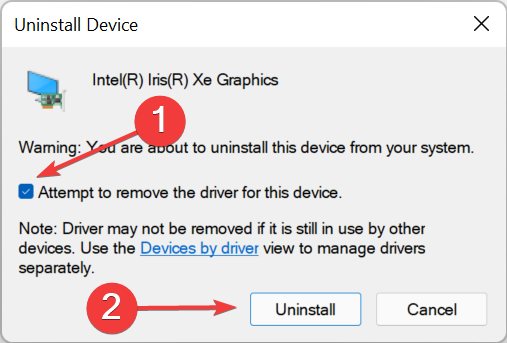
- Tick the checkbox for Attempt to remove the driver for this device, and click on Uninstall.
- Once done, restart the computer and Windows will automatically install a fresh driver.
If you find a warning sign at the corner of the driver icon in the Device Manager, it denotes that the driver is corrupt, and this could be leading to Windows 11 video driver issues. In this case, reinstalling the driver should fix the problem.
4. Roll back the video driver
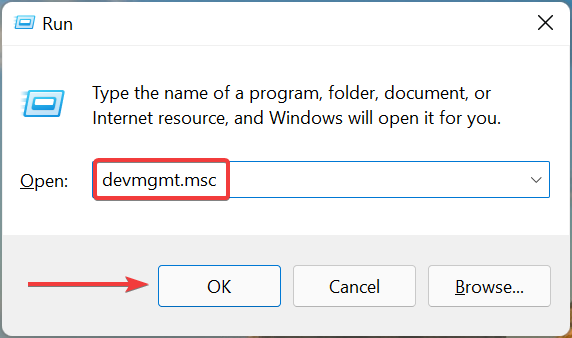
- Press Windows + R to launch the Run command, enter devmgmt.msc in the text field, and either click OK or hit Enter to launch the Device Manager.
- Next, double-click on Display adapters.
- Right-click on the graphics card, and select Properties from the context menu.
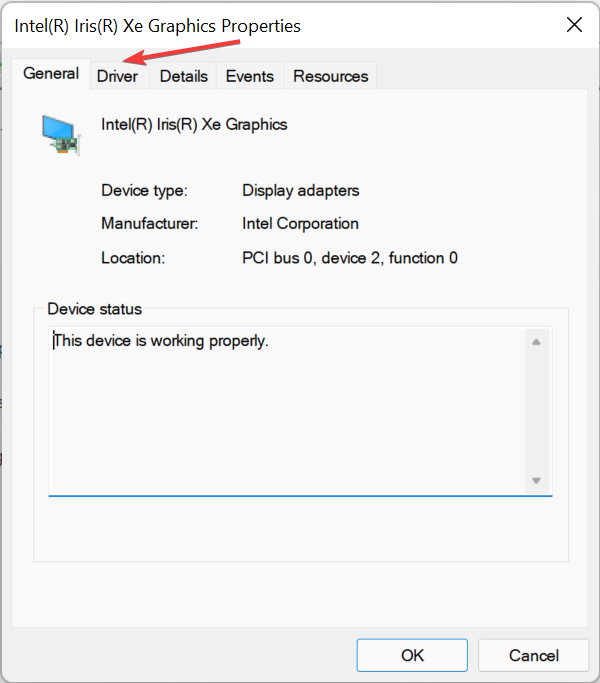
- Now, go to the Driver tab from the top.
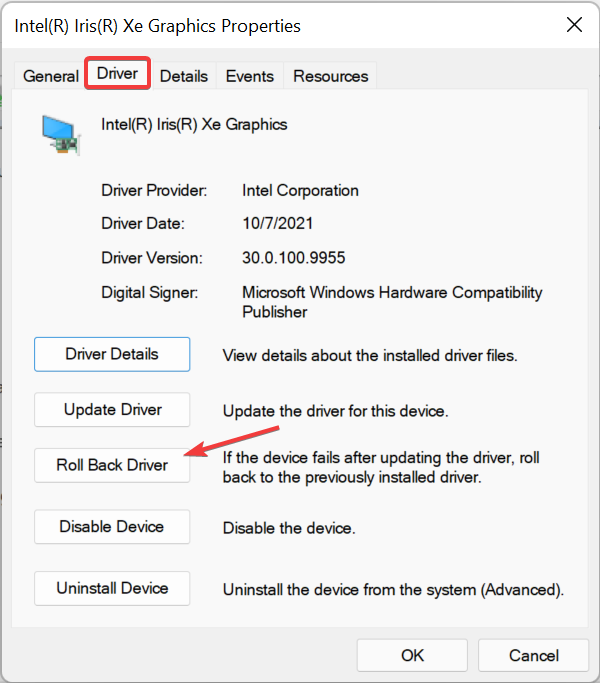
- If the Roll Back Driver button is not greyed out, click on it.
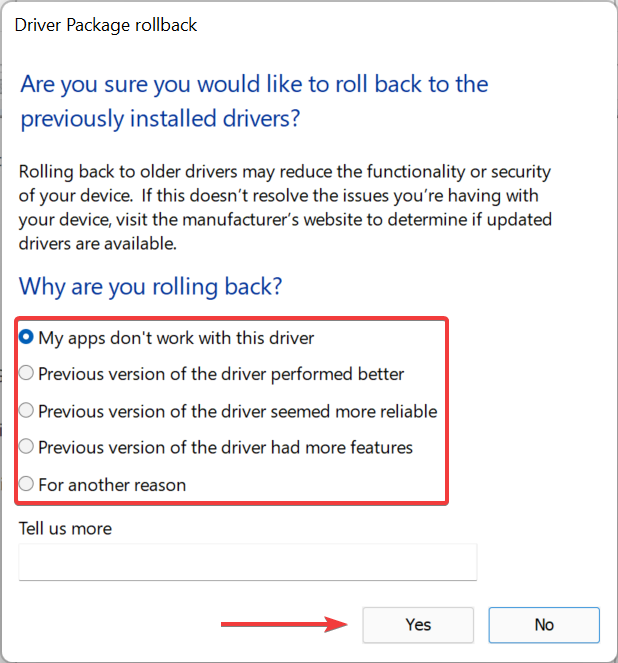
- Select a reason from the ones listed here, and then click on Yes at the bottom.
If you started encountering issues with the video driver in Windows 11 after installing an update, it could well be a bug in that. Instead of manually installing the previous version, you can simply roll back the driver and get the one that you had earlier.
Windows generally stores the files for the previous version, in case you start to encounter issues with the one installed and intend to roll back.
If the roll back driver option is greyed out, either it was not updated or the driver files were not kept by Windows 11, which is when you will have to manually install the graphics driver.
These are all the ways you can fix the Windows 11 video driver issues and get the best display output from the installed graphics card.
Also, several users have reported facing the outdated driver error in Windows 11, which, as the name suggests, is encountered when the installed drivers are not updated in a while. Check the linked guide for more on that.
Tell us which fix worked and the graphics card installed on your computer, in the comments section below.


User forum
0 messages