How to enable Windows 7 auto login [Full Guide]
Key notes
- Typing your password every time can be tiresome, but luckily there’s a Windows 7 auto login feature that can help you out.
- To enable this feature, you just need to disable certain user account login settings.
- Alternatively, you can enable this feature by making adjustments in the registry.
- If you want to enable Windows 7 auto login without a password, be sure to try all solutions from this guide.

Having a Windows password is one way to protect your PC, but some users don’t want to enter their password every time they boot their PC. Luckily for them, Windows 7 auto login is a useful feature that can help you with that.
In this guide, we’ll show you how to enable auto login so you won’t have to enter your password every time you start your PC. Although this solution covers Windows 7, these solutions can also work in newer versions of Windows.
How do I enable Windows 7 auto login?
1. Use netplwiz
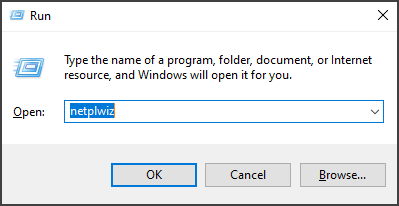
- Press Windows Key + R and enter netplwiz. Press Enter or click OK.
- Uncheck the box next to Users must enter a username and password to use this computer and click OK.
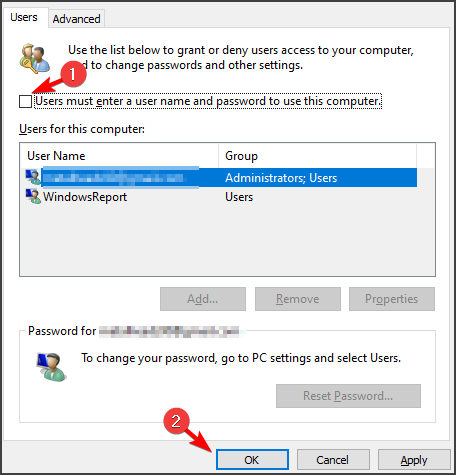
- Enter the username and the password for the account, then click OK.
- Reboot the computer and it will boot into the Windows desktop automatically.
After doing that Windows 7 auto login should be enabled and working.
2. Set Windows 7 auto login in registry
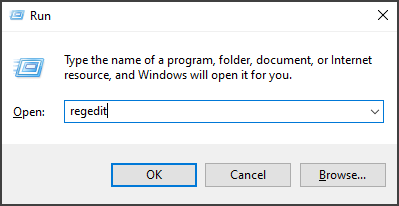
- Press Windows Key + R and enter regedit. Press Enter or click OK.
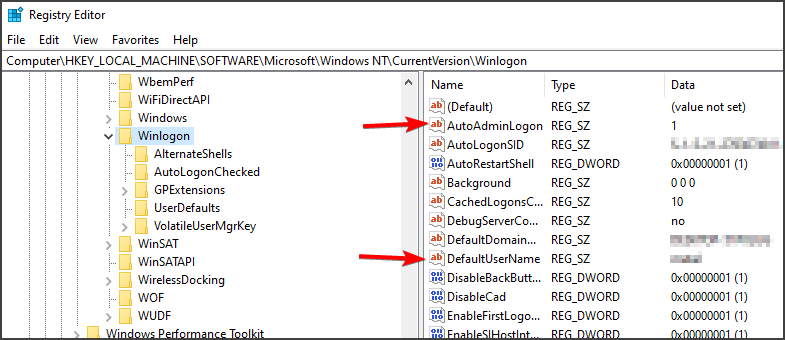
- Locate this subkey in the registry window:
HKEY_LOCAL_MACHINE\SOFTWARE\Microsoft\Windows NT\CurrentVersion\Winlogon - Double-click the DefaultUserName entry, type your user name, and then click OK.
- Open the DefaultPassword entry with a double-click, type your password, and then click OK.
- Double-click AutoAdminLogon, and in the Edit String dialog box, type 1 and then click OK.
- Reboot the computer.
Note: Users reported that DefaultPassword value is missing so you must create the entry manually. Open the the Edit menu click New and choose New String.
3. How to set Windows 7 auto login domain
- Follow steps 1-5 provided in the previous solution.
- Double-click the DefaultDomainName and type the domain name of the user account.

- Reboot the computer.
Note: If the DefaultDomain value isn’t available, you should create it manually.
This guide will help you to enable the auto-login option for your personal computer or for a company computer.
However, the autologon feature is provided as a convenience and may be a security risk. If you want to disable this feature, we have a detailed guide on how to disable auto login on Windows 7 that should check out.
We hope that you found this guide helpful, and that know you know how to properly enable the Windows 7 auto login feature.
Read our disclosure page to find out how can you help Windows Report sustain the editorial team. Read more


Improve this guide


User forum
0 messages