Windows Cannot Run Disk Checking on This Volume [Fix]
Quick ways to fix this annoying disk error
Key notes
- Write Protection mode is also called Read Only, meaning you can access the files on the drive but can't modify them.
- Formatting the drive using the Windows inbuilt Disk Management tool is the easiest way to eliminate the issue.

Windows could not run disk checking on this volume because it is a write-protected error generally occurring when a book or the drive is damaged, corrupted, or in Read-Only mode. This implies that you can access the files stored in the drive but cannot make any changes.
This guide will help you fix this disk error with five simple troubleshooting steps.
Why can’t Windows run disk checking on this volume?
CHKDSK, the command-line utility, is used to check errors on a disk drive and possibly repair them. If any of the drives that you scanned comes with the CHKDSK write-protected error, these could be the reasons:
- Your hard drive has a write protection tab, and it is enabled.
- The USB drive has a physical switch to set it to Read-Only, and it is turned on.
- Virus infection or hardware errors damaged the partition file system.
- The attribute of the drive is selected as Read-Only.
- Windows Registry Key value is incorrect.
Now that we know the situation, let us move on to the fixes.
What can I do if Windows cannot run disk checking on this volume?
1. Remove disk errors
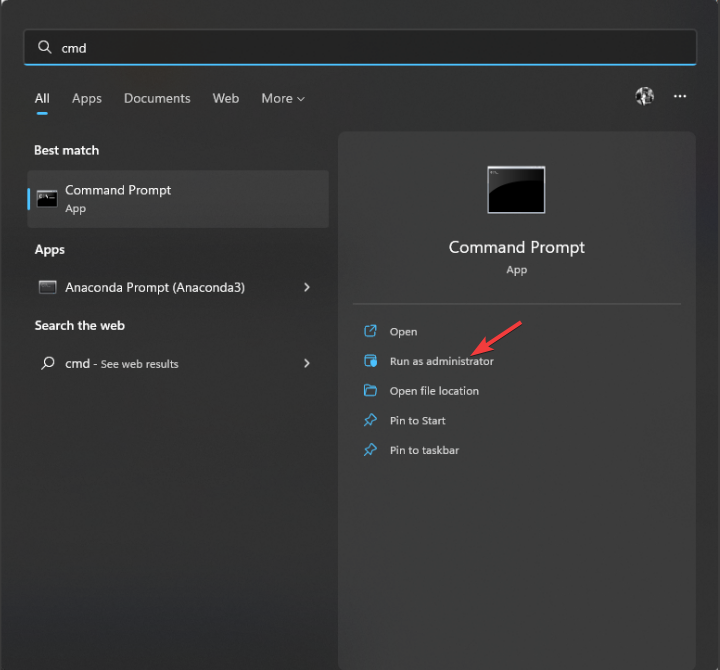
- Press the Windows key and type CMD, and select Run as Administrator.
- Paste the following command and press Enter:
chkdsk E:/f/r/x
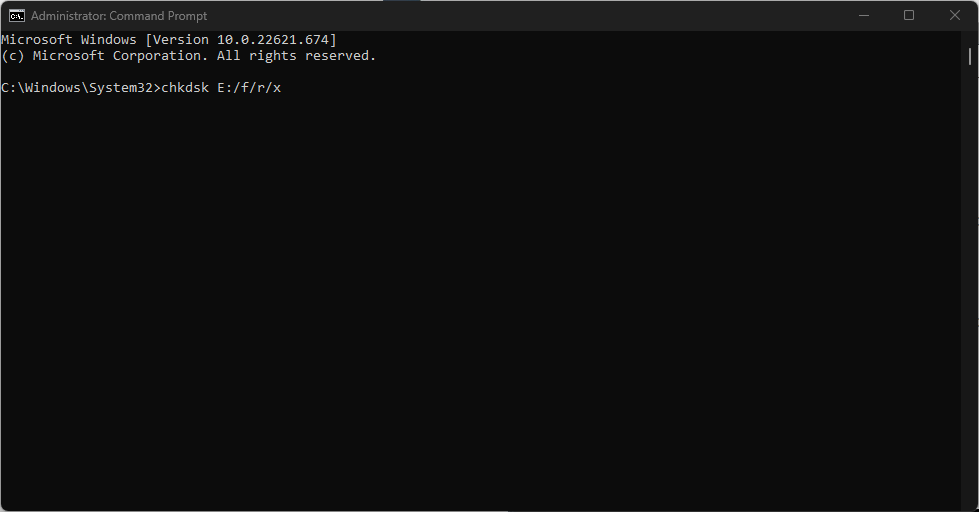
Note: E represents the drive letter; change it accordingly.
2. Remove Write Protection via Diskpart Command
- Press the Windows key and type CMD, then select Run as Administrator
- Type the command mentioned below and press Enter:
diskpart
- Paste the following command and hit Enter. You will get the list of disks attached.
list disk
- Type the command mentioned below and press Enter. Replace 0 with the number that your drive is listed under.
select disk 0
- Copy and paste the command and hit Enter:
attributes disk clear readonly
3. Modify Read-Only settings in Registry Editor
3.1 If the StorageDevicePolicies key is present
- Press Windows + R to get the Run console
- Type Regedit to open Registry Editor.
- Paste the path mentioned below in the address bar:
HKEY_LOCAL_MACHINE\SYSTEM\CurrentControlSet\Control\StorageDevicePolicies
- Locate and right-click on the WriteProtect key and then click Modify.

- Edit the DWORD value, set the Value data to 0, and click OK to confirm.

3.2 StorageDevicePolicies key is not present
- Press Windows + R to get the Run console.
- Type Regedit to open Registry Editor.
- Paste the path mentioned below in the address bar:
HKEY_LOCAL_MACHINE\SYSTEM\CurrentControlSet\Control - On the right panel, right-click in space and select New, then Key. Now, double-click on the key and name it StorageDevicePolicies.

- Select StorageDevicePolicies and go to the right panel, right-click and then select DWORD (32-bit).

- Name the new DWORD as WriteProtect and click Modify and set the Value data to 0.

4. Scan your drive
- Navigate to This PC.
- Locate the drive, and choose Properties from the context menu.

- Go to the Tools tab.
- Under Error-checking, click Check. Please wait till the scan completes.

5. Format the volume via Disk Management to make it reusable
- Press Windows + R to get the Run console.
- Type diskmgmt.msc to open Disk Management.
- Select the partition you want to format, then right-click to choose Format.

- Rename the Volume label, Allocation unit size, and File system, then click OK.

Note: Ensure there is a checkmark beside Perform a quick format.
So, these are fixes you can perform if you encounter Windows cannot run disk checking on this volume because it is write-protected.
Let us know if any other solutions not mentioned here worked for you in the comments section.
Read our disclosure page to find out how can you help Windows Report sustain the editorial team. Read more


Improve this guide


User forum
0 messages