Fix: Windows Server Could not Find any Drives
You might need to reset your BIOS to fix this issue
![]() 3 min. read
3 min. read
![]() Updated on
Updated on
Share this article
Improve this guide
Read our disclosure page to find out how can you help Windows Report sustain the editorial team. Read more
Key notes
- If Windows Server 2016 could not find any drives, it might be because the boot order is set wrongly.
- You can rectify this by deactivating the Secure Boot in BIOS.

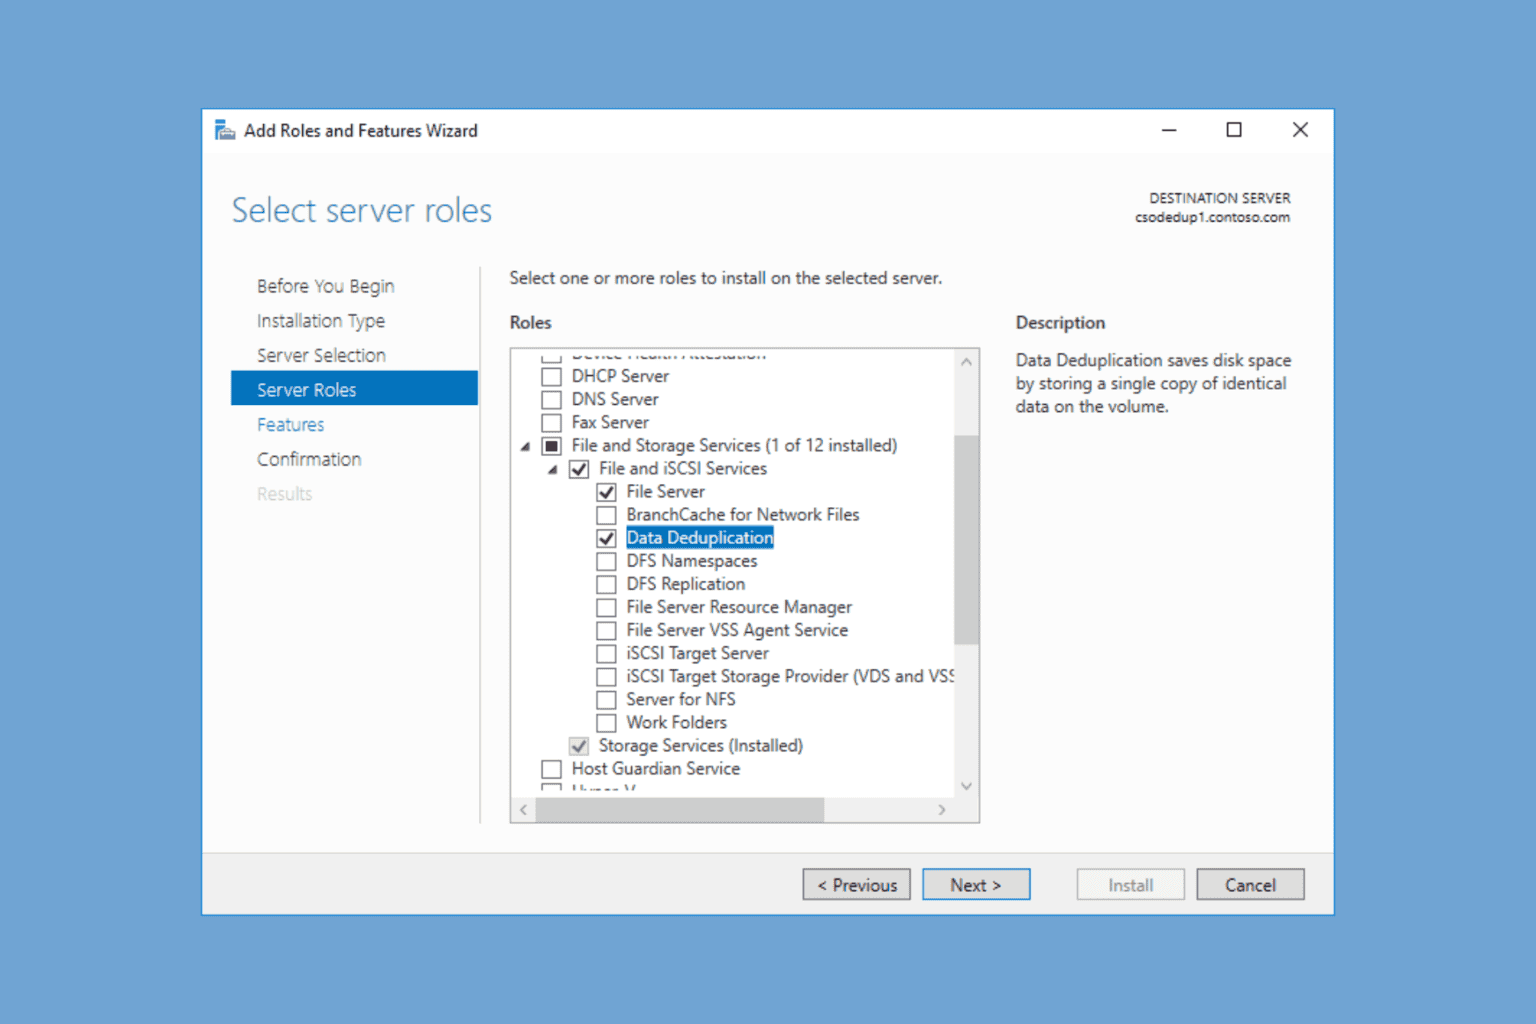
Several of our readers have reported that when they try to install Windows Server, the installation can not find any drives.
This stops you from finishing the installation process and causes people a lot of stress.
Even though the variables for this issue will make the solutions vary a lot as well, in this list, we compiled some of the best methods for you to try out, just like we did with the Windows Server Manager not opening issue.
How can I fix the Windows Server not finding drives issue?
1. Make sure your drive boot priority is set correctly in BIOS
- Restart your PC and press the required key to enter the BIOS.
- Navigate the BIOS menu and find the BIOS Boot Priority option or related option.

- Make sure the drive you’re trying to use to install Windows Server is set correctly.
- Save the settings and exit BIOS.
- This will restart your PC, and now the boot should be performed from the drive you selected.
- If this didn’t solve your issue, please try the next method.

Depending on the specific BIOS version your PC is using, the exact steps will vary.
2. Deactivate the secure boot option from BIOS
- Restart your PC and open BIOS by following the first steps of the first method.
- Find the option called Secure Boot and select it.
- Select the Disabled option.

- Save the settings and exit BIOS.
- Your PC will automatically restart.
- Check to see if the issue persists. If it does, you can try out the next possible solution.

3. Reset your BIOS to default settings
3.1. Using BIOS:
- Restart your PC and boot into BIOS.
- Find the Setup Defaults option.
- Search for an option called Reset to Default (or a similar name).
- Select Yes when prompted to Load Optimal Defaults.

- The process of resetting your BIOS will start immediately.
- Save the changes and exit BIOS.

3.2. Removing the CMOS battery:
- Completely turn off your PC and unplug the power cord.
- If you’re using a laptop, it is recommended that you remove the battery as well.
- Touch a piece of metal that has no paint on it to discharge any static electricity.
- Open up your PC.
- Identify the location of the CMOS battery and remove it by pressing the clip.
- Wait for a few minutes, and then plug it back in.
In today’s article, we explored some of the best solutions for the problem caused by your Windows Server 2016 not finding your drives.
If you are also dealing with other issues like Windows Server not showing up in Network File Explorer, check our comprehensive guide to fix it.
Let us know if this guide was helpful by using the comment section below.

User forum
0 messages